제품 끝view
The NEEWER GP-85 Extension Rod Kit is designed for action cameras, providing an extendable pole for versatile shooting angles. It features a 1/4" top screw, a three-prong action camera adapter, and a magnetic quick-release mount for broad compatibility.
- 호환성: Designed for DJI OSMO Action 5 Pro 4 3 2 Pocket 3 Creator Combo, GoPro Hero 13 12 11 10 Black, Insta360 X5 X4 X3 Ace Pro Go 3S, and AKASO Brave 8 7 EK7000 action cameras.
- 확장 가능한 길이: The telescopic pole extends up to 47.6 inches (121 cm) and folds down to 9.4 inches (23.8 cm) for portability.
- Flexible Angles: Offers 180° tilt capability for adjusting camera angles.
- 삼각대 마운트: Includes a 1/4" threaded hole at the base for attaching to tripods.
- 내구성 있는 구조: Made from high-strength plastic with non-slip textured pads for a secure grip.
패키지 내용
아래 나열된 모든 품목이 패키지에 포함되어 있는지 확인하세요.
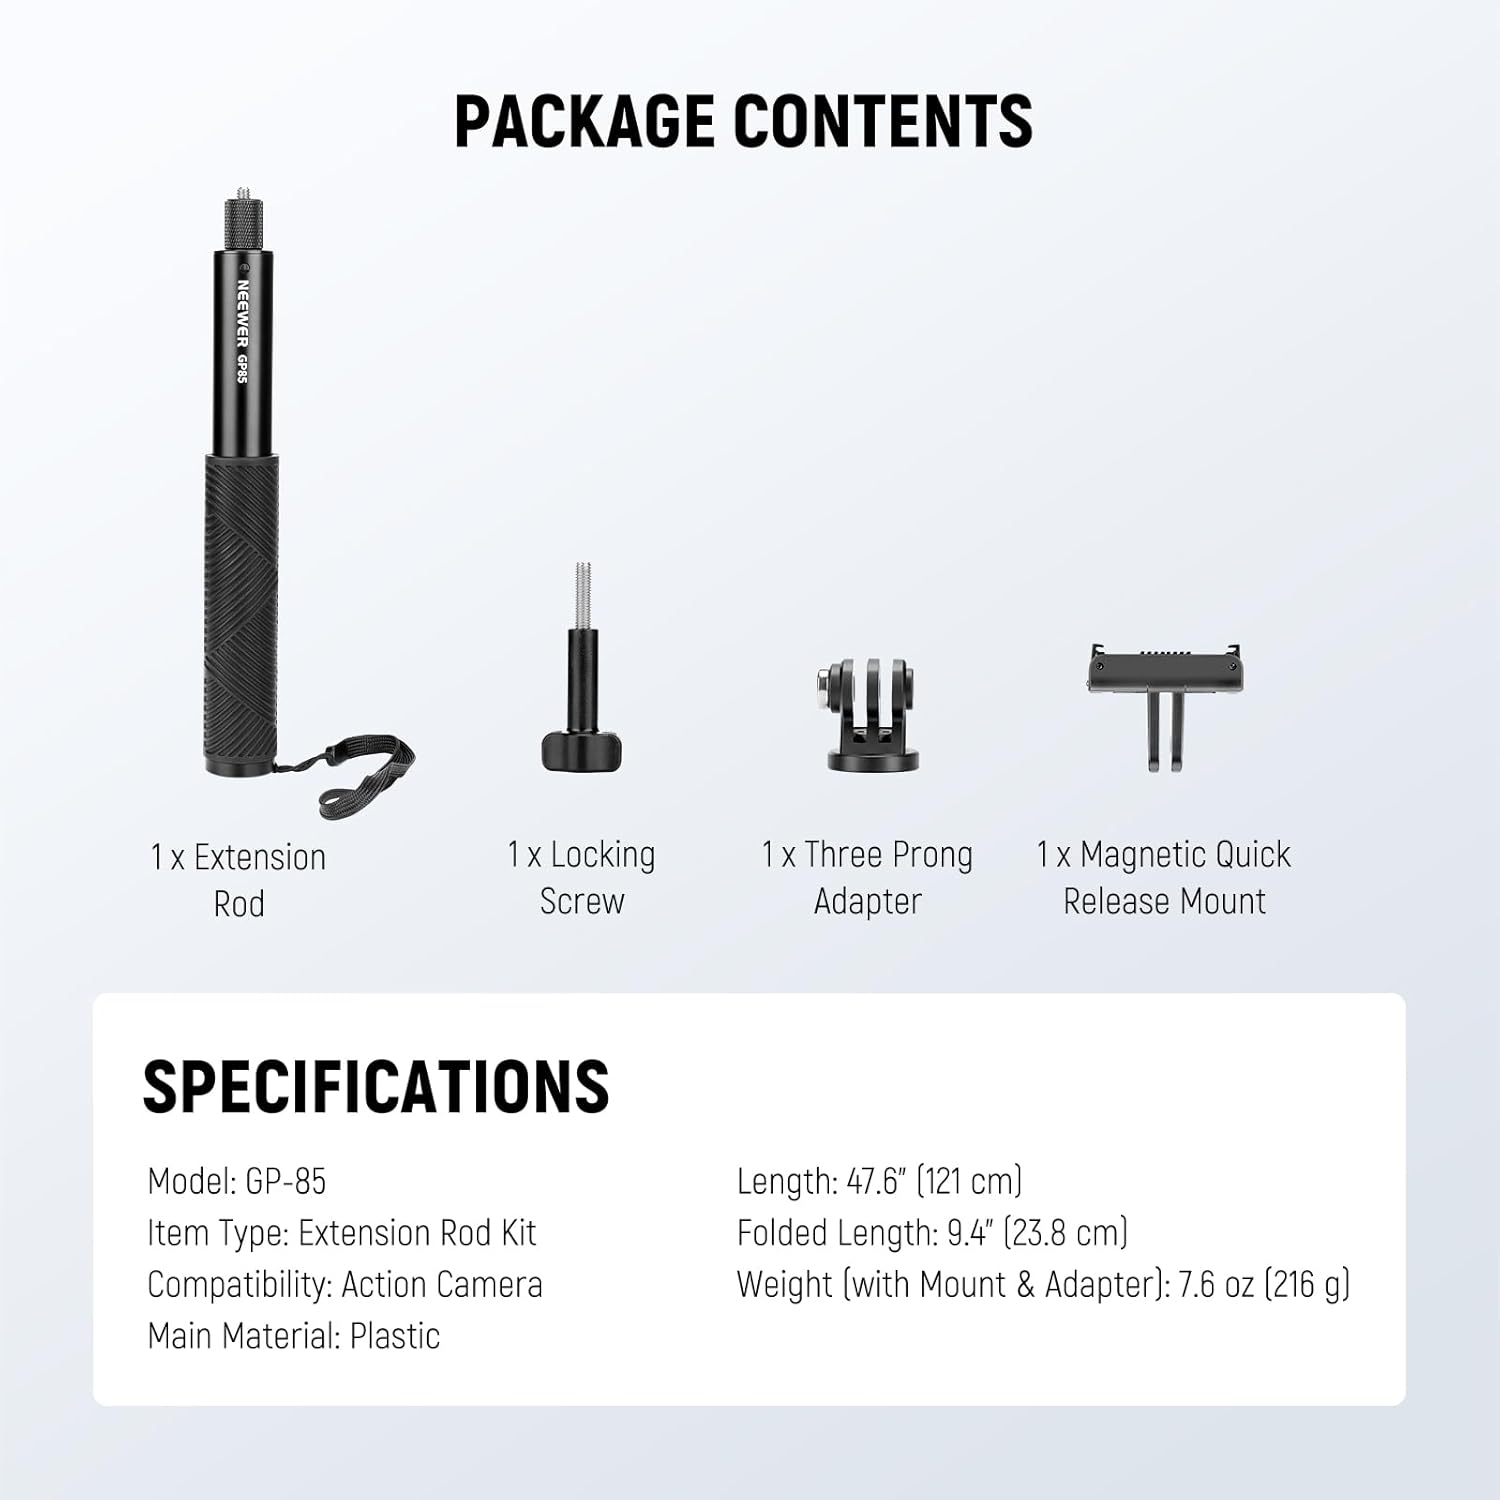
Image: The package contents include the extension rod, locking screw, three-prong adapter, and magnetic quick release mount.
- 1 x 연장 막대
- 잠금 나사 1개
- 1 x Three-Prong Adapter
- 1 x Magnetic Quick Release Mount
설치 지침
- Attach Camera Adapter:
Screw the three-prong action camera adapter onto the 1/4" top screw of the extension rod. Ensure it is tightened securely to prevent camera movement.

이미지: 클로즈업 view of the 1/4" top screw on the extension rod, ready for adapter attachment.
- Mount Action Camera:
Attach your action camera to the three-prong adapter using the provided locking screw. For magnetic quick release compatible cameras, use the magnetic mount.
- Optional Tripod Attachment:
If desired, attach a tripod to the 1/4" threaded hole located at the bottom of the extension rod for added stability.

Image: The extension rod mounted on a tripod, showcasing the 1/4" threaded hole at its base.
작동 지침
- Extending and Retracting the Rod:
Gently pull the sections of the extension rod to extend it to the desired length. Push the sections back in to retract. The rod features a friction-based system to hold its position.

Image: Visual representation of the extension rod at different lengths, from 9.4 inches to 47.6 inches.
- Adjusting Camera Angle (180° Tilt):
The camera mount allows for a 180° tilt adjustment. Loosen the adjustment knob, position your camera to the desired angle, and then tighten the knob to secure it.

Image: A diagram illustrating the 180-degree tilt functionality of the camera mount on the extension rod.
- Using with Panoramic Cameras:
When using an action camera in panoramic mode, the design of this rod ensures it remains out of the camera's field of view, providing an "invisible" effect in your footage.
유지
- 청소: Wipe the extension rod with a soft, dry cloth to remove dust and debris. Avoid using harsh chemicals or abrasive materials.
- 저장: Store the rod in a dry, cool place away from direct sunlight and extreme temperatures. Retract the rod fully before storage to protect the telescopic mechanism.
- 점검: Periodically check all connections and screws for tightness. Ensure the non-slip grip pads are intact.
문제 해결
- Rod is difficult to extend/retract: Apply gentle, even force. If still stiff, ensure no debris is lodged in the sections. Avoid excessive force to prevent damage.
- Camera wobbles or rotates: Ensure all screws (camera to adapter, adapter to rod) are securely tightened. Check that the camera is properly seated in the adapter.
- Tripod attachment is loose: Verify that the tripod's screw is fully engaged and tightened into the 1/4" threaded hole at the base of the rod.
명세서
| 특징 | 세부 사항 |
|---|---|
| 모델 | GP-85 |
| 품목 유형 | 확장 로드 키트 |
| 호환성 | 액션 카메라 |
| 주요소재 | High-strength Plastic, Aluminum Alloy |
| 확장된 길이 | 47.6인치(121cm) |
| 접힌 길이 | 9.4인치(23.8cm) |
| Weight (with Mount & Adapter) | 7.6 온스 (216g) |
| 기울기 각도 | 180° |
| 하단 스레드 | 1/4인치 |
보증 및 지원
보증 정보 및 기술 지원에 대해서는 공식 NEEWER를 참조하십시오. web사이트를 방문하거나 고객 서비스에 직접 문의하세요. 보증 청구를 위해 구매 영수증을 보관하세요.
니워 공식 Web대지: www.newer.com


