1. 서론
Thank you for choosing the SALTER SH-02/3 Adjustable Pulley Kit. This kit is an optional accessory designed to enhance the functionality and expand the exercise possibilities of your SALTER SH-02 Multifunction Machine. This manual provides essential information for the safe assembly, operation, and maintenance of your new pulley kit. Please read this manual thoroughly before installation and use, and retain it for future reference.

Figure 1.1: The SALTER SH-02 Multifunction Machine with the SH-02/3 Adjustable Pulley Kit fully installed, viewed from the front-left. This image provides an overview of the complete setup, showcasing the integrated pulley system.
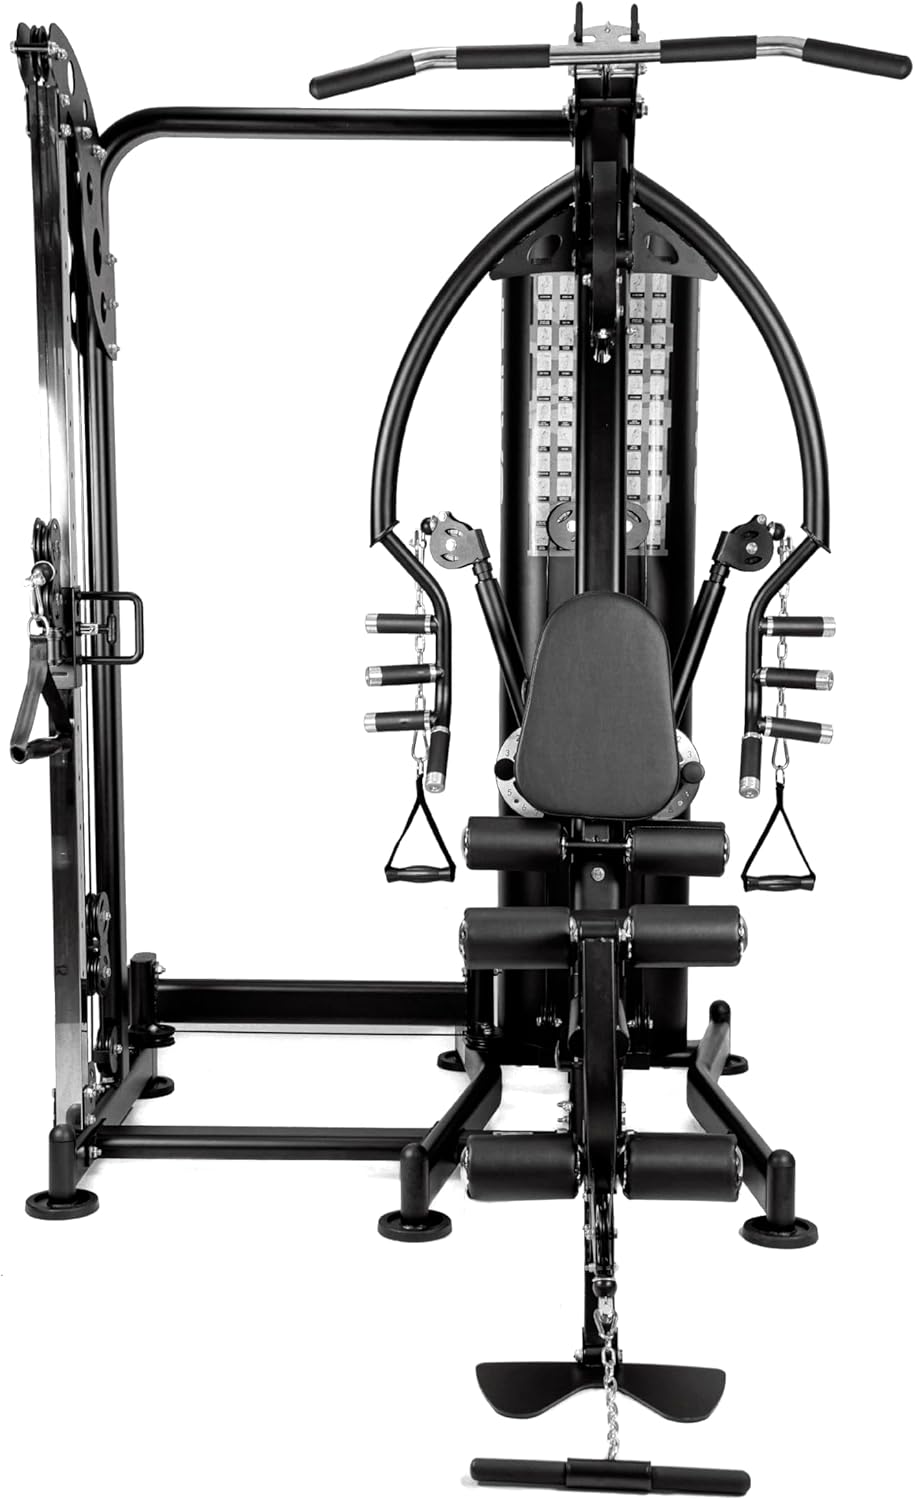
그림 1.2: 정면 view of the SALTER SH-02 Multifunction Machine with the SH-02/3 Adjustable Pulley Kit. This perspective highlights the central components and the overall compact design of the integrated system.
2. 안전 정보
Before using the SALTER SH-02/3 Adjustable Pulley Kit, please observe the following safety precautions:
- 운동 프로그램을 시작하기 전에 의사와 상담하십시오.
- 매번 사용하기 전에 모든 구성품이 올바르게 조립되고 단단히 고정되었는지 확인하세요.
- 작동 중에는 어린이와 애완동물을 장비에 가까이 두지 마십시오.
- Inspect cables, pulleys, and attachments for wear or damage before each workout. Do not use if any damage is present.
- Use the equipment on a stable, level surface.
- Do not exceed the maximum weight capacity of the SH-02 multifunction machine.
- 적절한 운동화와 옷을 착용하세요.
- 통증, 어지럼증 또는 호흡 곤란을 느끼면 즉시 운동을 중단하십시오.
3. 상자 안에 무엇이 들어있나요?
The SALTER SH-02/3 Adjustable Pulley Kit includes the following components:
- Adjustable Pulley System components
- 조립에 필요한 하드웨어
- 사용자 설명서
Please verify that all parts are present and undamaged before proceeding with assembly. If any parts are missing or damaged, contact SALTER customer support.
4. 설치 및 조립
The SALTER SH-02/3 Adjustable Pulley Kit is designed for easy assembly. Follow these general steps for installation onto your SH-02 Multifunction Machine. Refer to the detailed assembly diagrams provided with your kit for specific instructions.
- 구성 요소 풀기: Carefully remove all parts from the packaging and lay them out. Check against the 'What's in the Box' list.
- Identify Main Frame Connection Points: Locate the designated attachment points on your SH-02 Multifunction Machine for the pulley kit.
- Assemble Structural Elements: Connect the main structural elements of the pulley kit using the provided hardware. Ensure all bolts are finger-tight at this stage.
- 풀리와 케이블 설치: Route the cables through the pulley wheels as indicated in the assembly diagrams. Ensure cables run smoothly without kinks or obstructions.
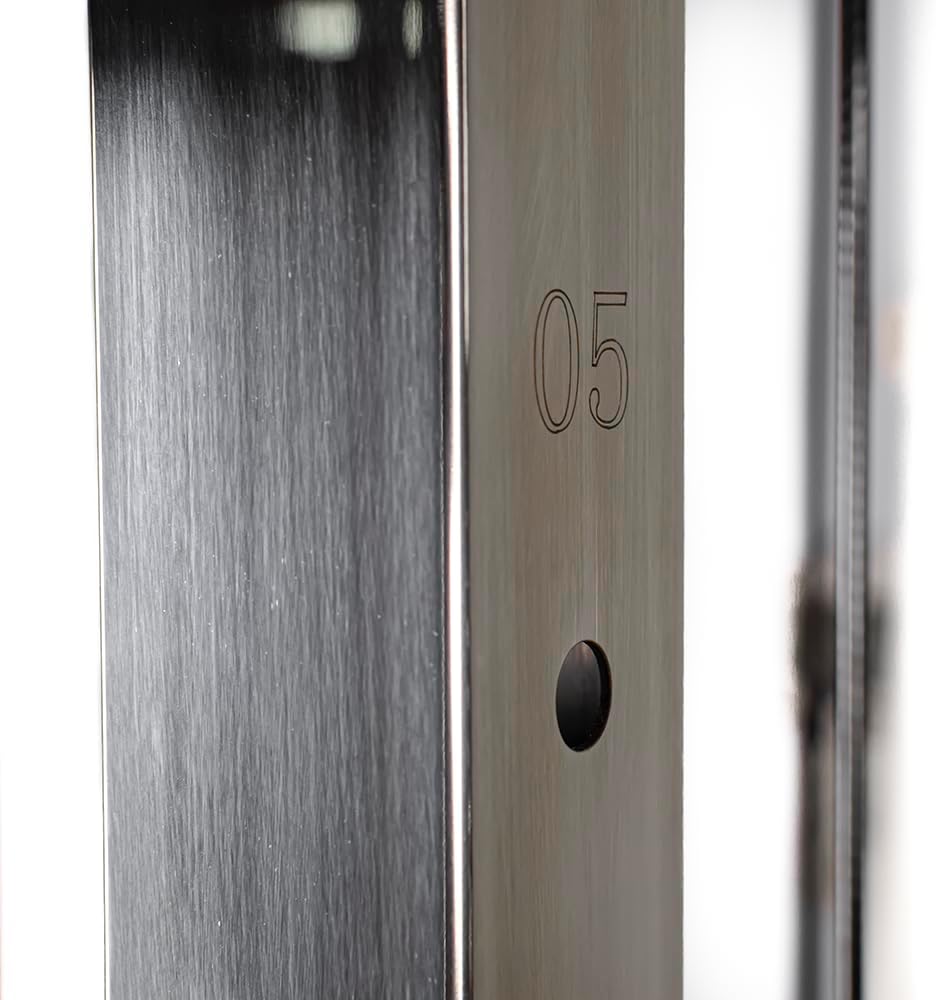
그림 4.1: 클로즈업 view of a metal frame component, possibly indicating a part number or an assembly sequence marker '05'. This detail is crucial for correct component identification during assembly.
- Secure Adjustment Mechanisms: Attach any adjustment pins or knobs that allow for height or resistance changes.
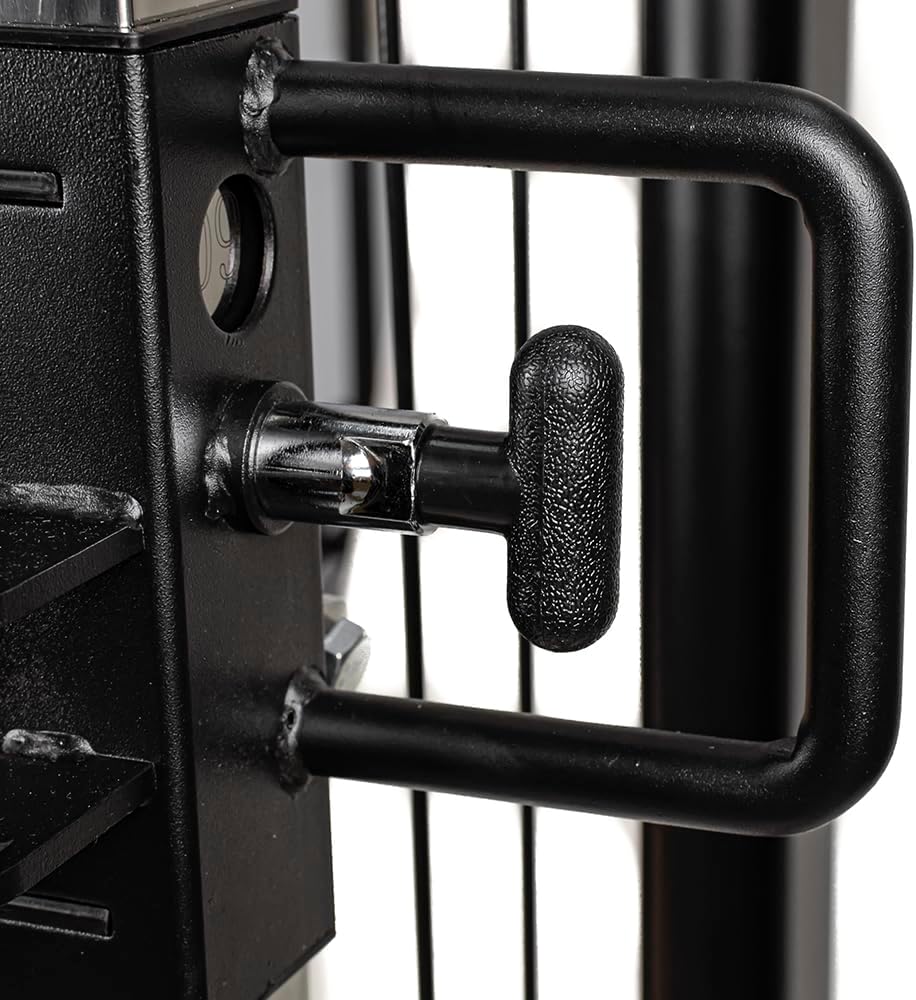
Figure 4.2: Detail of an adjustment knob mechanism. This component is used to secure or modify the position of various parts of the pulley system, ensuring stability and versatility during workouts.
- 모든 패스너를 조이세요: Once all components are in place, systematically tighten all bolts and nuts using appropriate tools. Do not overtighten.
- Perform a Functionality Check: Before first use, gently pull on the cables to ensure smooth operation of the pulleys and verify that all connections are secure.

그림 4.3: 자세한 view of a pulley wheel assembly, illustrating the correct routing of the cable. Proper cable alignment is essential for smooth operation and longevity of the system.
5. 사용 설명서
The SALTER SH-02/3 Adjustable Pulley Kit allows for a wide range of exercises by providing variable resistance and multiple attachment points. Always ensure proper form and controlled movements during your workout.
- Selecting Weight: Adjust the weight stack on your SH-02 Multifunction Machine to your desired resistance level.
- 액세서리 부착: Use the carabiner clips to attach various handles, ropes, or bars to the pulley cables.

Figure 5.1: A close-up of a D-handle attachment securely connected to the pulley cable via a carabiner. This demonstrates how various accessories can be quickly interchanged for different exercises.
- Adjusting Pulley Height: If your kit includes adjustable pulley positions, use the adjustment pin (refer to Figure 4.2) to set the pulley to the desired height for your exercise. Ensure the pin is fully engaged before starting.
- 운동 수행: Begin your exercise with controlled movements. Avoid sudden jerks or dropping weights. Maintain a steady pace and focus on muscle engagement.
6. 유지관리
Regular maintenance will ensure the longevity and safe operation of your SALTER SH-02/3 Adjustable Pulley Kit.
- 청소: 프레임과 구성 요소를 광고로 닦으세요.amp 사용 후에는 천으로 닦아 땀과 먼지를 제거하세요. 연마성 세제는 사용하지 마세요.
- 점검: Periodically inspect all cables, pulleys, and connection points for signs of wear, fraying, or damage. Pay close attention to the condition of the cables and the smooth rotation of the pulley wheels.
- 매끄럽게 하기: Apply a silicone-based lubricant to the guide rods of the weight stack and any moving parts as recommended by the SH-02 Multifunction Machine manual.
- 패스너 조이기: Routinely check and tighten all bolts and nuts to ensure they remain secure.
7. 문제 해결
If you encounter any issues with your SALTER SH-02/3 Adjustable Pulley Kit, refer to the following common troubleshooting steps:
- Cables not moving smoothly: Check for any kinks in the cables or obstructions in the pulley path. Ensure pulleys are clean and lubricated. Verify that the weight stack pin is fully inserted.
- 분리 가능한 구성 요소: Inspect all bolts and nuts and tighten them as necessary. Do not overtighten.
- 비정상적인 소음: This may indicate loose parts or a need for lubrication. Stop use immediately and inspect the equipment thoroughly.
If the problem persists after attempting these steps, please contact SALTER customer support.
8. 사양
- 모델:
- SH-02/3 Adjustable Pulley Kit
- 호환성:
- SALTER SH-02 Multifunction Machine
- 제조업체:
- 솔터
- 부서:
- 남녀공용 성인
- 원산지:
- 스페인
- ASIN:
- B0FDWVWVJF
- Product Availability (Amazon.es):
- 20년 2025월 XNUMX일
9. 보증 및 지원
SALTER products are manufactured to high-quality standards. This product is covered by a manufacturer's warranty against defects in materials and workmanship. Please refer to the warranty card included with your original SH-02 Multifunction Machine or contact SALTER customer service for specific warranty terms and conditions.
For technical assistance, spare parts, or any questions regarding your SALTER SH-02/3 Adjustable Pulley Kit, please contact SALTER customer support through their official web사이트 또는 구매 문서에 제공된 연락처 정보를 참조하세요.


