소개
The GAMDIAS Aura GC10m V2 WH is a micro-tower computer case designed for Micro-ATX and Mini-ITX motherboards. It features a dual-chamber design, panoramic tempered glass panels, and comes equipped with three Addressable RGB (ARGB) fans to enhance system aesthetics and cooling. This manual provides essential information for the proper installation, operation, and maintenance of your computer case.
이미지: 앞면 view of the GAMDIAS Aura GC10m V2 WH Micro-Tower Computer Case, showcasing its tempered glass panels and pre-installed ARGB fans.
설정 및 설치
설치를 시작하기 전에 필요한 모든 구성 요소와 도구가 있는지 확인하십시오. 자세한 설치 지침은 마더보드 및 구성 요소 설명서를 참조하십시오.
1. 사건 준비
Carefully remove the tempered glass side and front panels. These are typically secured with thumbscrews or a latch mechanism. Place them on a soft, flat surface to prevent scratches.

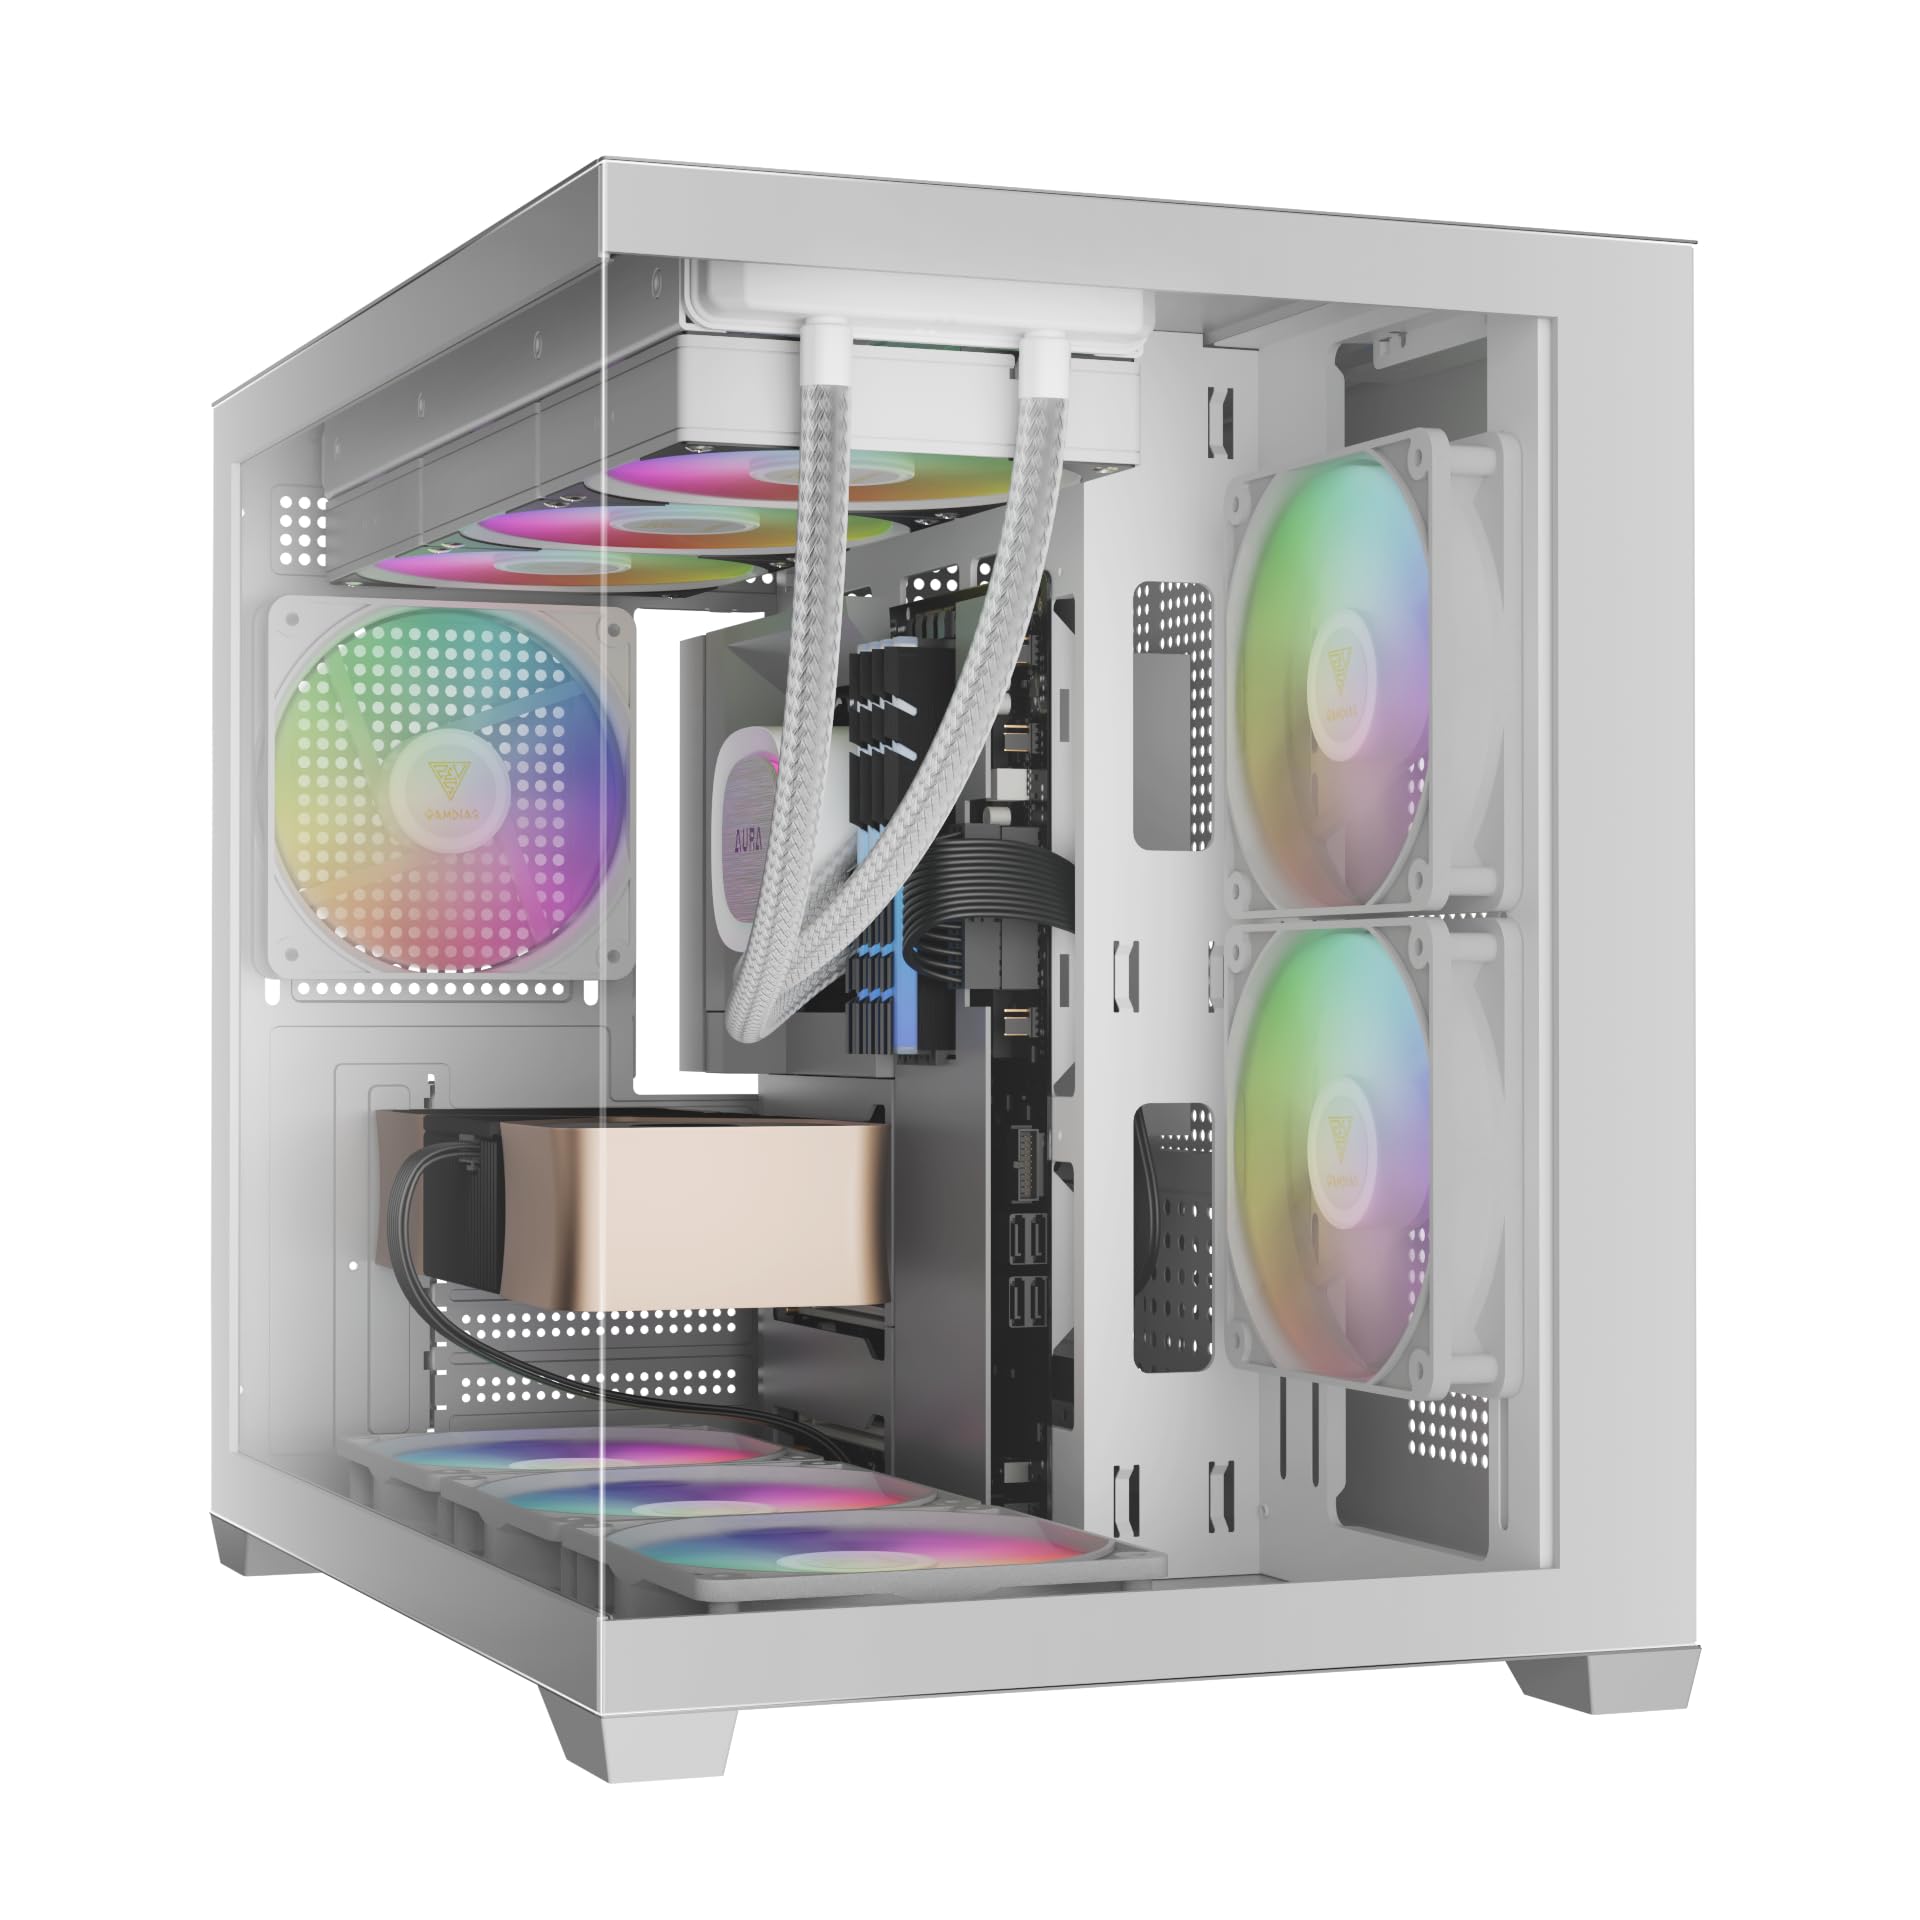
이미지: 각도 view of the case with the tempered glass side panel removed, showing the internal structure and fan mounts.
2. 마더보드 설치
- (메인보드에 미리 부착되어 있지 않은 경우) I/O 쉴드를 케이스 후면 개구부에 설치하십시오.
- Align your Micro-ATX or Mini-ITX motherboard with the standoffs inside the case.
- 제공된 나사를 사용하여 마더보드를 고정합니다.

이미지: 내부 view of the case, highlighting the motherboard tray area and fan mounting points.
3. 전원 공급 장치(PSU) 설치
- Install your PSU into its designated compartment, typically at the rear bottom of the case.
- 케이스 뒷면에서 나사로 PSU를 고정합니다.
- Ensure the PSU fan faces the correct direction for optimal airflow (usually downwards if there's a vent, or upwards if not).

Image: Rear internal view of the case, showing the PSU mounting area and cable routing options.
4. 드라이브 설치
- 3.5" / 2.5" Drive Bay (HDD Cage): Locate the HDD cage. Install one 3.5" HDD or one 2.5" SSD/HDD.
- 2.5인치 드라이브 베이: The case supports three additional 2.5" SSDs/HDDs. Mount these drives to the designated brackets or locations within the case.
5. 팬 및 라디에이터 설치
The case comes with three pre-installed ARGB fans (two side, one rear). Additional fans or radiators can be installed in the following locations:
- 맨 위: Supports 3 x 120mm or 2 x 140mm fans; 360mm or 280mm radiators.
- 옆: Supports 2 x 120mm or 2 x 140mm fans; 240mm radiators. (Pre-installed 2 x 120mm ARGB fans)
- 맨 아래: 120mm 팬 3개 또는 140mm 팬 2개를 지원합니다.
- 뒤쪽: Supports 1 x 120mm or 1 x 140mm fan; 120mm radiators. (Pre-installed 1 x 120mm ARGB fan)

이미지: 내부 view showing the pre-installed ARGB fans on the side and rear, illustrating fan placement.
6. Connecting Front I/O Ports and ARGB
Connect the following cables from the case to your motherboard:
- USB 2.0: Connect the USB 2.0 header cable.
- 타입 C : Connect the USB Type-C header cable (if your motherboard supports it).
- HD 오디오: Connect the HD Audio header cable.
- 전원/리셋/LED: Connect the front panel power, reset, HDD LED, and power LED cables according to your motherboard manual.
- ARGB 팬 여러분: Connect the ARGB fan cables to your motherboard's 5V ARGB header or to the integrated ARGB controller (if applicable). The case includes an LED Switch Button for controlling ARGB lighting if connected to the case's internal controller.

이미지: 상단 view of the case, showing the front I/O panel with USB ports and the LED switch button.
작업
전원 켜기
Once all components are installed and connected, close the side panels. Connect your monitor, keyboard, mouse, and power cable. Press the power button on the front panel of the case to start your system.
ARGB 조명 제어
기본 설치된 ARGB 팬은 두 가지 방식으로 제어할 수 있습니다.
- LED 스위치 버튼: If the ARGB fans are connected to the case's internal controller, press the dedicated LED Switch Button on the front I/O panel to cycle through various lighting effects and colors.
- 메인보드 소프트웨어: If the ARGB fans are connected directly to a compatible 5V ARGB header on your motherboard, you can control the lighting effects using your motherboard's proprietary RGB software (e.g., ASUS Aura Sync, MSI Mystic Light, Gigabyte RGB Fusion, ASRock Polychrome Sync).
유지
정기적인 유지관리는 컴퓨터 구성품의 최적의 성능과 수명을 보장하는 데 도움이 됩니다.
- 먼지 필터: The case features removable dust filters (e.g., on the top and bottom). Periodically remove and clean these filters with compressed air or water (ensure they are completely dry before reinstallation).
- 케이스 청소: 부드러운 d를 사용하세요amp cloth to clean the exterior surfaces of the case. For tempered glass panels, use a glass cleaner and a microfiber cloth. Avoid abrasive cleaners.
- 내부 먼지 제거: Every few months, open the case and use compressed air to remove dust from internal components, especially fan blades and heatsinks.
문제 해결
문제가 발생하면 다음과 같은 일반적인 해결책을 고려해 보세요.
- 시스템 전원이 켜지지 않음:
- PSU가 켜져 있고 벽면 콘센트에 제대로 연결되어 있는지 확인하세요.
- Verify all power cables (24-pin ATX, CPU, GPU, drives) are securely connected.
- Check that the front panel power button cable is correctly connected to the motherboard.
- ARGB Fans Not Lighting Up/Spinning:
- Confirm ARGB cables are securely connected to a 5V ARGB header on the motherboard or the case's controller.
- Ensure fan power cables are connected to appropriate fan headers on the motherboard or PSU.
- If using motherboard software, verify it is installed and configured correctly.
- 전면 I/O 포트가 작동하지 않습니다:
- Check that the USB and HD Audio cables from the front panel are correctly connected to their respective headers on the motherboard.
For persistent issues, consult your motherboard manual or contact GAMDIAS support.
명세서
| 모델 | AURA GC10 V2 WH |
| 케이스 유형 | Micro-Tower |
| 마더보드 지원 | Micro-ATX, Mini-ITX |
| 치수(길이x너비x높이) | 42 x 29 x 37cm |
| 무게 | 5kg |
| 드라이브 베이 | 1 x 3.5" or 1 x 2.5" (HDD Cage), 3 x 2.5" |
| I/O 포트 | 1 x Type-C, 1 x USB 2.0, 1 x HD Audio, 1 x LED Switch Button |
| 사전 설치된 팬 | 측면 120mm ARGB 2개, 후면 120mm ARGB 1개 |
| 팬 지원 |
|
| 라디에이터 지원 |
|
| CPU 쿨러 높이 제한 | 165mm |
| VGA 길이 제한 | 400mm |
| PSU 길이 제한 | 160mm |
보증 정보
For detailed warranty terms and conditions, please refer to the official GAMDIAS web사이트 또는 제품에 포함된 보증서를 확인하세요. 보증 청구를 위해 구매 증빙 자료를 보관하세요.
고객 지원
If you require further assistance or have questions regarding your GAMDIAS Aura GC10m V2 WH computer case, please contact GAMDIAS customer support.
- 제조업체: GAMDIAS TAIWAN
- 주소: No. 113, Jian 2nd Rd., Zhonghe, Dist., New Taipei City 235, Taiwan
- 수입자(인도): Allway Distributions Pvt Ltd, No-49, H.B. Samajha Road, Baswangudi , Bengaluru- 560004
- 수입자 연락처(인도): 8904307700
- 공식적인 Web대지: www.gamdias.com (공식을 확인하세요 website for the most up-to-date support contact information and resources.)


