1. 서론
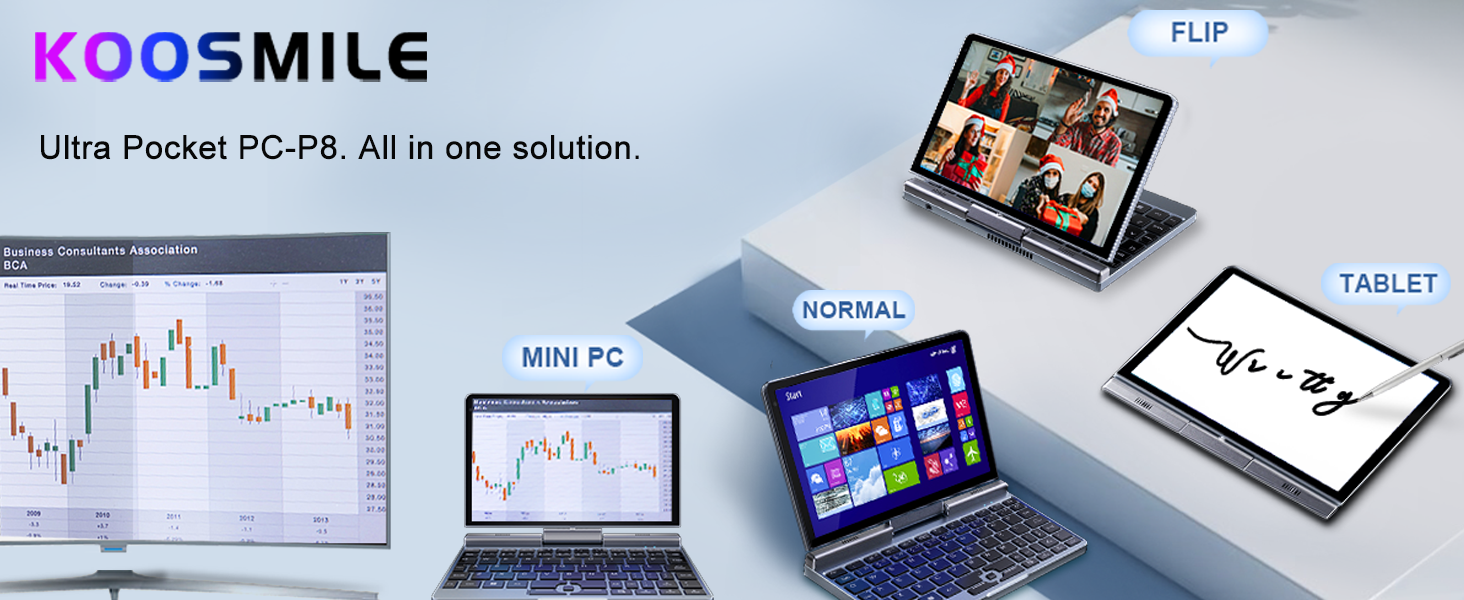
This manual provides essential information for setting up, operating, and maintaining your KOOSMILE Mini Laptop P8. The P8 is an 8-inch 2-in-1 convertible laptop featuring Windows 11 Pro, an Intel N150 processor, 12GB LPDDR5 RAM, and a 512GB SSD. Its compact design and versatile modes make it suitable for various tasks and environments.
2. 패키지 내용
다음 품목이 패키지에 포함되어 있는지 확인하세요.
- KOOSMILE Mini Laptop P8 x1
- PD Adapter x1
- Active Stylus x1
- HDMI 케이블 x1
- USB 허브 x1
- 사용 설명서 x1
3. 제품 오버view
Familiarize yourself with the physical components and ports of your KOOSMILE Mini Laptop P8.
3.1. 주요 특징
이미지: 이상view of the KOOSMILE P8 Mini Laptop highlighting its key features including Intel N150 CPU, 12GB LPDDR5 RAM, SSD storage, 0.78kg weight, 2MP camera, and 8-inch HD IPS screen.
3.2. 포트 및 버튼
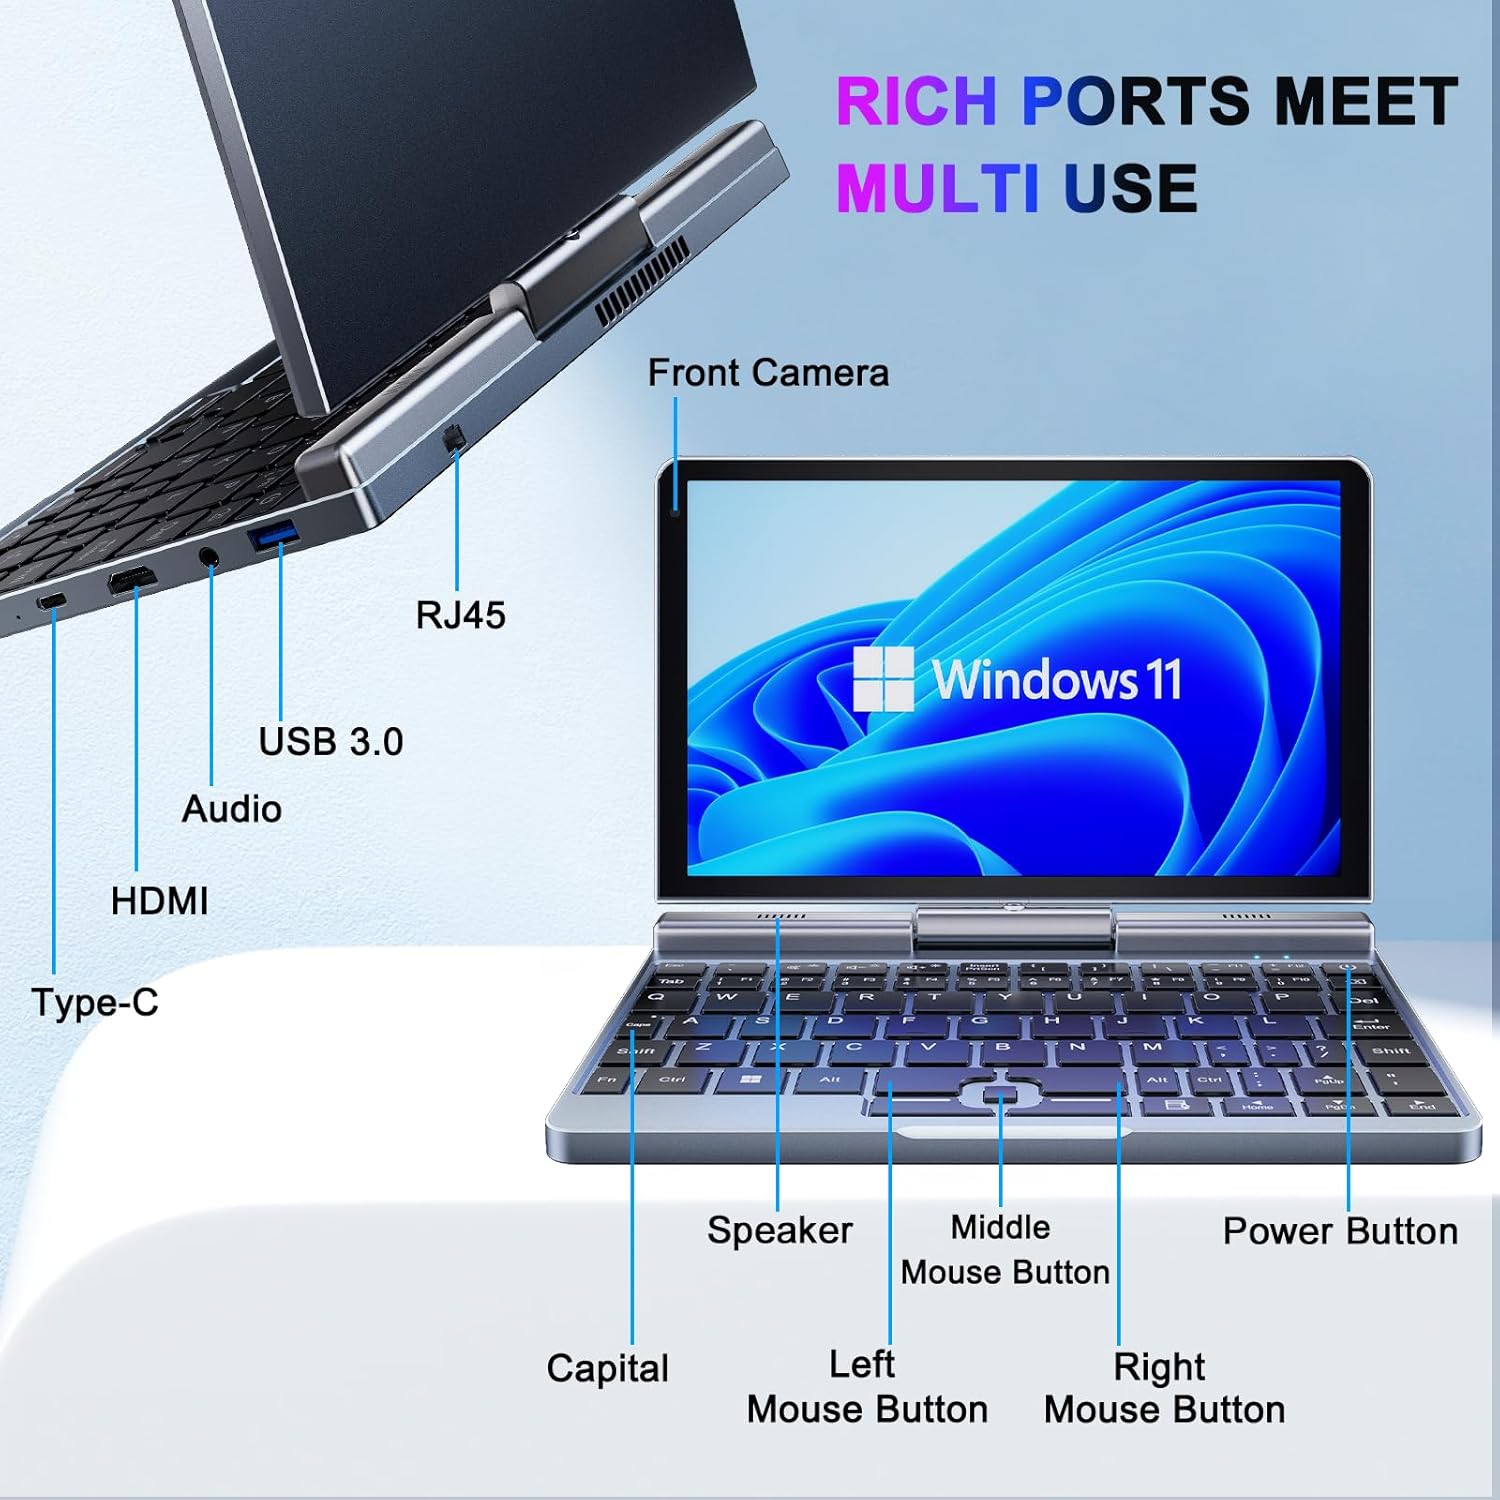
이미지: 상세 view of the KOOSMILE P8 Mini Laptop's side ports and keyboard layout, labeling the RJ45 Ethernet port, USB 3.0, Audio jack, HDMI, Type-C port, Front Camera, Speaker, Middle Mouse Button, Left Mouse Button, Right Mouse Button, Power Button, and Capital key.
- USB 3.0 포트 : USB 장치를 연결하는 데 사용됩니다.
- USB 타입-C 포트: For data transfer, charging, and DisplayPort (DP) video output.
- HDMI 포트 : 외부 디스플레이에 연결합니다.
- 오디오 잭 : 헤드폰이나 외부 스피커용.
- RJ45 이더넷 포트: 유선 네트워크 연결용.
- 전원 버튼: 기기를 켜거나 끄거나 절전 모드로 전환합니다.
- 전면 카메라: 2MP camera for video calls and conferencing.
4. 설정
Follow these steps for initial setup of your KOOSMILE Mini Laptop P8.
- 기기 충전: Connect the PD Adapter to the USB Type-C port on the laptop and plug it into a power outlet. Allow the device to charge fully before first use.
- 전원 켜기: 화면이 켜질 때까지 전원 버튼을 길게 누르세요.
- Windows 11 Pro 설치: 화면의 지시에 따라 언어 선택, 네트워크 연결, 사용자 계정 생성 등 Windows 11 Pro 초기 설정을 완료합니다.
- 주변기기 연결: If desired, connect the included USB Hub, external mouse, or other peripherals to the available USB ports.
5. 사용 설명서
This section covers basic operation and usage modes of your device.
5.1. 전원 켜기/끄기 및 절전 모드
- 전원 켜기: 전원 버튼을 누르세요.
- 수면 모드 : Briefly press the Power Button while the device is on. Press again to wake.
- 종료: From the Windows desktop, click the Start button, then Power, and select 'Shut down'.
- 다시 시작: From the Windows desktop, click the Start button, then Power, and select 'Restart'.
5.2. 2-in-1 전환 모드
The KOOSMILE P8 features a 180° rotating screen, allowing it to transform into multiple modes:
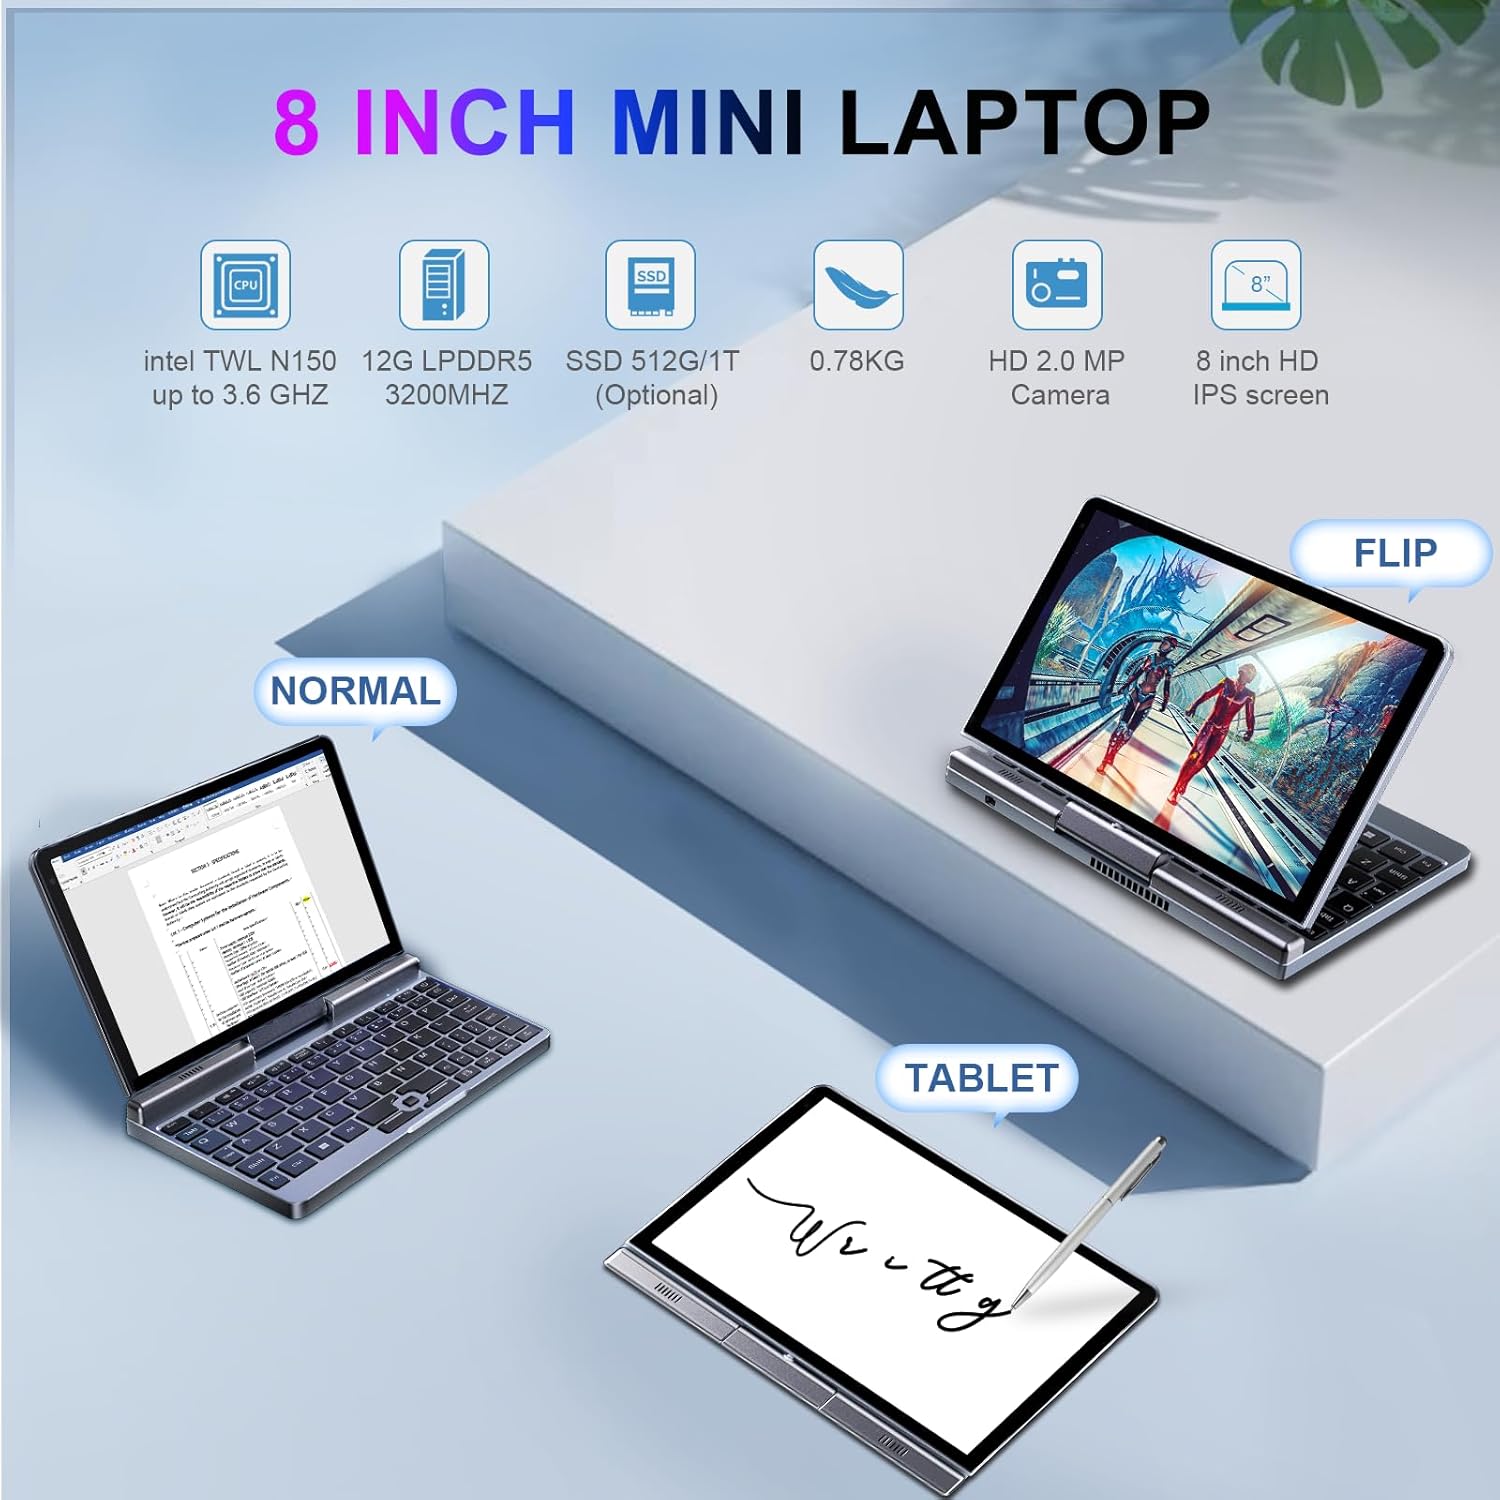
Image: The KOOSMILE P8 Mini Laptop shown in three different modes: Normal (laptop), Flip (tent/stand), and Tablet mode, demonstrating its 180-degree screen rotation capability.
- 노트북 모드: Standard configuration for typing and traditional computing.
- 태블릿 모드: Rotate the screen 180° and fold it back against the keyboard for a full touchscreen experience. Windows will automatically switch to tablet interface.
- 텐트/스탠드 모드: Position the device in an inverted 'V' shape or with the keyboard facing down for media consumption or presentations.
5.3. Touchscreen and Stylus Use
The 8-inch HD touch screen supports multi-touch gestures and input from the included active stylus.
- 터치 제스처: Use standard Windows touch gestures for navigation, zooming, and scrolling.
- 액티브 스타일러스: The stylus allows for precise input, drawing, and note-taking. Ensure the stylus is charged if it requires power.
5.4. 외부 디스플레이 연결
Connect your laptop to an external monitor or TV using the HDMI or USB Type-C (DisplayPort Alt Mode) ports.

Image: The KOOSMILE P8 Mini Laptop connected to an external monitor via HDMI, illustrating its Type-C DisplayPort (DP) out and HDMI DisplayPort (DP) out capabilities for extended display.
- HDMI : Use the included HDMI cable to connect to an HDMI-compatible display.
- USB 타입-C: If your external display supports DisplayPort over USB-C, you can use a compatible USB-C to DisplayPort cable.
- 화면 설정: After connecting, press 윈도우 키 + P to select your preferred display mode (Duplicate, Extend, Second screen only).
6. 연결성
The KOOSMILE P8 offers various connectivity options.
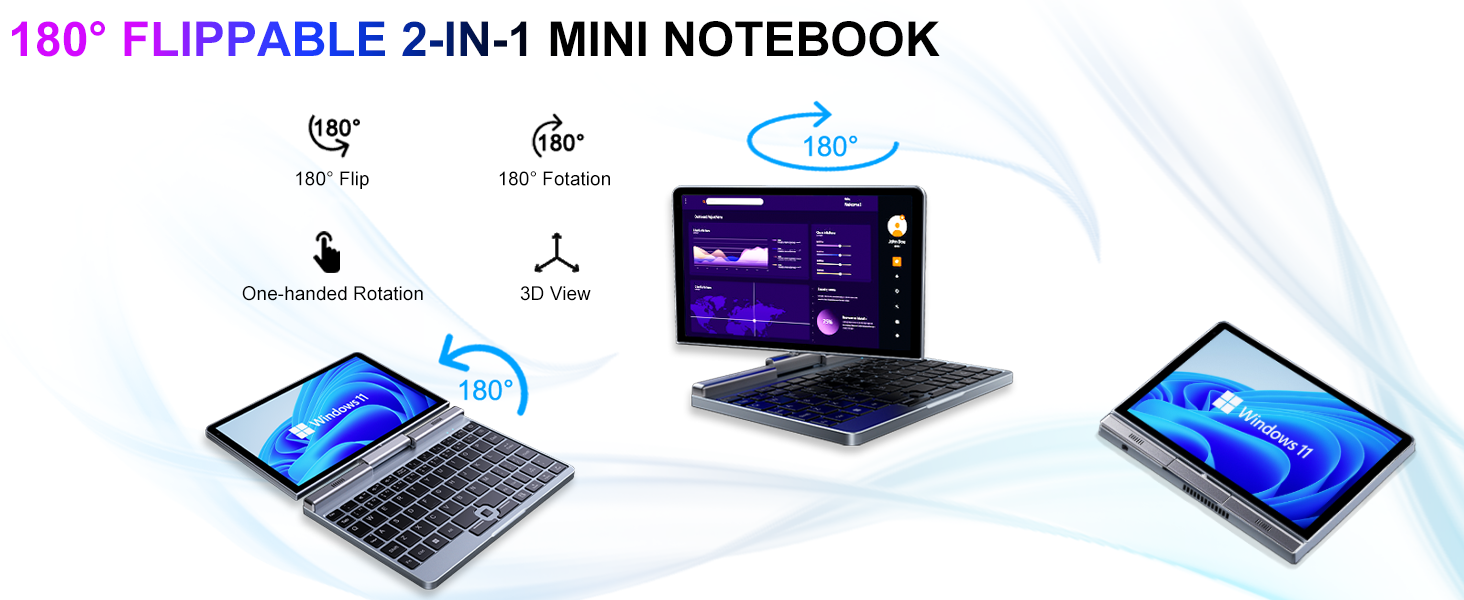
Image: Graphic illustrating the high-speed connectivity of the KOOSMILE P8 Mini Laptop, featuring Wi-Fi 6 and Bluetooth 5.2, with comparison bars showing improved speed, capacity, and reduced delay compared to Wi-Fi 5.
6.1. Wi-Fi 연결
- 작업 표시줄에서 Wi-Fi 아이콘을 클릭합니다.
- 원하는 네트워크를 선택하고 메시지가 표시되면 비밀번호를 입력하세요.
- The device supports Wi-Fi 6 for faster and more stable wireless connections.
6.2. 블루투스 페어링
- 이동하다 Settings > Bluetooth & devices > Bluetooth.
- Turn on Bluetooth and select 'Add device'.
- Choose the device you wish to pair and follow the on-screen instructions.
- The device supports Bluetooth 5.2 for efficient wireless accessory connections.
6.3. Wired Ethernet
- Connect an Ethernet cable to the RJ45 port on the laptop for a stable wired network connection.
7. 유지관리
Proper care ensures the longevity and performance of your device.
- 청소: 부드럽고 보풀이 없는 천을 사용하여 화면과 케이스를 닦으세요. 잘 지워지지 않는 얼룩은 damp천에 물이나 화면에 안전한 세척제를 살짝 묻혀 닦아주세요. 강한 화학 물질은 피하세요.
- 통풍: 과열을 방지하려면 통풍구가 막히지 않도록 주의하세요.
- 배터리 관리 : For optimal battery life, avoid fully discharging the battery frequently. Store the device in a cool, dry place if not used for extended periods.
- 소프트웨어 업데이트: 시스템 안정성과 보안을 보장하려면 Windows와 드라이버를 정기적으로 업데이트하세요.
8. 문제 해결
이 섹션에서는 일반적으로 발생할 수 있는 문제에 대해 설명합니다.
8.1. Screen Orientation Issues
- 자동 회전: When switching between laptop and tablet modes, the screen should automatically adjust its orientation.
- 수동 회전: If the screen does not rotate automatically or is stuck in an incorrect orientation, press Windows Key + A to open the Quick Settings panel. Look for the 'Rotation lock' tile and ensure it is off. You can also go to 설정 > 시스템 > 디스플레이 and manually change the 'Display orientation'.
8.2. 장치 전원이 켜지지 않음
- 전원 확인: Ensure the PD adapter is securely connected to the laptop and a working power outlet.
- 배터리 수준: 배터리가 완전히 방전된 경우, 기기가 켜지기까지 몇 분 정도 충전 시간이 필요할 수 있습니다.
- 하드 리셋: Disconnect the charger, then press and hold the Power Button for 15-20 seconds. Reconnect the charger and attempt to power on again.
8.3. Wi-Fi 연결 문제
- 와이파이 켜기/끄기: Turn Wi-Fi off and on again from the Quick Settings or Windows Settings.
- 라우터 다시 시작: Wi-Fi 라우터와 모뎀을 다시 시작하세요.
- 네트워크 잊어버리기: In Windows Settings, forget the problematic Wi-Fi network and reconnect.
9. 사양
Detailed technical specifications for the KOOSMILE Mini Laptop P8.
| 특징 | 사양 |
|---|---|
| 프로세서 | 인텔 N150 (4코어/4스레드, 최대 3.6GHz) |
| 숫양 | 12GB LPDDR5 3200MHz |
| 저장 | 512GB SSD (Expandable up to 2TB) |
| 표시하다 | 8-inch HD Touch Screen, 1280x800 pixels |
| 운영 체제 | 윈도우 11 프로 |
| 제도법 | Intel UHD 그래픽(통합) |
| 무선 연결 | 와이파이 6, 블루투스 5.2 |
| 포트 | 1x USB 3.0, 1x USB Type-C (DP Out), 1x HDMI (DP Out), 1x Headphone Jack, 1x RJ45 Ethernet |
| 카메라 | 2MP 전면 카메라 |
| 무게 | 0.78kg(1.72파운드) |
| 치수(길이x너비x높이) | 7.87 x 5.51 x 0.79 인치 |
| 배터리 | 36.5 WH, PD 30W Charging |
9.1. 성능 이상view
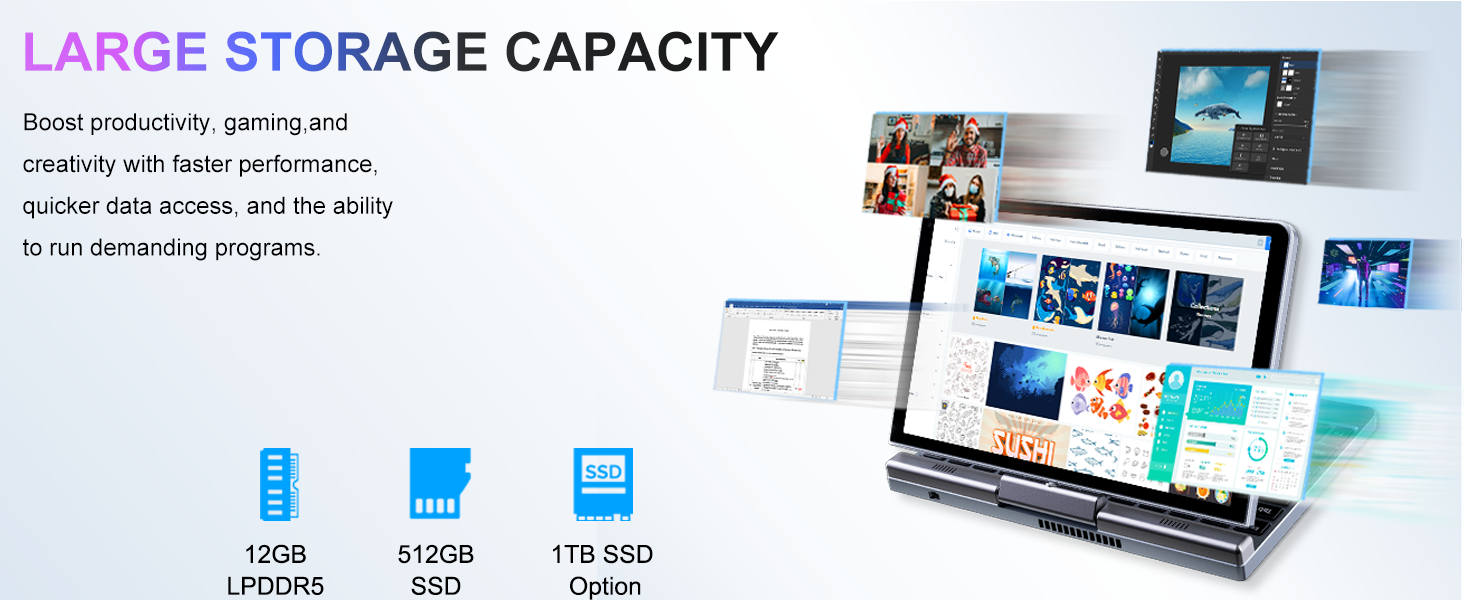
Image: Graphic detailing the performance aspects of the KOOSMILE P8 Mini Laptop, highlighting the Intel TwinLake N150 processor (4 cores, 4 threads, 3.6GHz turbo frequency, 10nm process) and Intel UHD Graphics for smooth content streaming and immersive experiences.
9.2. 저장 용량
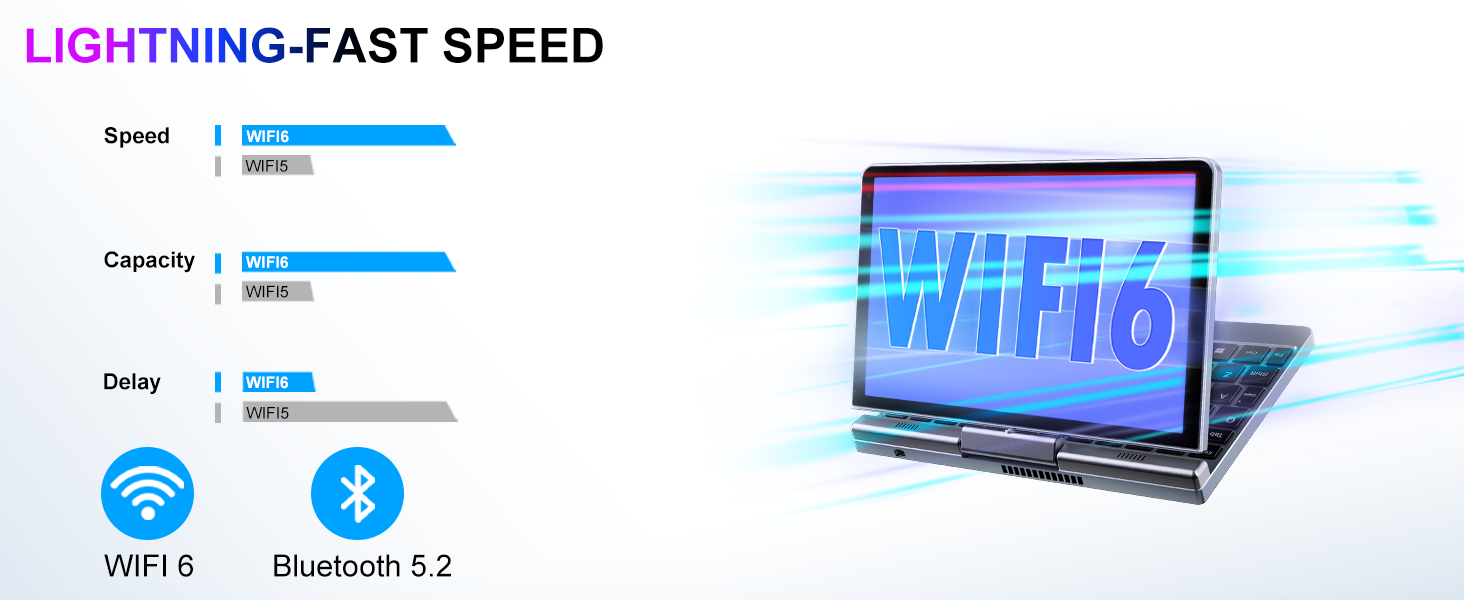
Image: Graphic illustrating the large storage capacity of the KOOSMILE P8 Mini Laptop, featuring 12GB LPDDR5 RAM, 512GB SSD, and an option for 1TB SSD, designed to boost productivity and handle demanding programs.
9.3. Compact Size and Weight

Image: Graphic demonstrating the ultra-compact size and light weight of the KOOSMILE P8 Mini Laptop, showing its 8.0-inch portable screen, 0.78-inch thin profile, and 0.78kg weight, compared to a smartphone for scale.
9.4. 배터리 정보
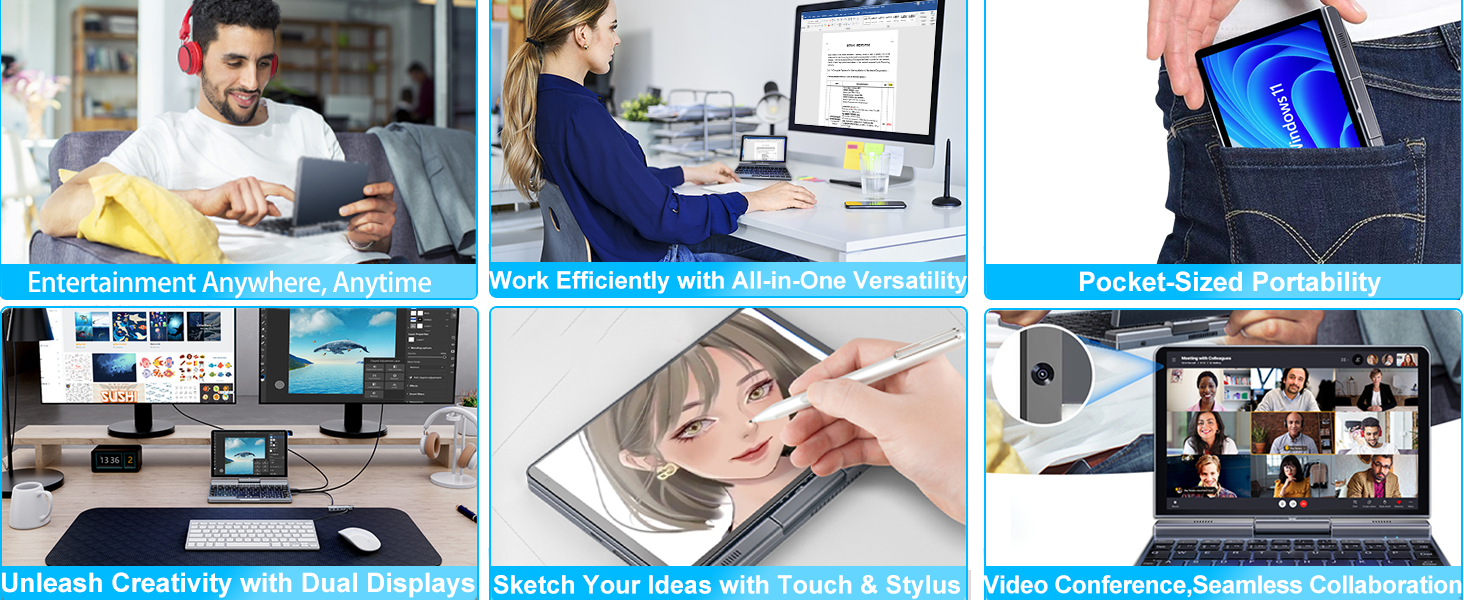
Image: Graphic highlighting the battery features of the KOOSMILE P8 Mini Laptop, indicating 36.5 WH battery capacity and PD 30W charging support to alleviate battery anxiety.
10. 보증 및 지원
Your KOOSMILE Mini Laptop P8 comes with a 1-year warranty. For technical assistance, troubleshooting, or warranty claims, please contact our customer support team. We provide 24-hour customer support to ensure a worry-free experience.
Please refer to the warranty card included in your package for detailed terms and conditions.


