1. 서론
The AstroAI P8 4000A Jump Starter is a versatile and powerful device designed to provide reliable jump-starting for vehicles, act as a portable power bank, and offer emergency lighting. This manual provides essential information for safe and effective use of your device.
2. 안전 정보
경고: 본 제품을 사용하기 전에 모든 안전 경고 및 지침을 읽으십시오. 경고 및 지침을 따르지 않을 경우 감전, 화재 및/또는 심각한 부상이 발생할 수 있습니다.
- This car starter includes 10 built-in comprehensive protections for enhanced safety. These safety features include reverse polarity, overcurrent, overcharge, overdischarge, high & low temperature protection, reverse connection, over voltage, overload, short circuit, and spark-proof clamps.
- Do not attempt to jump start any engine that exceeds the maximum displacement supported by the jump starter (10L Gas or 8L Diesel).
- Do not crank the engine for more than 3 seconds at a time. Allow the jump starter to cool down for at least 1 minute between each start attempt.
- Ensure the device has at least 50% charge before use.
- 어린이의 손이 닿지 않는 곳에 보관하세요.
- 제품을 비나 습한 환경에 노출시키지 마십시오.
- 제품을 분해하지 마십시오.

Image: AstroAI P8 Jump Starter highlighting its 10 safety protections including reverse polarity, overcurrent, overcharge, overdischarge, high & low temperature protection, reverse connection, over voltage, overload, short circuit, and spark-proof clamps.
3. 패키지 내용
- AstroAI P8 Jump Starter Unit
- 스마트 점퍼 케이블
- USB-C 충전 케이블
- 사용자 설명서
- 보관 가방

Image: The AstroAI P8 Jump Starter, smart jumper cables, USB-C charging cable, user manual, and a storage bag, laid out on a dark background.
4. 제품 특징
- 강력한 점프 스타트: 4000A peak current for 10L gas and 8L diesel engines. Compatible with motorbikes, cars, SUVs, lawnmowers, tractors, and motorboats.
- 다기능 보조 배터리: USB-A output Port works with 5V⎓3A, 9V⎓2A, 12V⎓1.5A (QC 3.0). Serves as a reliable backup power source for electronic devices.
- 소형 및 휴대성: Size 7.20in*3.45in*1.53in (183mm*88mm*39mm) for easy carrying and storage in glove boxes and door pockets.
- Multi-Mode LED Flashlight: Provides 3 modes: illumination, SOS, and strobe for convenient lighting in various scenarios.
- 포괄적인 안전: 10 built-in protections for enhanced safety, including reverse polarity, overcurrent, overcharge, overdischarge, high & low temperature protection, reverse connection, over voltage, overload, short circuit, and spark-proof clamps.

Image: The AstroAI P8 Jump Starter demonstrating its three main functions: jump starter, power bank, and LED flashlight.
5. 제품 오버view (구성요소)
The AstroAI P8 features a robust design with clearly marked ports and indicators for ease of use.
- 전원 버튼: Activates the device and checks battery level.
- 배터리 잔량 표시기: Displays the remaining charge.
- 점퍼 케이블 포트: 스마트 점퍼 케이블을 연결하는 데 사용합니다.
- USB-A Output Ports (QC 3.0): 외부 장치를 충전하는 데 사용됩니다.
- USB-C 입력/출력 포트: 점프 스타터 및 외부 장치 충전용.
- LED 손전등: Multi-mode light for illumination, SOS, and strobe.
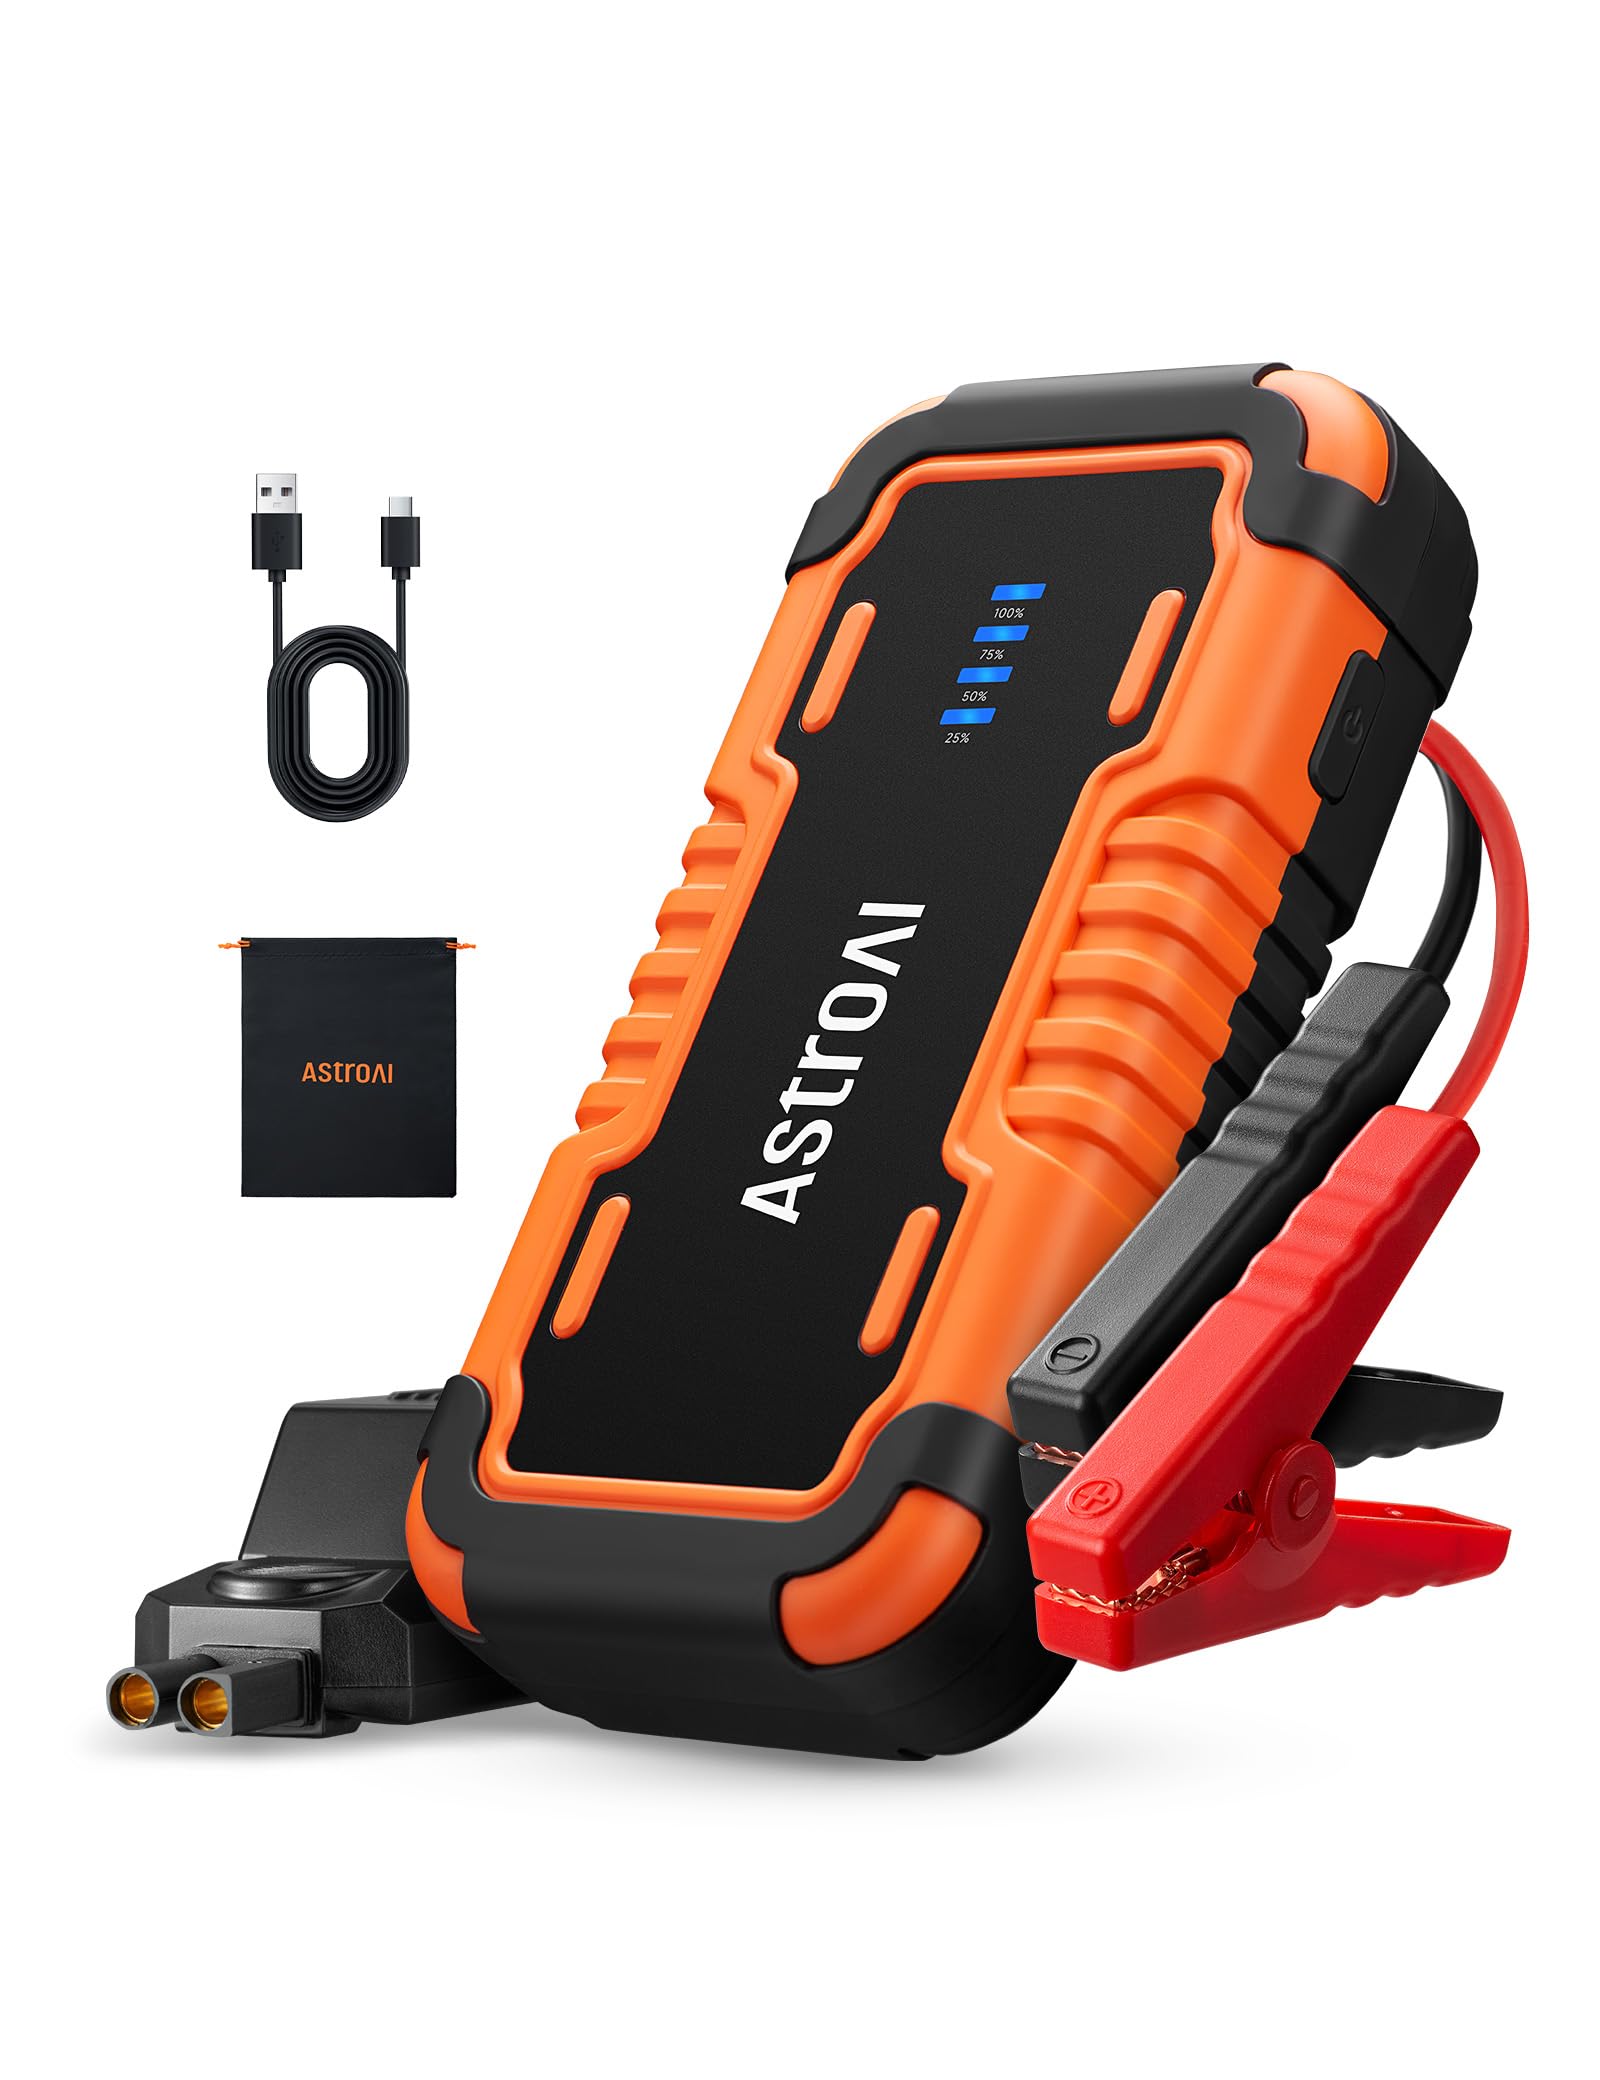
Image: The AstroAI P8 Jump Starter with its smart jumper cables connected, ready for use.
6. 점프 스타터 충전
Before first use, fully charge the AstroAI P8. It is recommended to recharge the unit after each use to maintain battery health.
- Connect the provided USB-C charging cable to the USB-C input/output port on the jump starter.
- Plug the other end of the USB-C cable into a compatible USB wall adapter (not included) or car charger.
- The battery level indicator lights will illuminate and flash, indicating the charging progress. All lights will be solid when fully charged.

Image: The AstroAI P8 Jump Starter connected via USB-C to charge a smartphone and a tablet, demonstrating its power bank functionality.
7. 사용 설명서
7.1. 차량 점프 스타트
- Ensure the jump starter is sufficiently charged (at least 50%).
- Connect the smart jumper cables to the jump starter's port. Ensure a secure connection.
- 빨간색 CL을 붙입니다.amp 차량 배터리의 양극(+) 단자에 연결합니다.
- 검은색 CL을 부착합니다.amp 차량 배터리의 음극(-) 단자에 연결합니다.
- Check the indicator light on the smart jumper cable. A solid green light indicates a correct connection and readiness to jump start. If it's flashing or red, check connections or refer to troubleshooting.
- Start the vehicle's engine. If it doesn't start immediately, wait at least 1 minute before trying again. Do not crank for more than 3 seconds per attempt.
- 차량 시동이 걸리면 즉시 검은색 클립을 제거하십시오.amp 음극 단자에서 나온 다음 빨간색 CL을 연결합니다.amp 양극 단자로부터.
- 스마트 점퍼 케이블을 점프 스타터에서 분리하십시오.

Image: A person connecting the AstroAI P8 Jump Starter to a car battery, illustrating the process of jump starting a vehicle.
7.2. 보조배터리로 사용하기
The AstroAI P8 can charge various electronic devices.
- Connect your device's USB charging cable to one of the USB-A output ports or the USB-C port on the jump starter.
- 점프 스타터가 자동으로 기기 충전을 시작합니다.
7.3. LED 손전등 사용하기
The built-in LED flashlight offers multiple modes for different situations.
- Press and hold the power button for 3 seconds to turn on the flashlight (illumination mode).
- Press the power button once to switch to SOS mode.
- 전원 버튼을 다시 누르면 스트로보 모드로 전환됩니다.
- Press the power button once more to turn off the flashlight.

Image: A person using the AstroAI P8 Jump Starter's multi-mode LED flashlight under the hood of a car at night.
8. 유지관리
- 점프 스타터는 직사광선과 극한 온도 변화를 피해 서늘하고 건조한 곳에 보관하십시오.
- 배터리 수명 유지를 위해 사용하지 않더라도 3~6개월에 한 번씩 충전하십시오.
- 부드러운 천으로 외부를 청소하고 damp 옷감. 강한 화학 물질이나 연마성 세제를 사용하지 마십시오.
- 케이블과 cl을 검사하세요amp매 사용 전에 손상 여부를 확인하십시오.
9. 문제 해결
| 문제 | 가능한 원인 | 해결책 |
|---|---|---|
| 차량이 시동되지 않습니다. | Low charge on jump starter, incorrect connection, or vehicle battery completely dead. | Ensure jump starter is at least 50% charged. Recheck clamp connections. If battery is extremely dead, allow jump starter to connect for a few minutes before attempting to start. |
| Smart jumper cable indicator is red or flashing. | Reverse polarity, short circuit, or other safety protection activated. | cl 연결 해제amps and re-attach them correctly (red to positive, black to negative). If issue persists, check for short circuits or other battery issues. |
| 점프 스타터가 충전되지 않습니다. | 충전 케이블이나 어댑터에 결함이 있습니다. | 다른 USB-C 케이블과 벽면 어댑터를 사용해 보세요. 연결이 제대로 되었는지 확인하십시오. |
10. 사양
- 모델: P8
- 피크 전류 : 4000 Amps
- 엔진 호환성: 최대 10L 가솔린 또는 8L 디젤
- 권tage: 12 볼트
- 배터리 유형: 리튬폴리머(포함)
- USB-A 출력(QC 3.0): 5V⎓3A, 9V⎓2A, 12V⎓1.5A
- USB-C 입력/출력: 5V⎓3A, 9V⎓2A
- 치수: 183mm x 88mm x 39mm(7.20인치 x 3.45인치 x 1.53인치)
- 품목 무게: 710g
- 원산지: 중국
11. 보증 및 지원
AstroAI products come with a manufacturer's warranty. For detailed warranty information, product support, or to register your product, please visit the official AstroAI web사이트를 방문하거나 고객 서비스에 직접 문의하세요. 보증 청구를 위해 구매 영수증을 보관하세요.
제조업체: 천문관
연락하다: 지원@astroai.com


