1. 서론
This manual provides essential instructions for the safe and effective operation of your OWON SDS220S Digital Oscilloscope. The SDS220S is a dual-channel digital oscilloscope featuring a 200MHz bandwidth, 1 GS/s real-time sampling rate, and an integrated 25MHz arbitrary waveform generator. It includes advanced functions such as FFT spectrum analysis, 30 automatic waveform measurements, and a 6-digit high-precision frequency counter. The device supports PC communication via USB, SCPI commands, and LabVIEW for remote control and secondary development.
2. 제품 오버view 및 구성 요소
Familiarize yourself with the main components and interfaces of the SDS220S oscilloscope.

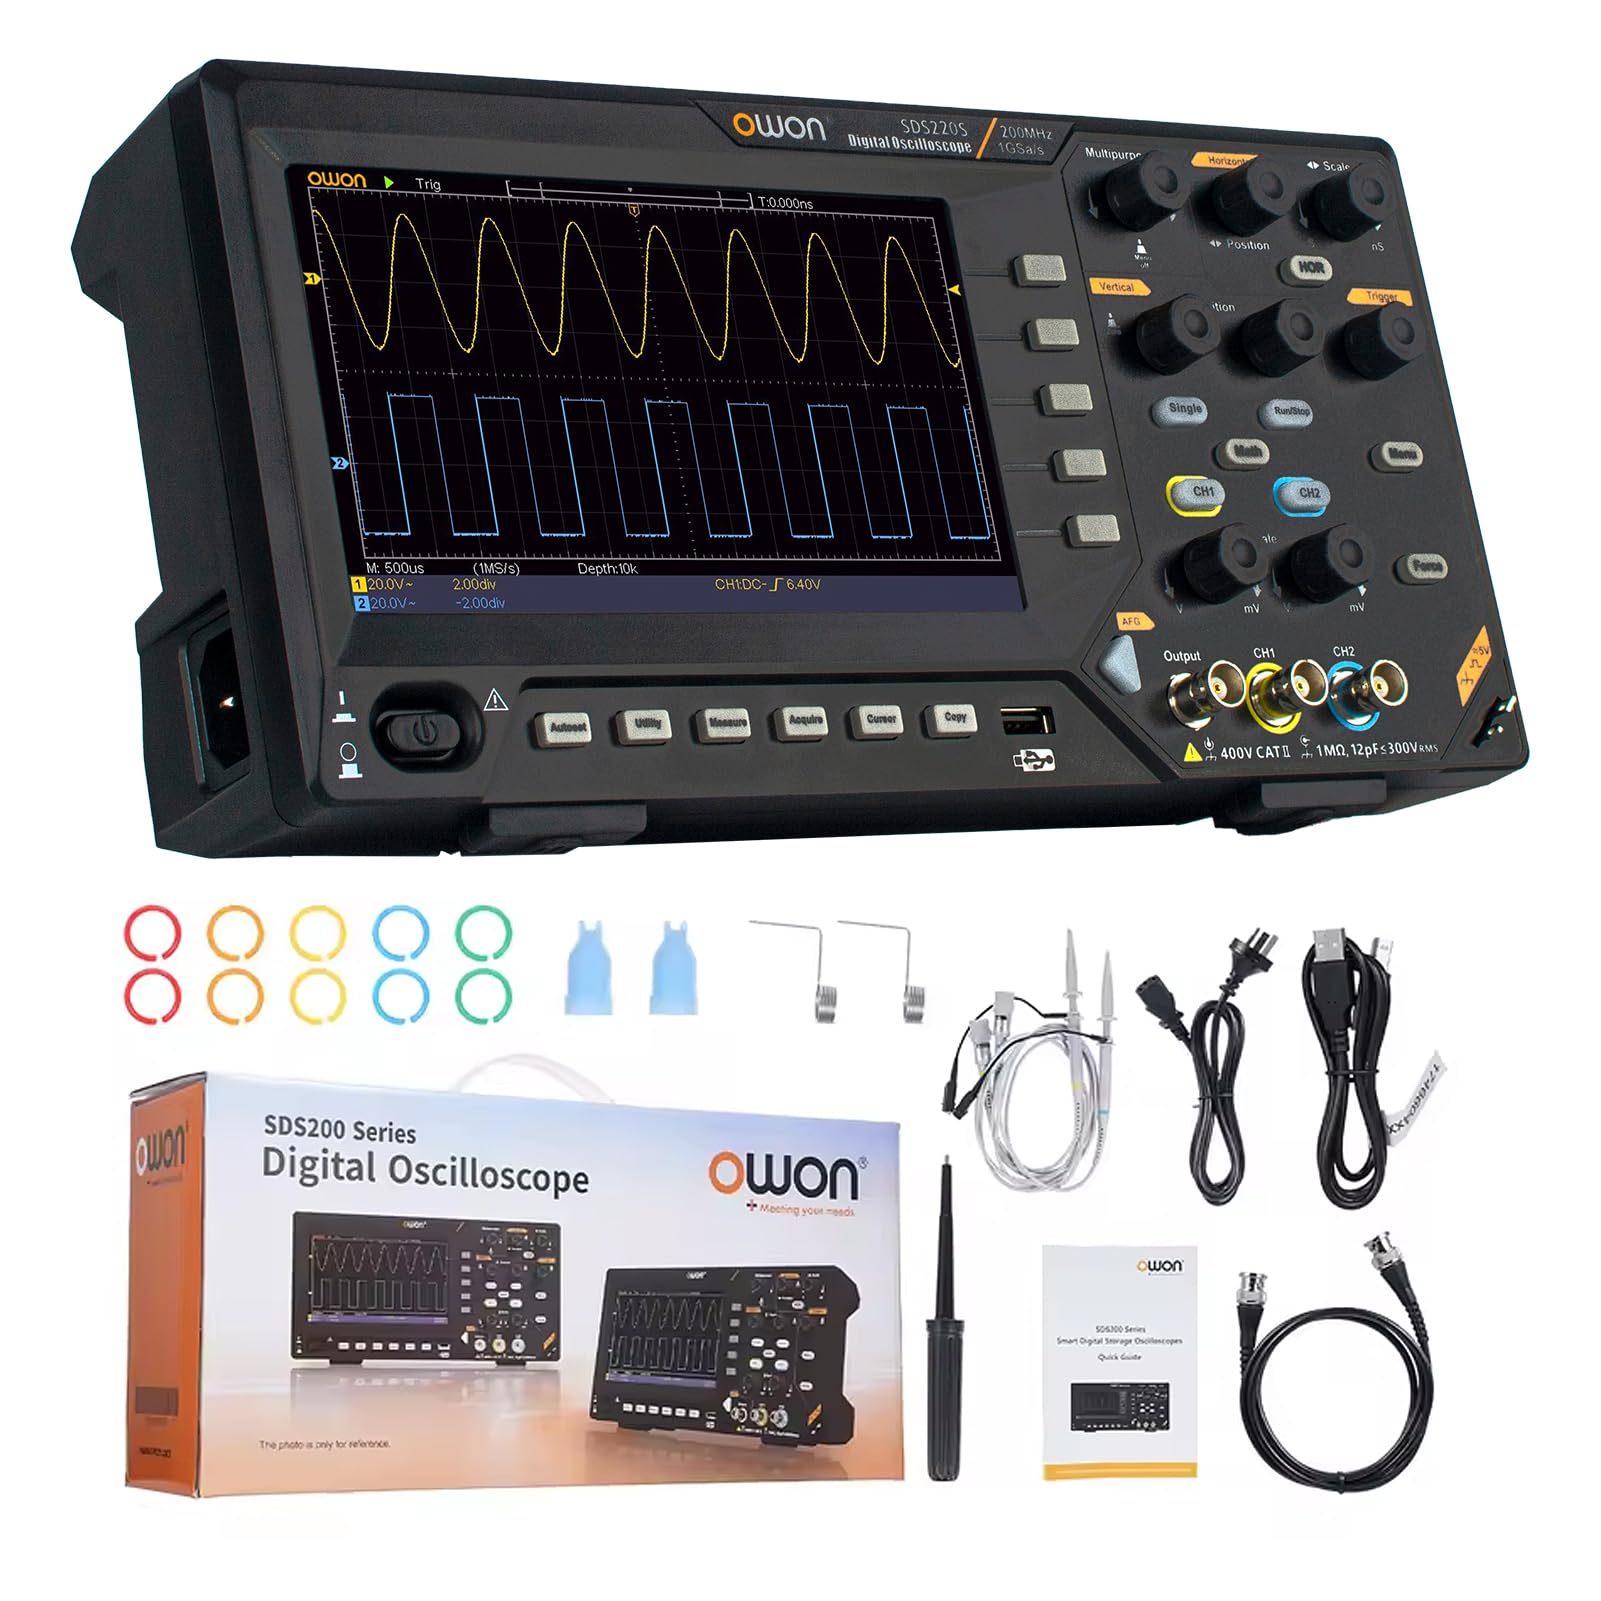
This image displays the front panel of the OWON SDS220S Digital Oscilloscope, highlighting the button and knob control area, oscilloscope signal input ports, signal generator output port, probe compensation, USB host interface, power switch, and function keys. The rear view shows the power socket, USB device interface, ventilation holes, and foldable handle.
포함된 구성 요소:
The standard package for the OWON SDS220S includes the following items:
- OWON SDS220S Digital Oscilloscope Unit
- 전원 코드
- 빠른 설명
- USB 케이블(PC 연결용)
- 오실로스코프 프로브(수량은 다를 수 있음)
- BNC 케이블
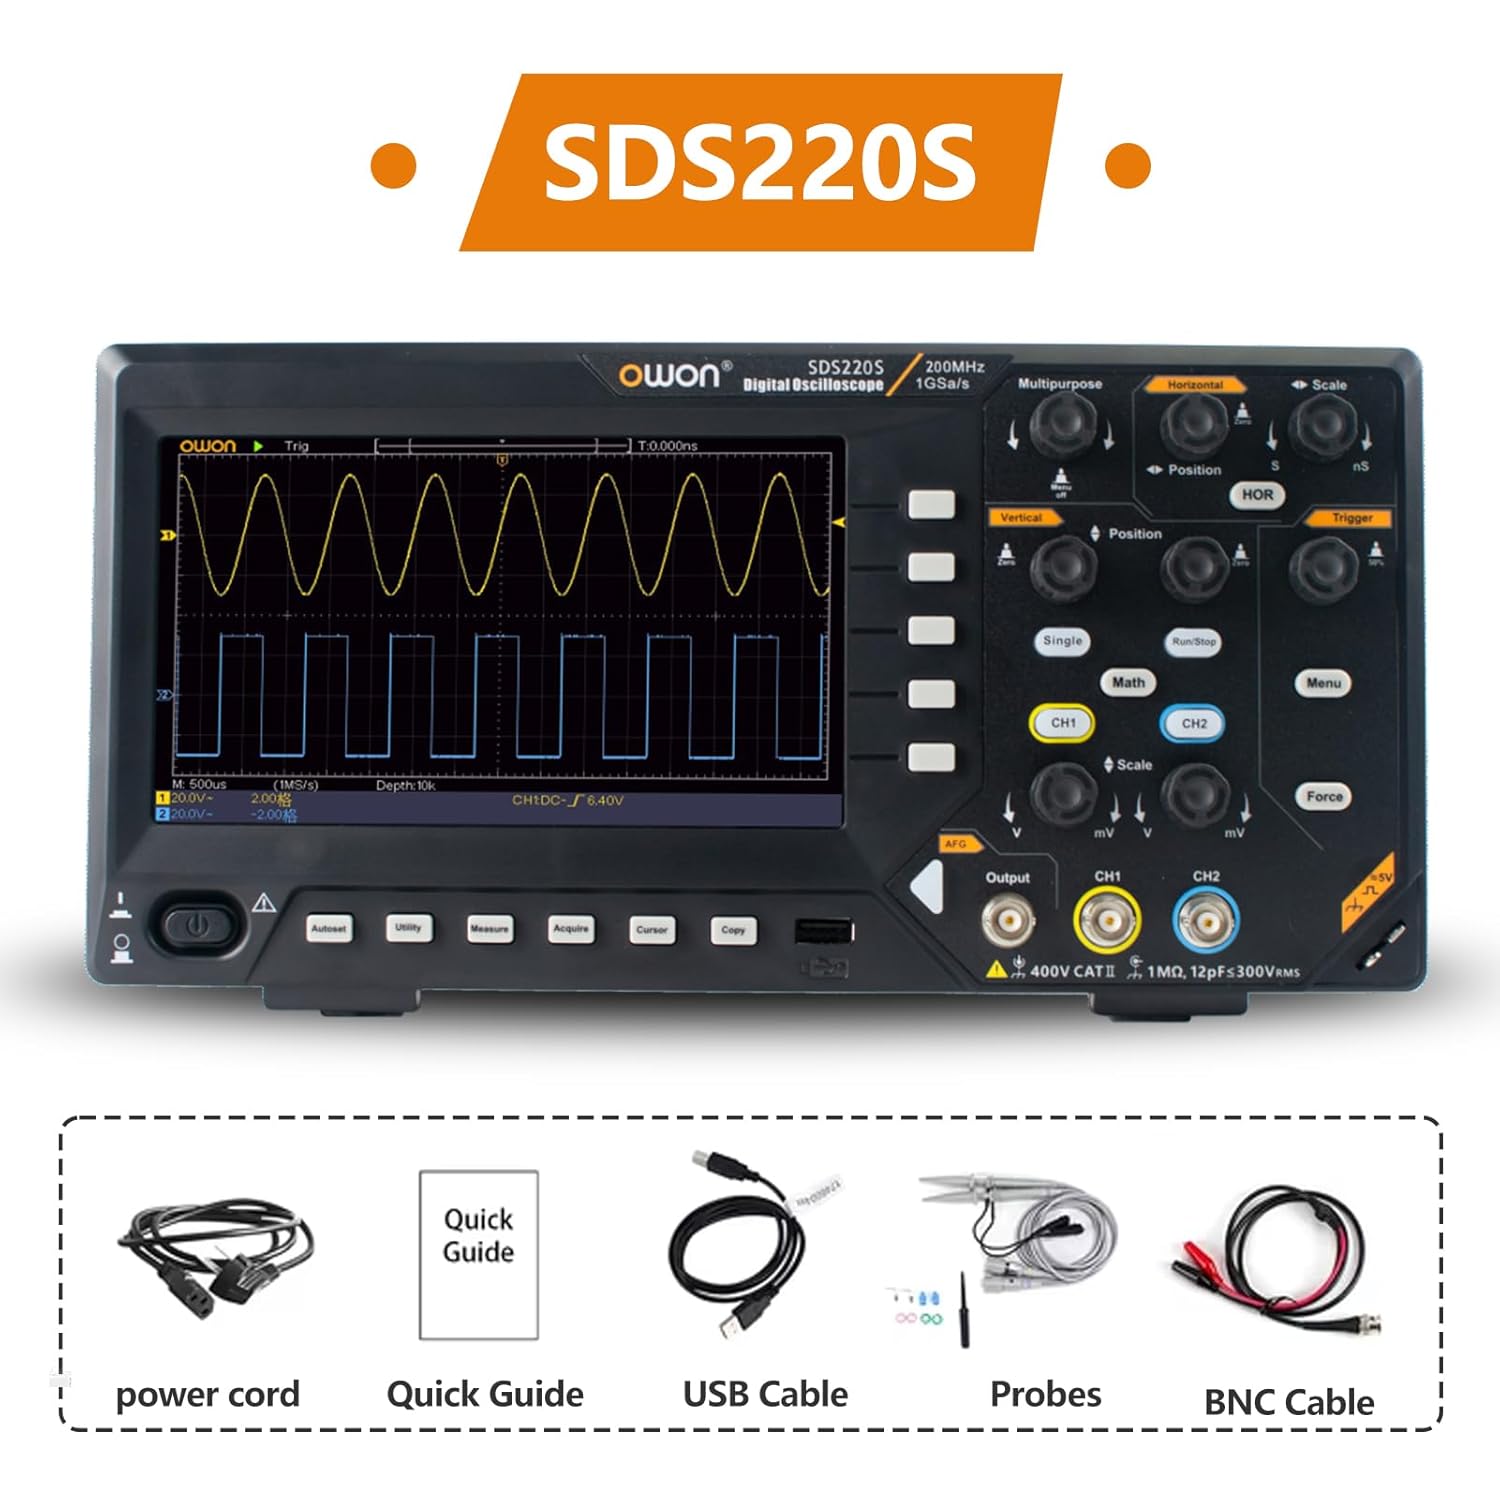
The OWON SDS220S package includes the digital oscilloscope unit, a power cord, a quick guide, a USB cable for PC connection, oscilloscope probes, and a BNC cable.
3. 설정
3.1 전원 연결
- 오실로스코프의 전원 스위치가 OFF 위치에 있는지 확인하세요.
- Connect the provided power cord to the power socket on the rear panel of the oscilloscope.
- 전원 코드의 다른 쪽 끝을 접지된 AC 전원 콘센트에 꽂습니다.
3.2 프로브 연결
- Connect the BNC connector of the oscilloscope probe to the desired input channel (CH1 or CH2) on the front panel.
- 프로브가 제자리에 단단히 고정되었는지 확인하십시오.
- 프로브의 접지 클립을 회로의 접지점에 연결하십시오.
- Set the attenuation switch on the probe (if applicable) to the desired setting (e.g., 1X or 10X). Remember to match this setting in the oscilloscope's channel menu.
3.3 초기 전원 켜기
After connecting power and probes, press the power switch on the front panel to turn on the oscilloscope. The device will perform a self-test and display the main waveform interface.
4. 사용 설명서
4.1 디스플레이 오버view
The SDS220S features a 7-inch TFT LCD display for clear visualization of waveforms and measurement data.
The 7-inch TFT LCD display of the OWON SDS220S provides a clear view of all signals and screen information. It features a same-screen display function, allowing users to zoom in and observe signal details effectively.
4.2 기본 파형 획득
- Connect the probe to the signal source.
- Adjust the vertical scale (Volts/Div) and horizontal scale (Time/Div) knobs to display the waveform appropriately.
- Use the Trigger controls (Level, Mode) to stabilize the waveform on the screen.
- 를 누르세요 자동차 button for automatic setup of vertical, horizontal, and trigger systems.
4.3 FFT Spectrum Analysis
The FFT function converts time-domain signals into frequency-domain components, useful for analyzing harmonics, distortion, noise, and vibration.
- 를 누르세요 수학 단추.
- 선택하다 1. FFT는 100% 유효합니다. 메뉴에서.
- Adjust FFT settings such as source channel, window type, and display format as needed.
4.4 25MHz Arbitrary Waveform Generator (AWG)
The integrated AWG can generate various waveforms up to 25MHz.

This image highlights the 25MHz Arbitrary Waveform Generator (AWG) output port on the OWON SDS220S. The device supports USB Host and USB Device communication interfaces, along with SCPI and LabVIEW functions for advanced control and integration.
- Connect a BNC cable from the AWG output port to your desired circuit.
- 를 누르세요 산출 button (or corresponding menu option) to access AWG settings.
- Select the desired waveform type (e.g., Sine, Square, Ramp, Pulse, Arbitrary).
- 주파수와 같은 매개변수를 조정하세요. amplitude, and offset using the dedicated controls or menu options.
4.5 Automatic Waveform Measurements
The SDS220S supports 30 types of automatic waveform measurements, including time values, counts, deceleration and phase values, amp등.
- 를 누르세요 측정하다 단추.
- Select the desired measurement type from the on-screen menu.
- The results will be displayed on the screen.
4.6 PC Communication and Remote Control
The oscilloscope can be connected to a PC for remote control and data transfer.

The OWON SDS220S can communicate with a PC via its USB Device interface. It supports SCPI and LabVIEW functions, providing free computer software and programming development demos, enabling remote control and secondary development of the instrument.
- Connect the oscilloscope to your PC using the provided USB cable via the USB Device interface.
- Install the necessary drivers and software from the OWON web사이트 또는 포함된 미디어.
- Utilize SCPI commands or LabVIEW functions for remote control, data logging, and custom application development.
5. 유지관리
5.1 청소
오실로스코프의 성능과 외관을 유지하려면 다음 사항을 준수하십시오.
- 청소하기 전에 전원 코드를 뽑으세요.
- 부드러운 d를 사용하세요amp 외부 표면을 청소하려면 중성 세제를 묻힌 천으로 닦으십시오.
- Do not use abrasive cleaners or solvents that could damage the plastic components or screen.
- 기기에 액체가 들어가지 않도록 하십시오.
5.2 보관
When not in use, store the oscilloscope in a clean, dry environment, away from direct sunlight, extreme temperatures, and high humidity.
5.3 안전 예방 조치
- Always operate the device within its specified voltage and environmental limits.
- c를 열려고 시도하지 마십시오.asing or perform unauthorized repairs. Refer servicing to qualified personnel.
- 감전을 방지하기 위해 올바르게 접지하십시오.
6. 문제 해결
This section addresses common issues you might encounter with your SDS220S oscilloscope.
6.1 전원 없음
- Check if the power cord is securely connected to both the oscilloscope and the AC outlet.
- 전원 콘센트가 작동하는지 확인하세요.
- Ensure the power switch on the oscilloscope is in the ON position.
6.2 파형 표시 안 함
- Check if the probe is correctly connected to the input channel and the signal source.
- Verify that the signal source is active and producing a signal.
- Adjust the vertical (Volts/Div) and horizontal (Time/Div) scales. The waveform might be off-screen.
- 를 누르세요 자동차 설정을 자동으로 조정하는 버튼입니다.
- Ensure the trigger level is set correctly and the trigger mode is appropriate for the signal.
6.3 Unstable or Noisy Waveform
- 프로브의 접지 클립이 회로의 접지에 제대로 연결되어 있는지 확인하십시오.
- Check for loose probe connections or damaged cables.
- Adjust the trigger level and trigger sensitivity.
- 외부 전자기 간섭을 최소화하십시오.
- Perform probe compensation if necessary.
7. 사양
The following table outlines the key specifications for the OWON SDS200 series, including the SDS220S model.

This table compares the specifications of the OWON SDS200 series models, including SDS210S, SDS215S, and SDS220S. It details access channels (2CH for all), bandwidth (100MHz, 150MHz, 200MHz respectively), sampling rate (1GSa/S for all), storage depth (20M for all), vertical resolution (8 bit for all), and signal generator channels (1CH for all).
| 특징 | Specification (SDS220S) |
|---|---|
| 제조업체 | 오원 |
| 모델 번호 | SDS220S |
| 대역폭 | 200MHz |
| 채널 | 2 |
| Samp르 레이트 | 1 GS/s (실시간) |
| 저장 깊이 | 20M |
| 수직 해상도 | 8비트 |
| 신호 발생기 | 25 MHz Arbitrary Waveform Generator (1 Channel) |
| 표시하다 | 7 인치 TFT LCD |
| 측정 정확도 | 0.005 |
| 품목 무게 | 1.6 킬로그램 |
| 패키지 크기 | 37 x 18 x 11.5cm |
8. 보증 및 지원
8.1 보증 정보
자세한 보증 정보는 제품에 동봉된 보증 카드를 참조하시거나 OWON 공식 웹사이트를 방문하십시오. web사이트. 보증 청구를 위해 구매 증빙 자료를 보관하세요.
8.2 기술 지원
If you encounter any issues not covered in this manual or require further assistance, please contact OWON customer support through their official web사이트 또는 제품 설명서에 제공된 연락처 정보를 참조하세요.


