1. 서론
구매해주셔서 감사합니다asing the VASAGLE Custos Collection LBC401K01 Bookcase. This manual provides detailed instructions for the safe assembly, operation, and maintenance of your new furniture. Please read all instructions carefully before beginning assembly and retain this manual for future reference.
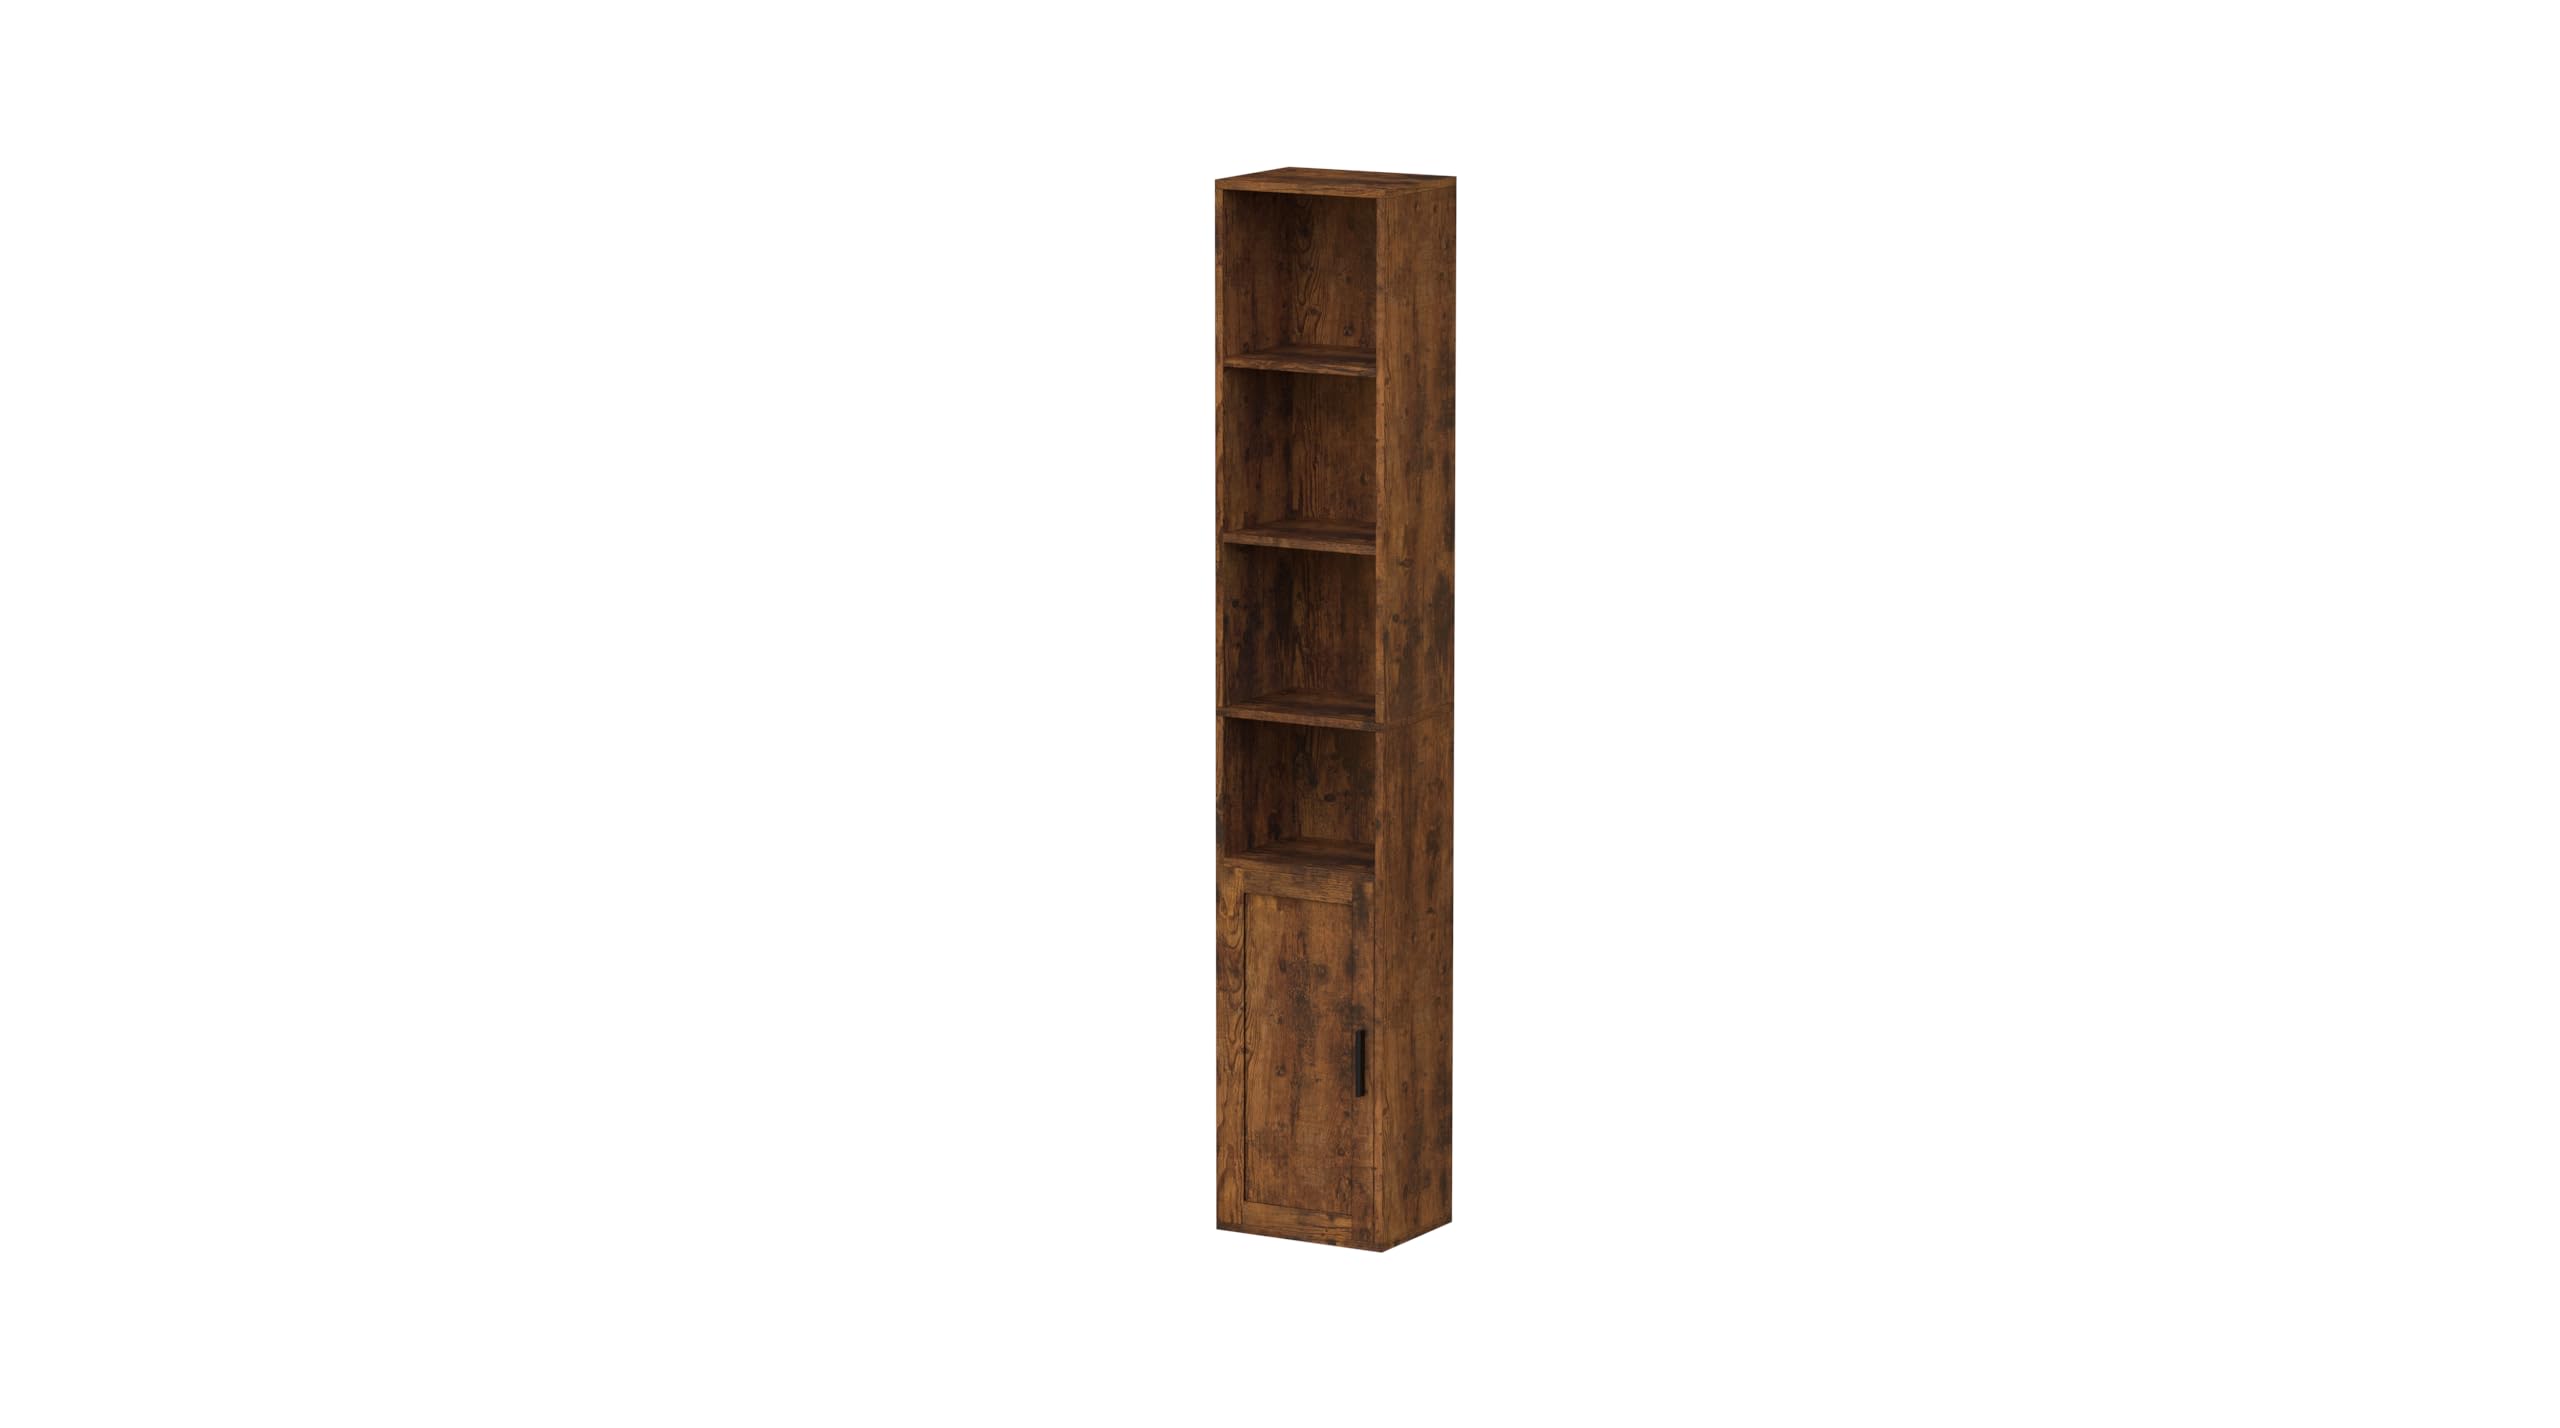
Image 1.1: The VASAGLE Custos Collection LBC401K01 Bookcase, featuring a rustic brown finish, six tiers, and a lower cabinet door.
2. 안전 지침
이 제품을 안전하게 사용하려면 다음 지침을 준수하세요.
- 모든 지침을 읽으십시오. 조립 및 사용 전에 본 설명서에 제공된 모든 지침을 주의 깊게 읽고 이해하십시오.
- 어린이와 애완동물을 멀리하십시오. 조립하는 동안 어린이와 애완동물이 작업 공간에 접근하지 못하도록 하십시오. 작은 부품은 질식 위험이 있습니다.
- 깨끗하고 평평한 표면에 조립하십시오. Assemble the unit on a soft, clean, and flat surface to prevent scratches and damage.
- 올바른 도구를 사용하세요: Ensure you have all necessary tools as specified in the assembly section.
- 나사를 너무 조이지 마세요: Overtightening screws can damage the material. Tighten until snug.
- Install anti-tip kit: Always install the included anti-tip kit to prevent the unit from tipping over, especially in households with children.
- 무게를 고르게 분산시키세요: 선반에 너무 많은 짐을 싣지 마세요. 무게를 고르게 분산시켜 안정성을 유지하세요.
- Do not climb or stand on the unit: This unit is not designed for climbing or standing.
- 정기적으로 패스너를 점검하세요: 모든 고정 장치가 단단히 조여져 있는지 주기적으로 확인하십시오.
3. 패키지 내용
Before assembly, verify that all parts listed below are present and undamaged. If any parts are missing or damaged, do not proceed with assembly. Contact customer support for assistance.
- 측면 패널(왼쪽 및 오른쪽)
- 후면 패널
- 고정 선반
- 조절식 선반
- 바닥 패널
- 상단 패널
- 도어 패널
- Hardware Pack (screws, dowels, cam locks, hinges, shelf pins, anti-tip kit)
- 조립 도구 (예: 육각 렌치)
Note: The exact number and type of fasteners are detailed in the included hardware pack diagram.
4. 조립 설명서(설치)
올바른 조립을 위해 다음 단계를 주의 깊게 따르십시오. 일부 단계에서는 두 사람이 함께 작업하는 것이 좋습니다.
- 1단계: 구성 요소 준비
Unpack all components and lay them out on a clean, soft surface. Identify each part by its label (if provided) and cross-reference with the parts list. Separate all hardware into individual groups.
Image 4.1: Illustration showing all components laid out and identified.
- 2단계: 베이스 프레임 조립
Attach the bottom panel to the side panels using the specified fasteners (e.g., cam locks and dowels). Ensure the grooves for the back panel are facing the correct direction.
Image 4.2: Diagram illustrating the connection of the bottom panel to the side panels.
- 3단계: 고정 선반 설치
Insert the fixed shelves into the pre-drilled holes in the side panels. Secure them with the appropriate fasteners. Ensure all connections are snug.
Image 4.3: Visual guide for installing fixed shelves into the main frame.
- Step 4: Attach Back Panels
Slide the back panels into the grooves on the rear of the unit. Secure them with small nails or screws as indicated in the hardware pack. Ensure the unit is square before securing.
Image 4.4: Step-by-step image showing how to slide and secure the back panels.
- Step 5: Install the Top Panel
Place the top panel onto the assembled frame and secure it using the designated fasteners. Ensure it aligns perfectly with the side panels.
Image 4.5: Illustration of attaching the top panel to complete the main structure.
- 6단계: 도어 설치
Attach the hinges to the door panel and then to the designated side panel of the bookcase. Adjust the hinges as needed to ensure the door opens and closes smoothly and aligns correctly.
Image 4.6: Detailed diagram for hinge and door installation, including adjustment points.
- Step 7: Install Adjustable Shelves
Insert the shelf pins into the desired holes for the adjustable shelves. Place the adjustable shelves onto these pins. The 1st, 4th, and 5th shelves are adjustable up to 3cm up and down.
Image 4.7: Visual guide for placing shelf pins and adjustable shelves.
- 8단계: 넘어짐 방지 키트 설치
Secure the anti-tip kit to the top rear of the bookcase and to a wall stud using the provided hardware. This step is crucial for safety and must not be skipped.
Image 4.8: Diagram showing proper installation of the anti-tip kit to the wall.
5. 사용 설명서
This bookcase is designed for storing books, decorative items, and other household goods. The lower cabinet provides discreet storage.
- 선반 로딩: Place items on shelves, distributing weight evenly. Avoid placing heavy items exclusively on one side or on the very edge of a shelf.
- 선반 조정: To adjust the height of the adjustable shelves, carefully remove all items from the shelf, lift the shelf, remove the shelf pins, reposition the pins to the desired height, and then replace the shelf. Ensure all four pins are securely in place before reloading the shelf.
- 문 가동: The lower door opens and closes manually. Avoid forcing the door if it feels stiff; check hinges for alignment.
6. 유지관리
Proper maintenance will extend the life of your bookcase.
- 청소: 부드러운 d로 표면을 닦으십시오.amp cloth. Avoid harsh chemicals or abrasive cleaners, which can damage the finish. Dry immediately with a clean cloth.
- 가루 살포: 마른 부드러운 천으로 정기적으로 먼지를 닦아주세요.
- 패스너 점검: Periodically (e.g., every 6 months) check all screws, bolts, and cam locks to ensure they are tight. Retighten if necessary, but do not overtighten.
- Avoid Direct Sunlight and Moisture: Prolonged exposure to direct sunlight or excessive moisture can cause fading, warping, or damage to the material.
7. 문제 해결
If you encounter issues with your bookcase, refer to the following common problems and solutions:
| 문제 | 가능한 원인 | 해결책 |
|---|---|---|
| 책장이 흔들리거나 불안정합니다. | 느슨한 고정 장치, 고르지 않은 바닥, 넘어짐 방지 키트가 설치되지 않음. | Ensure all screws and cam locks are tightened. Place shims under legs if floor is uneven. Install the anti-tip kit securely to a wall stud. |
| 문이 제대로 닫히지 않거나 정렬이 잘못되었습니다. | 경첩이 헐거워졌거나 제대로 조정되지 않았습니다. | Tighten hinge screws. Adjust hinge screws to align the door. Refer to hinge adjustment instructions if available. |
| Shelves sag or appear weak. | Overloaded shelf; uneven weight distribution. | Reduce weight on the shelf. Distribute items more evenly. Ensure shelf pins are fully inserted. |
8. 사양
- 모델: LBC401K01
- 상표: 바사글
- 제품 크기: 9.45 x 12.52 x 68.9인치(24 x 31.8 x 175cm)
- 품목 무게: 35파운드(15.9킬로그램)
- 재료: Chipboard and MDF board
- 색상: 러스틱 브라운
- 계층 수: 6 (including lower cabinet)
- 조절식 선반: 1st, 4th, and 5th shelves (adjustable up to 3cm up/down)
- 선반당 중량 용량: 최대 10kg(22파운드)
- 필요한 조립: 예
9. 보증 및 지원
For warranty information or technical support, please refer to the documentation included with your purchase or contact VASAGLE customer service. Ensure you have your model number (LBC401K01) and proof of purchase available when contacting support.


