소개
This manual provides comprehensive instructions for the safe and effective use, setup, operation, and maintenance of your Streamlight TLR-8 HL-X sub USB 1000-Lumen Weapon Rail-Mounted Rechargeable Tactical Flashlight with Integrated Red Aiming Laser. Please read this manual thoroughly before using the device.
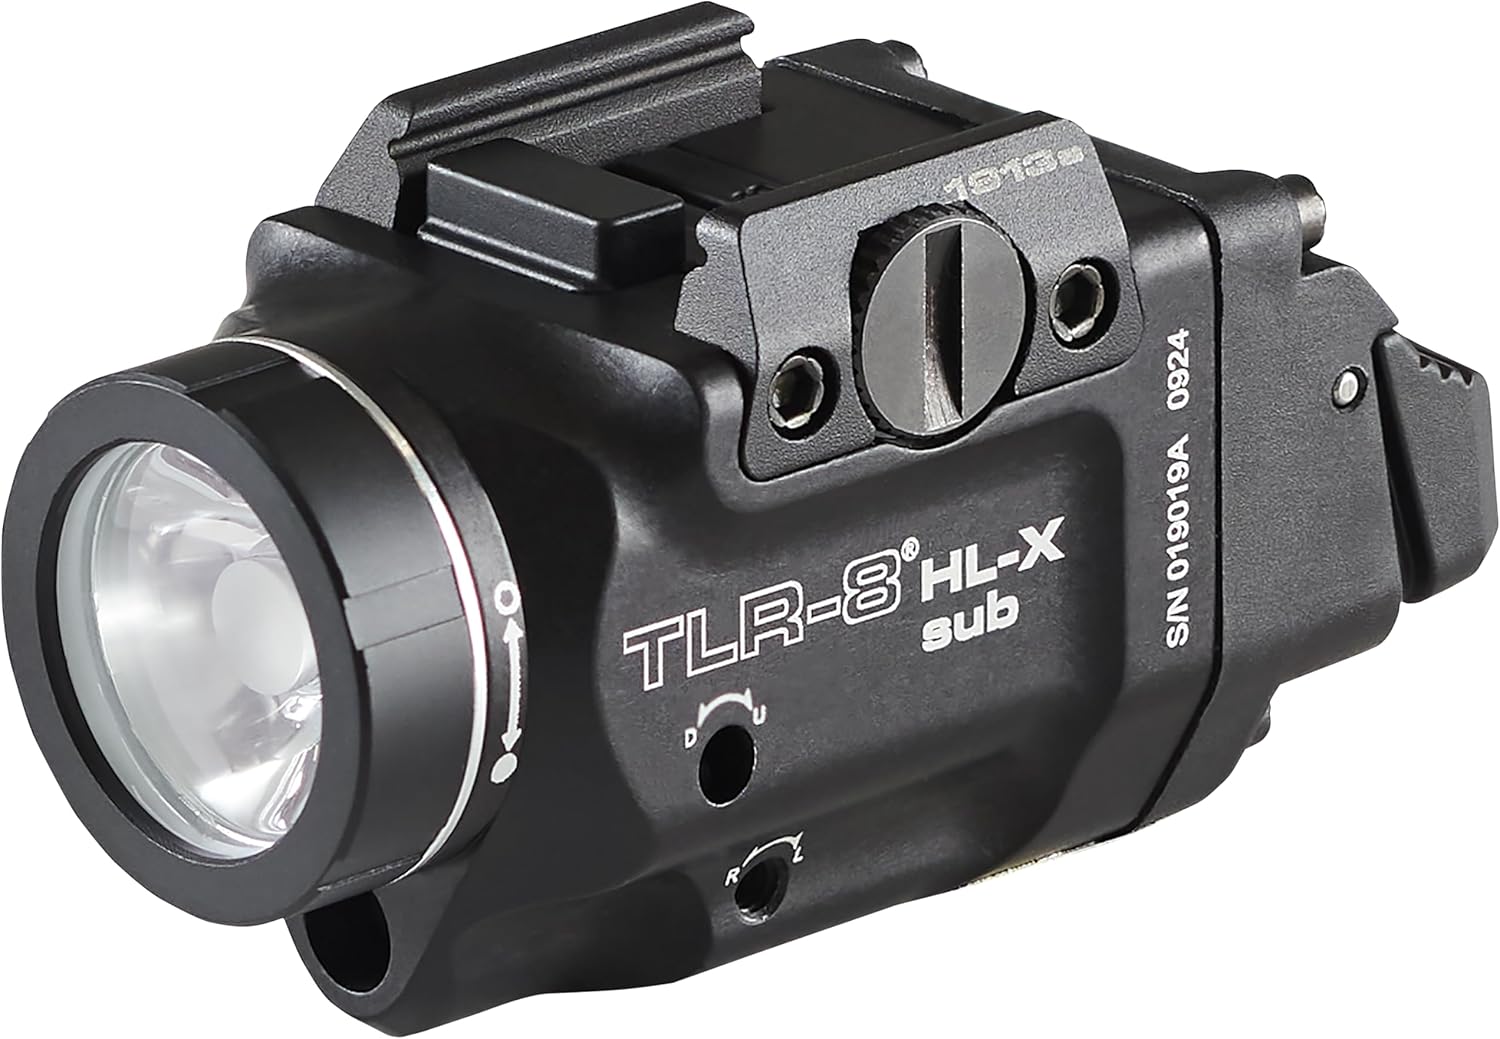
그림 1: Streamlight TLR-8 HL-X sub tactical flashlight. This image shows the compact design of the flashlight and laser combination unit, highlighting the main light emitter and the integrated red laser.
안전 정보
경고: Always follow proper firearm safety procedures. Ensure the firearm is unloaded and safe before attaching, detaching, or performing any maintenance on the TLR-8 HL-X sub.
- 레이저 방사선: This product contains a Class 3R laser. Avoid direct eye exposure to the laser beam. Do not point the laser at aircraft or vehicles.
- 배터리 안전: Use only the specified rechargeable battery. Do not attempt to open, crush, or incinerate the battery. Keep batteries away from children.
- 열: The light head can become hot during prolonged use. Avoid direct contact with the hot surface.
- 설치: Ensure the device is securely mounted to prevent accidental detachment during use.
설정 및 설치
1. 호환성
The TLR-8 HL-X sub is designed exclusively for use with specific firearms featuring a 1913 rail. Compatible models include:
- Smith & Wesson M&P M2.0 subcompact
- Beretta Px4 Storm subcompact
- Springfield Armory XD-E, XD-S and Hellcat Pro
- Heckler & Koch HK45 compact
- Sig Sauer P365 XMACRO
2. Rail Mounting
The TLR-8 HL-X sub features a rail grip clamp system for quick and secure attachment/detachment without tools.
- 총기가 탄약이 없고 안전한지 확인하세요.
- 레일 cl 풀기amp screw on the TLR-8 HL-X sub.
- 레일을 정렬하세요amp 총기의 액세서리 레일과 함께.
- Push the unit onto the rail until it seats firmly.
- 레일 cl을 조입니다amp screw securely by hand. Do not overtighten.
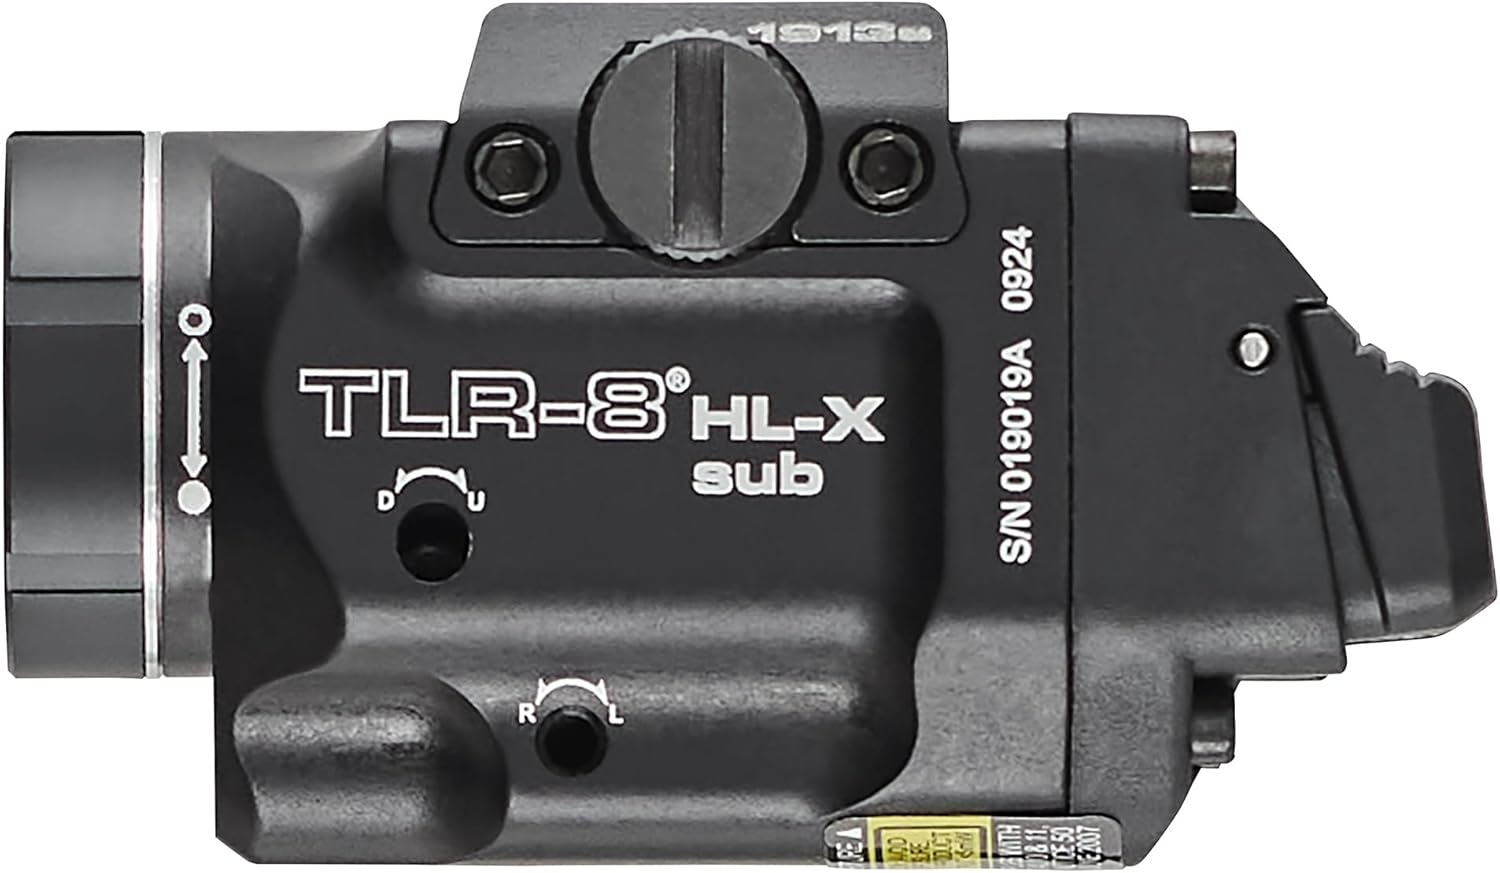
그림 2: 옆 view of the TLR-8 HL-X sub, showing the rail clamp mechanism. This image illustrates how the unit attaches to a firearm's accessory rail.
3. 배터리 설치 및 충전
The TLR-8 HL-X sub uses a rechargeable battery and can be charged via USB.
- To access the battery compartment, unscrew the face cap of the light.
- Insert the specified rechargeable battery with the positive (+) end facing towards the light head.
- Replace the face cap and tighten securely to ensure water resistance.
- To charge, locate the USB charging port (typically covered by a rubber seal) and connect a standard USB-C cable. The charging indicator will show status.
4. Interchangeable Paddle Switches
The unit comes with interchangeable ambidextrous rear paddle switches (high and low) to suit user preference.
- Using a multi-tool (not included), carefully remove the existing paddle switch by unscrewing the retaining screw.
- Align the desired high or low paddle switch with the slot.
- Secure it in place with the retaining screw. Ensure it is snug but do not overtighten.
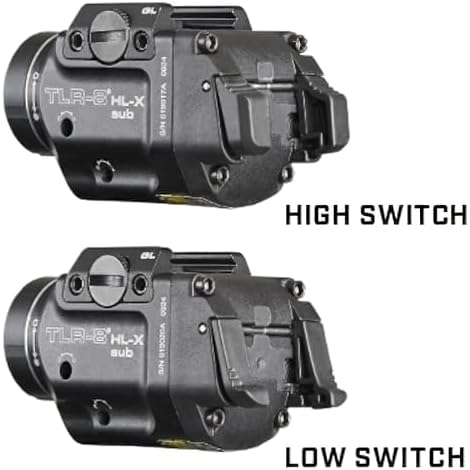
그림 3: High and Low Switch options. This image demonstrates the two different paddle switch configurations available for user customization.
작동 지침
1. 모드 선택
The TLR-8 HL-X sub offers three primary operating modes:
- LED Light Only: Activates the 1000-lumen flashlight.
- LED/Laser Combo: Activates both the flashlight and the red aiming laser simultaneously.
- 레이저 전용: Activates only the red aiming laser.
To cycle through modes, press and hold one of the paddle switches for approximately 1 second until the desired mode is selected. The unit will remember the last selected mode.
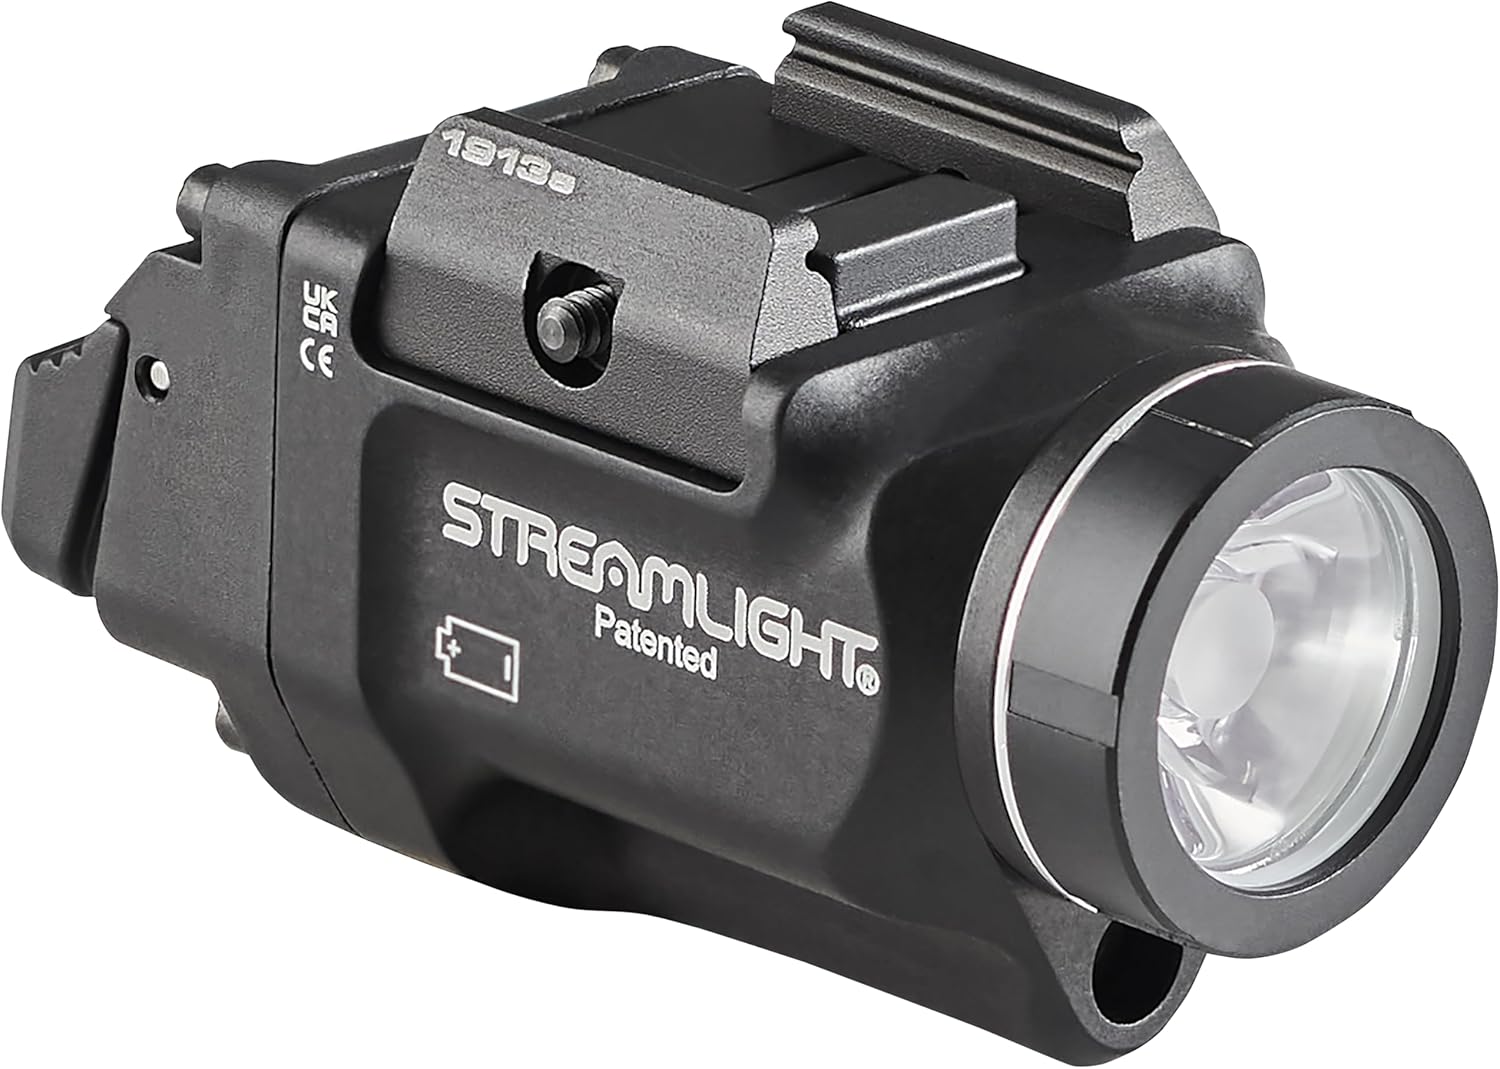
그림 4: 앞쪽 view of the TLR-8 HL-X sub, illustrating the light emitter and laser aperture. This view highlights the dual functionality of the device.
2. Activating the Light/Laser
- 순간 활성화: 패들 스위치 중 하나를 길게 누르세요. 놓으면 꺼집니다.
- 계속 켜짐: Quickly tap either paddle switch. Tap again to turn off.
3. 스트로브 모드
The TLR-8 HL-X sub features a user-enabled strobe mode.
- To activate strobe, quickly double-tap either paddle switch while the light is off or in constant on mode.
- To exit strobe mode, tap either paddle switch again.
4. Laser Adjustment
The integrated red aiming laser can be adjusted for windage and elevation.
- Locate the windage and elevation adjustment screws on the side of the unit.
- Using a small flathead screwdriver or the appropriate tool, turn the screws incrementally to adjust the laser point of aim.
- Perform live-fire zeroing at a safe range to ensure accuracy.
유지
1. 청소
- 광고로 장치의 외부를 닦습니다.amp 천. 연마성 세척제는 사용하지 마십시오.
- Clean the lens with a soft, lint-free cloth. For stubborn dirt, a small amount of lens cleaning solution can be used.
- Ensure the USB charging port cover is securely closed to prevent dust and moisture ingress.
2. 배터리 관리
- Recharge the battery regularly, especially after prolonged storage, to maintain optimal performance.
- If storing the unit for an extended period, remove the battery.
문제 해결
| 문제 | 가능한 원인 | 해결책 |
|---|---|---|
| 빛/레이저가 켜지지 않습니다. | Low or dead battery. Incorrect battery orientation. Loose battery cap. | Recharge or replace battery. Ensure battery is inserted correctly. Tighten battery cap. |
| 광 출력이 어둡습니다. | 배터리 부족. 렌즈가 더럽습니다. | Recharge battery. Clean the lens. |
| Unit feels loose on rail. | 레일 CLamp 나사가 느슨해졌습니다. | 레일 cl을 조입니다amp screw. Ensure proper fit for your firearm's rail. |
| Laser is not accurate. | Laser needs zeroing. | Adjust laser windage and elevation as per instructions. Perform live-fire zeroing. |
명세서
| 특징 | 세부 사항 |
|---|---|
| 모델 | TLR-8 HL-X sub (69468) |
| 광 출력 | 1000루멘 |
| 칸델라 | 10,000 칸델라 |
| 빔 거리 | 200 미터 |
| Run Time (Light Only / Light/Laser) | 30 분 |
| Run Time (Red Laser Only) | 29시간 |
| 레이저 타입 | Class 3R, 640-660nm, <5mW output |
| 전원 | 충전식 배터리(USB) |
| 재료 | 알류미늄 |
| 색상 | 검은색 |
| 특별 기능 | Adjustable Light Modes, Durable, High Lumens, Mountable, Rechargeable |
보증 정보
Streamlight products are known for their durability and quality. For detailed warranty information, please refer to the official Streamlight web사이트를 방문하거나 고객 지원팀에 문의하세요. 보증 청구를 위해 구매 증빙 자료를 보관하세요.
고객 지원
If you encounter any issues or have questions not covered in this manual, please visit the official Streamlight webFAQ, 지원 리소스, 연락처 정보를 제공하는 사이트입니다.
공식 스트림라이트 Web대지: www.스트림라이트.com


