1. 서론
This manual provides detailed instructions for the setup, operation, maintenance, and troubleshooting of your Phomemo D520BT Bluetooth Thermal Label Printer. Please read this manual thoroughly before using the device to ensure proper functionality and to extend the product's lifespan.

Figure 1: Phomemo D520BT printer in purple, printing a shipping label, with a smartphone displaying a label design connected via Bluetooth. This image illustrates the printer's compact design and wireless printing capability.
2. 패키지 내용
아래 나열된 모든 품목이 패키지에 포함되어 있는지 확인하세요. 품목이 누락되었거나 손상된 경우 고객 지원팀에 문의하세요.
- Phomemo D520BT Thermal Printer
- Roll Label (samp르)
- 빠른 시작 가이드
- 사용자 가이드 (이 문서)
- 전원 코드
- USB 케이블
- C형 어댑터
- 전원 어댑터

Figure 2: All components included in the Phomemo D520BT product package.
3. 설정 가이드
3.1 풀기
- 프린터와 모든 액세서리를 포장에서 조심스럽게 꺼내세요.
- Remove any protective films or packing materials from the printer.
3.2 라벨 로딩
The Phomemo D520BT supports both roll paper and folding paper labels.
- Open the printer cover by gently lifting it.
- 롤 용지의 경우: Place the label roll into the internal paper holder, ensuring the labels feed from the bottom and the printing side faces upwards. Guide the first label through the output slot until it is slightly visible.
- For Folding Paper: Place the stack of folding labels behind the printer, ensuring the labels feed smoothly into the rear input slot and the printing side faces upwards. Guide the first label through the output slot until it is slightly visible.
- 프린터 덮개를 단단히 닫으십시오.

Figure 3: The Phomemo D520BT printer supports both folding paper and roll paper labels.
3.3 프린터 연결
The D520BT offers both USB and Bluetooth connectivity.
3.3.1 USB Connection (Windows, Mac, Chrome OS, Linux)
- Connect one end of the USB cable to the printer and the other end to your computer.
- 전원 어댑터를 프린터에 연결하고 전원 콘센트에 꽂습니다.
- 프린터를 켭니다.
- Install the necessary printer drivers for your operating system. Drivers can typically be found on the official Phomemo web대지.
3.3.2 Bluetooth Connection (Android, iOS, iPad)
- 전원 어댑터를 프린터에 연결하고 전원 콘센트에 꽂습니다.
- 프린터를 켭니다.
- 다운로드하고 설치하세요 “Labelife” 기기의 앱 스토어에서 앱을 다운로드하세요.
- Open the Labelife app and follow the in-app instructions to pair your device with the D520BT printer via Bluetooth.

Figure 4: The Phomemo D520BT supports both Bluetooth and USB connectivity for various devices and operating systems.
4. 사용 설명서
4.1 전원 켜기/끄기
- 전원 켜기: Press the power button located on the printer. The indicator light will illuminate.
- 전원 끄기 : 표시등이 꺼질 때까지 전원 버튼을 길게 누르세요.
4.2 라벨 인쇄
- Ensure the printer is powered on and connected to your device (computer via USB or mobile device via Bluetooth).
- 인쇄하려는 문서 또는 애플리케이션을 엽니다.
- Select the Phomemo D520BT as your printer.
- Adjust print settings as needed (e.g., label size, orientation). The printer supports a width range of 1 to 4.6 inches.
- 인쇄 명령을 시작합니다.
The Labelife app provides various free templates for customizing shipping labels, address labels, barcode labels, and thank-you stickers.
4.3 주요 특징
- 고속 인쇄: The D520BT can print up to 72 labels per minute (150mm/s), suitable for high-volume printing tasks.
- 고해상도: Prints at 203 DPI, ensuring sharp and precise details on each label.
- Wide Printing Range: Supports label widths from 1 inch to 4.6 inches, accommodating various label types including 4x6 inch shipping labels.
- 잉크가 필요 없는 감열 기술: Utilizes direct thermal printing, eliminating the need for ink or toner cartridges.
- 공간 절약형 디자인: Features a built-in paper holder, reducing the need for external label racks and optimizing desktop space.
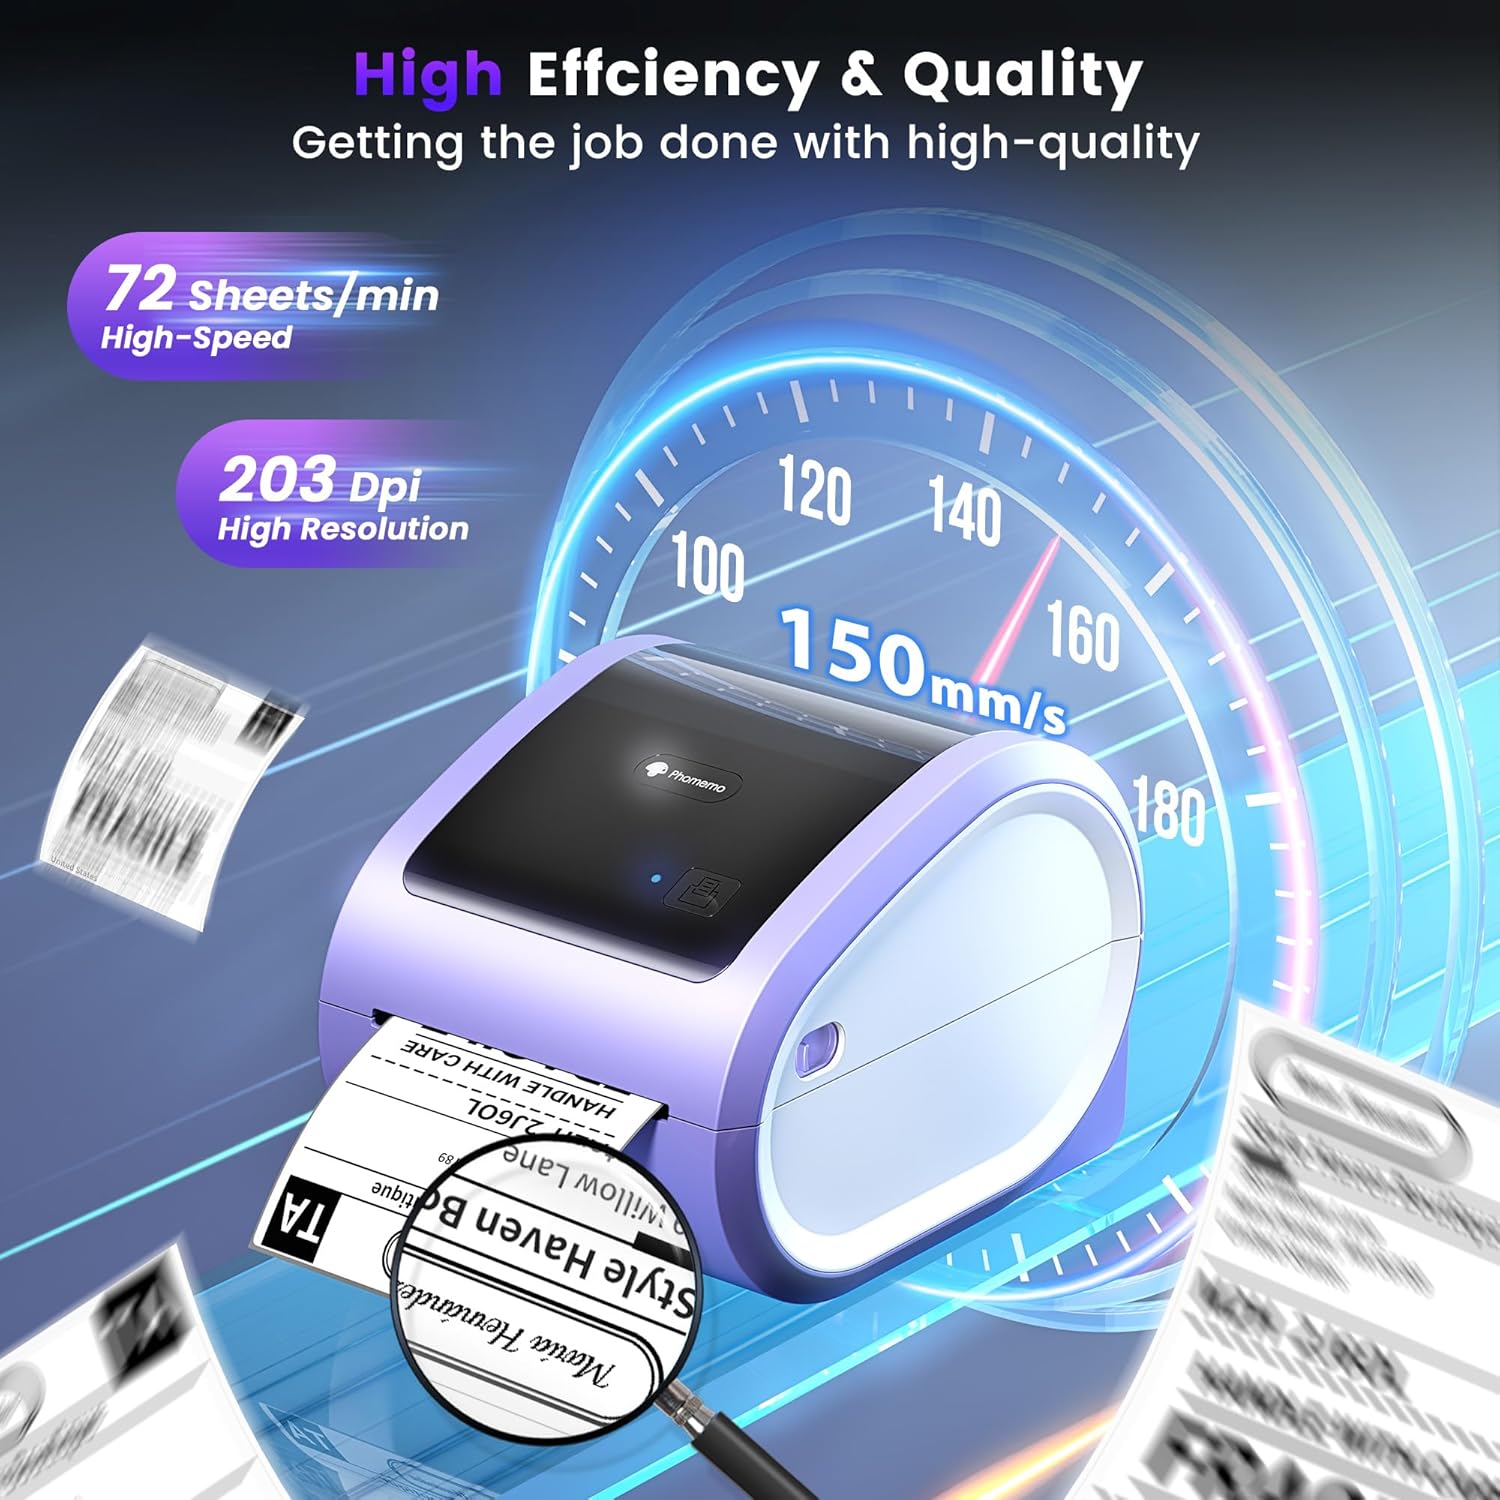
Figure 5: The Phomemo D520BT offers high efficiency and quality with a print speed of 150mm/s and 203 DPI resolution.

Figure 6: The Phomemo D520BT is compatible with various label sizes, from 1 inch to 4.6 inches wide.

Figure 7: The Phomemo D520BT supports multi-scenario applications for various labeling needs.

Figure 8: The Phomemo D520BT is compatible with all major shipping and sales platforms.
5. 유지관리
5.1 프린트 헤드 청소
Regular cleaning of the print head ensures optimal print quality and extends the printer's life.
- 프린터를 끄고 전원 코드를 뽑습니다.
- 프린터 덮개를 엽니다.
- 알코올 솜이나 부드럽고 보풀 없는 천으로 프린트 헤드를 살살 닦아주세요.amp이소프로필 알코올로 소독함.
- 덮개를 닫고 프린터의 전원을 켜기 전에 프린트 헤드가 완전히 마르도록 하세요.
5.2 보관
Store the printer in a cool, dry place away from direct sunlight and extreme temperatures. Avoid exposing the printer to dust or moisture.
6. 문제 해결
If you encounter issues with your Phomemo D520BT printer, refer to the following common problems and solutions:
- 프린터 전원이 켜지지 않음:
- Ensure the power adapter is securely connected to both the printer and a working power outlet.
- 전원 버튼이 제대로 눌렸는지 확인하십시오.
- Labels not printing or feeding incorrectly:
- Verify that labels are loaded correctly with the printing side facing up.
- 라벨이 지나가는 경로에 장애물이 없는지 확인하십시오.
- Check if the label roll or stack is depleted.
- Poor print quality (faded, streaky, or blank labels):
- 섹션 5.1에 설명된 대로 프린트 헤드를 청소하세요.
- 고품질 감열 라벨을 사용하고 있는지 확인하십시오.
- Check print density settings in your printer preferences.
- Bluetooth 연결 문제:
- Ensure Bluetooth is enabled on your mobile device and the printer.
- 프린터와 모바일 기기를 다시 시작하세요.
- Ensure you are within the Bluetooth range.
- Re-pair the printer through the Labelife app.
- USB 연결 문제:
- USB 케이블이 프린터와 컴퓨터에 모두 제대로 연결되어 있는지 확인하세요.
- Ensure the correct printer drivers are installed.
- 다른 USB 포트나 케이블을 사용해 보세요.
For further assistance, refer to the detailed video tutorials and user manuals available online, or contact Phomemo customer support.
7. 사양
| 특징 | 사양 |
|---|---|
| 상표 | 포메모 |
| 모델명 | D520BT |
| 연결 기술 | 블루투스, USB |
| 인쇄 기술 | 열의 |
| 특징 | Portable, Built-in Holder |
| 프린터 출력 | 단색화 |
| 최대 인쇄 속도 | 150 mm/s (72개 라벨/분) |
| 인쇄 해상도 | 203DPI |
| 최대 인쇄 폭 | 4.6인치 |
| 품목 무게 | 2.4 파운드 |
| 제품 치수 | 10.31인치 깊이 x 10.31인치 너비 x 7.87인치 높이 |
8. 보증 및 지원
Phomemo provides customer support to assist with any questions or issues you may encounter. For detailed warranty information, please refer to the warranty card included with your product or visit the official Phomemo website. Our customer support team is available via phone, email, or remote support.
For additional resources, including video tutorials and updated user manuals, please visit the Phomemo support page.


