1. 서론
This manual provides detailed instructions for the installation, configuration, and operation of the GIGABYTE B860 Gaming X WIFI6E Motherboard. Designed to support Intel Core Ultra Processors (Series 2) with an LGA 1851 socket, this ATX motherboard features DDR5 memory support, multiple M.2 slots, PCIe 5.0 connectivity, USB-C, WIFI6E, and 2.5GbE LAN. Adherence to these instructions will ensure proper setup and optimal performance of your system.
2. 안전 정보
- 구성품을 설치하거나 제거하기 전에 항상 전원 코드를 콘센트에서 분리하십시오.
- 부품을 다루기 전에 정전기 방지 손목 스트랩을 착용하거나 접지된 금속 물체를 자주 만져 정전기를 방전시키십시오.
- 민감한 부분을 만지지 않으려면 구성품의 가장자리를 잡으세요.
- 과열을 방지하려면 PC 케이스 내부의 적절한 환기를 확보하세요.
- 마더보드를 습기와 극한 온도에 두지 마세요.
3. 패키지 내용
패키지에 모든 구성품이 들어 있는지 확인하십시오. 구성품이 누락되었거나 손상된 경우 판매점에 문의하십시오.
- GIGABYTE B860 Gaming X WIFI6E Motherboard
- 사용자 설명서 / 빠른 설치 가이드
- SATA 데이터 케이블
- 와이파이 안테나
- M.2 나사 및 스탠드오프
- 드라이버 CD/USB(또는 다운로드 지침)
4. 마더보드 레이아웃
설치하기 전에 마더보드의 다양한 구성 요소와 커넥터를 숙지하십시오.
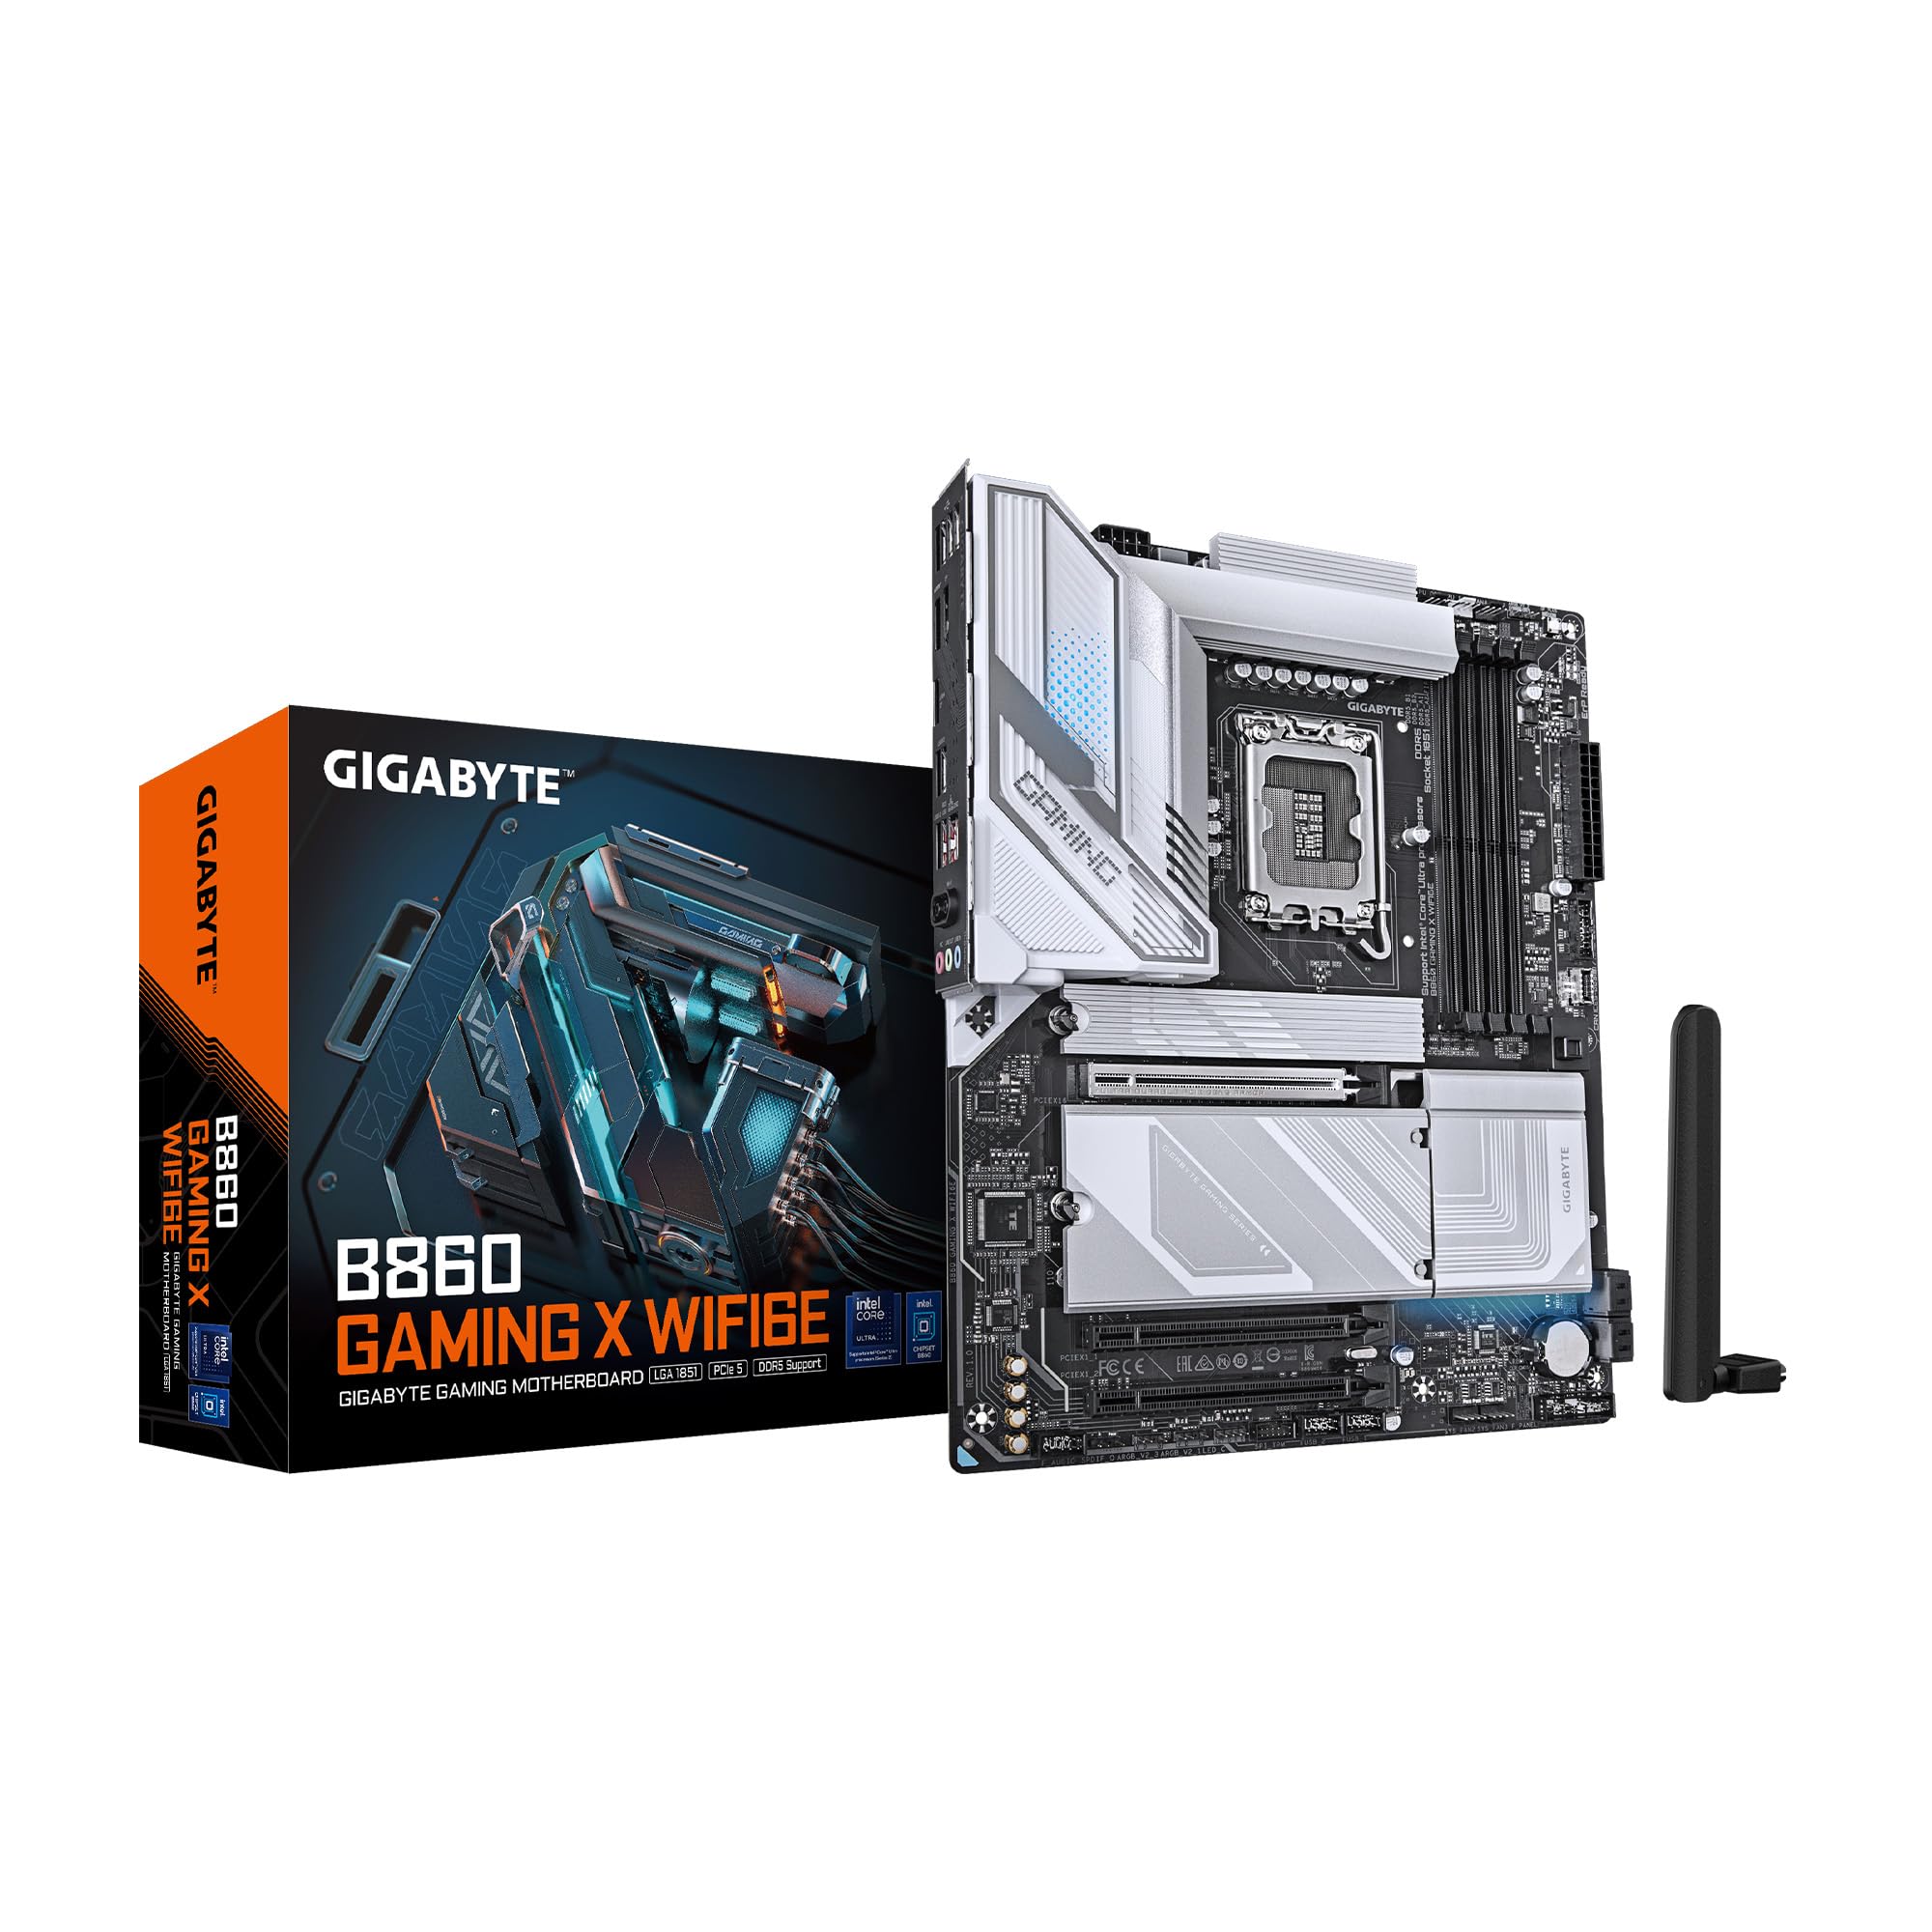
그림 4.1: 상향식 view of the GIGABYTE B860 Gaming X WIFI6E Motherboard, showing the CPU socket, DDR5 DIMM slots, PCIe slots, and M.2 slots with heatsinks.

그림 4.2: 각도 view of the GIGABYTE B860 Gaming X WIFI6E Motherboard, highlighting the VRM heatsinks, I/O shroud, and overall board design.
4.1 후면 I/O 패널 오버view
후면 I/O 패널에는 외부 장치를 연결하기 위한 다양한 포트가 제공됩니다.

Figure 4.3: Rear I/O panel featuring USB ports, HDMI, DisplayPort, 2.5GbE LAN, Wi-Fi antenna connectors, and audio jacks.
- USB 포트: Various USB 2.0, USB 3.2 Gen1, USB 3.2 Gen2, and USB4 Type-C ports for peripheral connectivity.
- 비디오 출력: 내장 그래픽 출력용 HDMI 및 DisplayPort.
- LAN 포트: 2.5 Gigabit Ethernet for high-speed wired network connections.
- Wi-Fi 안테나 커넥터: For attaching the included Wi-Fi antenna.
- 오디오 잭: 스피커, 헤드폰, 마이크 연결용입니다.
- BIOS 플래시 버튼: CPU나 RAM이 설치되지 않은 상태에서 BIOS를 업데이트하는 방법입니다.
5. 설치 가이드
5.1 CPU 설치
- CPU 소켓 레버를 열고 보호 덮개를 제거하십시오.
- CPU를 소켓에 조심스럽게 맞추고 CPU의 삼각형 표시가 소켓의 표시와 일치하는지 확인하세요.
- CPU를 억지로 끼우지 말고 조심스럽게 소켓에 넣으세요.
- 소켓 레버를 닫아 CPU를 고정합니다.
5.2 메모리(RAM) 설치
- DDR5 DIMM 슬롯의 양쪽 끝에 있는 클립을 엽니다.
- DDR5 메모리 모듈의 홈을 DIMM 슬롯의 키에 맞춰 정렬하십시오.
- 클립이 제자리에 고정될 때까지 메모리 모듈을 슬롯에 단단히 삽입합니다.
- 듀얼 채널 작동을 위해서는 동일한 색상의 슬롯(예: A2 및 B2)에 모듈을 설치하십시오.
5.3 저장장치(M.2 SSD, SATA 드라이브) 설치
- M.2 SSD: Remove the M.2 Thermal Guard. Insert the M.2 SSD into the slot at an angle, then push it down and secure it with the EZ-Latch mechanism or screw. Reattach the Thermal Guard.
- SATA 드라이브: Connect one end of the SATA data cable to a SATA port on the motherboard and the other end to your SATA storage device. Connect a SATA power cable from your power supply to the device.
5.4 확장 카드(PCIe) 설치
- PCIe 확장 카드(예: 그래픽 카드)를 원하는 PCIe 슬롯에 맞추십시오.
- 카드가 제대로 장착되고 고정 클립이 잠길 때까지 꾹 눌러주세요.
- 나사로 카드를 섀시에 고정합니다.
5.5 전원 공급 장치 연결
- 파워서플라이의 24핀 ATX 메인 전원 커넥터를 마더보드에 연결하십시오.
- 8핀(또는 4+4핀) ATX 12V CPU 전원 커넥터를 마더보드에 연결하십시오.
5.6 전면 패널 연결
Connect the cables from your PC case's front panel (power button, reset button, USB ports, audio jacks, LED indicators) to the corresponding headers on the motherboard. Refer to the motherboard diagram for exact header locations.
6. 첫 번째 부팅 및 BIOS 설정
6.1 초기 전원 켜기
모든 구성품을 조립한 후 모니터, 키보드, 마우스를 연결하십시오. 시스템 전원을 켜십시오. 시스템에 GIGABYTE 시작 화면이 표시되어야 합니다.
6.2 BIOS/UEFI 접근
부팅 과정 중에 반복해서 누르세요 델 key to enter the BIOS/UEFI setup utility. Here you can configure system settings, boot order, and monitor hardware status.
6.3 Basic BIOS Settings
- 부팅 순서: Set the primary boot device (e.g., M.2 SSD with OS).
- 날짜 및 시간: 시스템 날짜와 시간을 조정하세요.
- 팬 제어: Configure fan speeds for optimal cooling and noise levels.
- XMP 프로file: Enable XMP for your DDR5 memory to run at its rated speed.
7. 드라이버 및 소프트웨어 설치
For optimal system performance and stability, install the latest drivers and utilities for your motherboard.
- 칩셋 드라이버: CPU와 다른 구성 요소 간의 원활한 통신에 필수적입니다.
- LAN 드라이버: For the 2.5GbE wired network connection.
- Wi-Fi/블루투스 드라이버: 무선 연결을 위해.
- 오디오 드라이버: 소리 기능을 위해서입니다.
- 유틸리티 소프트웨어: GIGABYTE provides various utilities for system monitoring, RGB control, and BIOS updates.
Drivers can be found on the included CD/USB or downloaded from the official GIGABYTE web대지.
8. 유지관리
8.1 BIOS 업데이트
기가바이트를 정기적으로 확인하세요 website for the latest BIOS versions. BIOS updates can improve system stability, compatibility, and performance. Follow the instructions provided by GIGABYTE for safe BIOS flashing.
8.2 드라이버 업데이트
새로운 소프트웨어 및 하드웨어와의 호환성을 유지하고 성능 향상 및 버그 수정의 이점을 누리려면 드라이버를 최신 상태로 유지하십시오.
8.3 청소
Periodically clean your PC to prevent dust buildup, which can lead to overheating. Use compressed air to clear dust from heatsinks, fans, and other components. Ensure the system is powered off and unplugged before cleaning.
9. 문제 해결
- 전원 없음: 모든 전원 연결(24핀 ATX, 8핀 CPU, GPU 전원)을 확인하세요. 전원 공급 장치가 켜져 있는지 확인하세요.
- 디스플레이 없음: 모니터 연결 및 입력 소스를 확인하세요. 그래픽 카드와 RAM 모듈을 다시 장착하세요. RAM 스틱을 하나만 사용하여 부팅해 보세요.
- 시스템 부팅 실패: Check for POST (Power-On Self-Test) error codes or beeps. Reseat all components. Clear CMOS by removing the battery or using the clear CMOS jumper.
- 구성 요소가 감지되지 않았습니다. Ensure the component is properly seated and connected. Check BIOS settings to confirm it is enabled. Update drivers.
- 과열: Ensure CPU cooler is properly installed. Check fan connections and fan speeds in BIOS. Clean dust from heatsinks and fans.
10. 사양
| 특징 | 사양 |
|---|---|
| 상표 | 기가바이트 |
| 시리즈 | B860 게이밍 X WIFI6E |
| 품목 모델 번호 | B860 게이밍 X WIFI6E |
| CPU 소켓 | 인텔 LGA 1851 |
| 호환 프로세서 | Intel Ultra Core Series 2 |
| RAM 메모리 기술 | DDR5 |
| RAM 슬롯 | 4개의 DIMM |
| 메모리 속도 | 5600MHz |
| 칩셋 유형 | 인텔 B860 |
| PCIe 슬롯 | PCIe 5.0 (for graphics card) |
| M.2 슬롯 | M.2 슬롯 3개 |
| USB 연결 | USB-C and other USB ports |
| 랜 | 2.5GbE 랜 |
| 무선 연결 | 와이파이6E |
| 파워 디자인 | 12+1+2+1, 50A PPAK VRM |
| 써멀 | MOSFET Heatsink, M.2 Thermal Guard |
| 폼 팩터 | 에이티엑스 |
| 제품 치수 | 12 x 9.6 x 1 인치 |
| 품목 무게 | 4.2파운드 |
| 플랫폼 | 윈도우 11 |
11. 보증 정보
GIGABYTE motherboards typically come with a limited manufacturer's warranty. The specific terms and duration of the warranty may vary by region and retailer. Please retain your proof of purchase for warranty claims. For detailed warranty information, refer to the official GIGABYTE web사이트를 방문하거나 구매처에 문의하세요.
12. 기술 지원
If you encounter issues that cannot be resolved using this manual or the troubleshooting section, please contact GIGABYTE technical support.
- 기가바이트 공식 계정 Web대지: www.기가바이트.com
- 지원 섹션을 참조하세요. website for FAQs, driver downloads, and contact information for your region.


