1. 서론
The DYMO LabelManager Executive 640 CB is a portable label printer designed for efficient and precise label creation. This device offers versatile labeling solutions for various environments, from office organization to field work. It features a QWERTY keyboard, a high-resolution color screen, and multiple connectivity options including Bluetooth Low Energy and USB-C.
This manual provides detailed instructions on how to set up, operate, maintain, and troubleshoot your LabelManager Executive 640 CB, ensuring you can maximize its functionality.

Image 1.1: The DYMO LabelManager Executive 640 CB portable label printer, shown with its packaging, a label tape cassette, and a USB-C charging cable.
2. 설정
2.1 장치 충전
The LabelManager Executive 640 CB is powered by a rechargeable lithium-ion battery. Before initial use, fully charge the device.
- Connect the provided USB-C cable to the USB-C port on the label printer.
- USB-C 케이블의 다른 쪽 끝을 호환되는 USB 전원 어댑터(포함되지 않음) 또는 컴퓨터의 USB 포트에 연결합니다.
- The charging indicator on the device will illuminate. Allow sufficient time for a full charge.

Image 2.1: The portable nature of the LabelManager Executive 640 CB, demonstrating its use for labeling items on a shelf, highlighting its rechargeable battery for on-the-go use.
2.2 Inserting a Label Cassette
The printer uses DYMO D1 Standard and Durable labels, available in widths from 6mm (1/4") to 24mm (1").
- 장치의 전원이 꺼져 있는지 확인하세요.
- Open the label compartment cover, typically located on the back or side of the device.
- Insert the label cassette with the label tape facing the print head, ensuring it clicks into place.
- 라벨 부착함 덮개를 닫으세요.
2.3 전원 켜기/끄기
- 전원을 켜려면 화면이 켜질 때까지 전원 버튼을 길게 누르세요.
- 전원을 끄려면 장치가 종료될 때까지 전원 버튼을 길게 누릅니다.
3. 운영
3.1 Using the QWERTY Keyboard and On-Device Screen
The integrated QWERTY keyboard allows for direct label creation on the device. The high-resolution color screen provides clear visibility of your label design.
- Text Entry: Type your desired text using the QWERTY keyboard.
- 서식: Use the navigation buttons and menu options to select fonts, sizes, styles (bold, italic), and add symbols or borders.
- 사전view: The screen displays a real-time preview of your label.
- 인쇄: 인쇄 버튼을 눌러 라벨을 생성하세요.

Image 3.1: The large color screen of the LabelManager Executive 640 CB, displaying label text and options for customizing background colors, enhancing readability and design.
3.2 Connecting via Bluetooth (Mobile App)
The DYMO LM Connect mobile app allows for advanced label design and printing from your smartphone or tablet.
- Download the "DYMO LM Connect" app from your device's app store.
- Ensure Bluetooth is enabled on your mobile device and the label printer.
- Open the app and follow the on-screen instructions to connect to your LabelManager Executive 640 CB. The device should appear automatically without manual pairing.
- Design your label within the app, utilizing features like QR codes, signatures, and backgrounds.
- Send the label to the printer via the app's print function.

Image 3.2: A user interacting with the DYMO LM Connect mobile app on a smartphone to design a label, with the LabelManager Executive 640 CB visible on the desk, demonstrating Bluetooth connectivity.
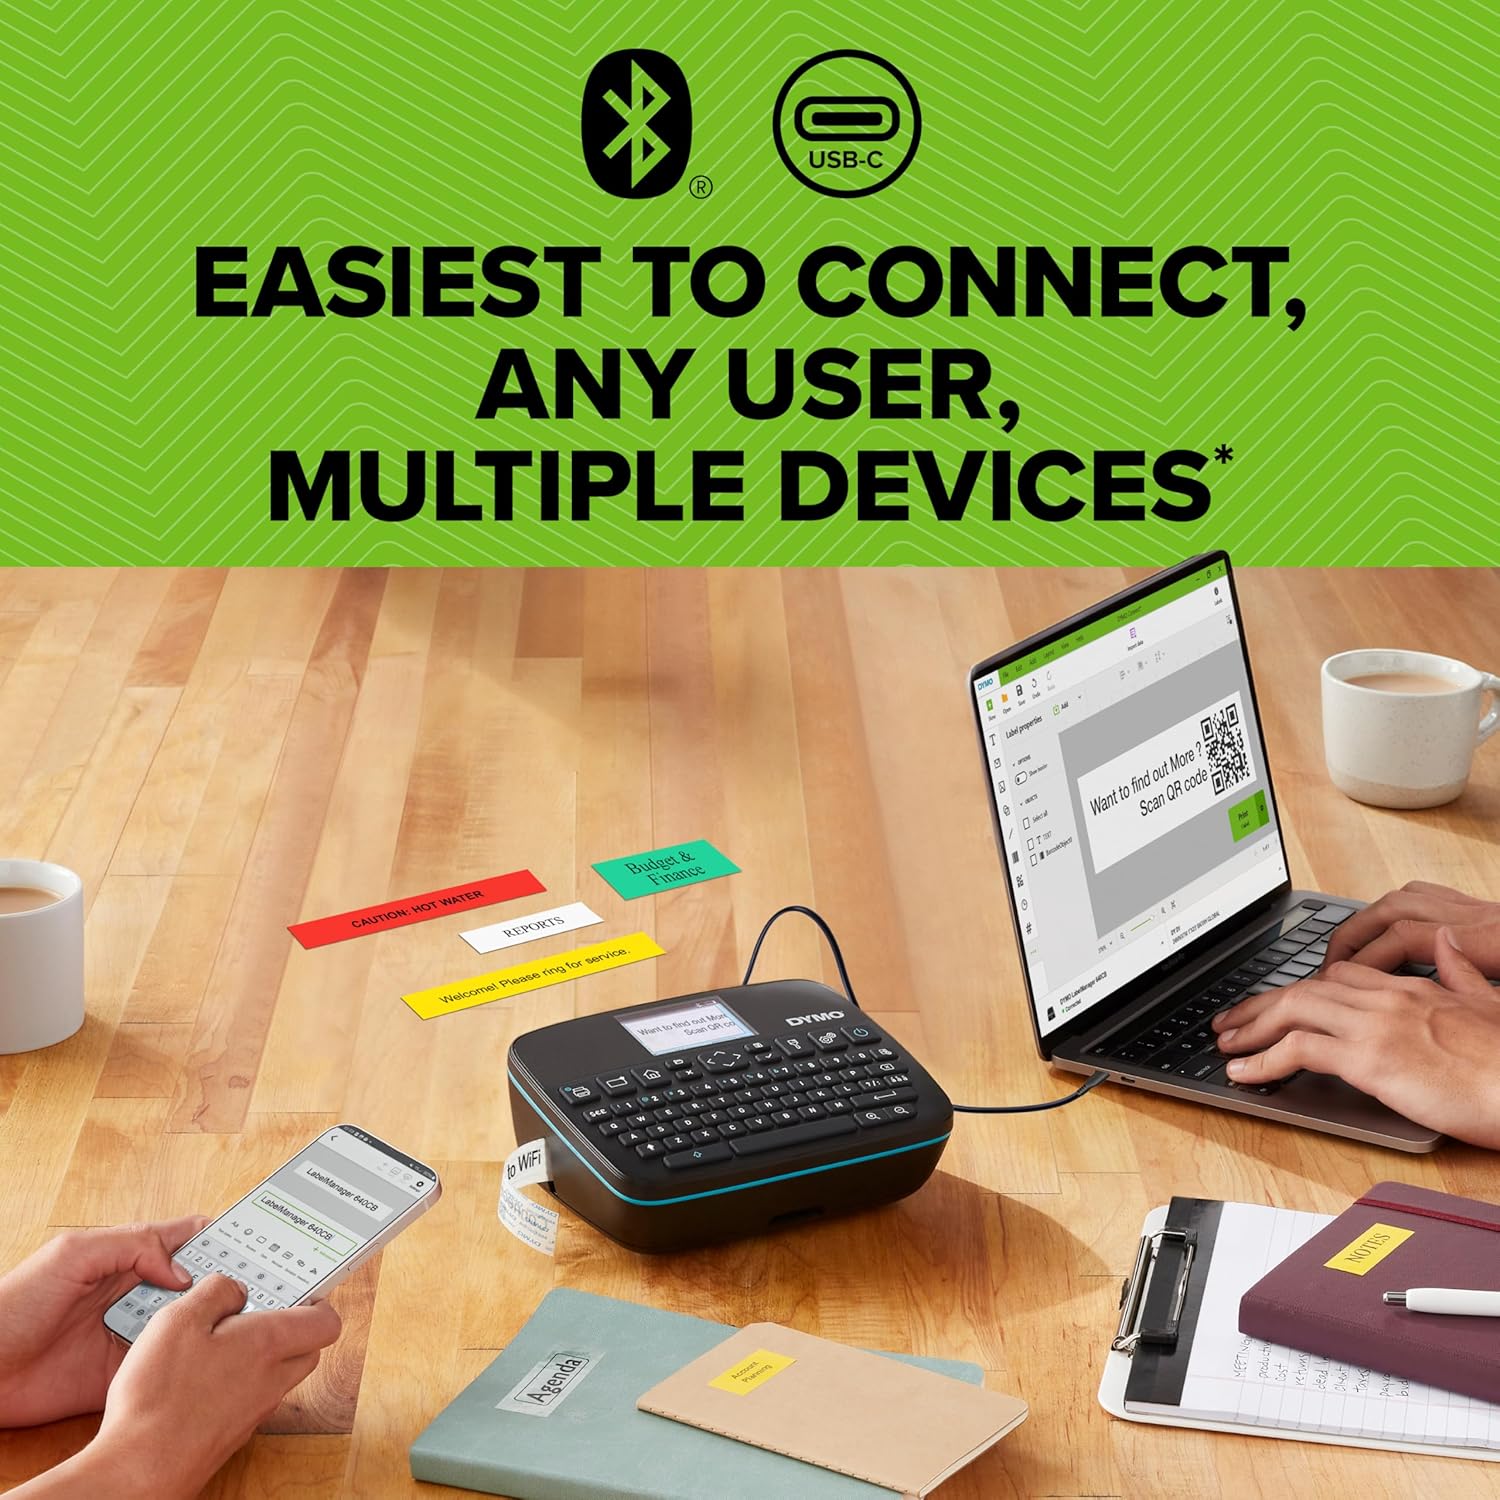
Image 3.3: The LabelManager Executive 640 CB demonstrating its dual connectivity, linked to both a laptop via USB-C and a smartphone via Bluetooth, with various printed labels on the table.
3.3 Connecting via USB-C (Desktop Software)
For comprehensive label design and management, connect your printer to a computer using the DYMO Connect for Desktop software.
- Download and install the "DYMO Connect for Desktop" software from the official DYMO web대지.
- Connect the label printer to your computer using the USB-C cable.
- Launch the software. The printer should be recognized automatically.
- Utilize the software's features to create and print labels.

Image 3.4: A user operating the DYMO LabelManager Executive 640 CB connected to a laptop via USB-C, demonstrating the use of desktop software for label design and printing.
3.4 Label Customization and Versatility
The LabelManager Executive 640 CB supports a wide range of label customization options.
- 라벨 유형: Compatible with D1 Standard and Durable labels.
- 라벨 너비: Supports widths from 6mm (1/4") to 24mm (1").
- 디자인 요소: Incorporate various fonts, sizes, styles, symbols, clip art, barcodes, and QR codes into your labels.

Image 3.5: An assortment of customized labels created with the DYMO LabelManager Executive 640 CB, showcasing different text, colors, barcodes, and QR codes for diverse applications.
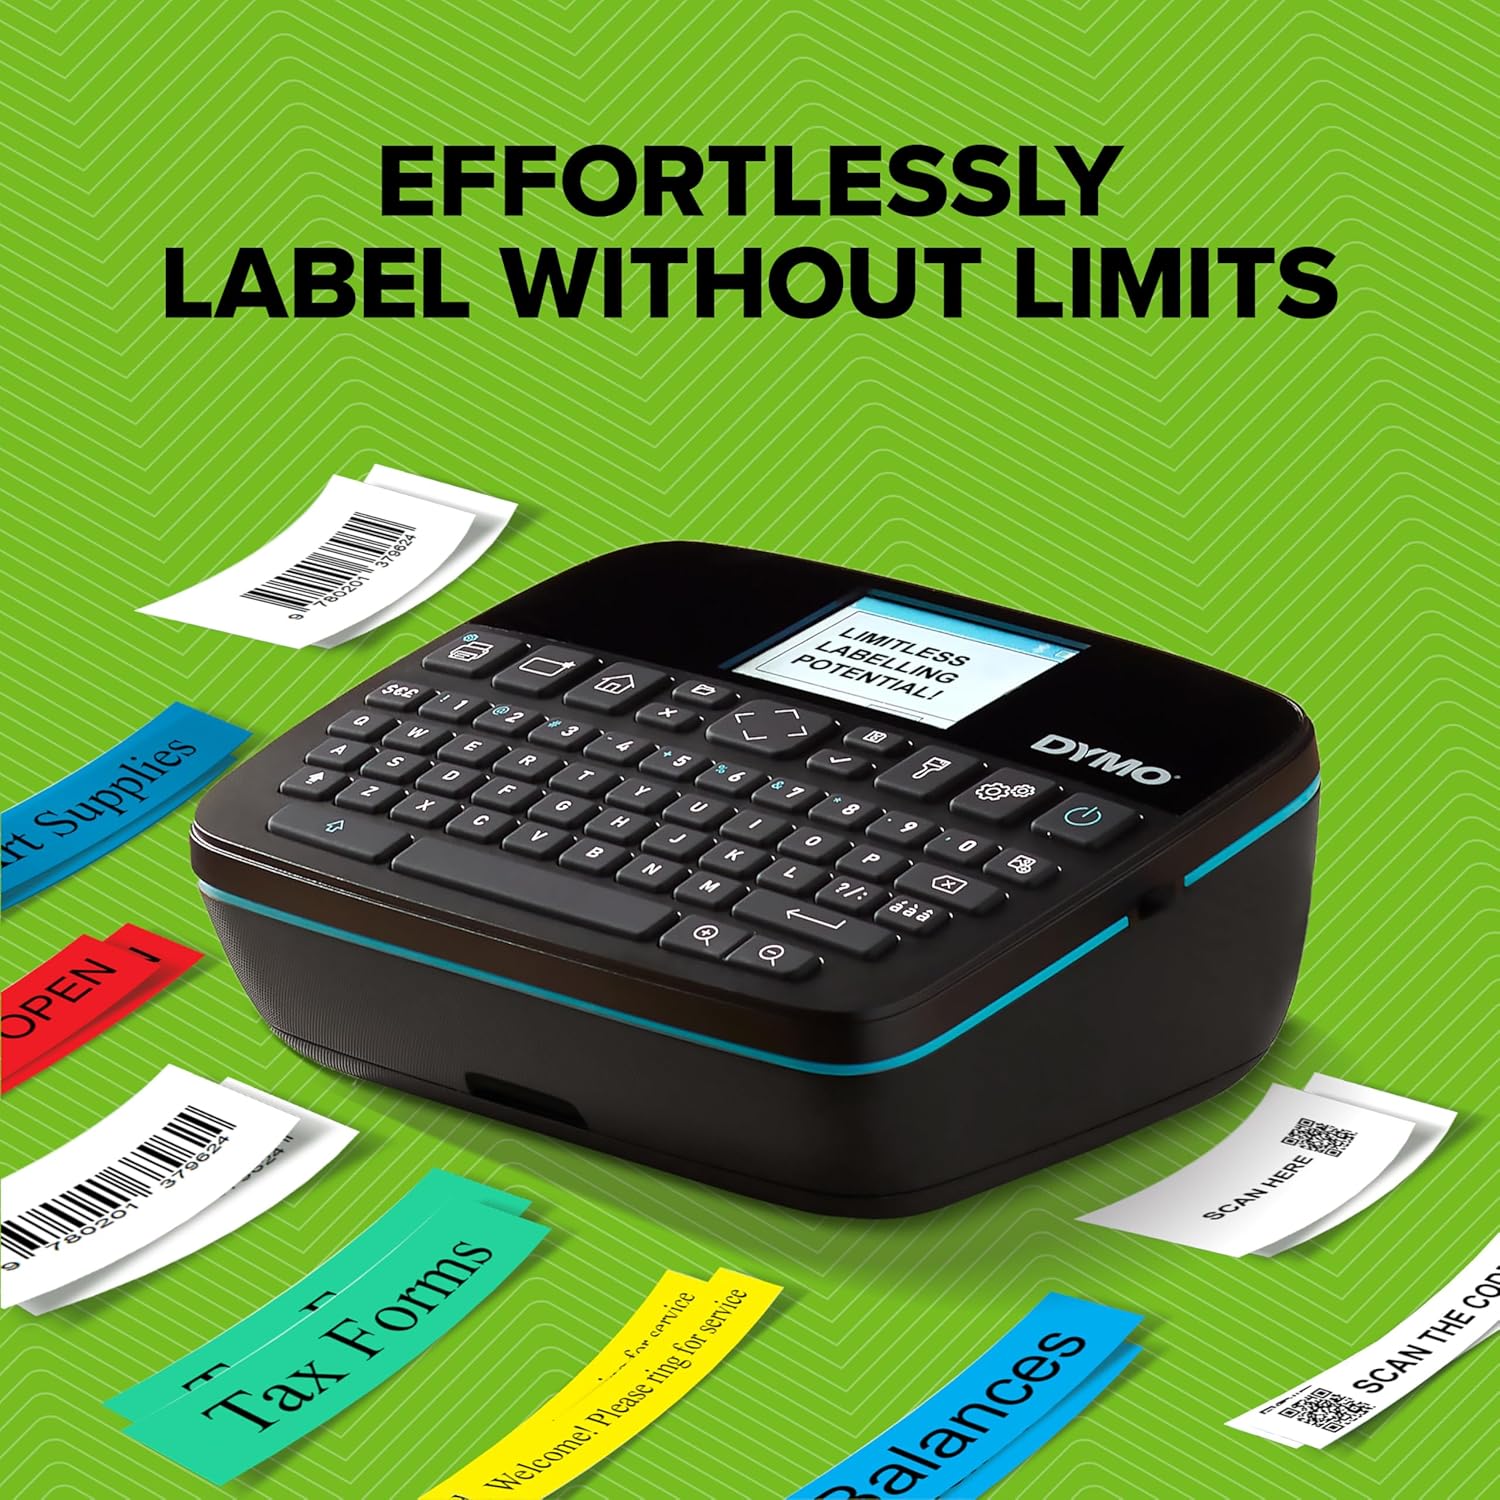
Image 3.6: The DYMO LabelManager Executive 640 CB demonstrating its capability to produce a variety of labels for organizational purposes, such as "Tax Forms" and "Balances," highlighting its versatility.
4. 유지관리
4.1 프린트 헤드 청소
To ensure optimal print quality, periodically clean the print head.
- Power off the device and open the label compartment.
- Gently wipe the print head with a clean, lint-free cloth or a cotton swab lightly damp이소프로필 알코올로 소독함.
- Allow the print head to dry completely before closing the compartment and powering on the device.
4.2 배터리 관리
- 배터리 수명을 연장하려면 배터리를 자주 완전히 방전시키지 마세요.
- 장기간 사용하지 않을 때는 기기를 서늘하고 건조한 곳에 보관하세요.
- 충전 시에는 제공된 USB-C 케이블만 사용하세요.
4.3 라벨 보관
Store label cassettes in a cool, dry place away from direct sunlight and extreme temperatures to maintain adhesive quality and print integrity.
5. 문제 해결
| 문제 | 가능한 원인 | 해결책 |
|---|---|---|
| 장치의 전원이 켜지지 않습니다. | 배터리가 부족하거나 방전되었습니다. | USB-C 케이블을 사용하여 기기를 충전하세요. |
| 인쇄 품질이 좋지 않습니다. | Dirty print head or incorrect label type. | Clean the print head (refer to Section 4.1). Ensure you are using genuine DYMO D1 labels. |
| Bluetooth를 통해 연결할 수 없습니다. | Bluetooth is off, app permissions, or device not discoverable. | Ensure Bluetooth is enabled on both devices. Check app permissions for location services (required by some operating systems for Bluetooth scanning). Restart both devices. |
| Excessive blank margin on labels. | Automatic cutting feature or software settings. | Review settings in the mobile app or desktop software for margin adjustments. Note that some margin is inherent to the printing process. |
| Software (app/desktop) issues. | Outdated software or compatibility issues. | Ensure your DYMO Connect app or desktop software is updated to the latest version. Check DYMO's website for system requirements. |
If you encounter issues not listed here, please refer to the official DYMO support resources.
6. 사양
- 모델 이름: LabelManager Executive 640 CB
- 모델 번호: 2197370
- 상표: DYMO
- 연결 기술 : Bluetooth Low Energy, USB Type C
- 인쇄 기술: 열전달
- 프린터 출력: 단색화
- 최대 미디어 크기: 1 인치 (24mm)
- Compatible Label Widths: 6mm (1/4") to 24mm (1")
- 호환 라벨: DYMO D1 Standard and Durable Labels
- 전원: 충전식 리튬 폴리머 배터리(포함)
- 제어 방법: On-device QWERTY keyboard, Mobile App (DYMO LM Connect), Desktop Software (DYMO Connect for Desktop)
- 제품 크기: 대략 30인치(깊이) x 8인치(너비) x 6인치(높이) (Note: This dimension may refer to packaging. Please refer to the product for exact device dimensions.)
- 품목 무게: 1.51파운드(685그램)
- 최대 인쇄 해상도: 200 dpi (Black and White)
- 포함된 구성 요소: Label Printer, 1 Label Tape, USB-C Cable
7. 보증 및 지원
7.1 보증 정보
The DYMO LabelManager Executive 640 CB comes with a limited warranty. Please refer to the warranty card included with your product or visit the official DYMO web보증 범위 및 기간에 대한 자세한 약관은 해당 사이트를 참조하세요.
7.2 고객 지원
For technical assistance, product inquiries, or to access additional resources, please visit the official DYMO support web대지 or contact their customer service department. Contact information can typically be found on the DYMO web사이트 또는 제품 포장.


