1. 서론
Welcome to the user manual for your new Bambu Lab P1S 3D Printer. The P1S is a high-performance 3D printer designed for reliability and ease of use, featuring a fully enclosed body that enhances printing performance for advanced filaments. It is engineered for high-temperature printing and offers rapid print speeds without compromising quality.
This manual provides essential information for setting up, operating, maintaining, and troubleshooting your P1S printer to ensure optimal performance and longevity.

그림 1: 전면 view of the Bambu Lab P1S 3D Printer.
2. 설정
2.1 언박싱 및 배치
Carefully remove the printer from its packaging. Ensure all protective materials and shipping restraints are removed. Place the printer on a stable, level surface with adequate space around it for ventilation and operation. The printer dimensions are approximately 38.9 x 45.8 x 38.9 cm.
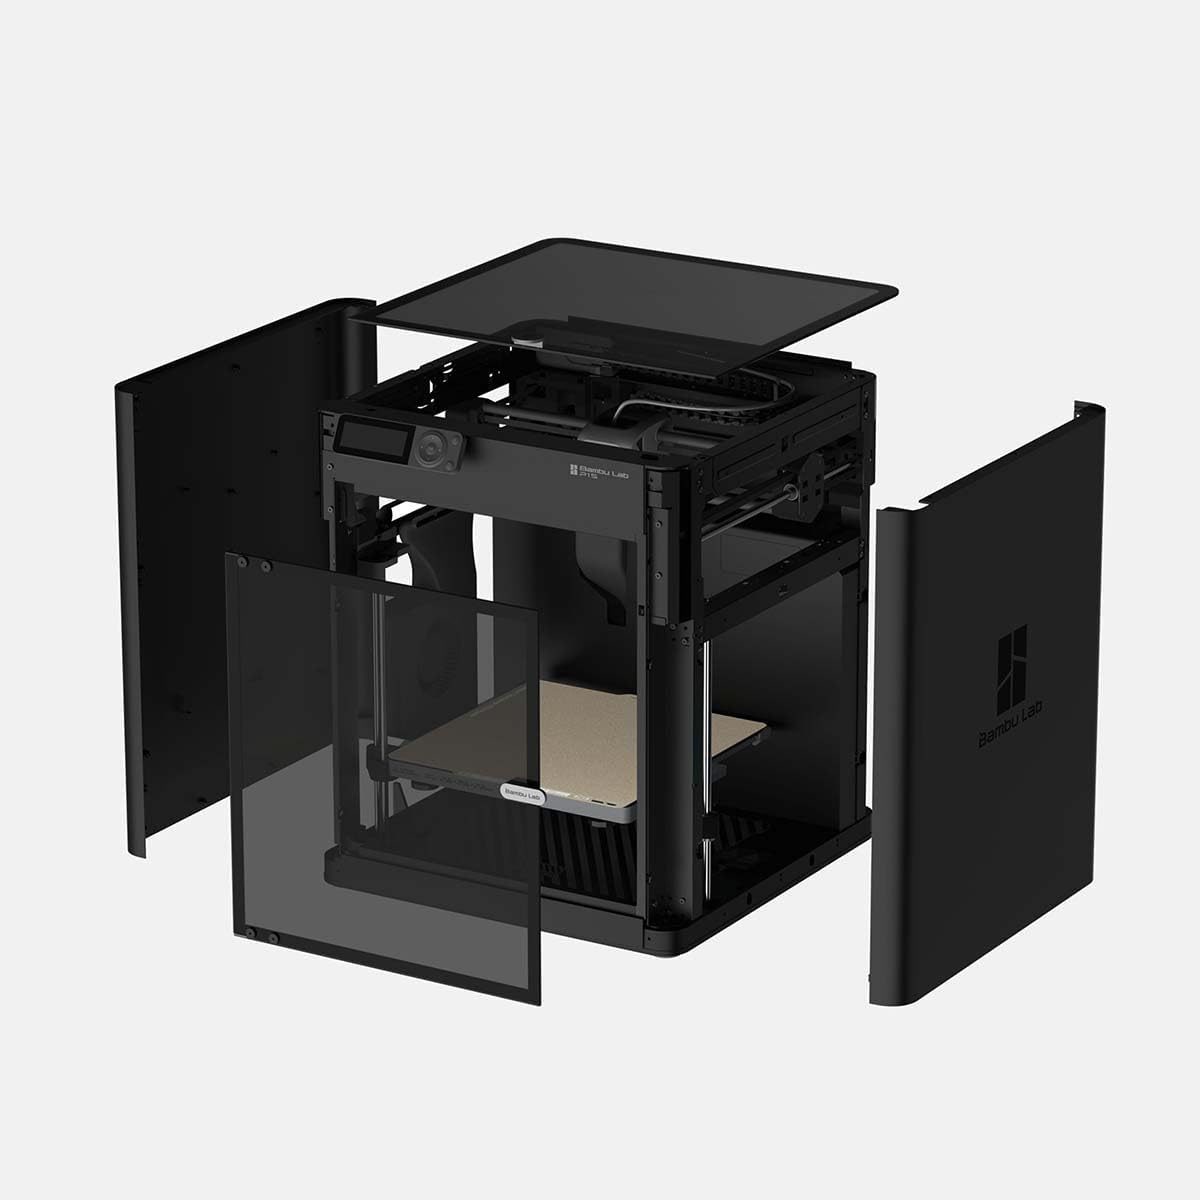
그림 2: 폭발 view showing the internal components and enclosure of the P1S.
2.2 전원 연결
Connect the power cable to the printer and then to a suitable electrical outlet. The Bambu Lab P1S supports a wide voltage range (Bivolt: 100-240 VCA, 50/60 Hz), making it adaptable to various regions.
2.3 초기 교정
The P1S is designed for immediate use. Upon first power-on, the printer will automatically perform essential calibrations, including automatic bed leveling and vibration compensation. Allow the printer to complete these processes before proceeding.
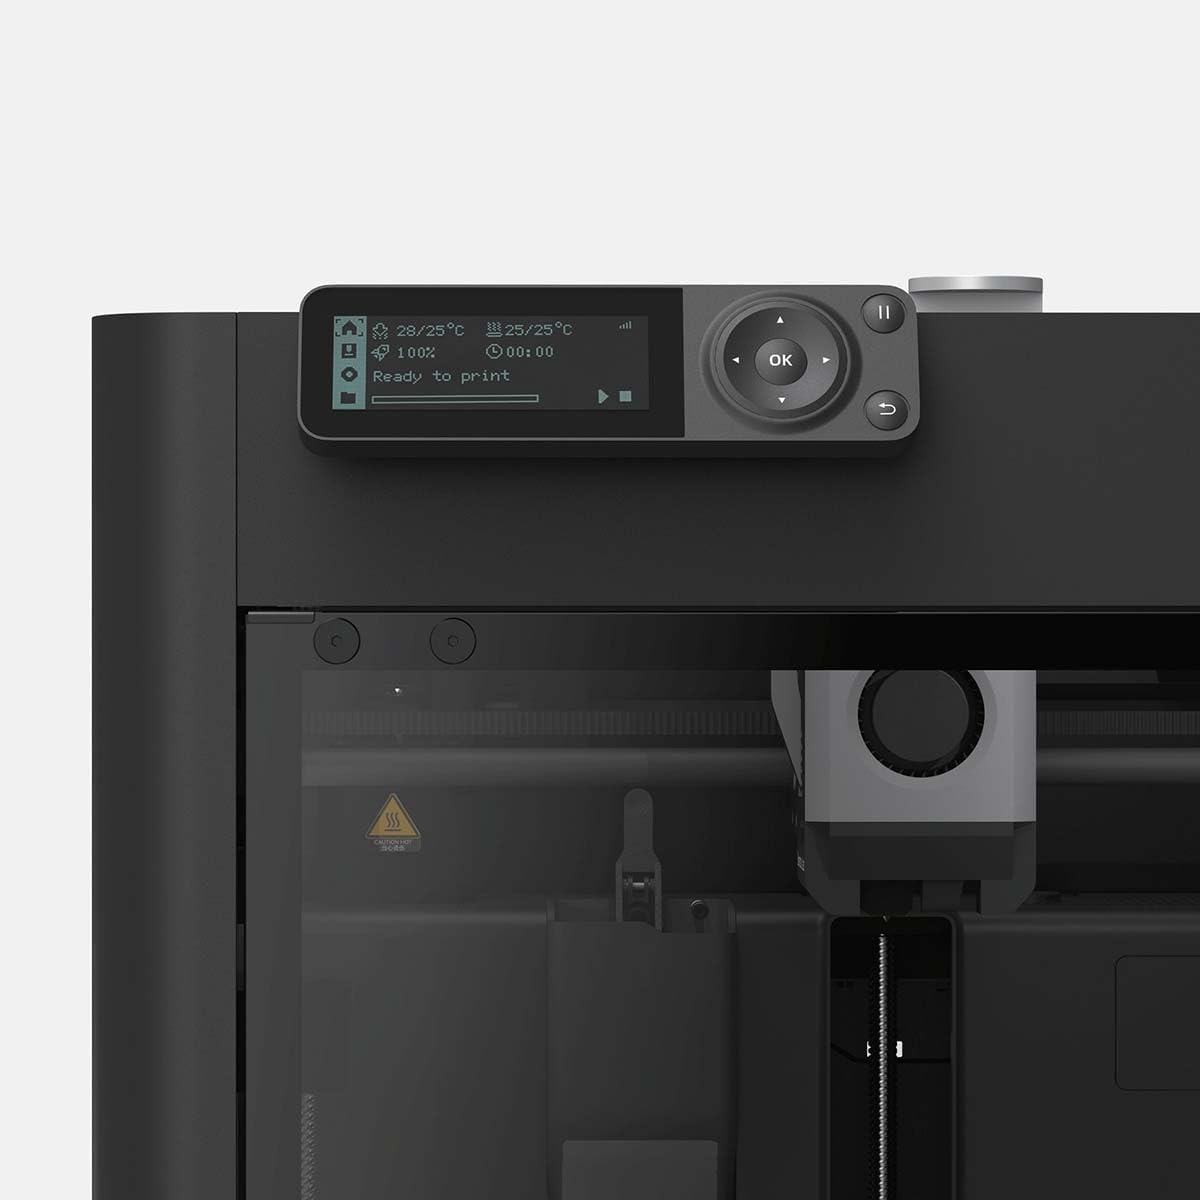
Figure 3: Close-up of the P1S control panel displaying operational status.
2.4 필라멘트 로딩
Load your chosen filament (e.g., PLA, PETG, TPU, ABS, ASA) into the designated filament holder and feed it into the extruder according to the on-screen instructions. The printer supports 1.75 mm diameter filament.
3. 사용 설명서
3.1 기본 인쇄 프로세스
- Prepare your 3D model: Use compatible slicing software (e.g., Bambu Studio) on your computer (Windows, macOS, Linux) or mobile device (Android, iOS) to prepare your 3D model for printing.
- Send to printer: 슬라이스된 G코드를 전송합니다 file to the P1S via Wi-Fi or other supported methods.
- Start printing: 선택하세요 file on the printer's interface and initiate the print. The printer will automatically heat the hotend (up to 300 ℃) and the build plate (up to 100 ℃).
- 진행 상황 모니터링: Monitor the print progress via the printer's display or connected software.
3.2 Multi-color Printing (Optional)
For multi-color printing capabilities, the Bambu Lab P1S can be optionally paired with the AMS (Automatic Material System). This allows for printing with up to 16 colors when stacking four AMS units, significantly expanding creative possibilities.
3.3 Speed and Quality
The P1S boasts an impressive maximum extruder speed of 500 mm/s and acceleration of 20 m/s². Its advanced control algorithms, including vibration compensation and pressure advance, ensure high-quality prints even at these rapid speeds.
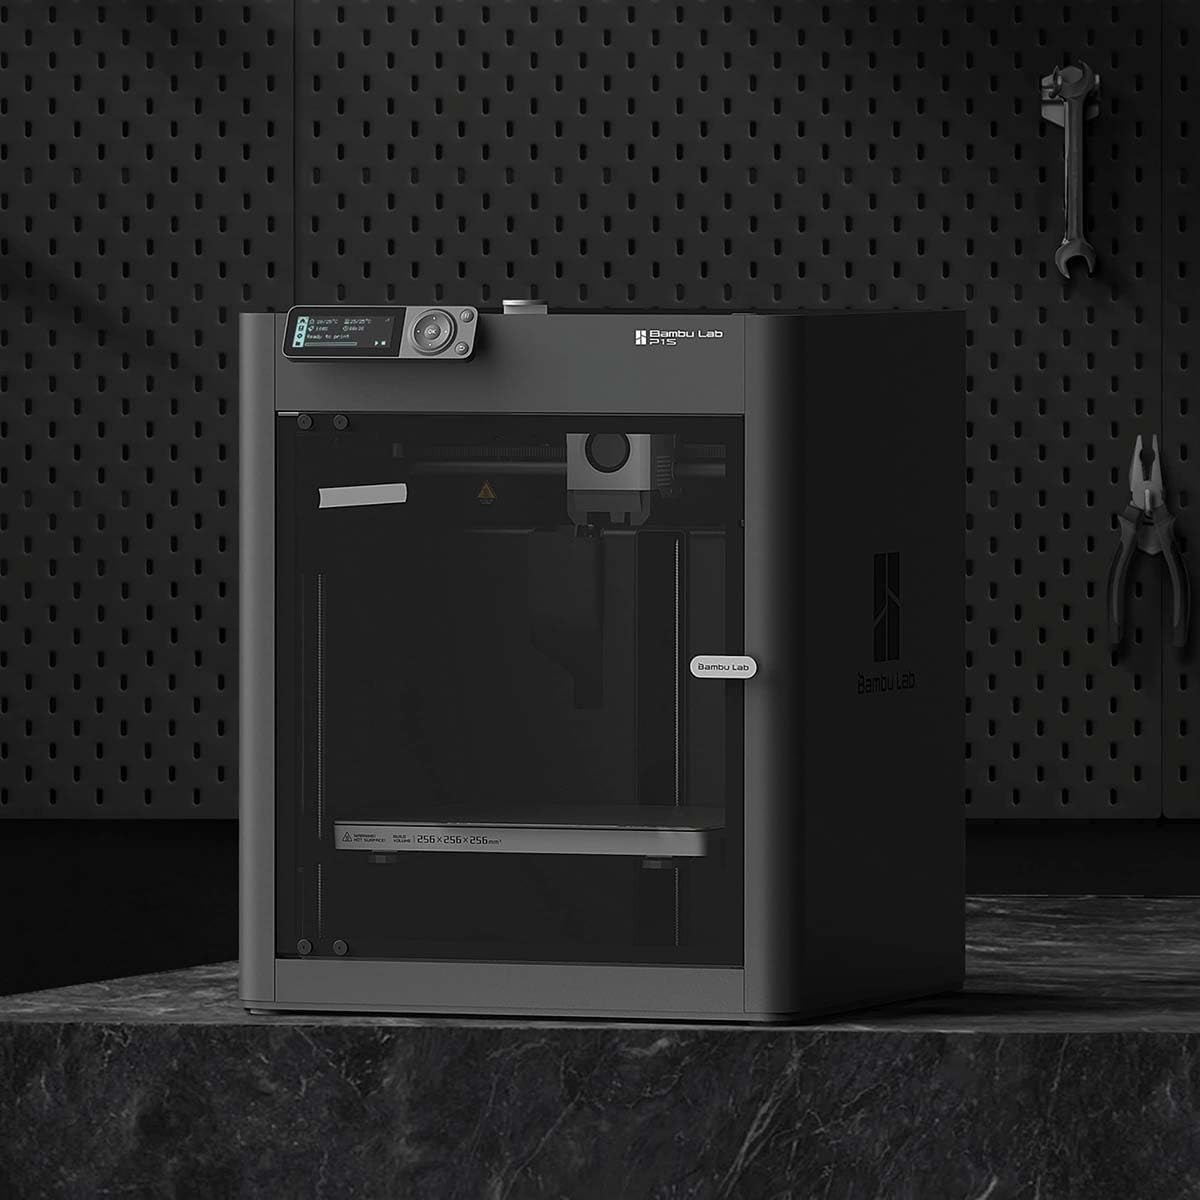
Figure 4: The Bambu Lab P1S 3D Printer ready for operation in a typical workspace.
4. 유지관리
4.1 빌드 플레이트 청소
Regularly clean the textured PEI build plate with isopropyl alcohol to ensure optimal adhesion and print quality. Avoid abrasive cleaners that could damage the surface.
4.2 노즐 및 핫엔드 관리
Periodically inspect the stainless steel nozzle for wear or clogs. Refer to the Bambu Lab support resources for detailed instructions on hotend and nozzle replacement or cleaning procedures.
4.3 General Upkeep
Keep the printer's interior and exterior clean from dust and filament debris. Ensure all moving parts are free from obstructions. Do not attempt to lubricate components unless specifically instructed by Bambu Lab documentation.
5. 문제 해결
5.1 일반적인 인쇄 문제
- 첫 번째 레이어 접착력이 좋지 않음:
Ensure the build plate is clean and free of oils. Re-run bed leveling calibration. Adjust Z-offset if necessary.
- 필라멘트 막힘:
Check for tangled filament on the spool. Verify hotend temperature is appropriate for the filament type. Perform a cold pull or hotend cleaning if a clog is suspected.
- 레이어 이동:
Inspect belts for proper tension. Ensure the printer is on a stable surface. Reduce print speed if printing very fast or with complex geometries.
- 인쇄 품질 문제(예: 실처럼 늘어지는 현상, 뭉침 현상):
Adjust retraction settings in your slicing software. Ensure filament is dry. Calibrate flow rate for your specific filament.
For more detailed troubleshooting guides and solutions, please visit the official Bambu Lab support web대지.
6. 사양
| 특징 | 세부 사항 |
|---|---|
| Build Volume (L×P×A) | 256 x 256 x 256mm |
| 노즐 재질 | Stainless Steel (0.4 mm included) |
| 핫엔드 타입 | 모든 금속 |
| Max Hotend Temperature | 300℃ |
| 필라멘트 직경 | 1.75mm (XNUMXmm) |
| 지원되는 필라멘트 | PLA, PETG, TPU, PVA, PET, ABS, ASA |
| 빌드 플레이트 표면 | Bambu Textured PEI Plate (included) |
| 최대 제작판 온도 | 100℃ |
| 최대 압출기 속도 | 500mm/초 |
| Max Extruder Acceleration | 20m/초² |
| Physical Dimensions (P1S) | 389 x 389 x 458mm³ |
| 순중량 | 12.95kg |
| 전기적 요구 사항 | 100-240 VCA, 50/60 Hz (1000 W @ 220 V, 350 W @ 110 V) |
| 운영 체제 호환성 | 윈도우, macOS, 리눅스, 안드로이드, iOS |
| 재료 | 플라스틱과 유리 |
7. 보증 및 지원
For warranty information, technical support, and service inquiries, please refer to the official Bambu Lab web사이트를 방문하거나 고객 서비스에 직접 문의하세요. 보증 청구를 위해 구매 증빙 자료로 구매 영수증을 보관하세요.
온라인 리소스: Visit the Bambu Lab official webFAQ, 펌웨어 업데이트 및 커뮤니티 포럼을 위한 사이트입니다.


