1. 중요 안전 지침
Please read all instructions carefully before operating the Milex Nordic Ice Machine. Retain this manual for future reference.
- 기기를 직사광선과 열원에서 멀리 떨어진 안정적이고 평평한 표면에 놓으세요.
- 전원 코드, 플러그 또는 기기의 어떤 부분도 물이나 다른 액체에 담그지 마십시오.
- 이 기기는 가정용으로만 사용하세요. 실외에서 사용하지 마세요.
- 기기를 사용하는 동안 어린이를 감독하십시오.
- Unplug the ice machine from the power outlet before cleaning or when not in use.
- 코드나 플러그가 손상된 경우 또는 기기가 오작동하거나 어떤 식으로든 손상된 경우에는 기기를 작동하지 마십시오.
- Allow the unit to stand upright for at least 2 hours before first use if it has been transported horizontally. This allows the refrigerant to settle.
- 물탱크에는 마실 수 있는 물만 사용하세요.
- 통풍구를 막지 마십시오. 기기 주변에 충분한 공기 순환이 이루어지도록 하십시오.
2. 제품 오버view
Familiarize yourself with the components of your Milex Nordic Ice Machine.
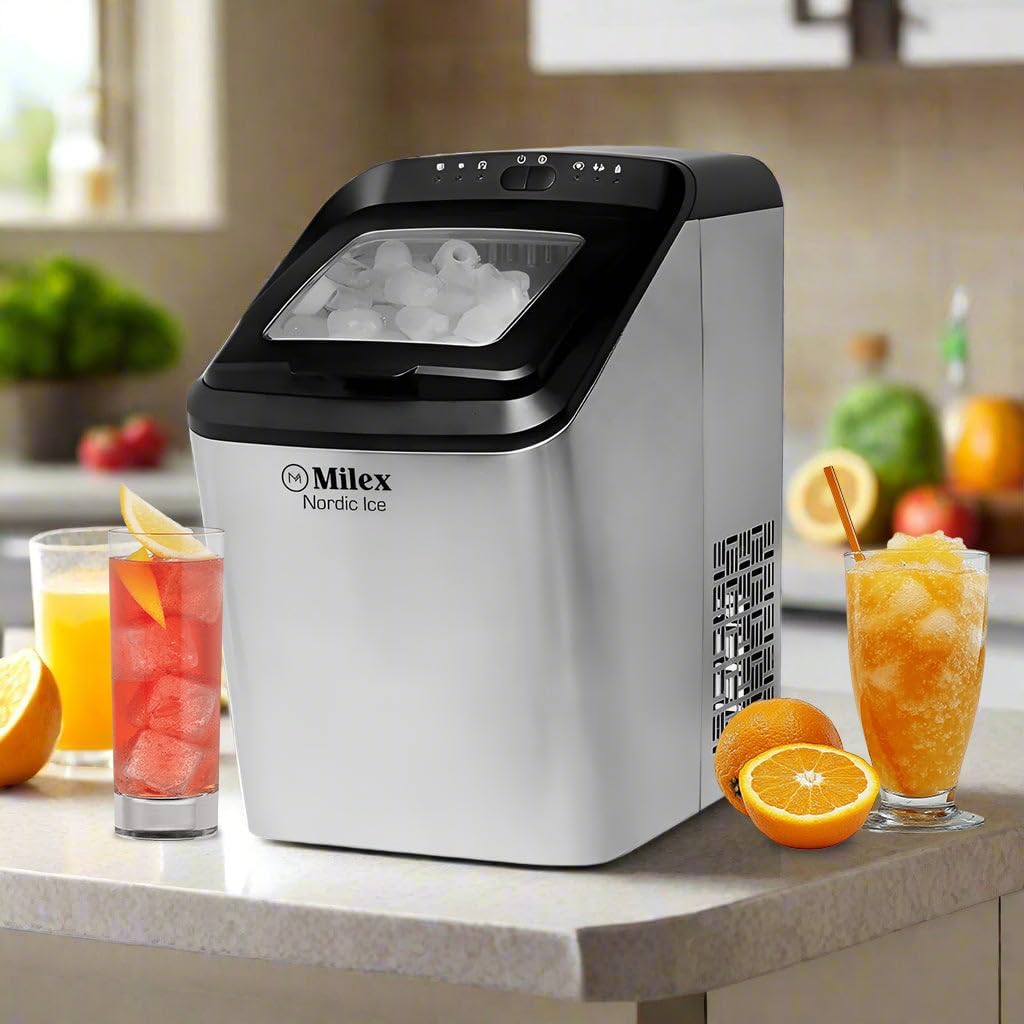
그림 2.1: 앞쪽 view of the Milex Nordic Ice Machine, showcasing its sleek stainless steel housing and transparent lid.
주요 구성 요소 :
- 제어판: Located on the top, with indicator lights and buttons for operation.
- 투명한 뚜껑: 허용합니다 viewing of the ice-making process and ice level.
- 얼음 바구니: 얼음을 모아 보관할 수 있는 분리형 바구니입니다.
- 수조: Reservoir for water, located beneath the ice basket.
- 얼음 국자: 위생적인 얼음 회수를 위해 포함되어 있습니다.
- 드레인 플러그 : 물 빠짐을 위해 바닥 쪽에 위치해 있습니다.
3. 설정
Follow these steps to set up your ice machine for the first time.
- 풀다: Carefully remove the ice machine from its packaging. Remove all packing materials, tape, and labels.
- 위치: Place the ice machine on a flat, stable, and heat-resistant surface. Ensure there is at least 15 cm (6 inches) of space around the unit for proper ventilation.
- Stand Upright: If the unit was transported horizontally, allow it to stand upright for at least 2 hours before plugging it in. This ensures the compressor oil settles correctly.
- 깨끗한: Before first use, clean the interior of the ice machine as described in the 'Maintenance and Cleaning' section.
- 전원 연결: 전원 코드를 접지된 콘센트에 꽂으세요.
4. 사용 설명서
Operating your Milex Nordic Ice Machine is straightforward.

그림 4.1: Visual guide showing the three main steps: adding water, selecting ice size, and the ice production process.
4.1 초기 얼음 생성
- 물 추가: Open the lid and fill the water tank with potable water up to the 'MAX' fill line. Do not overfill.
- 전원 켜기: Press the 'POWER' button on the control panel. The power indicator light will illuminate.
- 얼음 크기 선택: Press the 'SELECT' button to choose between small or large ice cubes. The corresponding indicator light will illuminate.
- 시작 주기: The machine will automatically begin the ice-making cycle. The first batch of ice may take approximately 8-15 minutes, depending on the selected size and ambient temperature.
- 감시 장치: The 'ICE FULL' indicator light will illuminate when the ice basket is full. The machine will pause operation. The 'ADD WATER' indicator light will illuminate when the water tank needs refilling.
- 얼음 가져오기: Use the provided ice scoop to remove ice from the basket. Once ice is removed, the machine will resume operation if water is present.
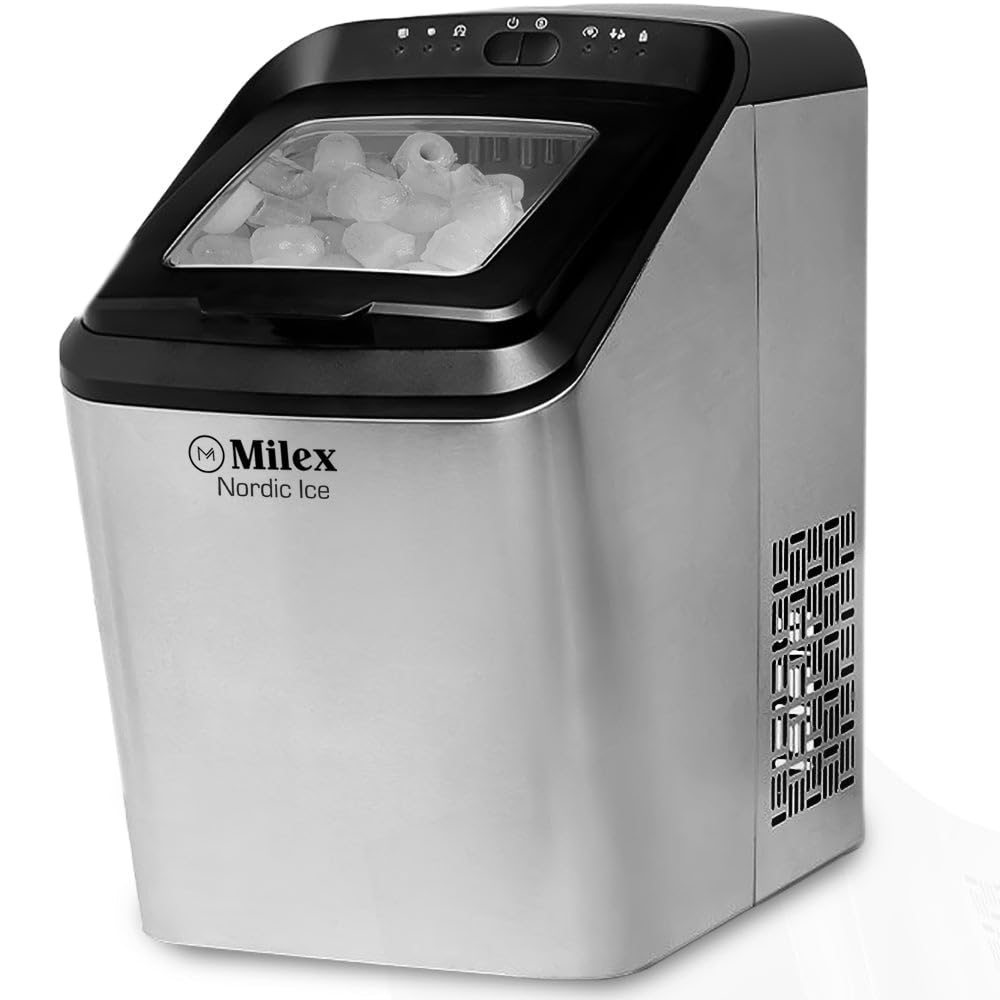
그림 4.2: 상세한 view of the control panel with indicator lights and freshly made bullet-shaped ice cubes.
4.2 스마트 알림
- 물 표시기 추가: When this light illuminates, the water level in the tank is low. Refill the water tank to continue ice production.
- 얼음 가득 참 표시기: When this light illuminates, the ice basket is full. Remove ice to allow the machine to resume operation.
5. 유지관리 및 청소
Regular cleaning ensures optimal performance and extends the life of your ice machine.
5.1 일일 청소
- After each use, unplug the unit.
- Drain any remaining water from the water tank by removing the drain plug at the bottom of the unit.
- Wipe the interior with a soft cloth and a mild detergent solution. Rinse thoroughly.
- Dry all surfaces completely before storing.
5.2 월간 청소
- Prepare a cleaning solution of water and white vinegar (1:1 ratio) or a commercial ice machine cleaner.
- 용액을 물 탱크에 붓습니다.
- Run a few ice-making cycles (discard the ice produced during this cleaning process).
- Drain the solution completely and rinse the water tank thoroughly with clean water several times.
- 광고로 외부를 닦다amp 옷감.
주의: Do not use abrasive cleaners or sharp objects to clean the ice machine, as this may damage the surfaces.
6. 문제 해결
일반적인 문제와 해결 방법은 이 섹션을 참조하세요.
| 문제 | 가능한 원인 | 해결책 |
|---|---|---|
| Ice machine not turning on | 전원 공급이 없습니다 | 전원 코드가 작동하는 콘센트에 단단히 꽂혀 있는지 확인하세요. |
| '물 추가' 표시등이 켜져 있습니다. | 물탱크가 비어있거나 물량이 부족합니다 | 물탱크에 식수를 'MAX' 선까지 채우십시오. |
| '얼음 가득' 표시등이 켜져 있습니다 | 얼음 바구니가 가득 찼습니다. | Remove ice from the basket. The machine will resume operation. |
| 얼음 생산 없음 | Insufficient water, high ambient temperature, or air blockage | Ensure water tank is full. Place the machine in a cooler environment. Check for proper ventilation. |
| 얼음 조각이 너무 작거나 뭉쳐 있습니다. | Water temperature too high, or first cycle | Use colder water. The first few cycles may produce smaller ice. Ensure the machine has proper ventilation. |
7. 사양
Technical details for the Milex Nordic Ice Machine MIM003.
- 모델: MIM003
- 힘: 220-240V, 50Hz
- 물탱크 용량: 2.8리터
- 얼음 생산 능력: Up to 15kg per day
- 얼음 저장 용량: 최대 1.5kg
- Ice Cycle Time: 8-10 minutes per cycle (9 ice bullets)
- Ice Options: Large or Small bullet-shaped ice
- 재료: 스테인리스 스틸 하우징
- Dimensions (Box): 458mm x 290mm x 462mm
- 품목 무게: 12kg
8. 보증 및 고객 지원
For warranty information, technical assistance, or customer support, please contact Milex customer service. Refer to your purchase documentation for specific warranty terms and contact details.
일반적으로 제조업체의 공식 지원 연락처 정보를 찾을 수 있습니다. web사이트나 소매업체를 통해 구매하세요.