1. 서론
Thank you for choosing the DEERC Spider RC Car Transform Robot. This remote-controlled toy offers dynamic transformation between a high-speed car and an agile robot, featuring 2.4GHz control, 360-degree rotation, and one-key transformation. This manual provides essential information for safe operation, setup, and maintenance to ensure optimal performance and enjoyment.
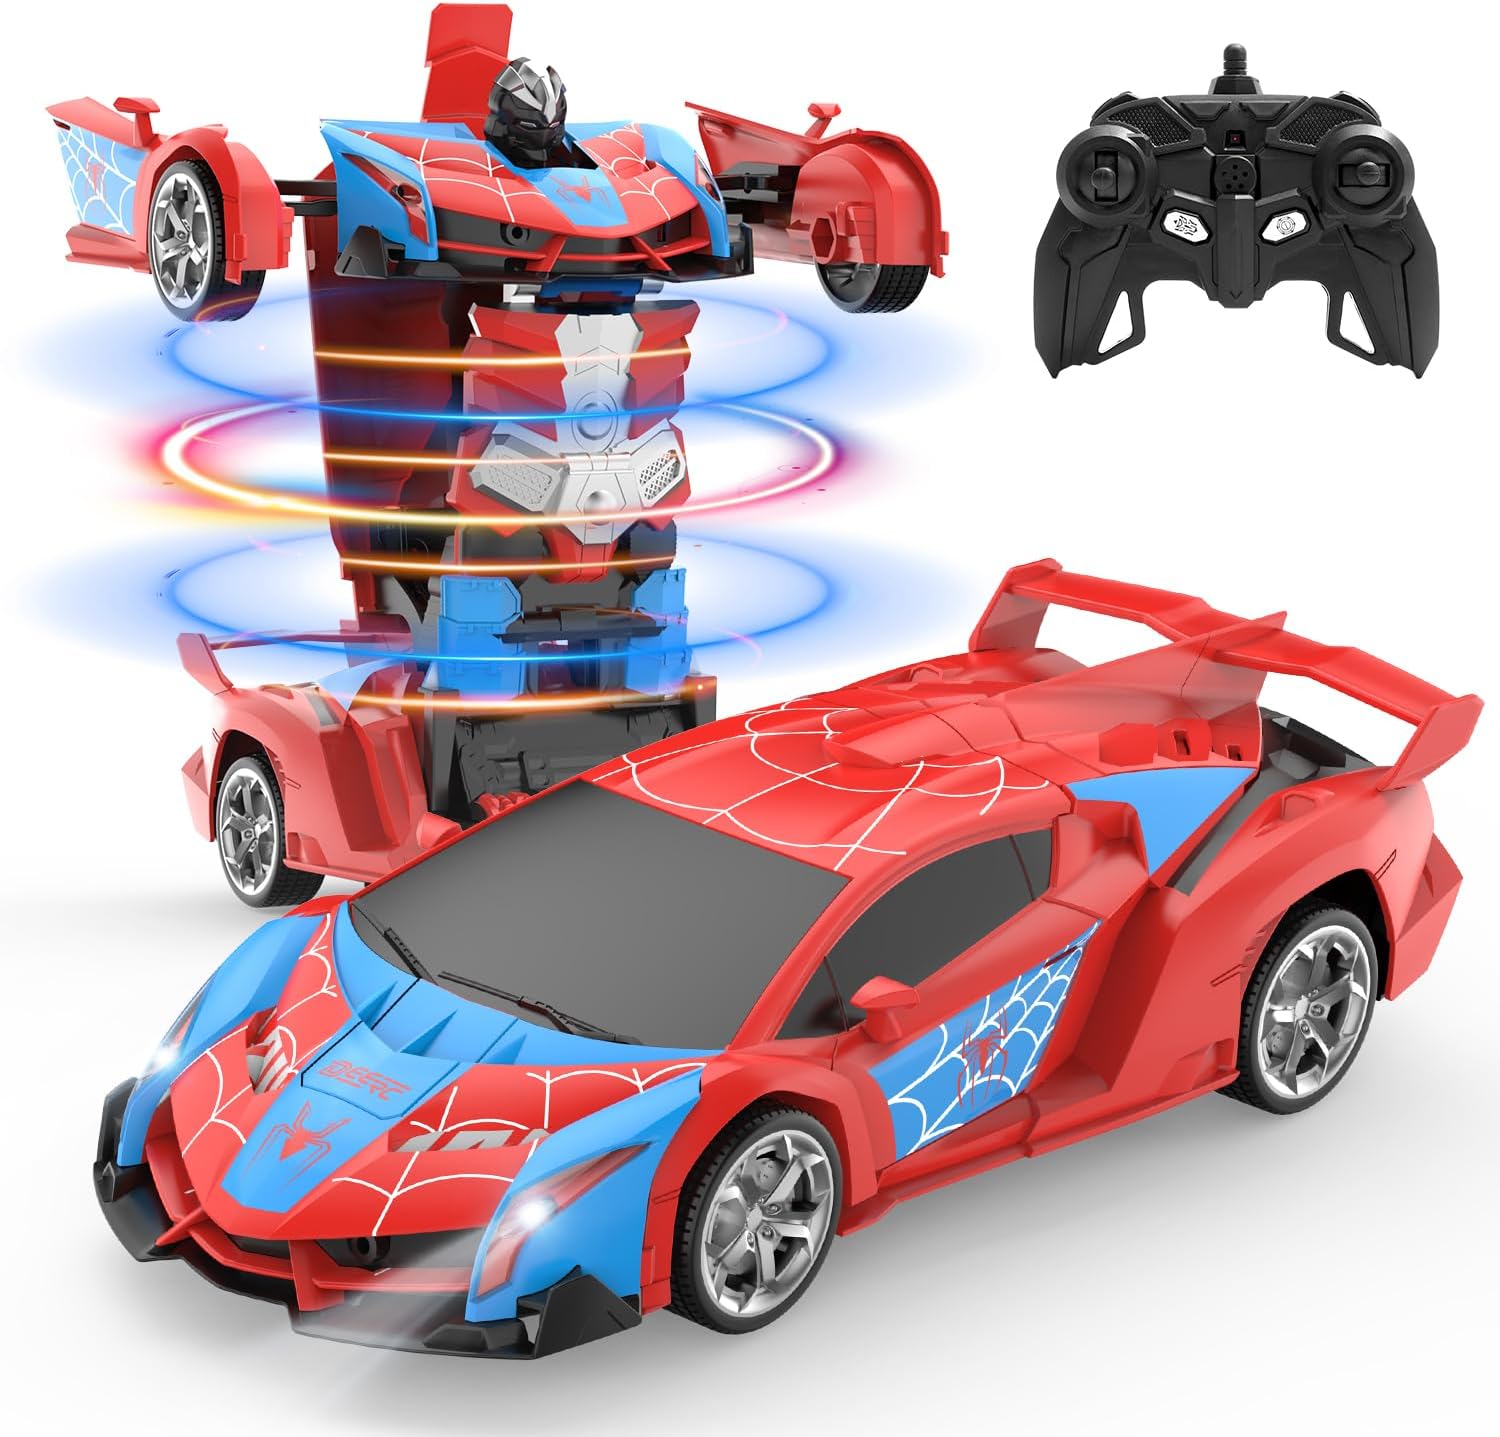
Image 1.1: The DEERC Spider RC Car Transform Robot in its car and robot configurations, alongside its remote control unit.
2. 안전 정보
Please read and understand all safety warnings before operating the product. Failure to follow these instructions may result in injury or damage to the product.
- 외부에서만 사용하세요. Do not ingest any parts of the toy or battery.
- 본 제품은 8세 이상 사용을 권장합니다. 8세 미만 어린이는 보호자의 감독 하에 사용해야 합니다.
- Keep fingers, hair, and loose clothing away from moving parts, especially during transformation.
- 전기적 손상을 방지하기 위해 물 근처나 젖은 환경에서 장난감을 작동하지 마십시오.
- Use only the provided charging cable and battery. Do not attempt to charge non-rechargeable batteries.
- If the battery becomes hot during charging or use, discontinue use immediately.
- Avoid operating the toy in crowded areas or near obstacles that could cause collisions.
- 제품을 사용하지 않을 때는 서늘하고 건조한 곳에 보관하십시오.
3. 패키지 내용
Verify that all items are present in the package before beginning setup.
- DEERC Spider RC Car Transform Robot
- 원격 제어
- Rechargeable Lithium Ion Battery (for the toy)
- USB 충전 케이블
- 드라이버
- 제품 매뉴얼(이 문서)

Image 3.1: All components included in the DEERC Spider RC Car Transform Robot package.
4. 설정
4.1. Charging the Toy Battery
- Locate the rechargeable Lithium Ion battery and the USB charging cable.
- 배터리를 USB 충전 케이블에 연결합니다.
- 케이블의 USB 끝을 표준 USB 전원 어댑터(포함되지 않음)나 컴퓨터 USB 포트에 꽂습니다.
- USB 케이블의 표시등은 충전 중에 켜지고, 완전히 충전되면 꺼지거나 색상이 바뀝니다.
- 충전은 일반적으로 약 60~90분 정도 소요됩니다. 과충전하지 마십시오.
4.2. Installing the Toy Battery
- Using the provided screwdriver, open the battery compartment on the underside of the toy.
- 완전히 충전된 배터리를 극성을 확인하여 조심스럽게 배터리함에 넣으십시오.
- 배터리함을 닫고 나사로 고정합니다.
4.3. 리모컨 배터리 설치
- 리모컨 뒷면의 배터리 수납칸을 엽니다.
- Insert two 1.5V 'AA' batteries (not included), observing the correct polarity (+/-).
- 배터리 칸을 단단히 닫으세요.
4.4. 리모컨 페어링
- Ensure the toy's battery is installed and the toy is powered off.
- 리모컨을 켜세요. 리모컨의 표시등이 깜빡일 것입니다.
- Turn on the toy. The toy's indicator light will also flash.
- Within a few seconds, both indicator lights should become solid, indicating successful pairing. If pairing fails, turn off both devices and repeat the process.
5. 사용 설명서
Familiarize yourself with the remote control functions before operating the toy.
5.1. Basic Movement
- 앞으로: 왼쪽 조이스틱을 앞으로 밀어주세요.
- 뒤로: 왼쪽 조이스틱을 뒤로 당기세요.
- 왼쪽으로 돌아: 오른쪽 조이스틱을 왼쪽으로 밀어주세요.
- 우회전: 오른쪽 조이스틱을 오른쪽으로 밀어주세요.
5.2. One-Key Transformation
Press the dedicated transformation button on the remote control to switch between car mode and robot mode. The toy will automatically perform the transformation sequence.

Image 5.1: Visual representation of the one-key transformation feature.
5.3. 360° 회전
In either car or robot mode, use specific joystick combinations (refer to remote control diagram if available) or a dedicated button to initiate a 360-degree spin. This feature allows for dynamic maneuvers.

Image 5.2: The robot performing a 360-degree rotation.
5.4. 자동 모드
Press the 'Auto Mode' button on the remote control to activate an automatic demonstration sequence. The toy will showcase its transformation and movement capabilities independently.
5.5. LED 조명
The toy features integrated LED lights that illuminate during operation and transformation, enhancing the visual experience.
6. 유지관리
6.1. 청소
- Wipe the toy with a soft, dry cloth to remove dust and dirt.
- 물이나 화학 세척제를 사용하지 마십시오. 전자 부품이 손상될 수 있습니다.
6.2. 보관
- When not in use for extended periods, remove batteries from both the toy and the remote control.
- Store the toy and remote in a cool, dry place, away from direct sunlight and extreme temperatures.
6.3. 소재 내구성
The toy is constructed from durable ABS plastic and features robust rubber tires designed for longevity and smooth transformation.
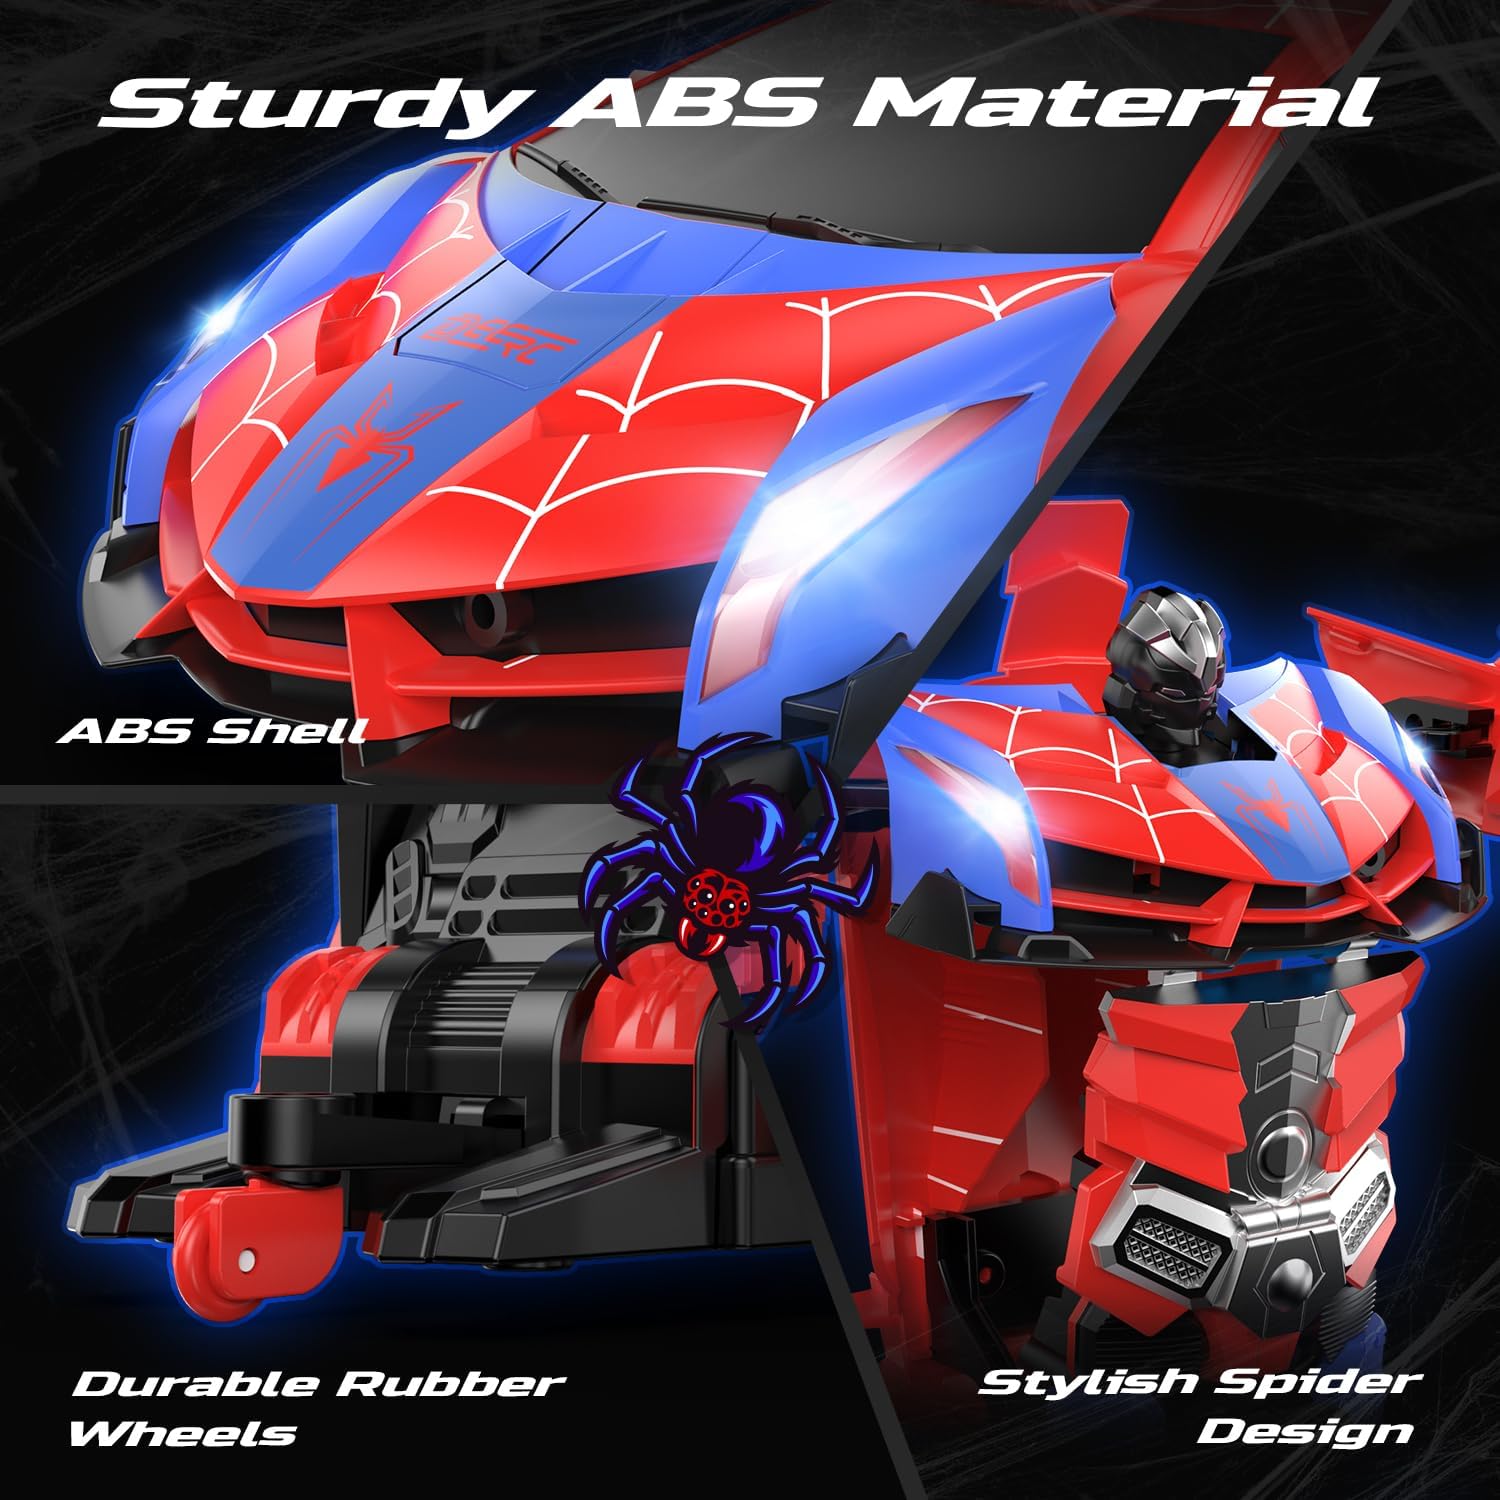
Image 6.1: Details of the toy's durable ABS material and rubber wheels.
7. 문제 해결
If you encounter issues with your DEERC Spider RC Car Transform Robot, refer to the following common problems and solutions:
| 문제 | 가능한 원인 | 해결책 |
|---|---|---|
| Toy does not respond to remote control. | Low battery in toy or remote; pairing failure; interference. | Charge toy battery fully. Replace remote control batteries. Re-pair the remote and toy (Section 4.4). Ensure no other 2.4GHz devices are causing interference. |
| 작동 시간이 짧습니다. | 배터리가 완전히 충전되지 않았습니다. 배터리가 노후되었습니다. | Ensure the battery is fully charged before each use. Consider purchasing a spare battery for extended playtime. |
| Transformation is not smooth or incomplete. | Obstruction; mechanism misalignment. | Ensure no debris is blocking the moving parts. Gently assist the transformation if minor tweaking is needed, but do not force it. |
| Toy moves slowly or erratically. | Low battery; damaged motor/gears. | Charge toy battery. If the problem persists after charging, contact customer support. |
8. 사양
- 제품 크기: 9.05 x 3.74 x 2.36 인치
- 품목 무게: 14.6 온스
- ASIN: B0D9M3W6GL
- 제조업체 권장 연령: 8세 이상
- 배터리: 1 Lithium Ion battery (included) for toy, 2 AA batteries (not included) for remote.
- 제어 주파수: 2.4GHz
- 제조업체: 디어크
9. 보증 및 지원
DEERC products are designed for quality and performance. For any questions, technical assistance, or warranty claims, please contact DEERC customer support. Refer to the product packaging or the official DEERC web최신 연락처 정보는 사이트에서 확인하세요.
보증을 위해 구매 증빙서류를 보관하세요.


