소개
Thank you for choosing the ASMAX Portable Tire Inflator. This compact and powerful device is designed to provide convenient and efficient inflation for various items, including car tires, motorcycle tires, bicycle tires, and sports balls. Equipped with a high-capacity battery, real-time pressure monitoring, and automatic shut-off, it ensures precise and safe inflation wherever you are. Please read this manual thoroughly before operation to ensure proper use and maintenance.
중요한 안전 정보
- 어린이의 손이 닿지 않는 곳에 보관하세요.
- 습한 환경이나 가연성 액체 또는 가스 근처에서 인플레이터를 작동하지 마십시오.
- Ensure the correct pressure setting for the item being inflated to prevent over-inflation, which can cause damage or injury.
- 작동 중에는 인플레이터를 방치하지 마십시오.
- Allow the device to cool down if it becomes hot during prolonged use.
- 제공된 충전 케이블과 액세서리만 사용하세요.
- 사용하지 않을 때는 공기 주입기를 서늘하고 건조한 곳에 보관하십시오.
패키지 내용
패키지에 모든 품목이 들어 있는지 확인하세요.
- 1 x 스마트 에어 펌프
- 1 x Fast-connected air pipe with Schrader valve
- 1 x Air inflation needle for balls
- 1 x Presta 밸브 어댑터
- 1 x Type-C 충전 케이블
- 1 x 보관백
- 1 x 사용자 설명서

Image: The ASMAX Portable Tire Inflator with its various accessories, including the air hose, charging cable, and different nozzles.
제품 특징
- Fast Inflation with Cooling Protection: Inflates tires quickly (26L/min, max 160 PSI) and features a cooling fan to prevent overheating during extended use.
- Real-time Pressure Monitoring & Dual LED Display: A dual LED display shows both current and target pressure with high accuracy (±0.01 bar). Easily switch between PSI, kPa, BAR, and KG/CM².
- Multiple LED Light Modes: Equipped with three light modes (continuous, flashing, and SOS) for enhanced safety and visibility in various conditions.
- 5 Inflation Modes & Auto Shut-Off: Preset modes for cars, motorcycles, bikes, and balls, plus a custom mode (up to 11 Bar). The device automatically stops inflation once the target pressure is reached.
- Convenient Quick-Connect Hose: The 50cm quick-connect hose allows for hands-free operation during inflation.
- 대용량 7500mAh 배터리: Built-in rechargeable battery provides cordless operation, making it ideal for on-the-go use.
- 휴대성 있는 디자인: Weighs only 500g and includes a storage bag for easy transport.
- 다기능 보조 배터리: Can be used to charge other devices like smartphones, bike computers, and headlights.

Image: Close-up of the inflator's dual LED screen displaying real-time and preset pressure values.

Image: Illustration of the 7500mAh battery capacity and approximate inflation counts for different vehicle types and balls.
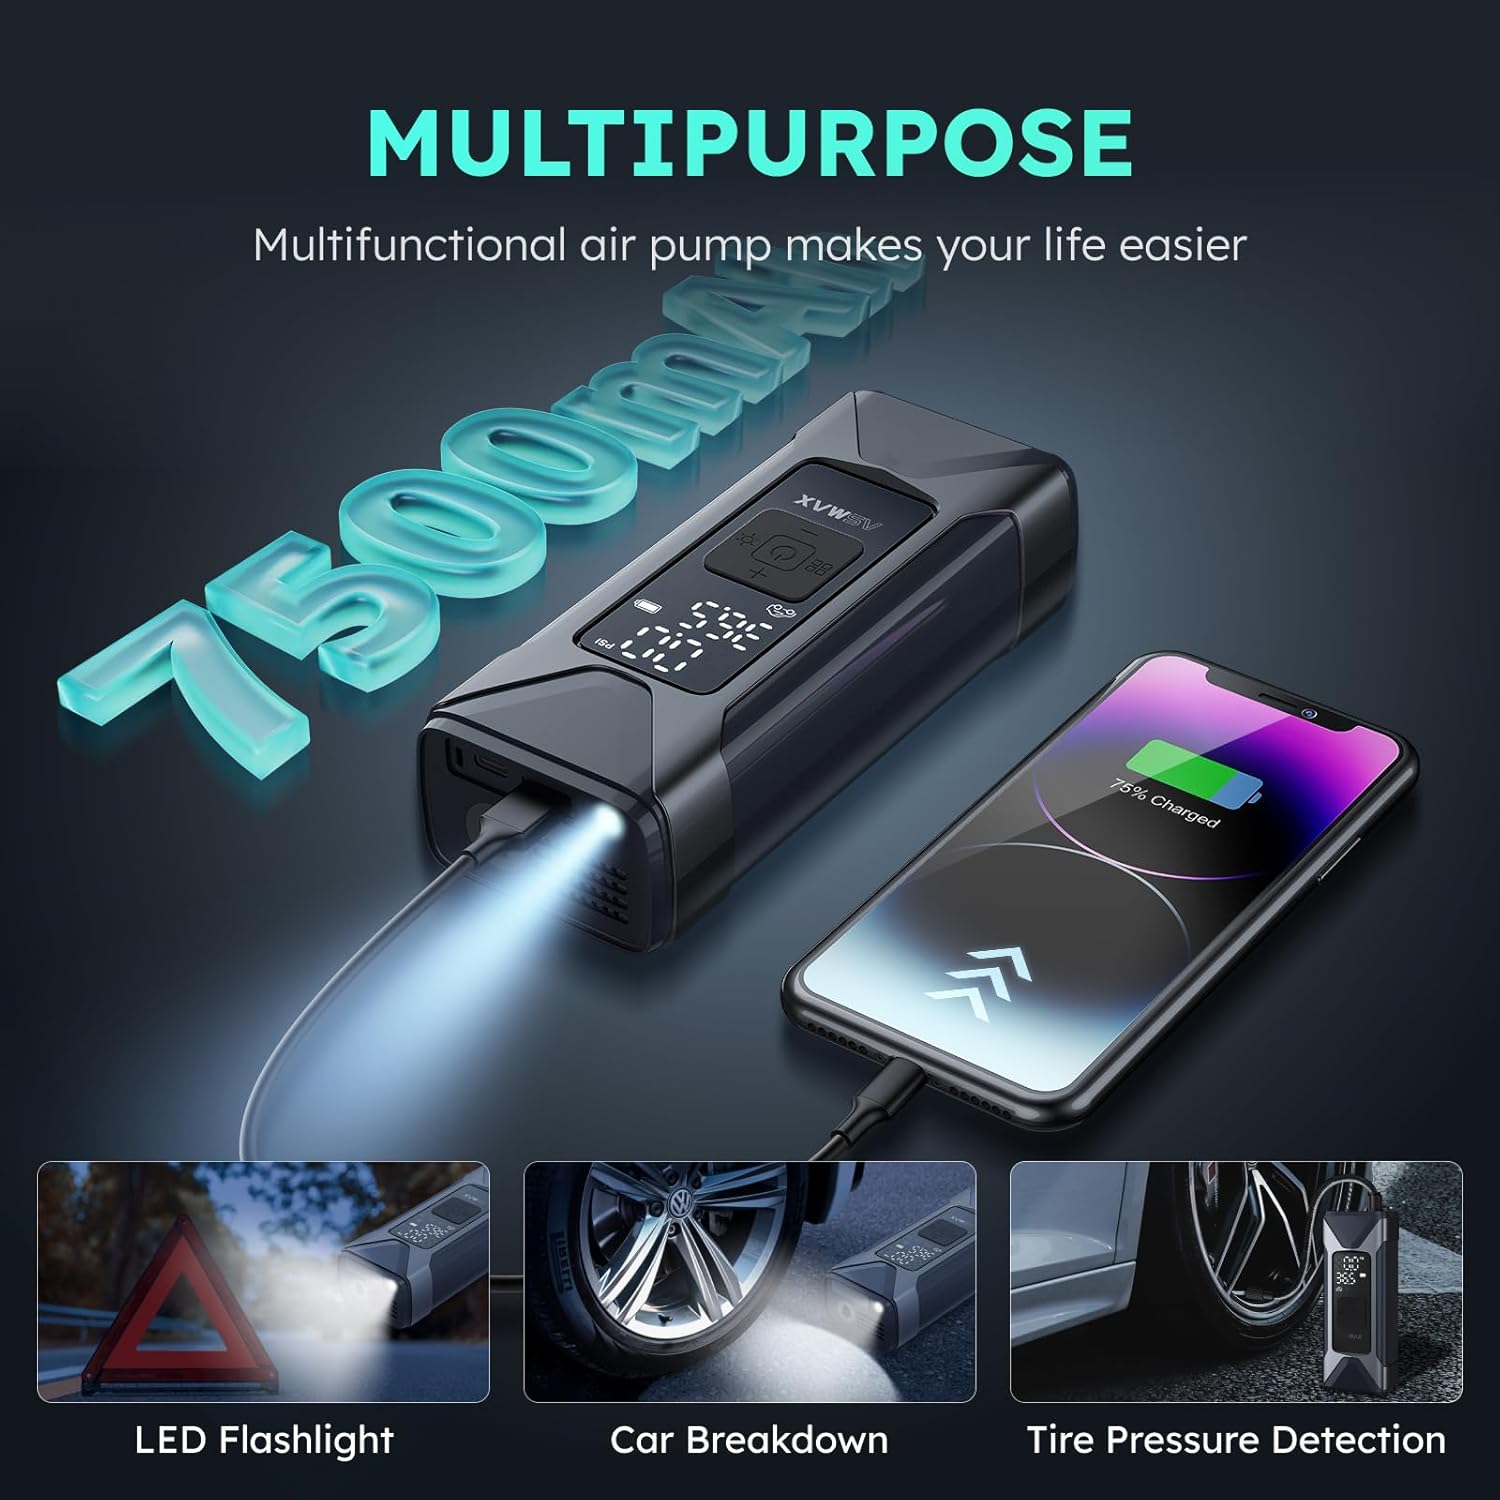
Image: The inflator demonstrating its multi-purpose capabilities, such as functioning as an LED flashlight, assisting during car breakdowns, and detecting tire pressure.
설정
장치 충전하기
Before first use, fully charge the ASMAX Portable Tire Inflator. Connect the provided Type-C charging cable to the charging port on the device and the other end to a compatible USB power source (e.g., wall adapter, car charger, power bank). The battery indicator on the display will show charging progress.
Attaching the Air Hose and Nozzle
- Screw the fast-connected air pipe securely into the inflation port at the top of the device.
- 공기를 넣고 싶은 품목에 맞는 노즐을 선택하세요.
- Attach the selected nozzle to the end of the air pipe. For standard car/motorcycle tires, the Schrader valve is integrated into the air pipe. For bicycle Presta valves or balls, use the included adapters.

Image: The detachable quick-connect air hose, illustrating how it connects to the inflator and the valve.
작동 지침
1. 전원 켜기/끄기
전원 버튼을 길게 누르세요.⏻) for 3 seconds to turn the inflator on or off. The display will illuminate upon activation.
2. Connect to Item
Connect the attached air hose and nozzle firmly to the valve stem of the item you intend to inflate. Once connected, the display will show the current pressure of the item.
3. Select Inflation Mode
모드 버튼(■■
■■) to cycle through the preset inflation modes: Car, Motorcycle, Bicycle, Ball, and Custom. Each mode has a default pressure range. For custom mode, you can set your desired pressure manually.
4. Set Target Pressure (if applicable)
In any mode, use the + 그리고 - buttons to adjust the target pressure. The target pressure will be displayed prominently on the screen.
5. Start Inflation
Once the mode and target pressure are set, press the power button (⏻) briefly to start inflation. The inflator will automatically stop when the target pressure is reached.

Image: Visual representation of the automatic shut-off feature, showing the inflator stopping once the desired pressure is achieved.
6. LED 조명 사용
조명 버튼을 누르세요.☀) to cycle through the three LED light modes: continuous illumination, flashing mode, and SOS strobe warning. This feature is useful for nighttime use or emergencies.

Image: The compact design of the inflator, highlighting its key features through icons.
유지
- 청소: 인플레이터 외부를 부드러운 천으로 닦으세요.amp 천으로 닦으세요. 강한 화학 물질이나 연마성 세제는 사용하지 마세요. 보관하기 전에 기기가 건조한지 확인하세요.
- 저장: 인플레이터와 부속품을 제공된 보관 가방에 넣어 직사광선과 극한의 온도를 피해 시원하고 건조한 곳에 보관하세요.
- 배터리 관리 : To prolong battery life, charge the device at least once every three months if not used regularly.
문제 해결
| 문제 | 가능한 원인 | 해결책 |
|---|---|---|
| 장치가 켜지지 않습니다. | 배터리가 부족합니다. 전원 버튼을 충분히 길게 누르지 않았습니다. | 기기를 완전히 충전한 후 전원 버튼을 3초 동안 길게 누르세요. |
| 목표 압력에 도달하기 전에 인플레이터가 멈춥니다. | Overheating protection activated; Hose not securely connected. | Allow the device to cool down; Ensure the air hose is tightly screwed in. |
| 압력 측정값이 정확하지 않습니다. | Hose not properly connected to valve; Device malfunction. | Ensure a tight seal between nozzle and valve; Contact customer support if issue persists. |
| 느린 인플레이션. | Low battery; Large volume item being inflated. | Ensure device is fully charged; This is normal for larger items. |
명세서
| 특징 | 세부 사항 |
|---|---|
| 모델명 | T10 |
| 상표 | 아스맥스 |
| 재료 | 아크릴로 니트릴 부타디엔 스티렌 |
| 품목 무게 | 500그램 |
| 제품 크기(LxWxH) | 2.7인치 x 1.81인치 x 6.61인치 |
| 전원 | 배터리 구동 |
| 기류 용량 | 26LPM |
| 최대 압력 | 160파운드 |
| 작동 모드 | 오토매틱 |
| 호스 길이 | 50 센티미터 |
| 배터리 용량 | 7500mAh |
보증 및 지원
ASMAX provides a 2년 보증 from the date of purchase for this product. For any questions, technical support, or warranty claims, please contact ASMAX customer service. Refer to the contact information provided with your purchase or visit the official ASMAX web자세한 내용은 사이트.
참고: 보증을 위해 구매 증빙서류로 구매 영수증을 보관하세요.


