1. 서론
This manual provides detailed instructions for the installation, operation, and maintenance of your Longse XVR2008D 8-Channel 1080p Digital Video Recorder. This XVR supports various camera technologies including AHD, TVI, HDCVI, SD, and IP, offering a versatile solution for your surveillance needs. Please read this manual thoroughly before using the device to ensure proper setup and functionality.
2. 안전 정보
- 전원 공급 장치가 장치의 요구 사항과 일치하는지 확인하십시오.
- 장치를 물이나 습기에 노출시키지 마십시오.
- 직사광선이나 열원 근처에 장치를 두지 마십시오.
- 장치를 열지 마십시오.asing; 자격을 갖춘 인력에게 서비스를 의뢰하세요.
- 제조업체에서 승인한 액세서리만 사용하십시오.
3. 패키지 내용
패키지에 모든 품목이 들어 있는지 확인하세요.
- Longse XVR2008D Digital Video Recorder Unit
- 전원 어댑터
- USB 마우스
- HDD 설치용 나사(해당되는 경우)
- 사용 설명서 (본 문서)
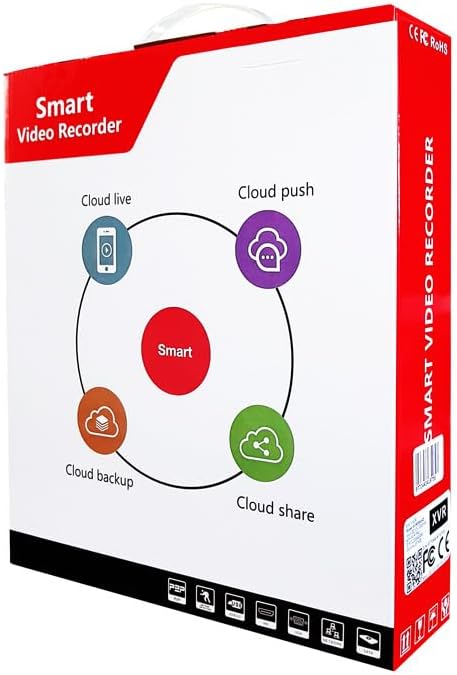
Figure 3.1: Product packaging for the Longse XVR2008D, highlighting cloud features like live viewing, push notifications, backup, and sharing.
4. 제품 오버view
The Longse XVR2008D is an 8-channel digital video recorder designed for comprehensive surveillance. It supports various video input formats and offers advanced features such as smart face recognition and remote access.
4.1 전면 패널
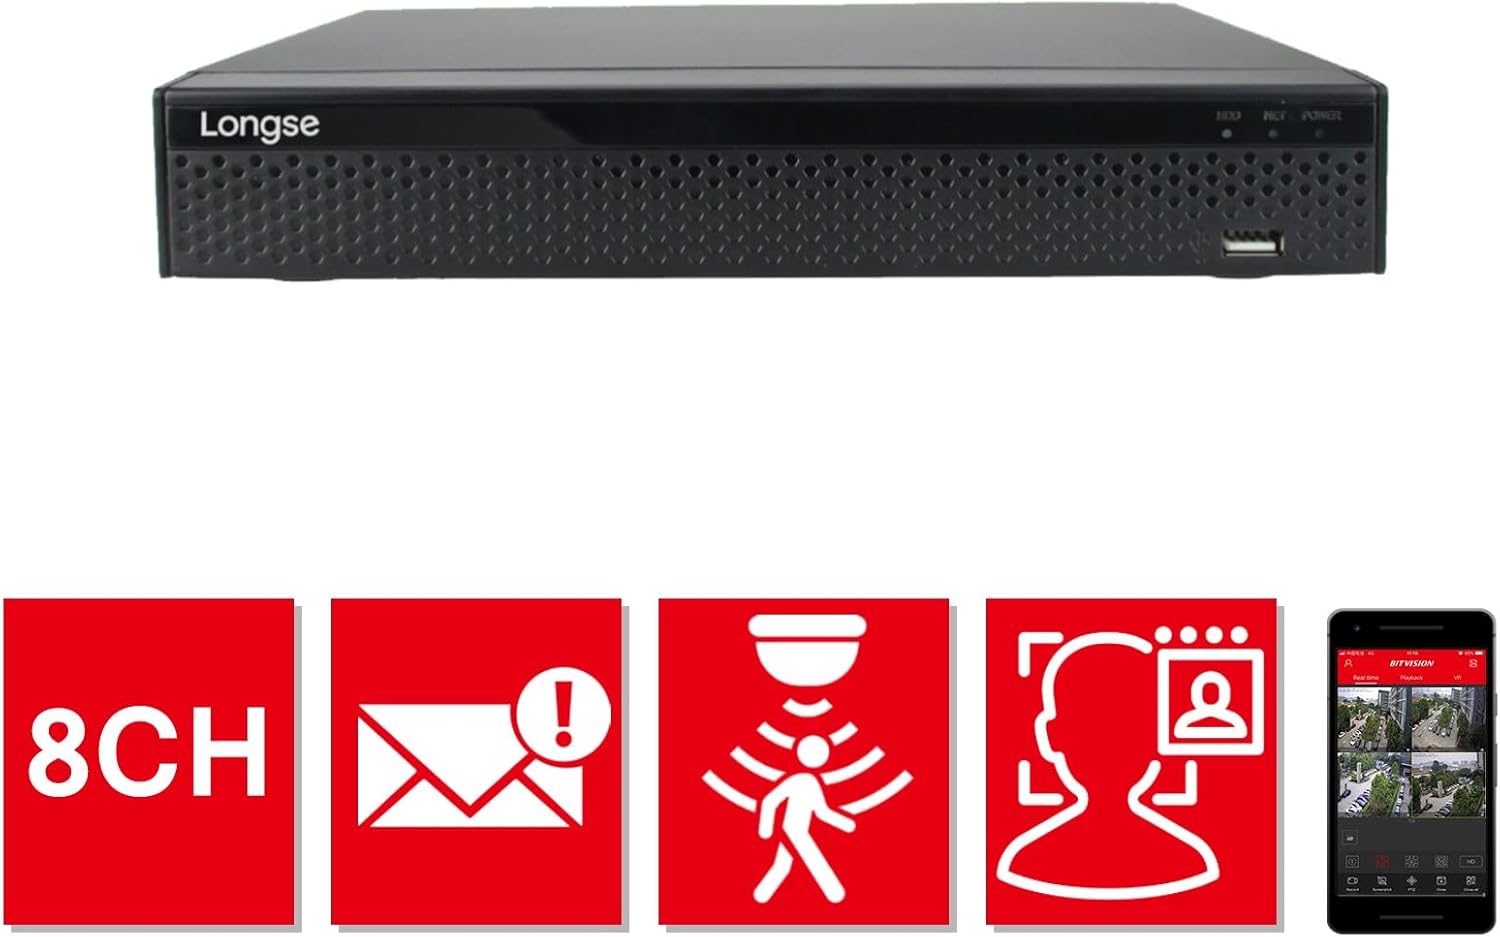
그림 4.1: 전면 view of the XVR2008D unit, showing the Longse logo, status indicators (HDD, NET, POWER), and a front USB port.
4.2 후면 패널
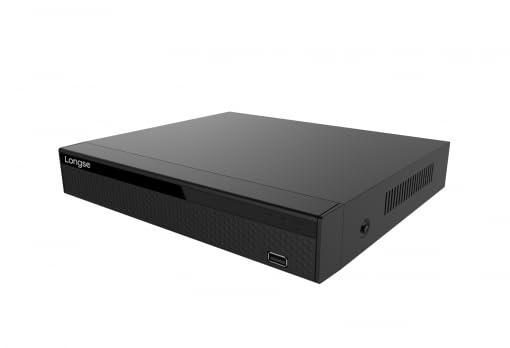
Figure 4.2: Rear panel of the XVR2008D, displaying 8 BNC video input ports, RCA audio input/output, VGA and HDMI video outputs, two USB ports, an Ethernet port, DC 12V power input, and a power switch.
4.3 주요 특징
- 8채널 입력: Supports up to 8 surveillance cameras.
- 1080p 해상도: Records and displays video in high definition.
- 다양한 포맷 지원: Compatible with AHD, TVI, HDCVI, SD, and IP cameras.
- H.264 비디오 압축: Efficient video storage and transmission.
- Smart Face Recognition: Advanced detection capabilities.
- 원격 접속: View live feeds and recordings via smartphone or web 플랫폼.
- Cloud & USB Backup: Multiple options for data storage and retrieval.

Figure 4.3: Visual representation of key features: 8 channels, email alerts, motion detection, face recognition, and mobile application support for remote view주고받음.
5. 설정
5.1 하드웨어 설치
- 하드 드라이브 설치(선택 사항): If not pre-installed, open the XVR casing, connect the SATA power and data cables to the hard drive, and secure it with screws.
- 카메라 연결: Connect your surveillance cameras to the BNC video input ports on the rear panel (refer to Figure 4.2).
- 모니터 연결: Connect a monitor to the VGA or HDMI output port.
- 마우스 연결: USB 마우스를 USB 포트 중 하나에 꽂습니다.
- 네트워크 연결: Connect an Ethernet cable from your router/switch to the XVR's Ethernet port for network access and remote view주고받음.
- 전원 켜기: Connect the power adapter to the DC 12V input and then to a power outlet. Flip the power switch to the ON position.
5.2 초기 구성
Upon first boot, the system will guide you through an initial setup wizard. This typically includes setting the language, date/time, network settings, and creating an administrator password. Follow the on-screen prompts.
6. 사용 설명서
6.1 라이브 View
After successful setup, the XVR will display the live feed from connected cameras on the monitor. You can switch between single-camera view 및 멀티 카메라 그리드 view 화면상의 컨트롤이나 마우스를 사용합니다.
6.2 녹음
- 연속 녹화 : 24시간 내내 녹화하도록 설정되어 있습니다.
- 모션 감지 녹화: 카메라 시야 내에서 움직임이 감지될 때만 녹화합니다. view.
- 예약 녹화 : 특정 기간 동안의 기록.
Access recording settings through the main menu to customize recording modes and schedules for each channel.
6.3 재생
다시view 기록된 footage, navigate to the Playback menu. Select the desired camera channel and date/time to view 녹화된 영상을 빨리 감기, 되감기, 일시 정지할 수 있습니다.
6.4 Remote Access (Mobile & Web)
Download the official Longse mobile application (e.g., Bitvision) from your smartphone's app store. Follow the app's instructions to add your XVR using its serial number or QR code. For web access, enter the XVR's IP address into a web browser on a computer connected to the same network. Ensure network settings are correctly configured for remote access.
절대 백업
Connect a USB flash drive to a USB port on the XVR. In the backup menu, select the desired footage (by channel, date, and time) and initiate the backup process to the USB drive. Cloud backup options may also be available through the system's network settings.
7. 유지관리
- 정기 청소: Use a soft, dry cloth to clean the exterior of the XVR. Do not use liquid cleaners.
- 펌웨어 업데이트: 정기적으로 제조업체를 확인하십시오 web최적의 성능과 보안을 보장하기 위한 펌웨어 업데이트 사이트입니다.
- 하드 드라이브 상태: Monitor the health of your hard drive through the system settings. Replace if errors are detected.
- 비밀번호 보안: Regularly change your administrator password and use strong, unique passwords.
8. 문제 해결
| 문제 | 가능한 원인 | 해결책 |
|---|---|---|
| 모니터에 비디오 출력이 없습니다. | Loose cable connection, incorrect input selected on monitor, XVR not powered on. | Check VGA/HDMI cable connections. Ensure monitor is on correct input. Verify XVR power. |
| 카메라 이미지가 없습니다. | Camera not powered, faulty cable, incorrect camera type selected in XVR settings. | Check camera power and cable connections. Verify camera type (AHD, TVI, etc.) matches XVR settings. |
| Cannot access XVR remotely. | Network configuration issues, incorrect app settings, firewall blocking. | Ensure XVR is connected to the internet. Check network settings (IP address, gateway, DNS). Verify port forwarding if required by your network setup. Consult app instructions. |
| Hard drive not detected. | Loose SATA cables, faulty HDD, HDD not formatted. | Check SATA power and data cable connections. Try a different HDD if available. Format the HDD via XVR system settings. |
9. 사양
| 특징 | 세부 사항 |
|---|---|
| 제조업체 | 롱세 |
| 모델 번호 | XVR2008D |
| 제품 치수 | 24 x 18 x 4cm |
| 채널 수 | 8 |
| 비디오 입력 형식 | AHD, HDTVI, HDCVI, SD, IP |
| 비디오 출력 | VGA, HDMI |
| 오디오 입력 | (주)알에이씨에이 |
| 연결 기술 | USB, 이더넷 |
| 디지털 비디오 미디어 포맷 | SD Card (for backup) |
| 호환 장치 | Cameras, Smartphones |
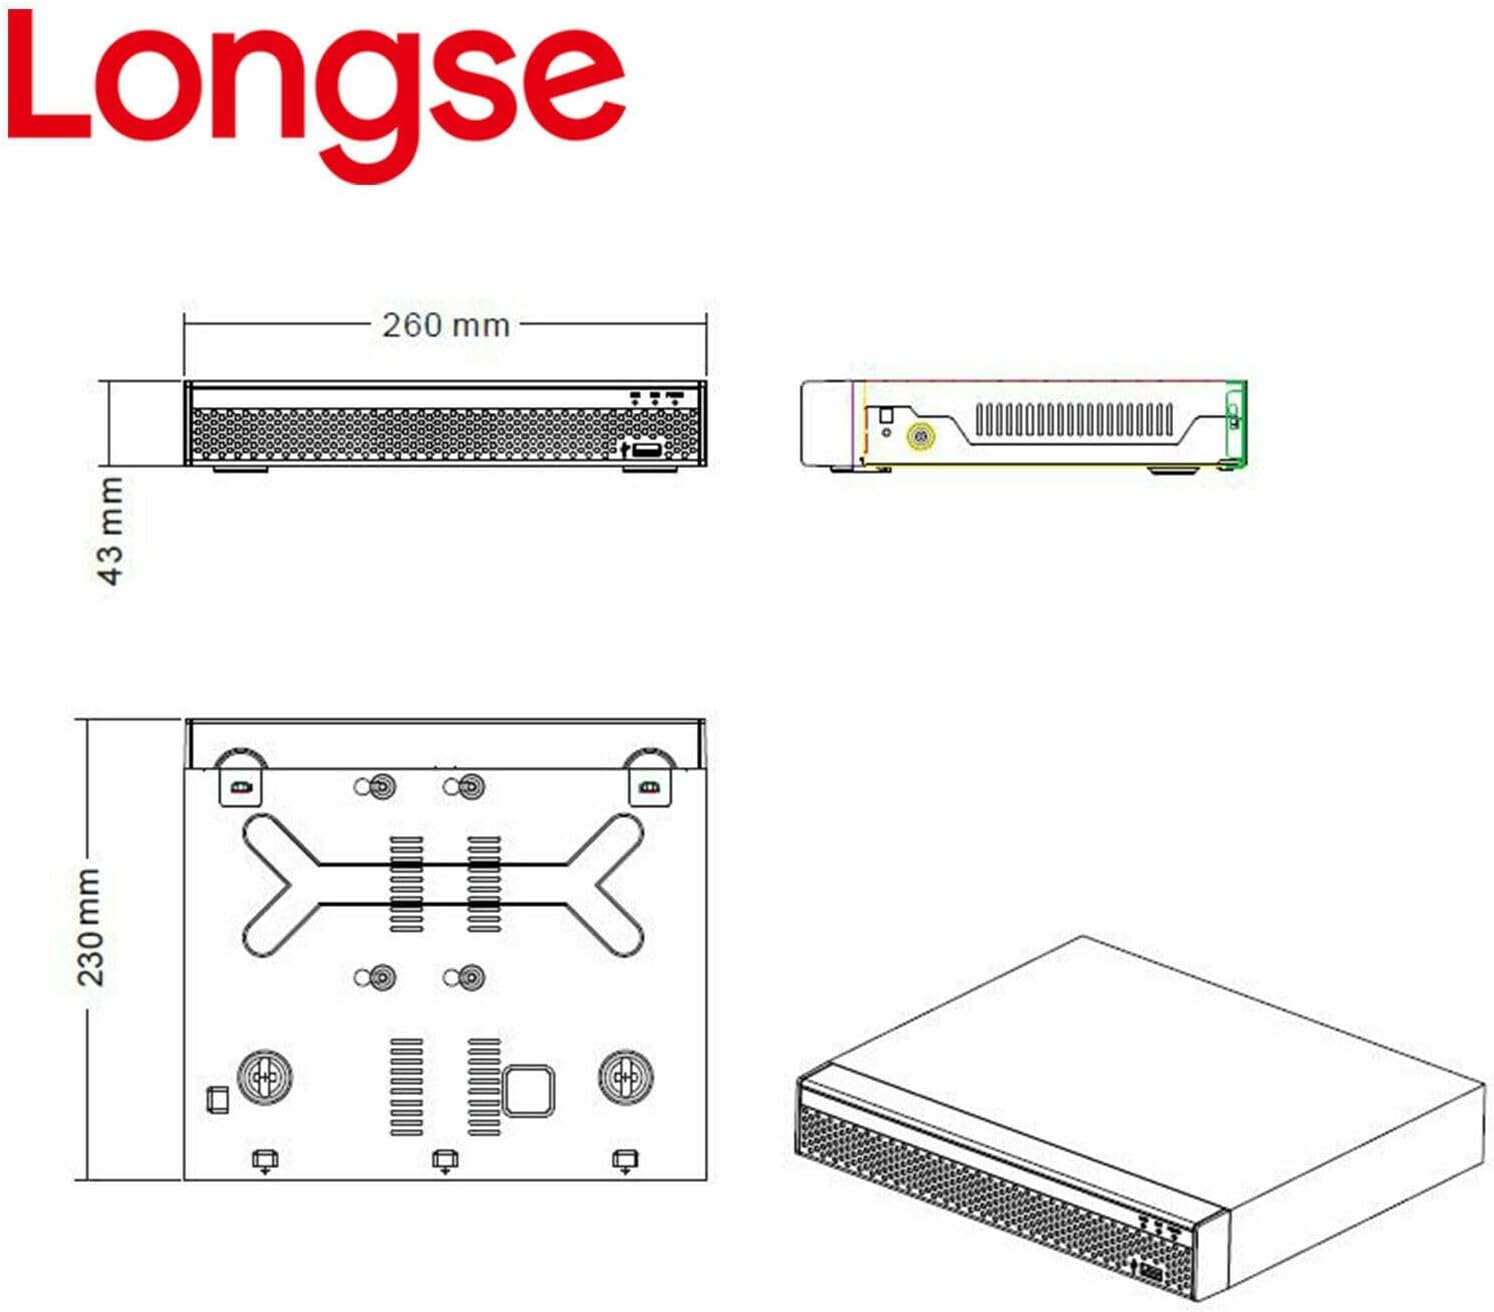
Figure 9.1: Dimensional drawing of the Longse XVR2008D unit, showing measurements of 260mm width, 180mm depth, and 43mm height.
10. 보증 및 지원
For warranty information and technical support, please refer to the warranty card included with your product or visit the official Longse web사이트. 보증 청구를 위해 구매 증빙 자료로 구매 영수증을 보관하세요.


