소개
This manual provides detailed instructions for the safe installation, operation, and maintenance of your UFESA CFNP Ceiling Fan with Light. Please read this manual thoroughly before installation and use, and keep it for future reference.
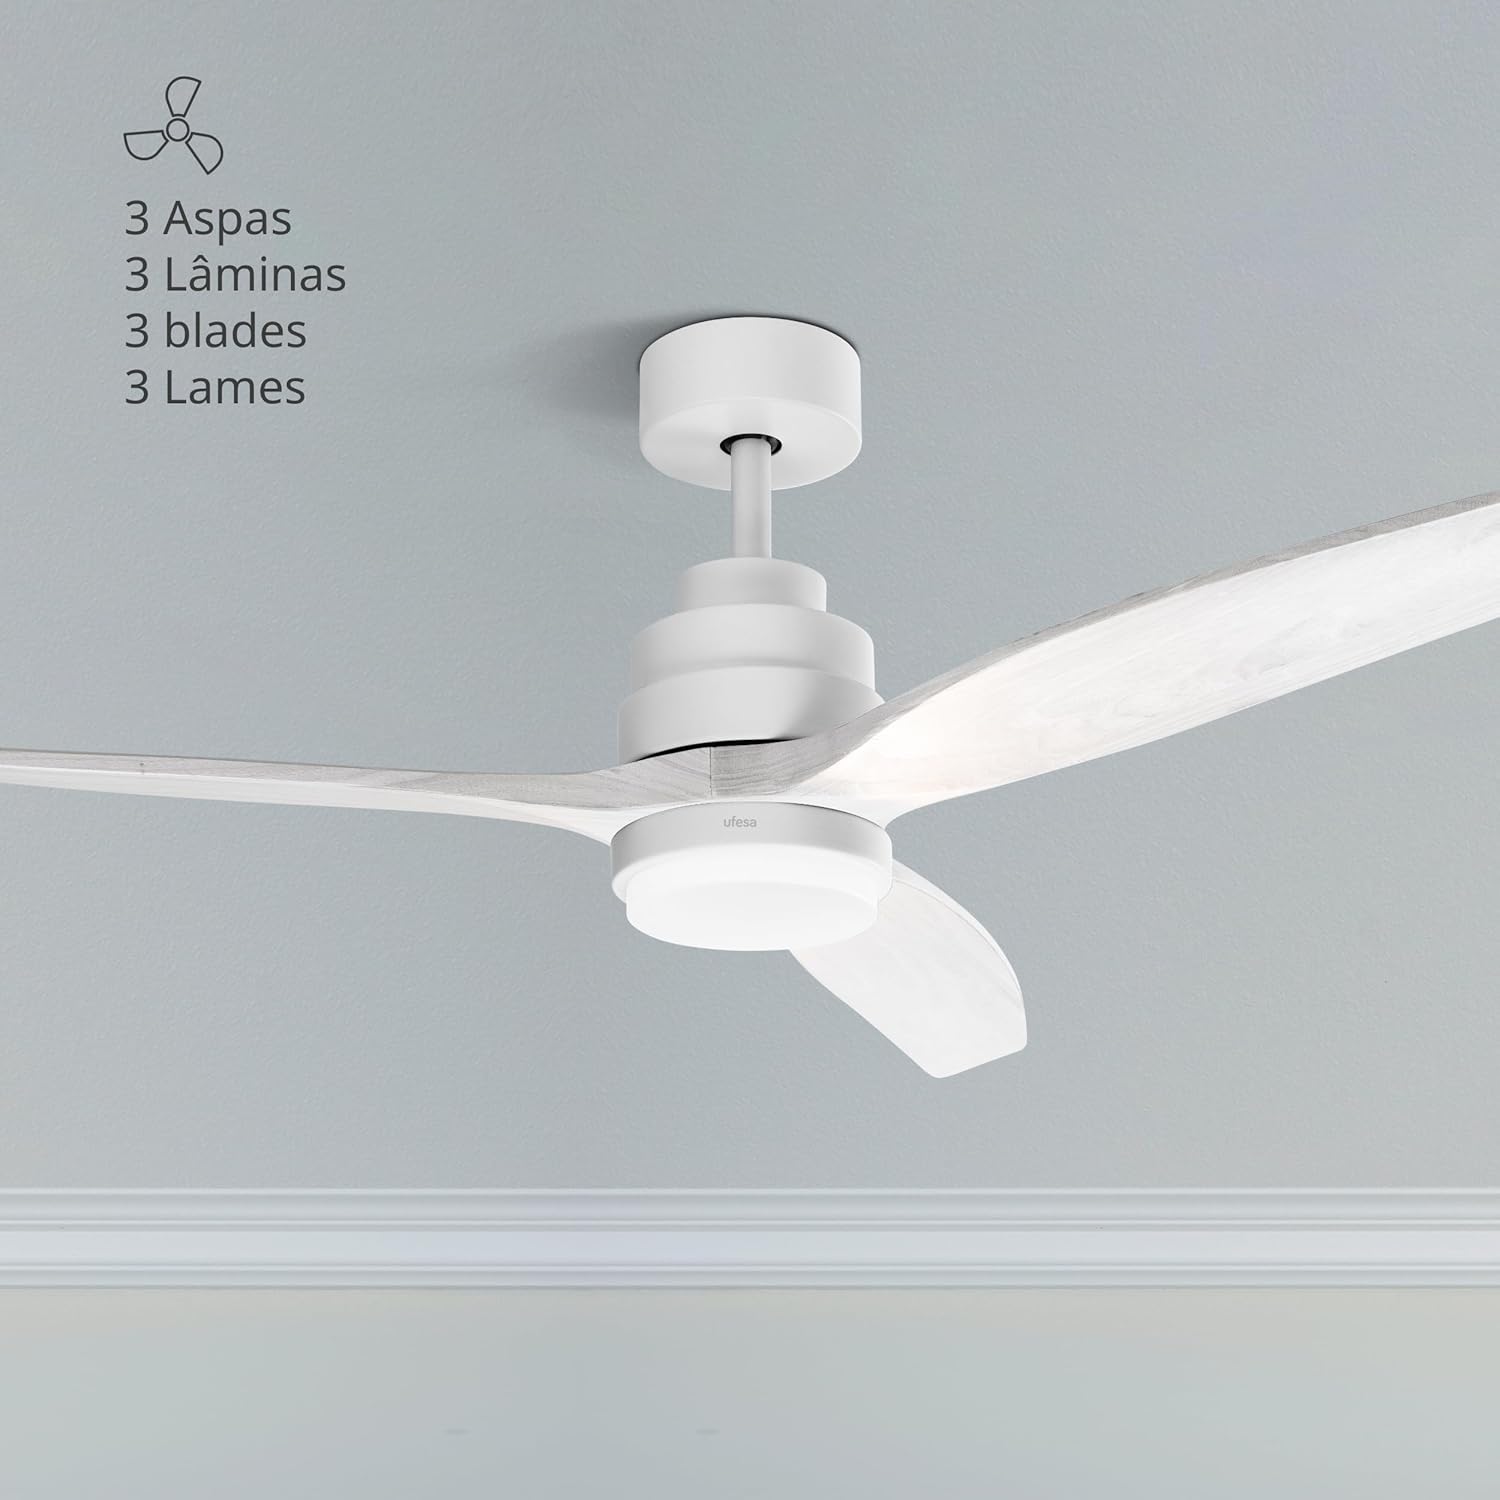
The UFESA CFNP Ceiling Fan with Light installed in a room, showcasing its three natural wood blades and integrated light.
안전 지침
화재, 감전, 신체 상해의 위험을 줄이려면 전기 제품을 사용할 때 항상 기본적인 안전 예방 조치를 따르세요.
일반 안전
- Ensure the ceiling fan is installed by a qualified electrician in accordance with local electrical codes.
- Disconnect power at the main circuit breaker before installation, cleaning, or any maintenance.
- Do not operate the fan with damaged blades or housing. Inspect regularly for any signs of wear or damage.
- Keep hands, hair, and clothing away from moving fan blades during operation.
- 본 기기는 신체적, 감각적 또는 정신적 능력이 저하된 사람(어린이 포함)이나 경험 및 지식이 부족한 사람이 사용하도록 의도된 것이 아니며, 안전을 책임질 사람으로부터 기기 사용에 관한 감독이나 지시를 받은 경우에만 사용할 수 있습니다.
- 어린이가 이 제품을 가지고 놀지 않도록 감독해야 합니다.
전기 안전
- 볼륨을 확인하세요tage indicated on the fan matches your local power supply before connecting.
- 모든 배선은 국가 및 지역 전기 규정을 준수해야 합니다.
- 감전을 방지하기 위해 올바르게 접지하십시오.
- d에서 팬을 사용하지 마십시오.amp or wet locations, or where it may be exposed to water.
패키지 내용
Carefully unpack all components and ensure all items are present and undamaged. If any parts are missing or damaged, contact Ufesa customer service.

A close-up of the fan's motor housing and a blade, representing the main components.
The package should typically include:
- 3 Natural Wood Blades
- 모터 어셈블리
- Downrod (typically 15cm and 25cm options)
- Mounting Bracket + Canopy
- Integrated LED Light Kit / Lamp그늘
- 컨트롤러 어셈블리
- 요크 커버
- 원격 제어
- 장착 하드웨어(나사, 앵커)
설정 및 설치
Important: Disconnect power at the circuit breaker before beginning any installation work.
1단계: 브라켓 장착
Fix the fan's mounting bracket to the ceiling. Use a pencil to mark the drilling points. Ensure the bracket is securely fastened to a structural beam or a suitable ceiling electrical box capable of supporting the fan's weight.
2단계: 구멍 뚫기
Drill holes at the marked points using an appropriate drill bit for your ceiling material.
3단계: 앵커 삽입
Insert the provided ceiling anchors into the drilled holes. Tap gently with a hammer if necessary to ensure they are flush with the ceiling surface.
Step 4: Secure Bracket
Align the mounting bracket with the anchors and secure it firmly with the provided screws. Ensure it is stable and does not wobble.
Step 5: Connect Light Wiring
Connect the light wires from the fan to the terminal block on the mounting bracket. Match colors (e.g., blue to blue, brown to brown, etc.) according to the wiring diagram in the full manual.
Step 6: Connect Controller Wiring
Connect the wiring from the light kit to the fan's controller. Ensure all connections are tight and secure.
Step 7: Assemble Fan Base
Assemble the fan base by attaching the chosen downrod (15cm or 25cm) to the motor assembly. Secure it with the provided pin and screw.
Step 8: Hang Fan Base
Carefully lift the assembled fan base and hang it onto the hook or support provided on the ceiling mounting bracket. This allows you to work on wiring with the fan temporarily supported.
Step 9: Connect Base Wiring to Controller
Connect the main power wiring from the ceiling to the fan's controller, and then connect the controller to the fan motor wiring. Ensure all connections are correct and secure.
Step 10: Position Controller and Cables
Carefully tuck the controller and all excess cables into the opening of the ceiling support bracket, ensuring no wires are pinched.
11단계: 접지선 연결
Connect the ground wire (usually green/yellow) from the fan base to the ground terminal on the mounting bracket or ceiling wiring.
Step 12: Install Canopy
Slide the canopy up to the ceiling and secure it to the mounting bracket with the provided screws. Ensure it covers all wiring connections.
Step 13: Attach Blades
Attach the three natural wood blades to the fan motor assembly using the provided screws. Ensure they are tightened evenly to prevent wobbling.
Step 14: Install Light Kit
Remove the small screws from the base of the fan's light housing. Place the LED light support, screw it into place, and then attach the light cover (lampshade) by twisting or securing it as per the design.
작동 지침
Your UFESA CFNP ceiling fan is controlled by the included remote control. Ensure batteries are installed correctly in the remote.

The remote control allows easy access to all fan and light functions.
전원 켜기/끄기
전원 버튼 (⏻) on the remote control to turn the fan and light on or off.
팬 속도 제어
The fan offers 6 adjustable speeds. Use the numbered speed buttons (1-6) on the remote to select your desired airflow intensity. Speed 1 is the lowest, and Speed 6 is the highest.

The fan features 6 speeds and an 8-hour timer function.
조명 제어
The integrated LED light has 3 selectable color temperatures: natural light, cold light, and warm light. Use the light button (💡) on the remote to cycle through these settings to create the desired ambiance.

The fan light offers natural, warm, and cold light options.
여름/겨울 기능
This fan features a reversible motor for year-round comfort. Use the summer/winter button (⟳) on the remote to switch between modes.
- 여름 모드(하향 기류): 날개가 시계 반대 방향으로 회전하면서 아래쪽으로 바람을 일으켜 실내를 시원하게 합니다.
- 겨울 모드(상승 기류): Blades rotate clockwise, circulating warm air trapped near the ceiling downwards without creating a direct draft, helping to distribute heat more evenly.

Visual representation of the summer and winter airflow directions.
타이머 기능
Set the fan to automatically turn off after a specified period using the timer buttons (1H, 4H, 8H) on the remote control. This is useful for energy saving or for use during sleep.
유지
정기적인 유지 관리는 최적의 성능을 보장하고 천장 선풍기의 수명을 연장합니다.
청소
- 청소하기 전에 항상 전원을 분리하십시오.
- 팬 날개와 모터 하우징을 부드러운 천으로 정기적으로 청소하십시오.amp 천으로 닦아주세요. 연마성 세제, 용제 또는 강한 화학 물질은 마감재를 손상시킬 수 있으므로 사용하지 마세요.
- Ensure the fan is completely dry before restoring power and operating.
블레이드 검사
- Periodically check that all blade screws are tight. Over time, they may loosen, causing the fan to wobble or create noise.
- Ensure blades are free from cracks or damage. Replace damaged blades immediately.
문제 해결
선풍기 사용 중 문제가 발생하면 다음의 일반적인 문제 및 해결 방법을 참조하십시오.
팬이 시작되지 않습니다
- Check if the main power supply to the fan is connected and turned on.
- Ensure the circuit breaker for the fan is in the 'ON' position.
- Verify all electrical connections are secure and correctly wired.
- 리모컨 배터리를 확인하고 필요하면 교체하십시오.
팬이 흔들린다
- Ensure all blade screws are tightened evenly. Loose screws can cause imbalance.
- Check that the mounting bracket is securely fastened to the ceiling and that the downrod is properly seated.
- 날개가 휘거나 손상되지 않았는지 확인하십시오.
빛이 작동하지 않습니다
- Check the light wiring connections within the fan housing.
- Ensure the light kit is properly installed and connected to the fan's electrical system.
- If the light is LED and not replaceable by the user, a faulty LED module may require professional service.
리모컨이 작동하지 않음
- 리모컨의 배터리를 새 것으로 교체하십시오.
- 리모컨과 선풍기 수신기 사이에 장애물이 없는지 확인하십시오.
- Confirm the remote control is paired with the fan (refer to specific pairing instructions if available in the full manual).
명세서

The fan has a diameter of 132 cm, suitable for various room sizes.
| 특징 | 사양 |
|---|---|
| 모델 번호 | CFNP |
| 힘 | 40와트 |
| 속도 | 6 |
| 블레이드 소재 | 천연목재 |
| 팬 직경 | 132cm |
| 조명 수준 | 3 (Natural, Cold, Warm) |
| 시간제 노동자 | 최대 8시간 |
| 특별 기능 | Ultra-silent DC motor, Summer/Winter function, Remote control |
| 치수(길이 x 너비 x 높이) | 25.5 x 68.5 x 32.5cm |
| 무게 | 5.63kg |
| 전원 | 전기 케이블 |
| 인증 | 인증(CE, UL) |
보증 및 지원
For detailed warranty information, including terms, conditions, and duration, please refer to the warranty card included with your product. You can also find this information on the official Ufesa web대지.
For customer support, technical assistance, or to inquire about replacement parts, please visit the Ufesa website or contact their customer service department directly. Have your product model number (CFNP) and purchase date ready when contacting support.
Official Ufesa Web대지: www.ufesa.es


