소개
Thank you for choosing the ACEMIC G6 2.4G Wireless Microphone Audio Transmitter and Receiver System. This system is designed to convert your traditional dynamic XLR microphone into a wireless setup, offering freedom of movement and high-quality audio transmission. It is ideal for various applications including live performances, presentations, and studio recording. Please read this manual thoroughly to ensure proper setup and operation.

Image: The ACEMIC G6 wireless transmitter (TX) and receiver (RX) units.
제품 끝view
패키지 내용
- 1 x ACEMIC G6 Wireless Transmitter (TX)
- 1 x ACEMIC G6 Wireless Receiver (RX)
- 1 x 듀얼 USB-C 충전 케이블
- 1 x 사용자 설명서
주요 특징
- 2.4G 무선 기술: Provides stable and reliable audio transmission.
- XLR Plug-on Design: Easily converts dynamic XLR microphones to wireless.
- 선택 가능한 채널 6개: Allows for multiple units to operate simultaneously without interference.
- 폭넓은 호환성: Works with dynamic microphones, audio mixers, and PA systems.
- 긴 배터리 수명: Built-in rechargeable lithium polymer batteries offer up to 10 hours of continuous working time.
- 확장된 전송 범위: 개방된 공간에서는 최대 30미터(100피트)까지 가능합니다.
- 낮은 지연 시간: Audio latency of less than 5ms ensures real-time performance.
- 고품질 오디오: 24비트/48kHzampling rate for clear sound reproduction.
- 가볍고 휴대성이 좋음: Each unit weighs approximately 40g for easy handling.
- 원키 조작: Simple power on/off and mute/unmute functions.
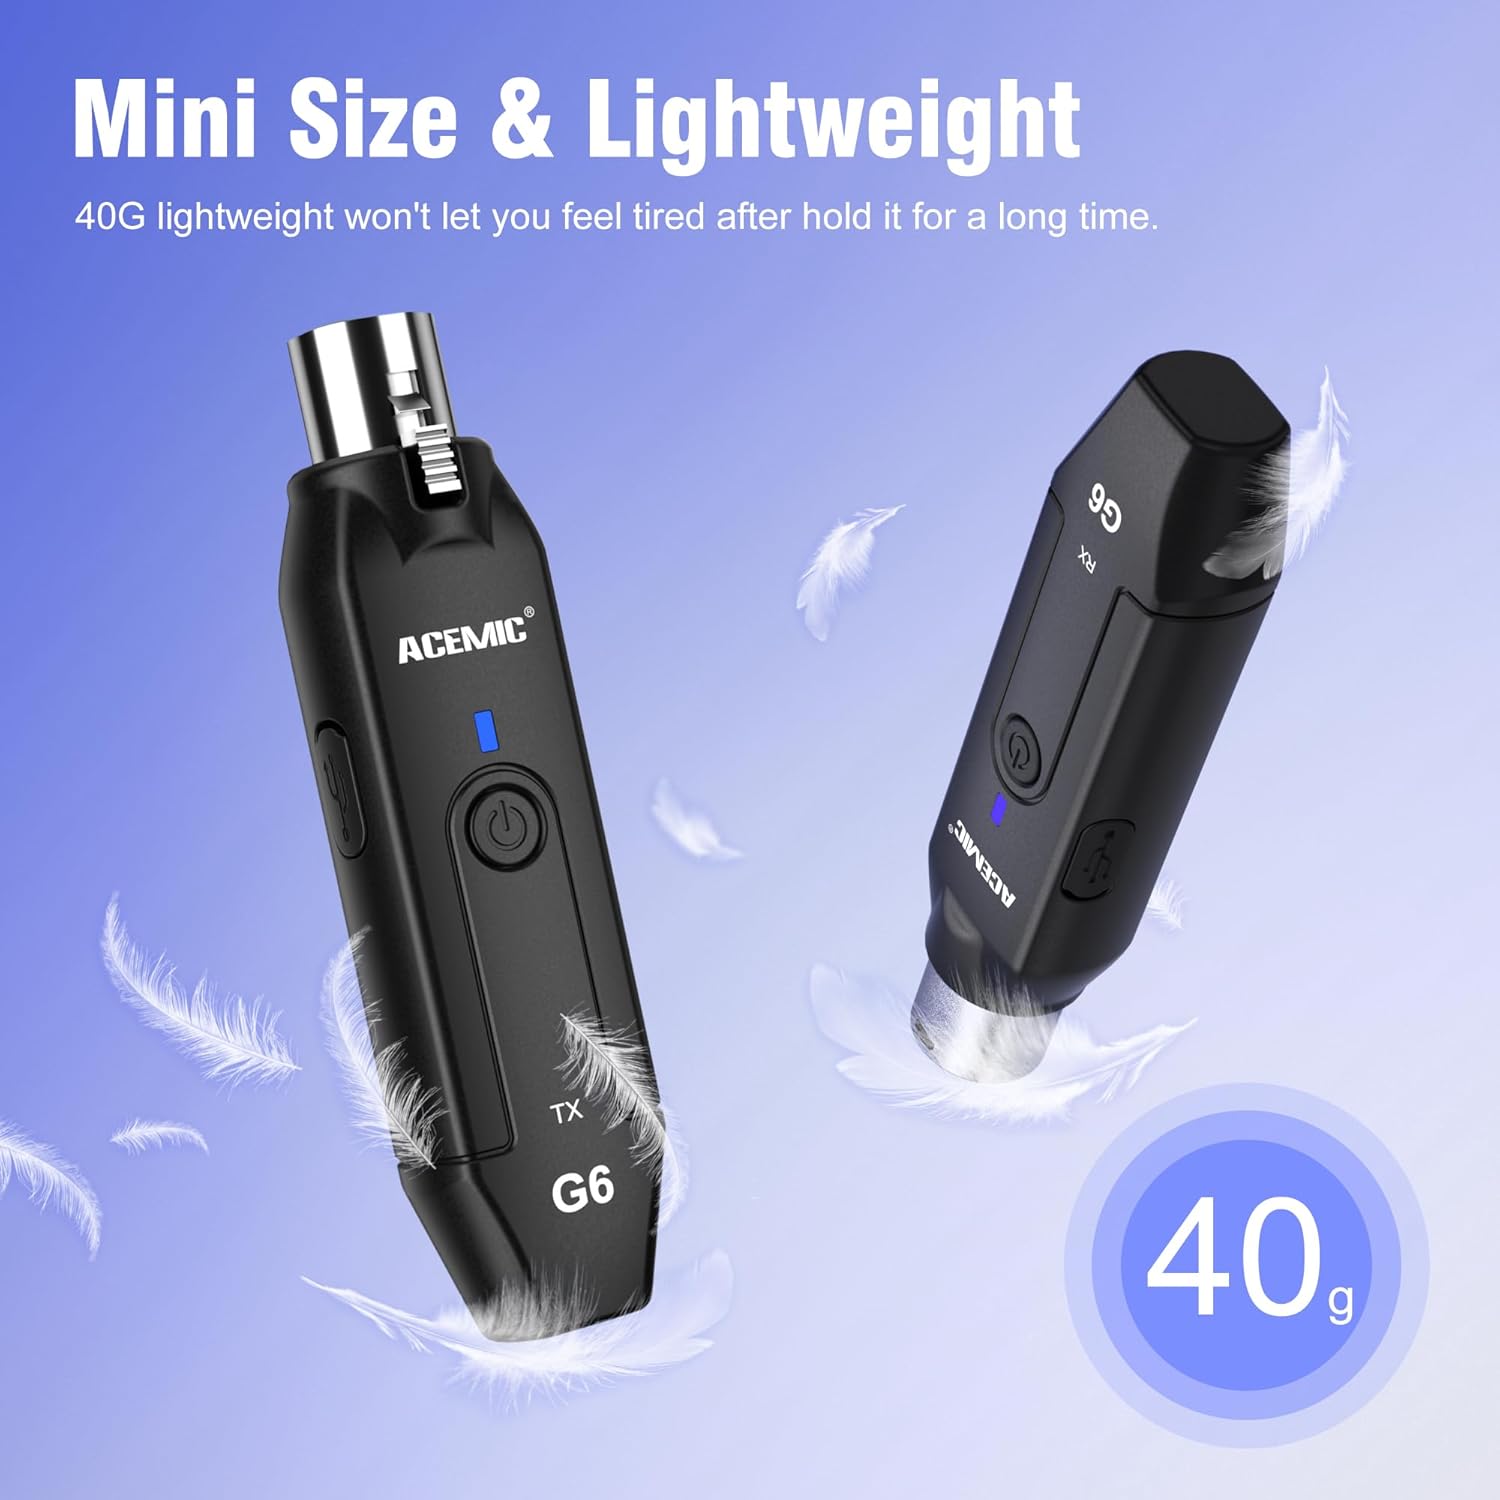
Image: The lightweight design of the ACEMIC G6, weighing 40 grams per unit.
구성 요소 식별
Each unit (Transmitter and Receiver) features:
- XLR Plug/Socket: For connecting to microphones or audio equipment.
- Lock Design (Transmitter): Secures the unit to the microphone.
- Type-C 충전 포트: 내부 배터리를 충전합니다.
- 전원 버튼: Long press to power on/off, short press for mute/unmute.
- Power/Pairing Indicator: LED light indicating power status, charging status, and pairing status.

Image: The ACEMIC G6 system demonstrating one-key pairing and connectivity with various audio devices.
설치 지침
1. 초기 충전
Before first use, fully charge both the transmitter and receiver. Use the provided dual USB-C charging cable to connect both units to a USB power adapter (not included). The status indicator will be red during charging and turn blue when fully charged. A full charge typically takes 3-4 hours.

Image: ACEMIC G6 units indicating charging status with LED lights.
2. 전원 켜기 / 끄기
Long press the power button on both the transmitter (TX) and receiver (RX) for 3 seconds to turn them on or off. The power indicator will light up.
3. 페어링
The transmitter and receiver are designed to automatically pair when powered on. If they do not connect automatically, or if you need to re-pair them:
- 두 기기 모두 전원이 꺼져 있는지 확인하십시오.
- Long press the power button on both units simultaneously for 5 seconds.
- The system will enter pairing mode, and the power indicator will flash.
- Once successfully paired, the power indicator will stay blue.
4. 장비 연결
- 송신기 (TX) : Plug the XLR end of the transmitter directly into the XLR output of your dynamic microphone. Ensure it is securely locked.
- 수신기 (RX) : Plug the XLR end of the receiver into the XLR input of your audio mixer, PA system, or other audio interface.
Important Note: This system does not support phantom power. It is designed for use with dynamic microphones only. Do not attempt to use it with condenser microphones that require phantom power.

Image: A dynamic microphone made wireless with the ACEMIC G6 transmitter.
작동 지침
음소거 기능
While the unit is powered on, a short press of the power button on either the transmitter or receiver will mute the audio. The power indicator will flash. Short press again to unmute, and the indicator will return to a solid blue.
Multiple Sets Operation
The ACEMIC G6 system supports 2-3 sets operating simultaneously in the same location. Each set will automatically select an available channel upon pairing to minimize interference.

Image: The ACEMIC G6 system supporting multiple wireless microphone setups simultaneously.
최적의 성능
For best performance, ensure a clear line of sight between the transmitter and receiver. Avoid placing units near strong electromagnetic interference sources (e.g., Wi-Fi routers, microwave ovens) which may affect signal quality and range.
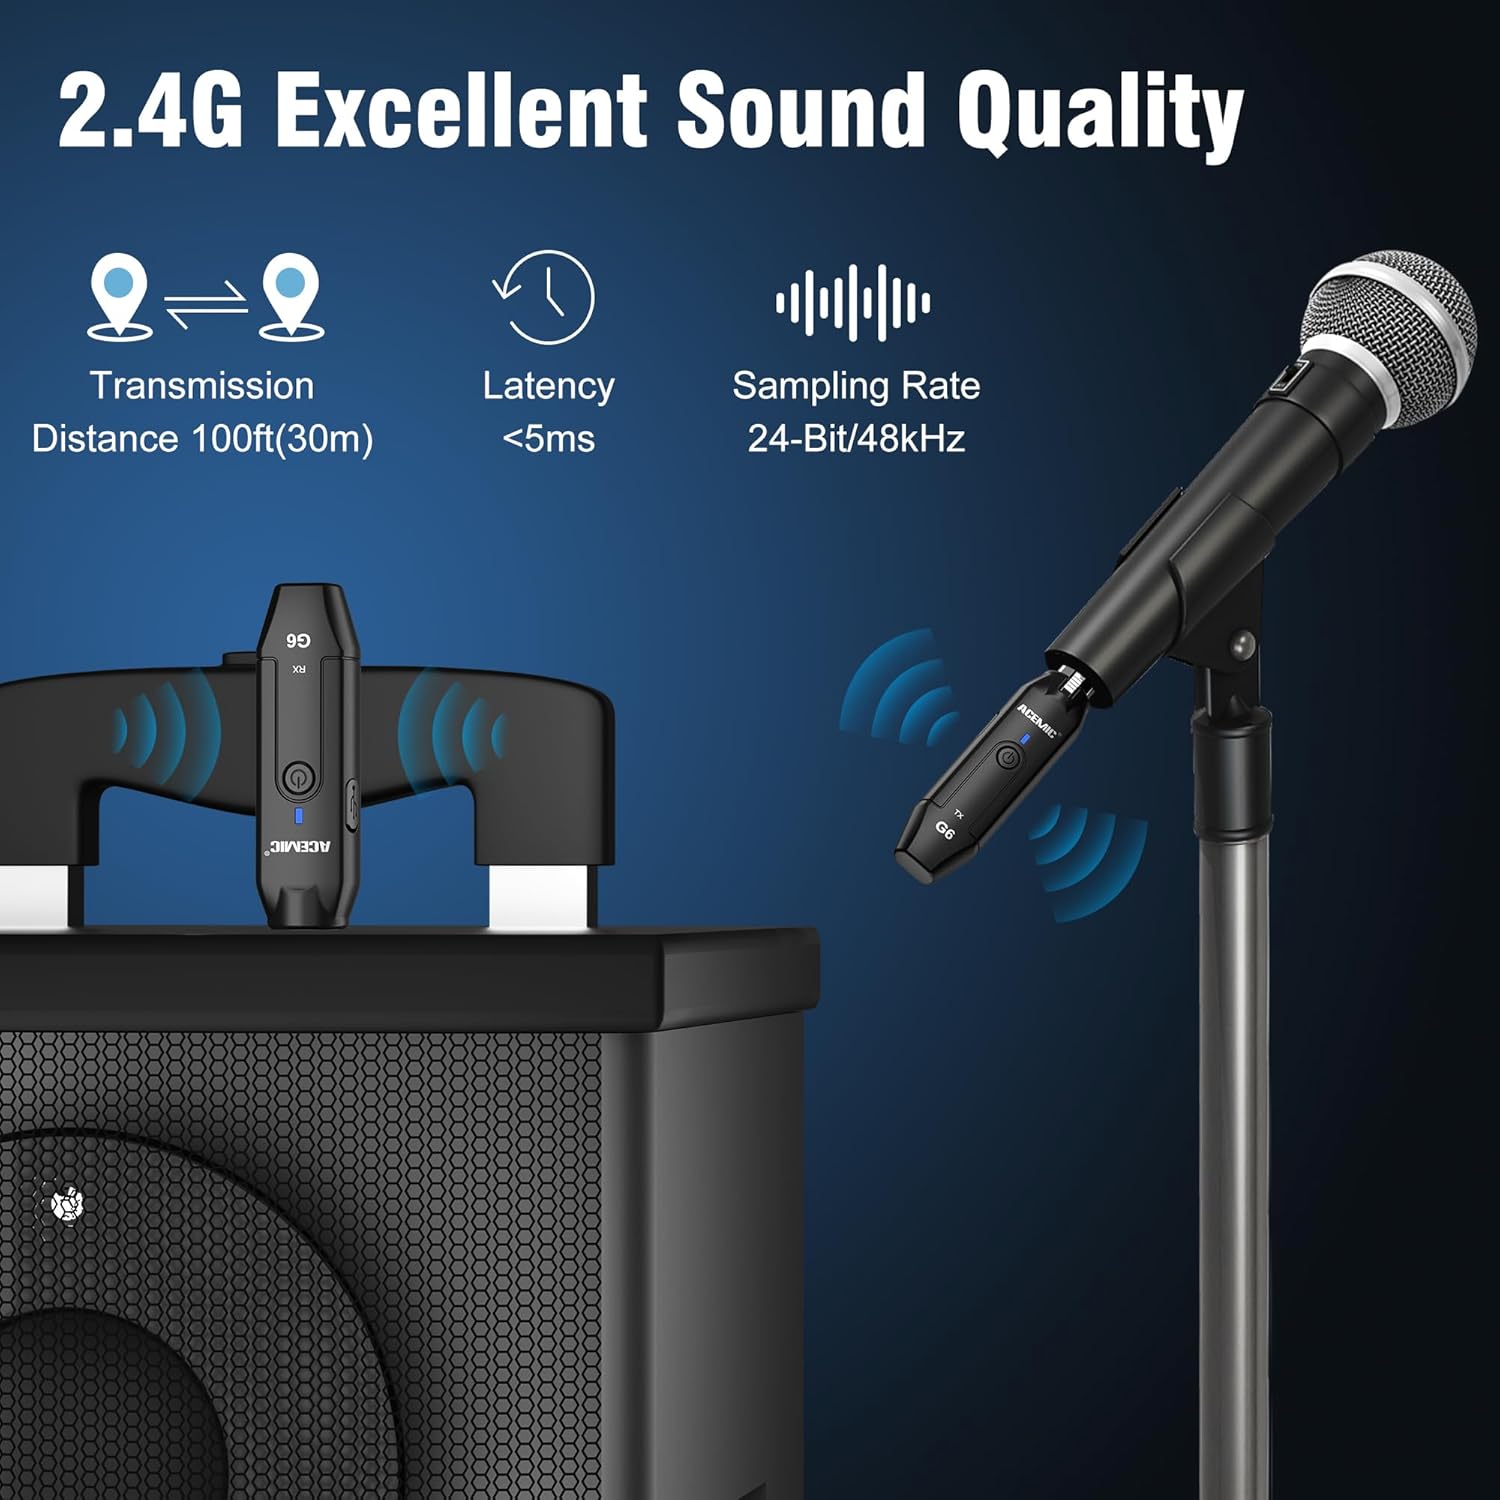
Image: Key performance specifications of the ACEMIC G6 system.
유지
배터리 관리
- Recharge the units when the power indicator shows low battery (flashing red).
- 배터리 수명을 연장하려면 배터리를 자주 완전히 방전시키지 마세요.
- If storing for an extended period, charge the units to approximately 50% every few months.
청소
Wipe the units with a soft, dry cloth. Do not use liquid cleaners or solvents, as they may damage the device.
저장
시스템은 직사광선과 극한의 온도를 피해 서늘하고 건조한 곳에 보관하세요.
문제 해결
- 소리 없음:
- 송신기와 수신기 모두 전원이 켜져 있고 페어링되었는지 확인하십시오(파란색 표시등이 켜져 있어야 함).
- Check if the microphone is properly connected to the transmitter.
- Verify the receiver is correctly connected to your audio input device.
- Confirm the microphone is a dynamic type and does not require phantom power.
- Check volume levels on your mixer/PA system.
- 간섭/음질 불량:
- Move closer to the receiver to reduce distance.
- 송신기와 수신기 사이에 장애물이 없는지 확인하세요.
- Avoid operating near other 2.4G wireless devices (e.g., Wi-Fi routers, Bluetooth devices).
- Re-pair the units to allow them to select a different channel.
- 페어링되지 않은 유닛:
- 두 기기 모두 완전히 충전되었는지 확인하십시오.
- Follow the re-pairing instructions in the Setup section.
- 배터리 수명이 짧음:
- 사용 전에 기기가 완전히 충전되었는지 확인하십시오.
- 장시간 사용하면 배터리 성능이 저하될 수 있습니다.
명세서
| 특징 | 사양 |
|---|---|
| 모델 | G6 |
| 주파수 대역 | 2.4GHz |
| 주파수 응답 | 20Hz-20kHz |
| 전원 | 배터리 구동(리튬 폴리머 배터리 2개 포함) |
| 리튬 배터리 용량 | 600mAh (각 유닛당) |
| 연속 작업 시간 | 최대 10시간 |
| 충전 시간 | 3-4시간 |
| 전송 거리 | 개방된 공간에서 최대 100피트(30m) |
| 오디오 지연 | <5ms |
| Samp링율 | 24 비트 / 48kHz |
| 신호 대 잡음 비율 | 48데시벨 |
| 채널 수 | 6 |
| 치수(길이 x 너비 x 높이) | 0.98 x 0.71 x 4.13 인치 |
| 품목 무게 | 7 ounces (total for both units, approx. 40g each) |
| 재료 | 플라스틱 |
보증 및 지원
ACEMIC products are designed for reliability and performance. This product comes with a standard manufacturer's warranty against defects in materials and workmanship. For specific warranty details, please refer to the warranty card included in your package or contact ACEMIC customer support.
If you encounter any issues or have questions regarding your ACEMIC G6 system, please contact our customer support team. You can find contact information on the ACEMIC official web사이트나 소매업체를 통해 구매하세요.


