1. 제품 오버view
The DJI Mic 2 is a wireless microphone system designed for high-quality audio recording. This system includes one transmitter (TX) and one receiver (RX), along with a compact DJI Lavalier Mic. It features intelligent noise cancelling, 32-bit float internal recording, and a 250-meter (820 ft.) transmission range, making it suitable for various recording scenarios including interviews, vlogs, and live streaming. The system is compatible with a wide range of devices including iPhones, Android phones, PCs, and cameras.
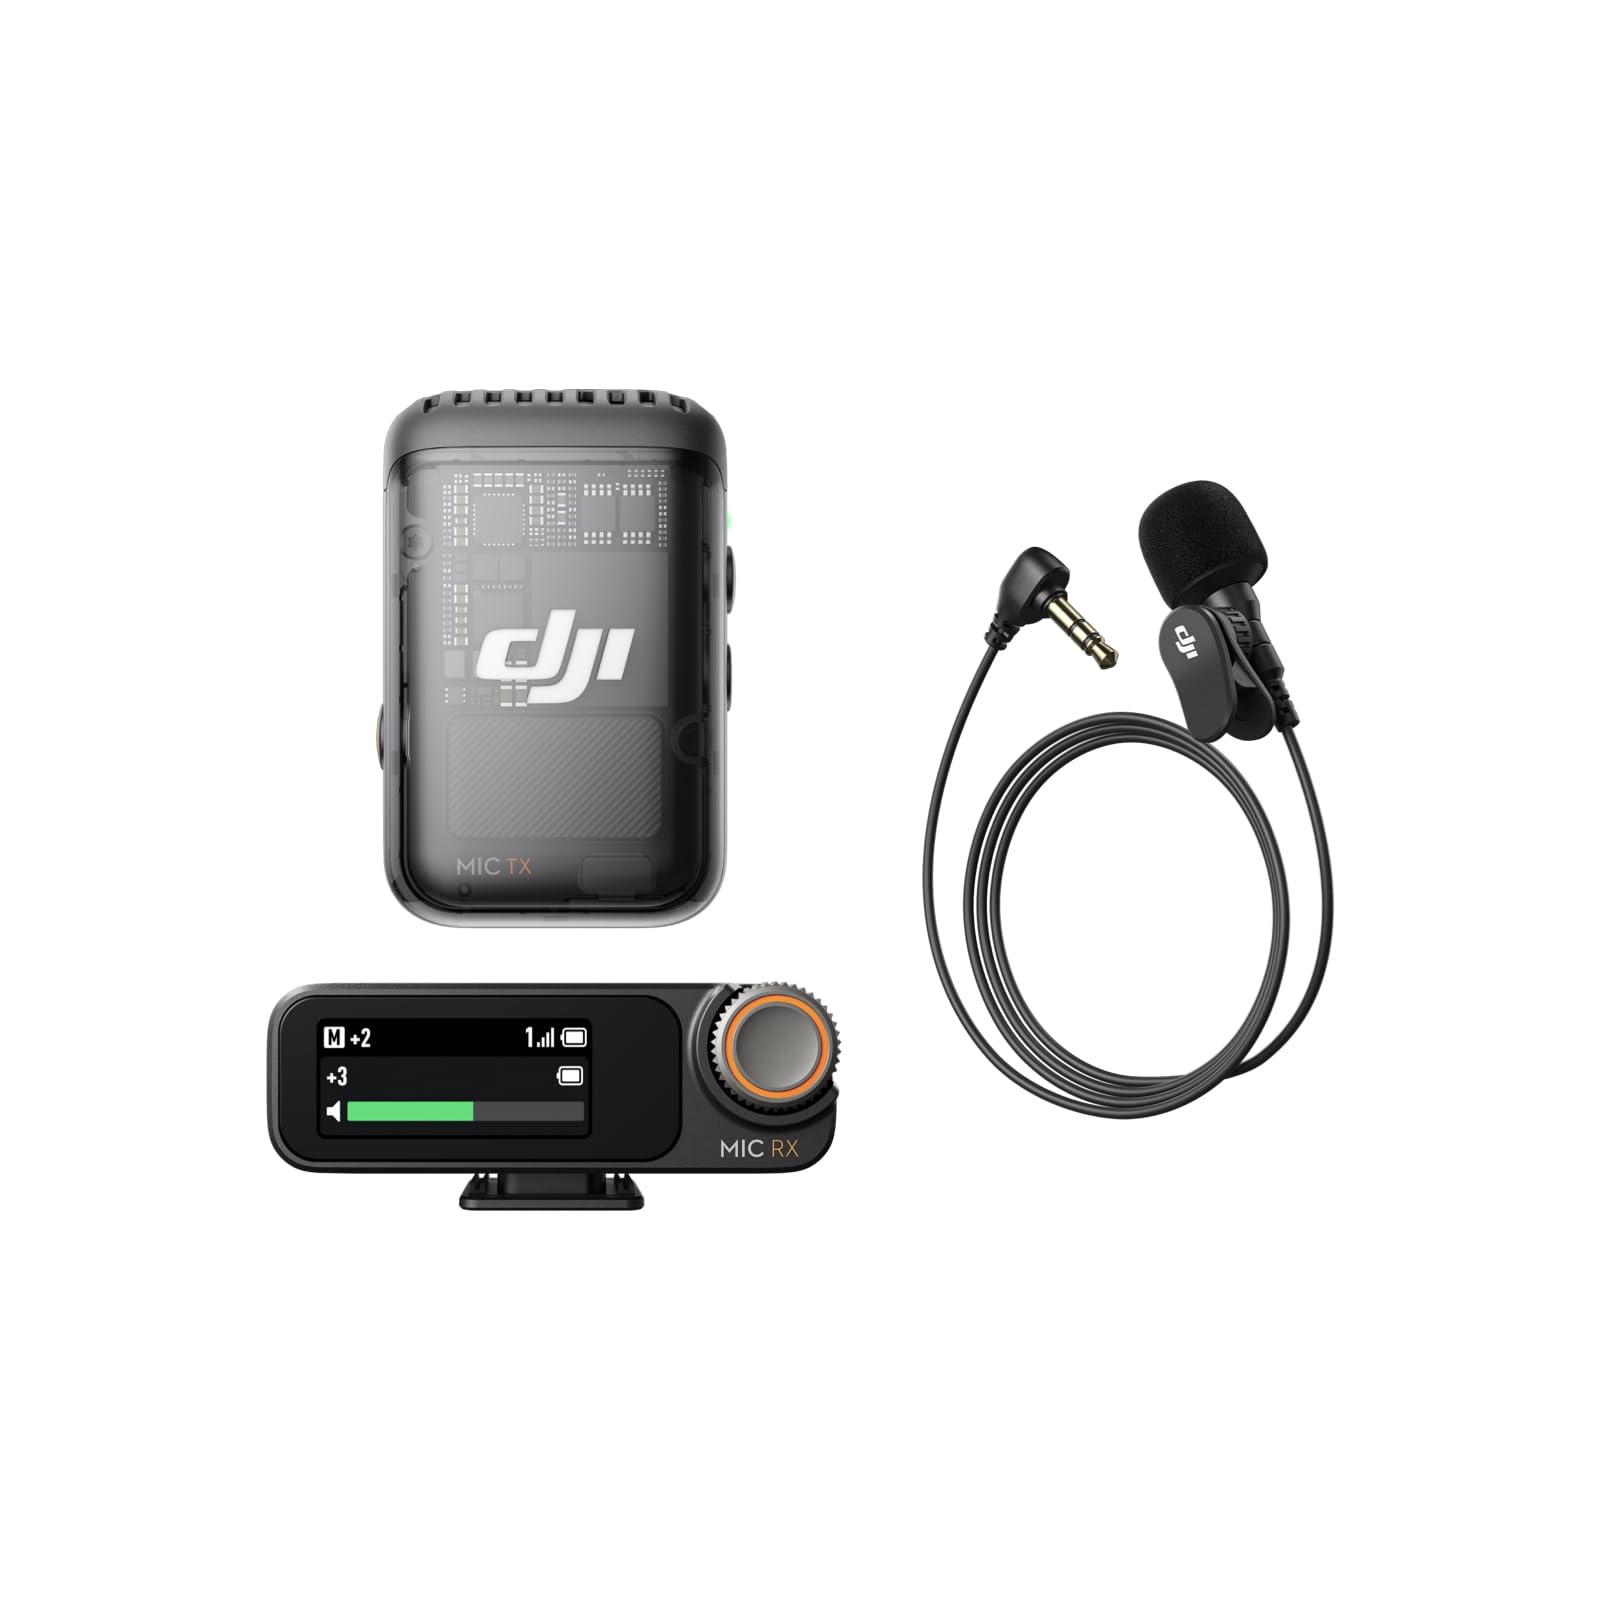
Image: The DJI Mic 2 wireless microphone system, showcasin컴팩트한 디자인입니다.
2. 상자 안에 무엇이 들어있나요?
The DJI Mic 2 (1 TX + 1 RX) + Lavalier Mic combo includes the following components:
- DJI 마이크 2 수신기
- DJI 마이크 2 송신기 (섀도우 블랙)
- DJI 라발리에 마이크
- DJI Mic 2 Carrying Pouch
- DJI Mic Splitter Charging Cable
- DJI 마이크 2 윈드스크린
- DJI 마이크 2 클립 자석
- DJI Mic 2 Camera Audio Cable (3.5mm TRS)
- DJI Mic 2 Mobile Phone Adapter (Lightning)
- DJI Mic 2 Mobile Phone Adapter (Type-C)

이미지: 상세 view of all components included in the DJI Mic 2 package.
3. 설정
- 충전 중: Ensure both the transmitter and receiver are fully charged using the provided charging cable. The charging case (if included in your specific kit) also charges the units.
- 전원 켜기: Press and hold the power button on both the transmitter and receiver to turn them on.
- 편성: The transmitter and receiver should automatically pair upon powering on. If not, refer to the device's screen for pairing instructions or initiate pairing manually.
- 장치에 연결:
- 스마트폰의 경우: Attach the appropriate USB-C or Lightning adapter to the receiver and plug it into your phone's charging port.
- 카메라의 경우: Use the 3.5mm TRS camera audio cable to connect the receiver's output port to your camera's microphone input jack.
- PC의 경우: Connect the receiver to your PC via a USB-C cable.
- 마이크 배치: Attach the transmitter to your clothing using the clip or magnetic attachment. For optimal sound, place it approximately 15-20 cm (6-8 inches) from the sound source. If using the lavalier mic, plug it into the transmitter's 3.5mm input jack and secure the lavalier mic to clothing.

Image: Proper placement of the DJI Mic 2 transmitter on clothing for clear audio capture.

Image: The DJI Mic 2 receiver connected to a smartphone and a camera using the included adapters, demonstrating wide compatibility.
4. 사용 설명서
4.1. 기본 동작
- 녹음: Press the record button on the transmitter to start/stop internal recording. The 32-bit float internal recording provides up to 14 hours of backup audio.
- 모니터링: Connect headphones to the receiver's 3.5mm monitoring port for real-time audio monitoring.
- 이득 조정: Use the precision parameter dial on the receiver to adjust the gain (audio input level) for optimal sound.
- 터치스크린: The 1.1-inch OLED touchscreen on the receiver displays information such as volume, battery level, and charging status. Swipe up or down to access settings.

Image: Close-up of the DJI Mic 2 receiver's 1.1-inch OLED touchscreen and precision parameter dial for easy control.
4.2. 고급 기능
- 지능형 소음 제거: Activate this feature for clearer vocals, especially in environments with background noise.
- 안전 트랙: The system can record a second audio track at -6dB alongside the main track, providing a backup against unexpected audio level spikes.
- DJI OsmoAudio™ Direct Connection: The transmitter supports direct connection to various DJI products (e.g., Osmo Nano, Osmo 360, Osmo Action 5 Pro, Osmo Pocket 3) without needing the receiver, delivering premium audio.

Image: Visual representation of intelligent noise cancelling, showing audio waveforms before and after processing.

Image: Diagram illustrating the safety track feature, showing a normal audio track and a -6dB safety track.
5. 유지관리
- 청소: Use a soft, dry cloth to clean the transmitter, receiver, and charging case. Avoid using liquids or abrasive cleaners.
- 저장: Store the DJI Mic 2 system in its carrying pouch or charging case when not in use to protect it from dust and damage.
- 배터리 관리 : For long-term storage, ensure the batteries are charged to approximately 50-60% to prolong their lifespan. Recharge periodically if stored for extended periods.
- 앞 유리: Regularly clean or replace the windscreen to maintain optimal audio quality and prevent debris from entering the microphone.
6. 문제 해결
- 오디오 없음:
- Check if both transmitter and receiver are powered on and paired.
- Verify the receiver is correctly connected to your recording device (phone, camera, PC).
- Ensure the recording device's audio input is set to the external microphone.
- Adjust the gain on the receiver.
- 음질 불량/잡음:
- Ensure the transmitter is placed correctly and not rubbing against clothing.
- Activate the intelligent noise cancelling feature.
- Use the windscreen in windy environments.
- 다른 무선 장치의 간섭을 확인하십시오.
- 연결 문제:
- Ensure the transmitter and receiver are within the 250m (820 ft.) operating range.
- Restart both the transmitter and receiver.
- Re-pair the devices if necessary.
- 배터리가 충전되지 않음:
- Verify the charging cable is securely connected to a power source and the device.
- 다른 충전 케이블이나 전원 어댑터를 사용해 보세요.
- Clean the charging contacts on the devices and case.
7. 사양
| 특징 | 사양 |
|---|---|
| 신호 대 잡음 비율 | 60데시벨 |
| 하드웨어 플랫폼 | 카메라, PC, 스마트폰 |
| 채널 수 | 2 |
| 연결 기술 | USB |
| 커넥터 유형 | 3.5mm 잭, USB |
| 특징 | 클립 |
| 호환 장치 | 스마트폰 |
| 색상 | 검은색 |
| 극성 패턴 | 전방위 |
| 마이크 폼 팩터 | 라발리에 |
| 전원 | 코드식 전기 |
8. Product Comparison (DJI Mic 1 vs. DJI Mic 2)
This video provides a comparison between the DJI Mic 1 and DJI Mic 2, highlighting key differences in features and design to help users understand the advancements in the newer model.
Video: A comparison of the DJI Mic 1 and DJI Mic 2, detailing their differences in features and included accessories.

Image: A table comparing the features of DJI Mic 2 and DJI Mic 1, including noise cancelling, internal recording, operating time, and connectivity.
9. 보증 및 지원
보증 정보 및 기술 지원에 대해서는 공식 DJI를 참조하세요. webDJI 웹사이트를 방문하거나 DJI 고객 서비스에 문의하십시오. 보증 청구를 위해 구매 증빙 자료를 보관하십시오.


