소개
Thank you for choosing the RAINPOINT 2-Outlet Water Timer. This digital sprinkler timer is designed to simplify your watering routine, offering precise control over your garden and lawn irrigation. With its dual-zone programming, rain delay, and manual watering options, you can ensure efficient and effective watering while conserving water.
This manual provides detailed instructions for installation, operation, maintenance, and troubleshooting to help you get the most out of your new water timer.
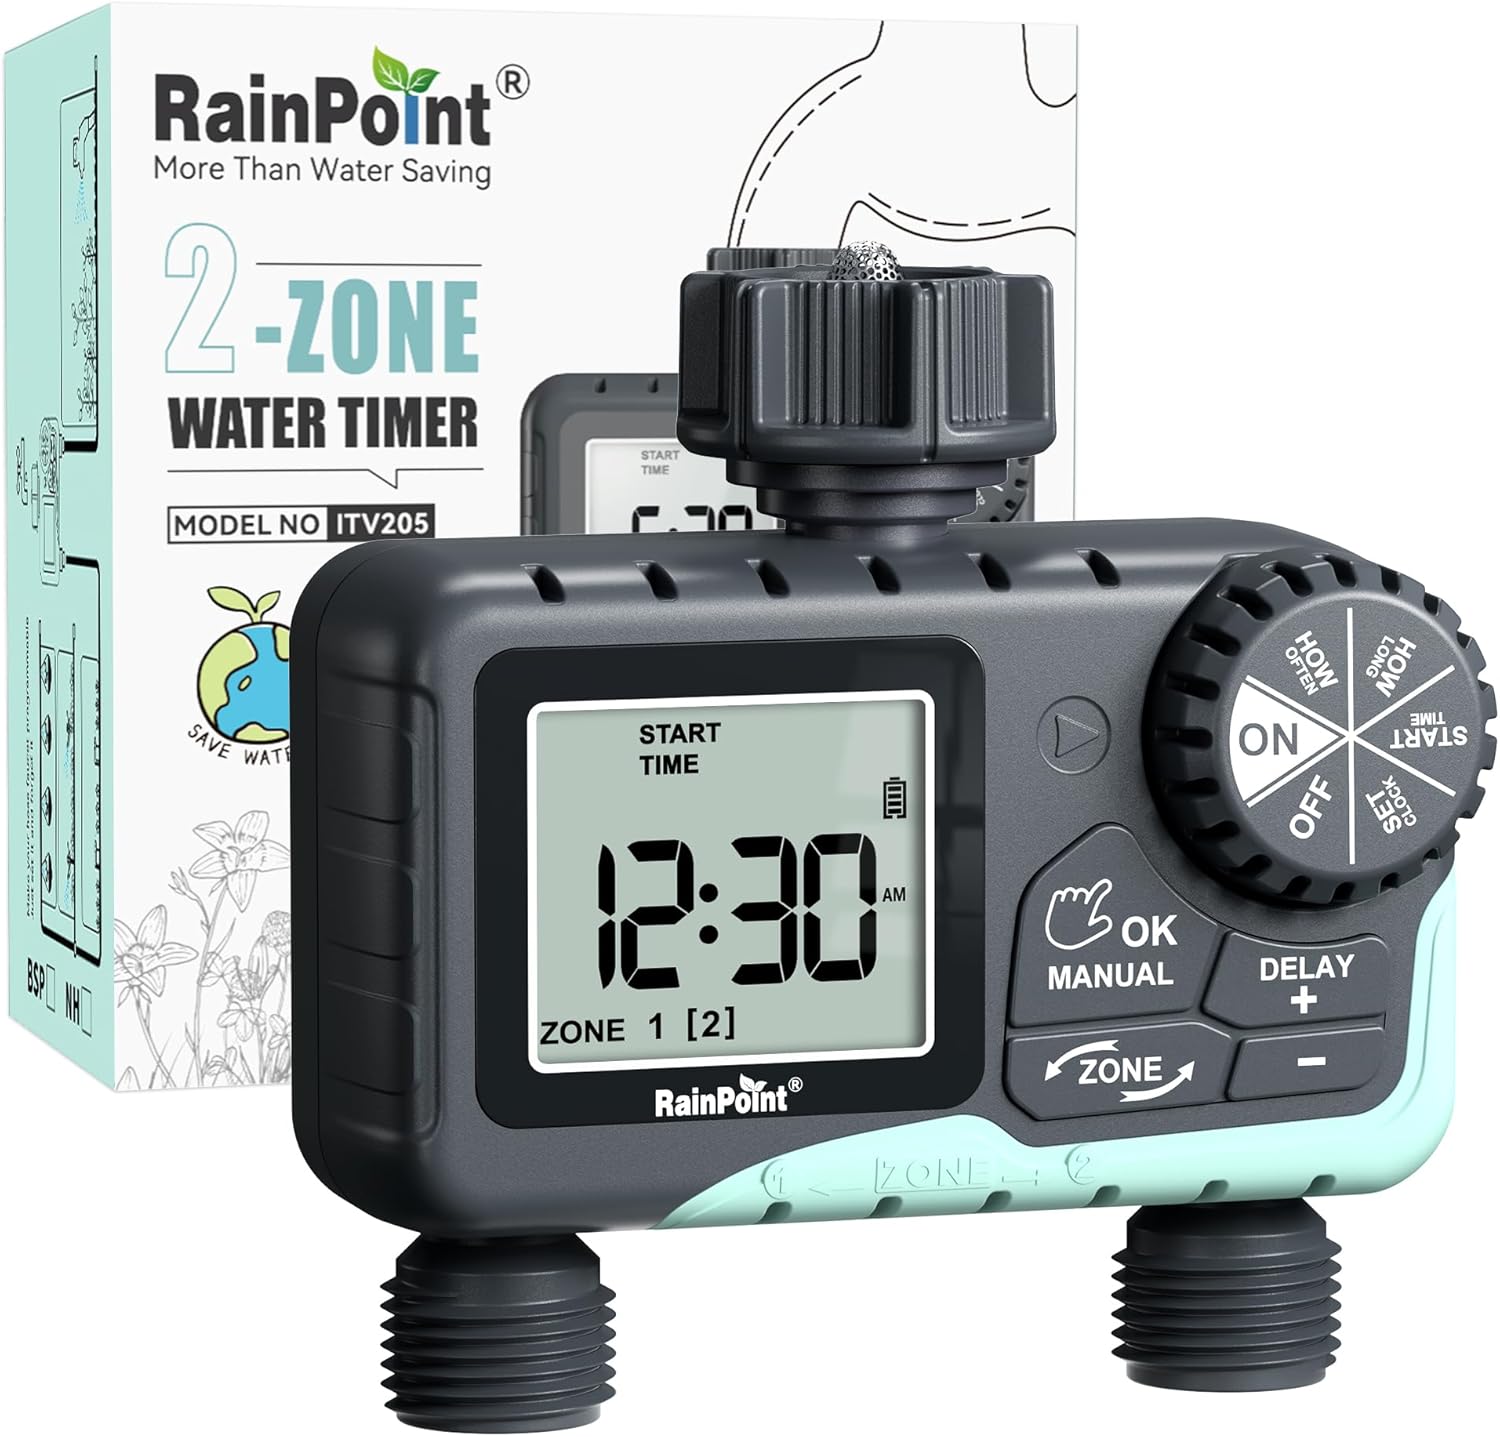
Image: The RAINPOINT 2-Outlet Water Timer, showing the device and its retail packaging. This timer features a digital display and intuitive controls for managing two separate watering zones.
주요 특징
- 이중 구역 제어: Independently program two separate watering zones for customized irrigation.
- 유연한 프로그래밍: Set start times, watering duration (1 minute to 3 hours 59 minutes), and frequency (hourly to weekly).
- 수동 물뿌리기 모드: Instantly water for a specified duration (1 minute to 8 hours) for Zone 1, Zone 2, or both.
- 비 지연 기능: 장마철에는 물을 절약하기 위해 24시간, 48시간 또는 72시간 동안 물주기를 건너뛰세요.
- 대형 LCD 디스플레이: Easy-to-read 2.5-inch screen shows watering time, next irrigation plans, and power status.
- Low Power Auto Shutoff: Alerts when battery is below 5% and automatically closes the valve to prevent water wastage.
- 내구성 있는 구조: Made from IP54 high-impact plastic with a built-in metal filter and 2-generation valve diaphragm for longevity.
- 360° Rotatable Interface: Designed for easy installation and access.

Image: Illustration demonstrating the independent programming capabilities of Zone 1 and Zone 2, allowing for different start times and durations for each watering area.
패키지 내용
모든 품목이 들어 있는지 확인하려면 패키지 내용물을 확인하세요.
- 1 x RAINPOINT 2-Outlet Water Timer (Model: G-ITV205NH)
- 1 x 사용자 설명서
- (Batteries not included - requires 2 x AA batteries)
설치 가이드
1. 배터리 설치
- 타이머 뒷면에서 배터리 구획을 찾으세요.
- 배터리 덮개를 아래로 밀어서 엽니다.
- 새 AA 알칼리 건전지 2개를 넣고 극성(+/-)을 올바르게 맞춰주세요.
- Close the battery cover securely. The added seal ring helps prevent water leaks.
중요한: Replace batteries when the low battery indicator appears on the LCD screen. The valve will automatically close to prevent water wastage when power is critically low.

Image: The water timer display showing a low battery warning, indicating the need for battery replacement to ensure continuous operation.
2. 수도꼭지에 연결하기
- 실외 수도꼭지가 잠겨 있는지 확인하십시오.
- Screw the timer's top connector (with the 3/4" internal thread and built-in filter) onto your standard outdoor faucet. Hand-tighten only. Do not overtighten.
- The 360° rotatable interface allows for easy positioning of the timer.
3. 호스 연결
- Attach your garden hoses to the two NH3/4" outlet fittings at the bottom of the timer.
- Ensure a tight connection to prevent leaks.

Image: The RAINPOINT 2-Outlet Water Timer installed on an outdoor faucet, with two hoses connected to its independent outlets, demonstrating its dual-zone capability.

Image: A detailed diagram labeling the various parts of the RAINPOINT water timer, including the 3/4" internal thread, 2.5" LCD screen, control dial, buttons, and outlet fittings.
작동 지침
The RAINPOINT water timer features a large dial for mode selection and several buttons for setting parameters. The dial has positions for ON, OFF, HOW OFTEN, HOW LONG, START TIME, and SET CLOCK.
1. 시계 설정
- 다이얼을 다음으로 돌립니다. 시계 설정.
- 사용하세요 + 그리고 - 현재 시간을 조정하는 버튼입니다.
- 누르다 확인/수동 to confirm and move to the next setting (e.g., AM/PM).
- Once the time is set, turn the dial to ON 저장하고 종료합니다.
2. Programming Watering Schedules (Automatic Mode)
You can program independent schedules for Zone 1 and Zone 2. Use the 존 button to switch between zones.
a. Set Start Time
- 다이얼을 다음으로 돌립니다. 시작 시간.
- 를 누르세요 존 button to select either Zone 1 or Zone 2.
- 사용 + 그리고 - to set the desired start time for the selected zone.
- 누르다 확인/수동 확인합니다.
b. Set How Long (Watering Duration)
- 다이얼을 다음으로 돌립니다. 얼마나 걸려요.
- 를 누르세요 존 button to select either Zone 1 or Zone 2.
- 사용 + 그리고 - to set the watering duration (from 1 minute to 3 hours 59 minutes).
- 누르다 확인/수동 확인합니다.
c. Set How Often (Watering Frequency)
- 다이얼을 다음으로 돌립니다. 얼마나 자주.
- 를 누르세요 존 button to select either Zone 1 or Zone 2.
- 사용 + 그리고 - to set the watering frequency (e.g., every 12 hours, every 2 days, etc.).
- 누르다 확인/수동 확인합니다.
Note: After setting all parameters, turn the dial to ON to activate the programmed schedule.

Image: The water timer display showing options for setting watering duration (1 min - 3h 59m) and frequency (1 hour - 7 days), illustrating the flexibility of automatic scheduling.
3. 수동 급수 모드
이 모드는 설정된 급수 일정에 영향을 주지 않고 즉각적이고 일시적인 급수를 가능하게 합니다.
- Ensure the dial is in the ON 위치.
- 를 누르세요 확인/수동 button. The display will show "MANUAL".
- 를 누르세요 존 button to cycle through watering options: Zone 1, Zone 2, or BOTH ZONE.
- 사용 + 그리고 - to set the desired manual watering duration (from 1 minute to 8 hours).
- 누르다 확인/수동 again to start watering. The timer will count down the duration.
- To stop manual watering early, press 확인/수동 다시 또는 다이얼을 돌리세요 끄다 그리고 다시 돌아와서 ON.
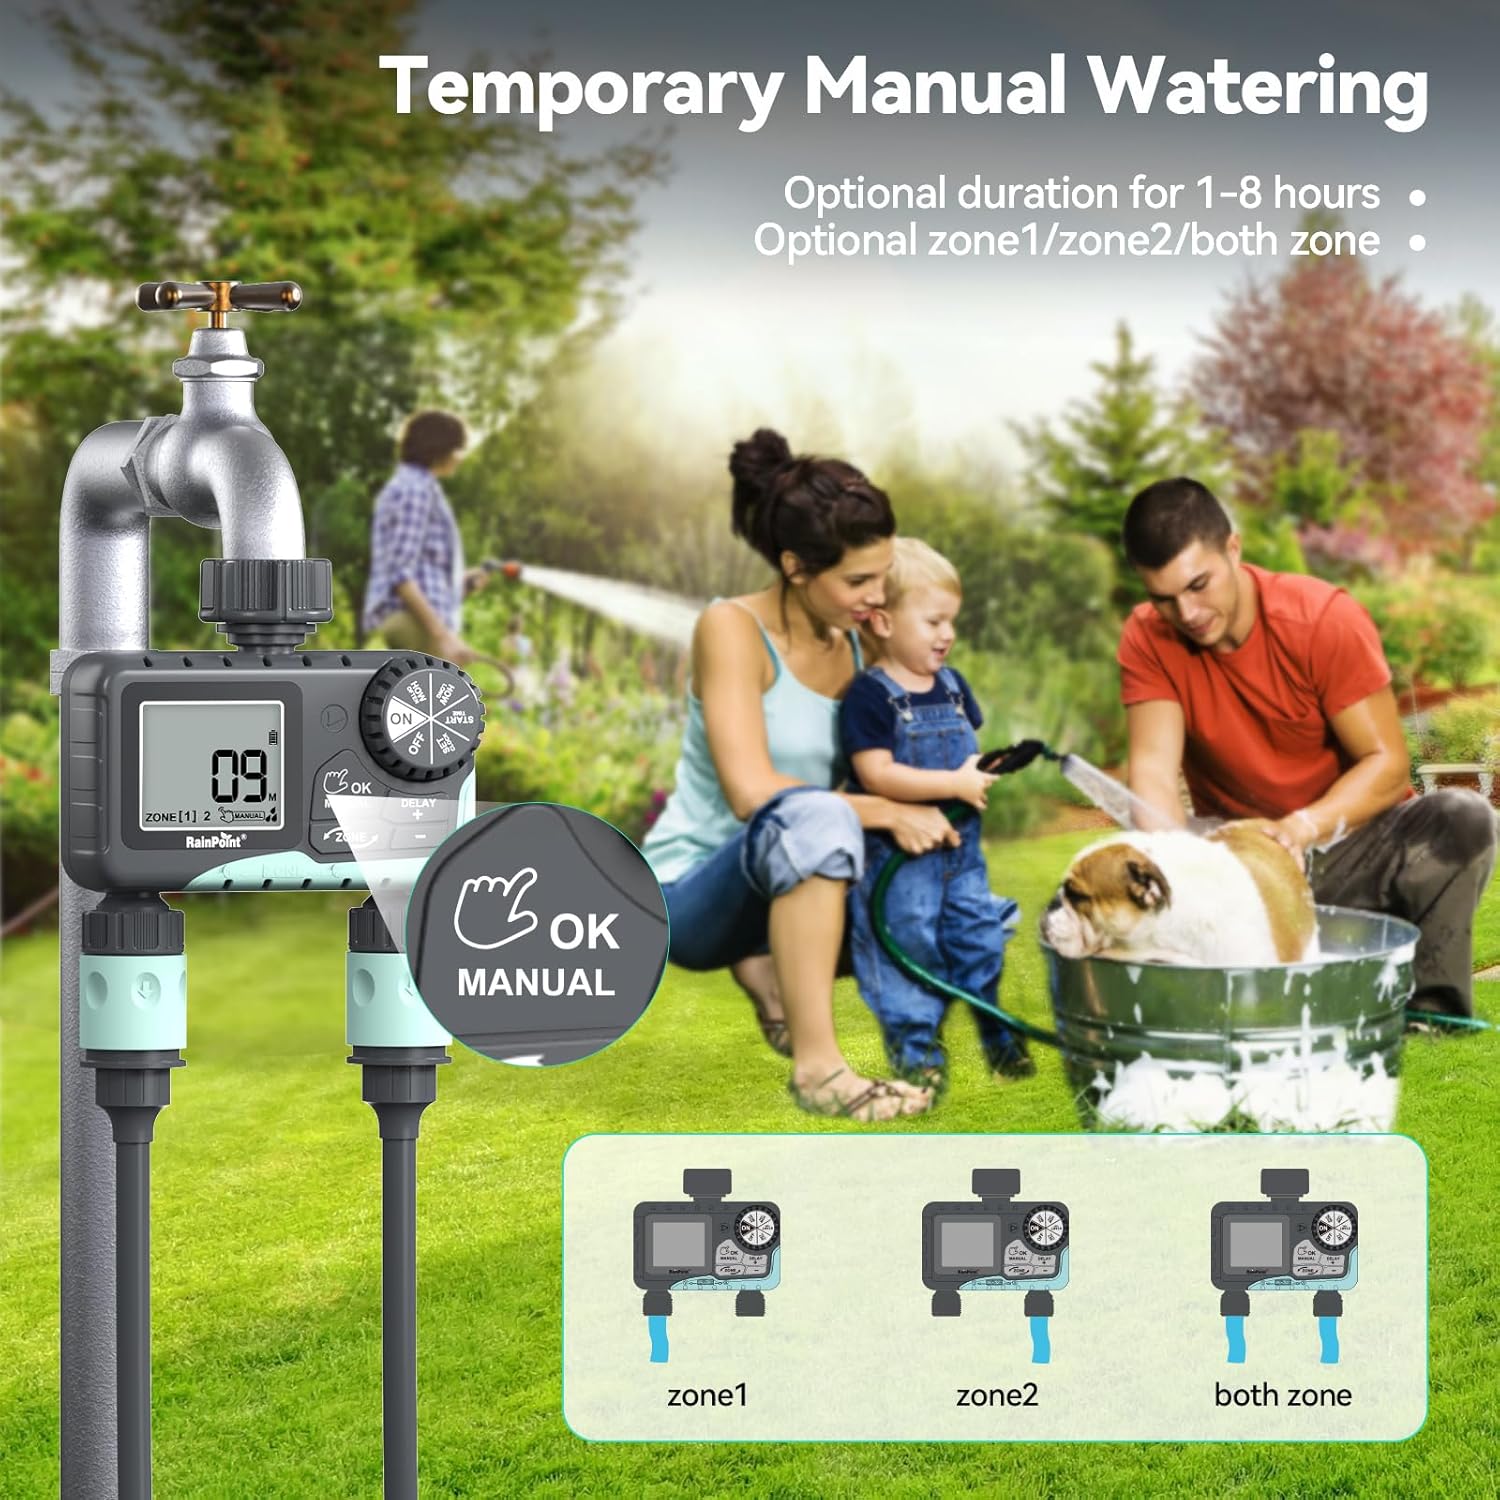
Image: The water timer display showing the manual watering mode, with options to select Zone 1, Zone 2, or both zones for immediate watering, and setting the duration.
4. 비 지연 기능
The rain delay function allows you to pause your watering schedule for a set period, preventing overwatering during rainfall.
- Ensure the dial is in the ON 위치.
- 를 누르고 계세요 지연 + button for approximately 3 seconds until "DELAY" appears on the screen.
- 사용하세요 + 그리고 - buttons to select the delay duration: 24 hours, 48 hours, or 72 hours.
- 누르다 확인/수동 to confirm the rain delay. The timer will resume its schedule automatically after the delay period.
- 우천으로 인한 경기 지연을 취소하려면 버튼을 길게 누르세요. 지연 + 버튼을 다시 3초 동안 누릅니다.
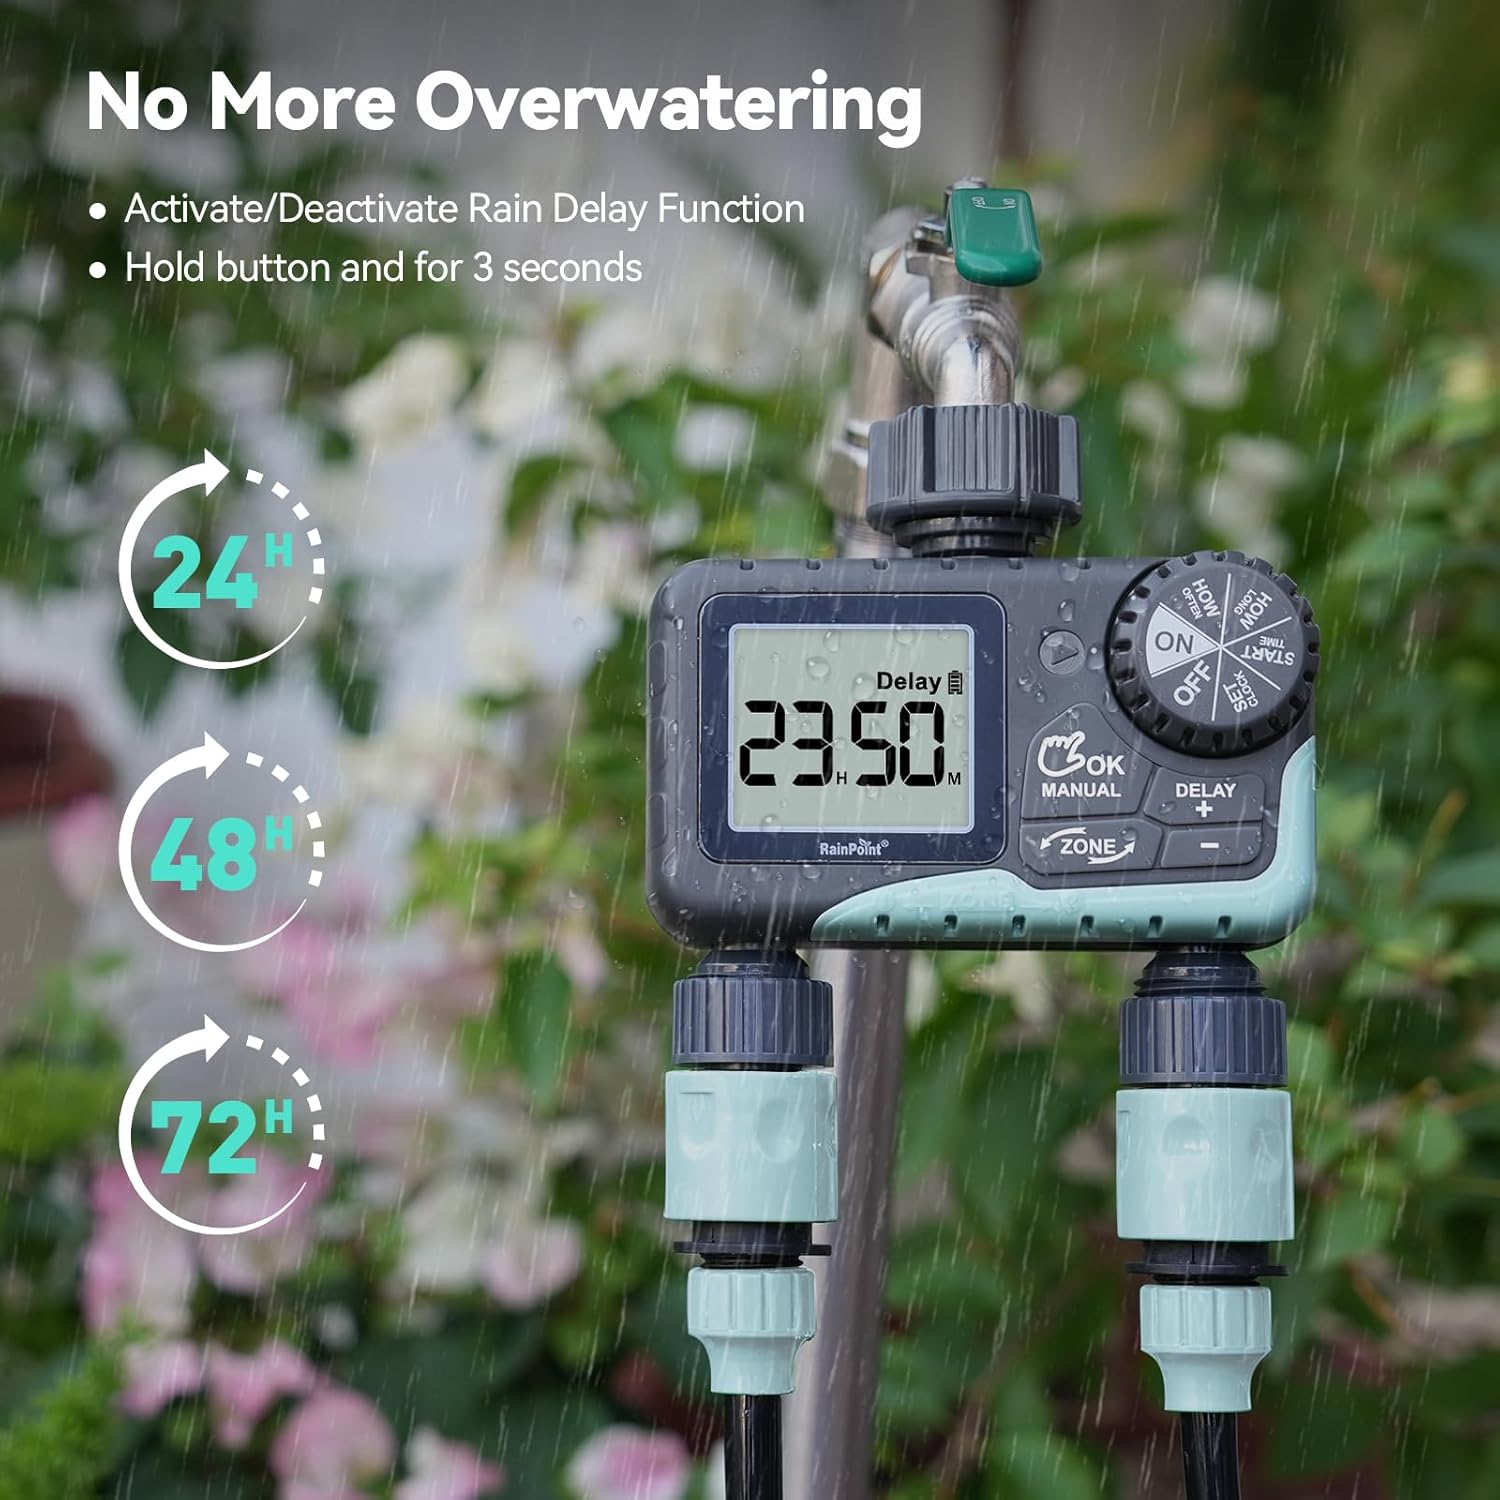
Image: The water timer display showing the rain delay function activated, with options for 24, 48, or 72-hour delays to prevent overwatering during rainy conditions.
5. 타이머 끄기
To stop all watering and programming, turn the dial to 끄다. All active programs will be paused.
유지
1. 필터 청소
The timer has a built-in metal filter to prevent debris from entering the unit. Periodically check and clean this filter to ensure optimal water flow and prevent blockages.
- 수도꼭지에서 타이머를 나사로 풀어냅니다.
- Remove the filter screen from the top connector.
- 필터에 쌓인 이물질을 제거하기 위해 흐르는 물에 필터를 헹구십시오.
- 깨끗한 필터를 다시 끼우고 타이머를 수도꼭지에 다시 연결하세요.
2. 배터리 교체
Replace batteries when the low battery indicator appears on the LCD screen. Always use new AA alkaline batteries.
- 다이얼을 다음으로 돌립니다. 끄다.
- 배터리 칸을 엽니다.
- Remove old batteries and insert new ones, observing polarity.
- 배터리 칸을 단단히 닫으세요.
- The timer will retain your programming for a short period during battery replacement.
3. 동절기 준비
To prevent damage from freezing temperatures, remove the water timer from the faucet before the first frost.
- Disconnect the timer from the faucet and hoses.
- 배터리를 제거하세요.
- Store the timer indoors in a dry, frost-free location.
문제 해결
| 문제 | 가능한 원인 | 해결책 |
|---|---|---|
| 타이머가 켜지지 않거나 디스플레이가 비어 있습니다. | 배터리가 방전되었거나 잘못 설치되었습니다. | 배터리를 새 AA 알칼리 배터리로 교체하고 극성을 확인하십시오. |
| 물이 흐르지 않습니다. | Faucet is off; timer is in OFF mode; low battery; clogged filter; incorrect programming. | Turn on faucet; turn dial to ON; replace batteries; clean filter; check programming (start time, duration, frequency). |
| 연결부에서 물이 새고 있습니다. | 느슨한 연결, 마모된 와셔. | Ensure all connections are hand-tight; check and replace rubber washers if damaged. |
| 타이머가 설정된 시간에 물을 주지 않습니다. | Incorrect clock setting; incorrect program settings; rain delay active. | Verify current time; re-check start time, duration, and frequency for each zone; check if rain delay is active. |
| Display shows "LOW BATT". | 배터리가 부족합니다. | Replace batteries immediately to prevent valve closure and program loss. |
명세서
| 모델 번호 | G-ITV205NH |
| 제품 치수 | 5.36인치 깊이 x 5.92인치 너비 x 5.55인치 높이 |
| 재료 | High-impact Plastic, Metal |
| 색상 | 블랙 앤 블루 |
| 전원 | AA 알카라인 배터리 2개(포함되지 않음) |
| 수압 범위 | Up to 35 kg (approx. 500 PSI) |
| 유량 | 5-35L/분 |
| 물주기 시간 | 1분 ~ 3시간 59분 |
| 급수 빈도 | Hourly (up to 12 hours) or Daily (up to 7 days) |
| 수동 급수 기간 | 1분부터 8시간까지 |
| 비로 인한 연기 옵션 | 24, 48, 72시간 |
| 방수 등급 | IP54 |
보증 및 지원
RAINPOINT products are designed for durability and performance. For warranty information and customer support, please refer to the official RAINPOINT web사이트를 방문하거나 고객 서비스에 직접 문의하세요.
추가 지원을 받으려면 다음을 방문하세요. www.rainpointonline.com
Or contact customer support via email: support@rainpointonline.com


