1. 서론
This manual provides comprehensive instructions for the Alpine S2-A120M S-Series Class-D Mono Subwoofer Amplifier and the Alpine RUX-KNOB.2 Remote Bass Knob. It covers essential information regarding product features, proper setup, operational guidelines, maintenance procedures, troubleshooting common issues, and detailed technical specifications. Please read this manual thoroughly before installation and operation to ensure correct usage and optimal performance.
2. 제품 오버view
2.1. 주요 특징
- S2-A120M Amp정수기: Class-D Mono Subwoofer Amplifier with 1200W RMS power output at 1 or 2 Ohms.
- Features Alpine's Class D Amplifier Circuitry.
- Designed with a two-sided terminal layout for efficient wiring.
- Includes built-in selectable and adjustable crossovers.
- Compatible with optional remote bass knobs (RUX-KNOB.2 or RUX-H01).
- RUX-KNOB.2 Remote Bass Knob: Allows for convenient adjustment of amplifier bass gain from within the vehicle cabin.
- 다중 지원 amplifier control with telephone cord adapters.
2.2. 구성 요소
The product bundle includes the Alpine S2-A120M Mono Subwoofer Amplifier and the Alpine RUX-KNOB.2 Remote Bass Knob.
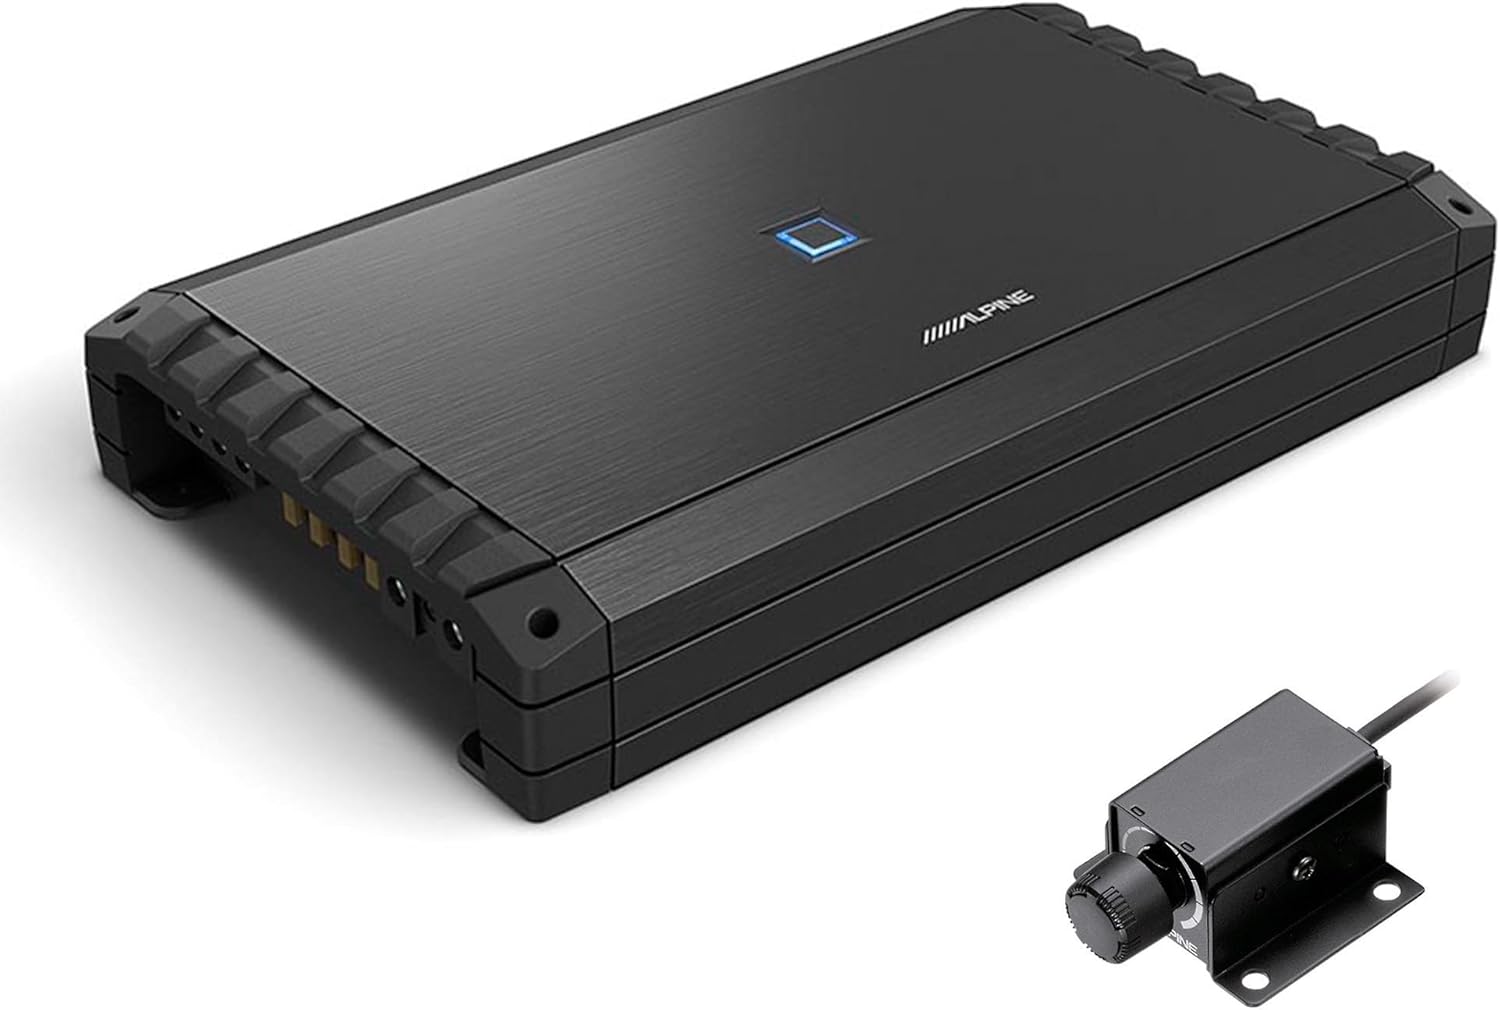
그림 1: Alpine S2-A120M S-시리즈 모노 서브우퍼 Amplifier and RUX-KNOB.2 Remote Bass Knob. This image displays the amplifier unit and the separate remote bass knob.

그림 2: 맨 위 view of the Alpine S2-A120M Amplifier. The top panel features the Alpine logo and a central indicator light.

그림 3: 클로즈업 view of the Alpine RUX-KNOB.2 Remote Bass Knob. This image highlights the control knob and its mounting bracket.
3. 설정 및 설치
적절한 설치는 성능과 수명에 매우 중요합니다. amp증폭기. 자격을 갖춘 전문가가 설치하는 것이 좋습니다.
3.1. AmpLifier 배치
- 건조하고 통풍이 잘 되며 직사광선이나 과도한 열을 피할 수 있는 장소를 선택하십시오.
- 주변에 충분한 공간을 확보하세요 amp적절한 열 방출을 위한 lifier.
- 마운트하다 amp차량 운행 중 움직임을 방지하기 위해 증폭기를 단단히 고정하십시오.
3.2. 배선 연결
The S2-A120M amplifier features a two-sided terminal layout for organized wiring.

그림 4: Rear panel connections of the Alpine S2-A120M Amp리퍼. 이것 view shows the power supply terminals (BATT, REM, GND) and speaker output terminals (SPK OUT).
- 전원 연결: Connect the main power cable from the vehicle battery to the 배트 terminal. Ensure an appropriate fuse is installed close to the battery.
- 접지 연결: 짧고 굵은 접지 케이블을 연결하십시오. 접지 terminal to a clean, unpainted metal surface on the vehicle chassis.
- 원격 켜기: Connect a remote turn-on wire from your head unit to the 렘 terminal. This wire signals the amp앰프를 오디오 시스템과 함께 켜고 끌 수 있습니다.
- 오디오 입력: 헤드 유닛의 서브우퍼 출력에서 RCA 케이블을 연결하세요. amplifier's input jacks (not explicitly shown in the provided image, but standard for amp라이터).
- 스피커 출력: 서브우퍼를 다음에 연결하세요. SPK 출력 terminals. Observe correct polarity (+ to + and - to -).
3.3. RUX-KNOB.2 Installation
The RUX-KNOB.2 remote bass knob connects to the amplifier via a telephone cord adapter. Install the knob in a convenient location within the vehicle cabin for easy access.
- Mount the RUX-KNOB.2 using the provided bracket and screws.
- Connect the telephone cord from the RUX-KNOB.2 to the designated remote bass knob port on the S2-A120M amp리퍼.
4. 사용 설명서
4.1. 초기 파워업
- After all connections are made, turn on your vehicle's ignition and audio system.
- 그만큼 amp앰프의 전원 표시등에 불이 들어와야 합니다.
4.2. 게인 조정
The gain control on the amplifier matches the output voltag헤드 유닛의 e를 amplifier's input. Set the gain carefully to avoid distortion.
- 로 시작하세요 amp앰프 게인을 최소로 설정했습니다.
- Play a familiar music track with strong bass content.
- Slowly increase the head unit volume until it reaches about 75-80% of its maximum.
- 점차적으로 증가시키다 amp앰프 게인을 약간의 왜곡이 들릴 때까지 높인 다음, 약간 낮추십시오.
4.3. 크로스오버 설정
The S2-A120M features built-in selectable and adjustable crossovers to filter frequencies sent to your subwoofer.
- Adjust the low-pass filter (LPF) to send only low frequencies to the subwoofer. A common starting point is 80-100 Hz.
- Refer to your subwoofer's specifications for recommended crossover points.
4.4. Using the RUX-KNOB.2 Remote Bass Knob
The RUX-KNOB.2 allows for real-time adjustment of the subwoofer's bass level from the driver's seat.
- Rotate the knob clockwise to increase bass output.
- Rotate the knob counter-clockwise to decrease bass output.
- This knob provides fine-tuning of the bass level without needing to access the amp리퍼 직접.
5. 유지관리
Regular maintenance helps ensure the longevity and optimal performance of your Alpine amplifier and bass knob.
- 청소: 주기적으로 닦아주세요 amplifier and bass knob with a soft, dry cloth to remove dust and debris. Avoid using harsh chemicals or abrasive cleaners.
- 연결 확인: Annually, inspect all wiring connections (power, ground, remote, RCA, speaker) to ensure they are secure and free from corrosion. Loose connections can lead to performance issues or damage.
- 통풍: 다음을 확인하세요. amp냉각기의 냉각 핀이 막히지 않아 적절한 열 방출이 가능합니다.
6. 문제 해결
If you encounter issues with your Alpine amplifier, refer to the following troubleshooting guide before seeking professional assistance.
| 문제 | 가능한 원인 | 해결책 |
|---|---|---|
| 전원 없음 / Amplifier가 켜지지 않습니다 |
|
|
| 소리가 출력되지 않음 |
|
|
| 왜곡된 소리 |
|
|
| RUX-KNOB.2 Not Functioning |
|
|
7. 사양
7.1. Alpine S2-A120M Amp리퍼
- Power Output (14.4V, <0.1% THD+N):
- 600W x 1 @ 4Ω
- 1200W x 1 @ 2Ω
- 1200W x 1 @ 1Ω
- 신호 대 잡음비(S/N 비율): >85dB
- 주파수 응답: 20Hz ~ 400Hz
- Damp요인: >750
- 치수(폭 x 높이 x 깊이): 13.1" x 2.25" x 8.25"(33.27cm x 5.72cm x 20.96cm)
- 무게: Approximately 8 lbs, 11 oz (3.94 kg)
7.2. Alpine RUX-KNOB.2 Remote Bass Knob
- 기능: Remote bass gain adjustment for compatible Alpine amp정수기.
- 호환성: Designed for use with S2-A120M and other compatible Alpine amplifiers (e.g., MRX-M50, MRX-M100, MRX-V60, PDX-M12, PDX-M6).
- 연결: Via telephone cord adapter.
8. 보증 및 지원
보증 정보 및 기술 지원에 대해서는 Alpine 공식 웹사이트를 참조하십시오. web해당 웹사이트를 방문하거나 Alpine 고객 서비스 센터에 직접 문의하십시오. 보증 청구를 위해서는 구매 영수증을 증빙 자료로 보관하십시오.
알파인 고객 지원: Visit Alpine's Support Page


