1. 소개 및 이상view
The Vertiv Liebert GXT5 Lithium-Ion N Online UPS (Uninterruptible Power Supply) provides reliable, high-quality AC power to IT equipment. This unit is designed to protect critical loads from power disturbances and outages, ensuring continuous operation. Featuring Lithium-Ion battery technology, it offers extended battery life and reduced maintenance compared to traditional UPS systems. This manual provides essential information for the safe and efficient installation, operation, and maintenance of your UPS.
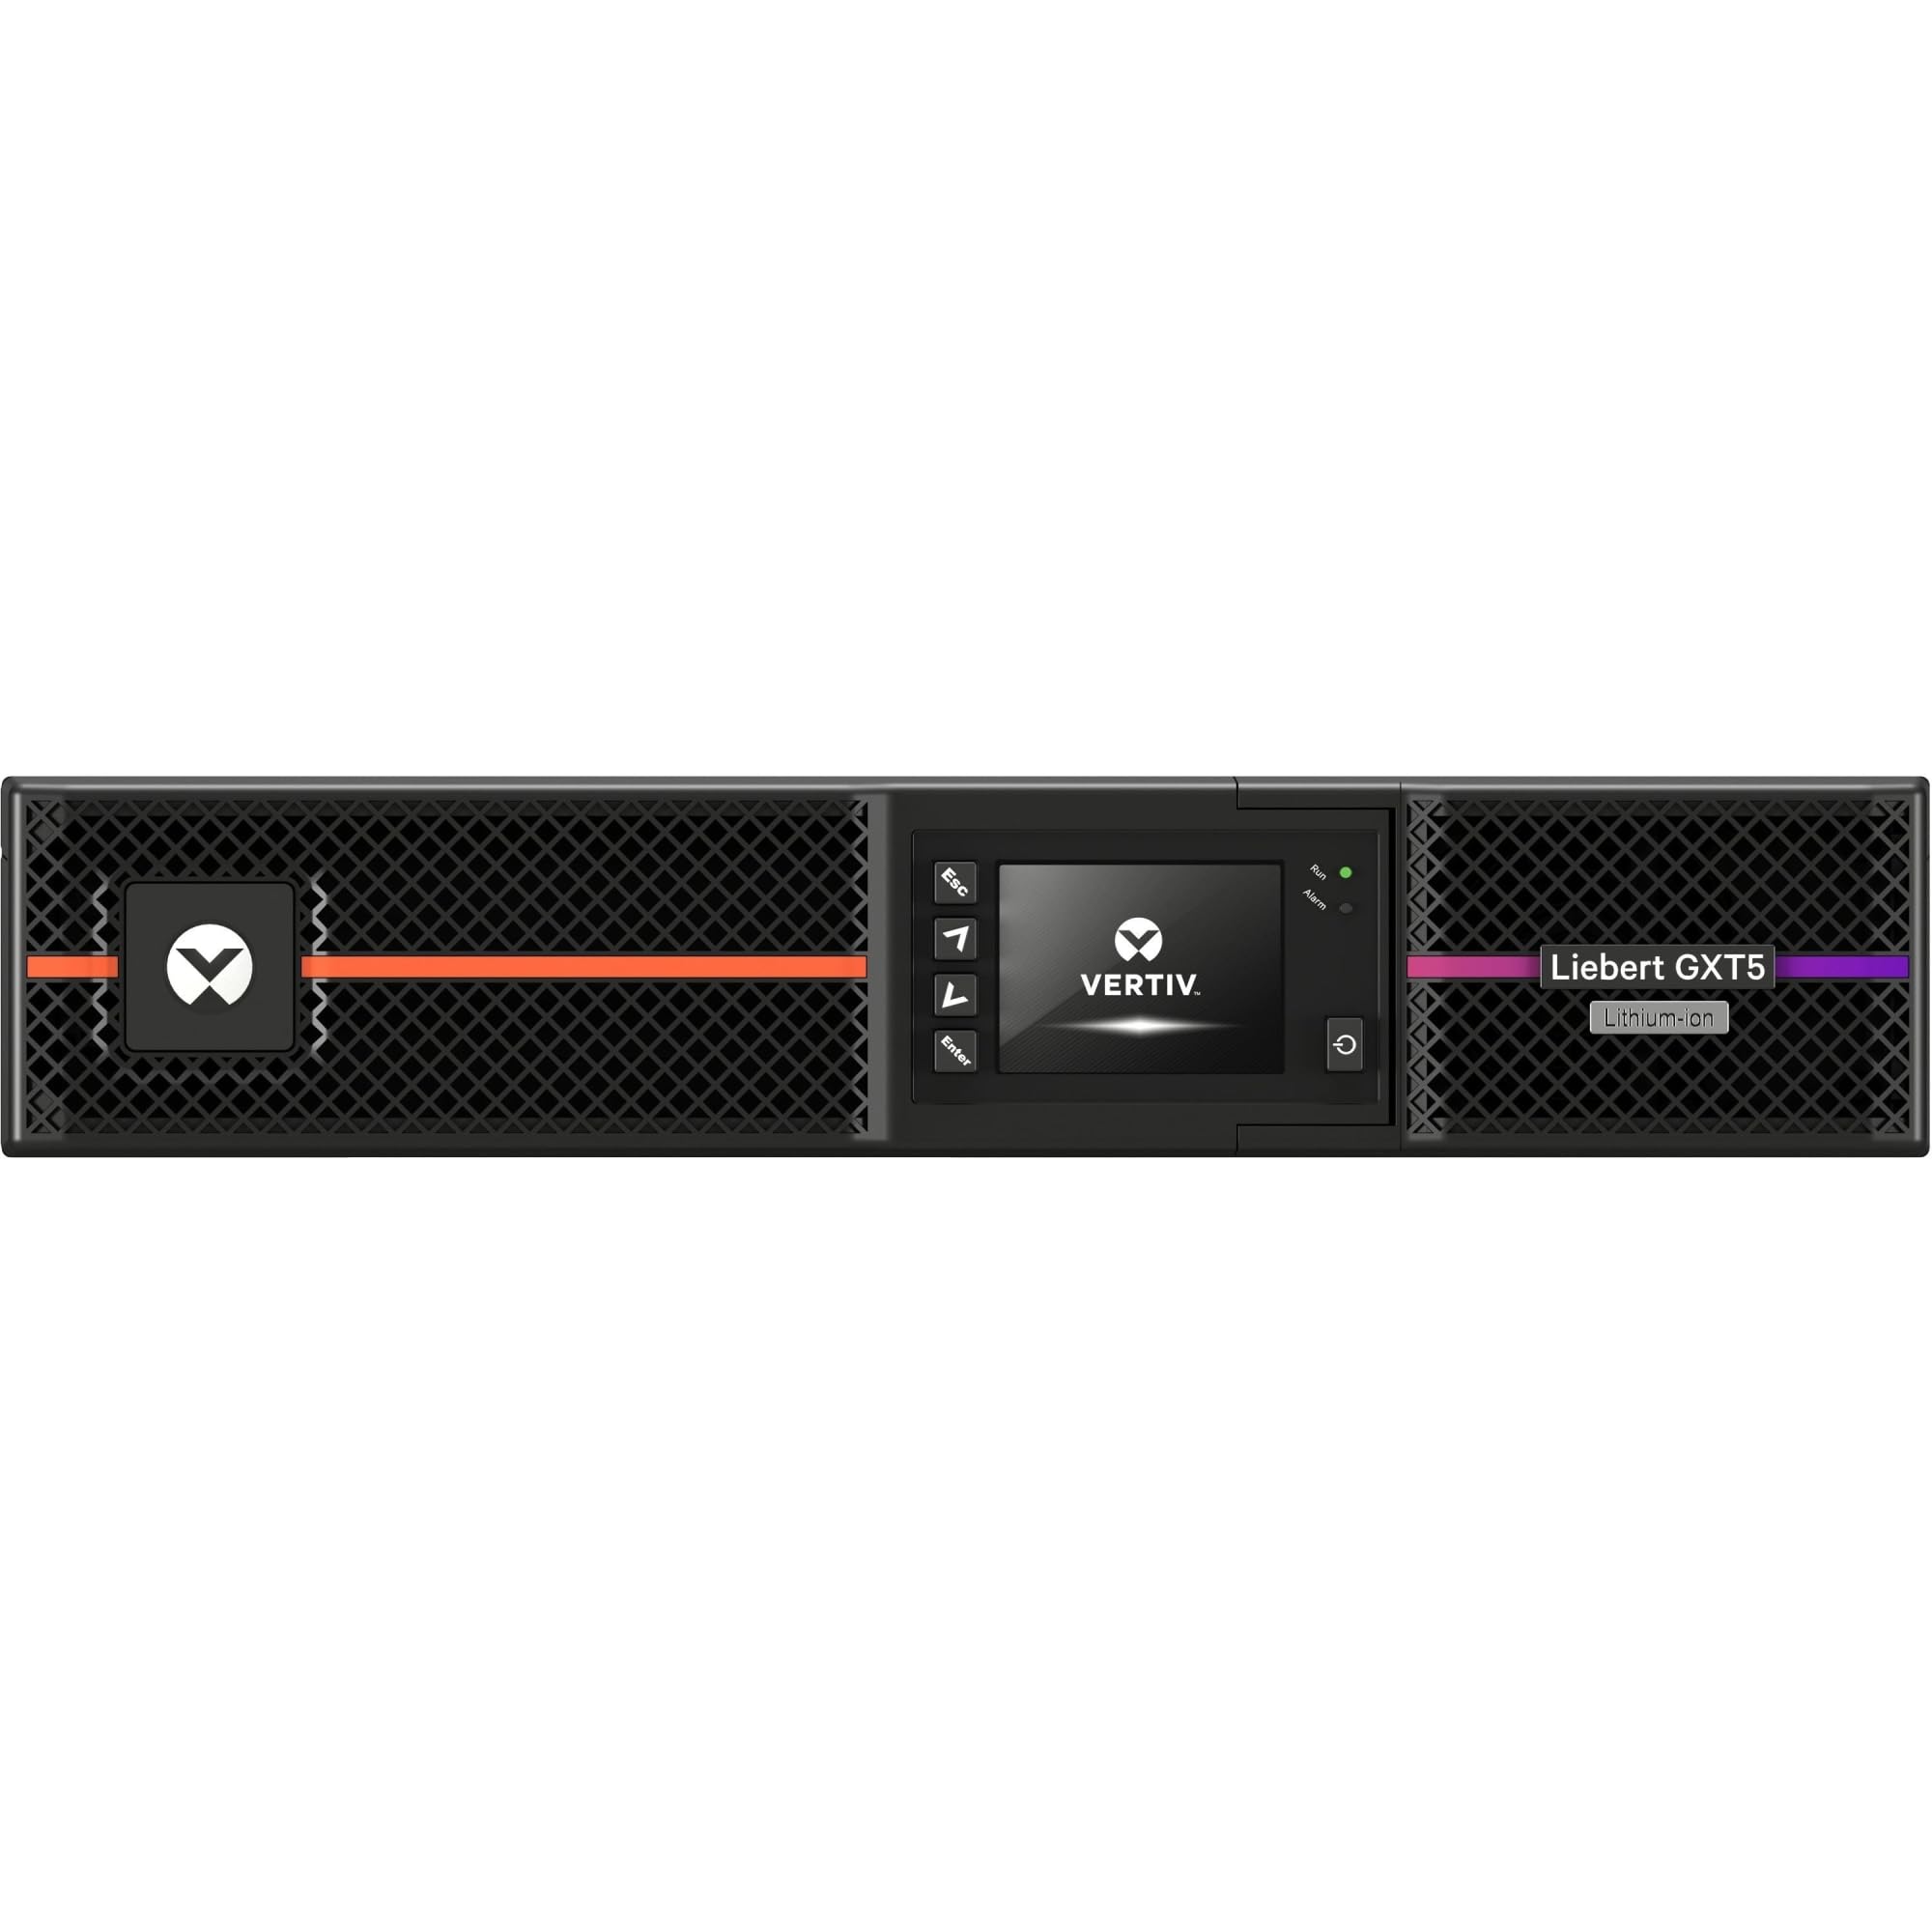
그림 1: 전면 view of the Vertiv Liebert GXT5 UPS, showing the display and ventilation.
2. 안전 정보
UPS를 설치, 작동 또는 유지 관리하기 전에 모든 안전 지침을 읽고 숙지하십시오. 이 지침을 따르지 않을 경우 감전, 화재 또는 심각한 부상을 입을 수 있습니다.
- 전기적 위험: 이 장치에는 위험한 볼륨이 포함되어 있습니다.tages. Do not open the UPS enclosure. Refer all servicing to qualified service personnel.
- 배터리 안전: The UPS contains Lithium-Ion batteries. Do not dispose of batteries in a fire. Batteries may explode. Do not open or mutilate batteries. Released electrolyte is harmful to the skin and eyes.
- 접지: Ensure the UPS is properly grounded to reduce the risk of electric shock.
- 환경: Install the UPS in a controlled environment, free from excessive dust, humidity, and extreme temperatures.
- 무게: The UPS unit is heavy. Use proper lifting techniques or assistance during installation to prevent injury.
3. 패키지 내용
Verify that all items are present in the packaging. If any items are missing or damaged, contact your supplier.
- Vertiv Liebert GXT5 Lithium-Ion N Online UPS Unit
- 입력 전원 코드
- Output Power Cords (quantity may vary)
- USB 케이블
- 시리얼 케이블
- Rackmount Kit (rails, hardware)
- Tower Stands (for tower configuration)
- 빠른 시작 가이드 및 안전 지침
4. 설정
4.1 물리적 설치
The GXT5 UPS can be installed in either a rackmount or tower configuration.
Tower Configuration:
Attach the provided tower stands to the bottom of the UPS unit for stable vertical placement. Ensure adequate clearance for ventilation.

Figure 2: UPS unit configured for tower installation with stands.
Rackmount Configuration:
Install the rackmount rails into your standard 19-inch equipment rack. Slide the UPS unit onto the installed rails and secure it with the provided screws.
4.2 전원 및 장비 연결
- 입력 전원 연결: UPS 입력 전원 코드를 접지가 제대로 된 콘센트에 꽂으십시오.
- 장비 연결: Plug your critical equipment (servers, network devices, etc.) into the output receptacles on the rear panel of the UPS. Note that some outlets may be individually controllable.
- 통신 포트: For monitoring and management, connect the USB or serial cable to your computer or network device.
- Optional RDU101 Card: If using the optional RDU101 network management card, insert it into the Intellislot and connect an Ethernet cable for remote monitoring.
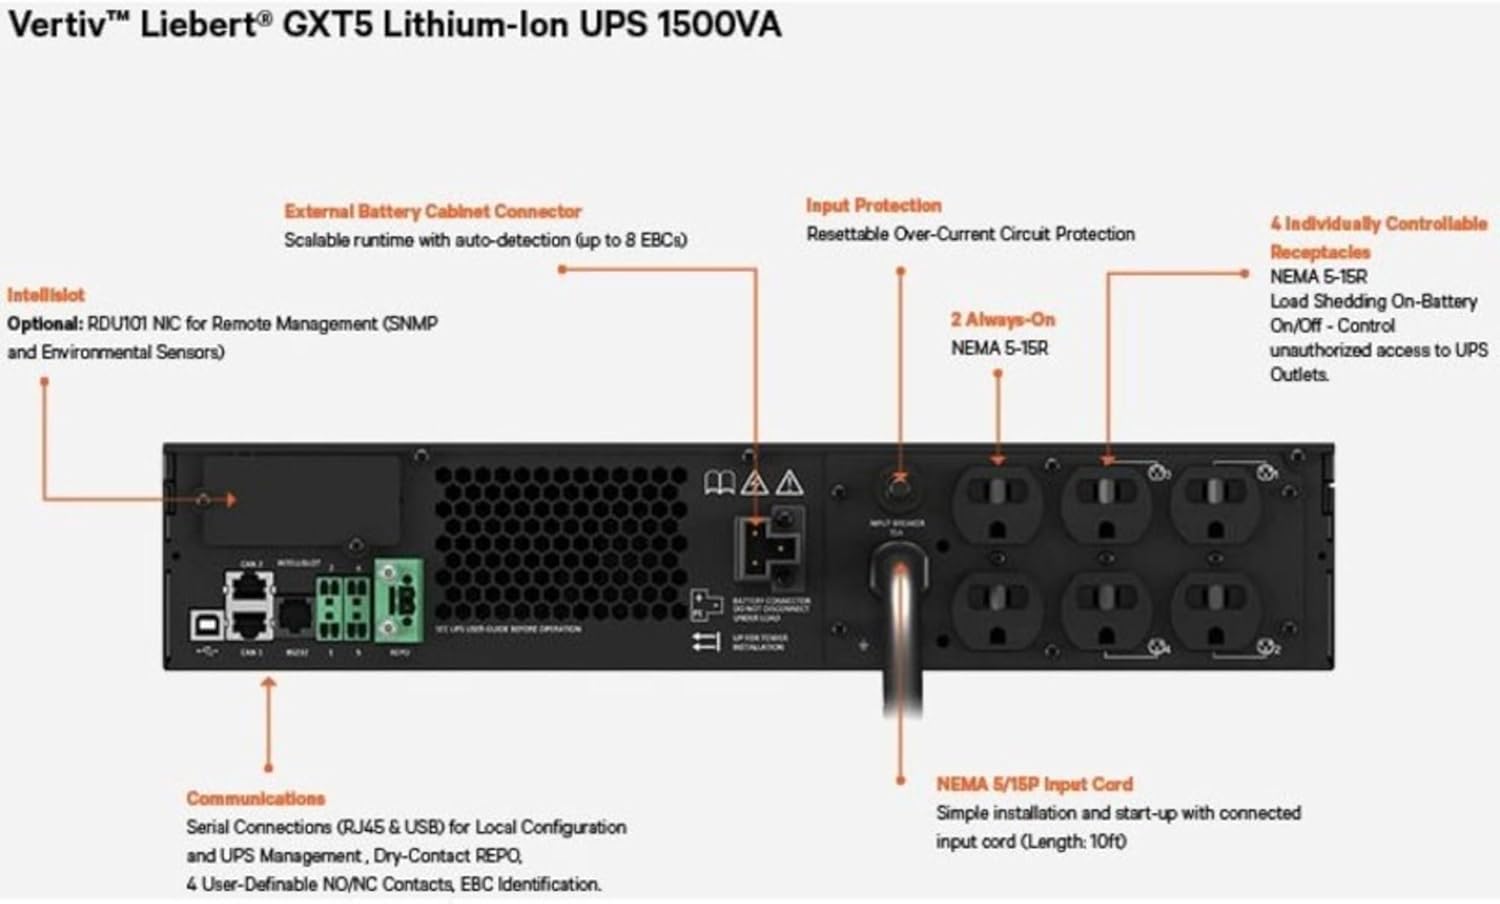
Figure 3: Rear panel connections, including input power, output receptacles, and communication ports.

Figure 4: RDU101 network management card with labeled ports.
4.3 초기 전원 켜기
After all connections are secure, press the power button on the front panel to turn on the UPS. The display will illuminate, and the UPS will perform a self-test. Allow the batteries to charge for at least 24 hours before relying on them for extended backup time.
5. UPS 작동 방법
5.1 전면 패널 디스플레이 및 제어 장치
전면 패널 LCD는 입력/출력 볼륨을 포함한 실시간 상태 정보를 제공합니다.tage, load level, battery status, and alarm conditions. Use the navigation buttons to access menus and configure settings.
5.2 작동 모드
- 온라인 모드: Normal operation where the UPS continuously converts AC input to DC to charge batteries and then back to AC to power connected equipment, providing maximum protection.
- 배터리 모드: When input power fails, the UPS automatically switches to battery power to keep connected equipment running.
- 우회 모드: In certain conditions or for maintenance, the UPS can transfer the load directly to utility power, bypassing the UPS's power conditioning.
5.3 종료 절차
To safely shut down the UPS, first power off all connected equipment. Then, press and hold the power button on the UPS front panel until the unit powers off. Disconnect the input power cord only after the UPS is completely off.
6. 유지관리
6.1 배터리 관리
The Lithium-Ion batteries in your GXT5 UPS are designed for a long service life. Regular maintenance is generally not required. However, ensure the UPS operates within recommended temperature ranges to maximize battery lifespan. Avoid frequent deep discharges if possible.
6.2 청소
Keep the UPS free from dust and debris. Use a soft, dry cloth to clean the exterior. Do not use liquid cleaners or solvents. Ensure ventilation openings are clear and unobstructed.
6.3 펌웨어 업데이트
Periodically check the Vertiv website for available firmware updates for your UPS model. Firmware updates can provide performance enhancements, bug fixes, and new features. Follow the instructions provided with the update package carefully.
7. 문제 해결
This section provides solutions to common issues you may encounter with your UPS. For more complex problems, contact Vertiv technical support.
| 문제 | 가능한 원인 | 해결책 |
|---|---|---|
| UPS가 켜지지 않습니다. | No input power; Battery deeply discharged; Power button not pressed correctly. | Check input power cord connection and wall outlet. Allow UPS to charge for several hours. Press and hold power button for 2-3 seconds. |
| UPS에서 계속해서 경고음이 울립니다. | On battery power; Overload condition; Battery fault. | Check input power. Reduce connected load. Check battery status on display. |
| 연결된 장비가 전력을 잃음 | UPS battery depleted; UPS shut down due to overload; UPS fault. | Check UPS display for error messages. Ensure load is within UPS capacity. |
8. 사양
| 특징 | 사양 |
|---|---|
| 모델 번호 | GXT5LI-1500LVRT2UXLN |
| 용량(VA/와트) | 1500VA / 1350W |
| 입력 Voltage | 120 볼트 |
| 배터리 유형 | 리튬 이온 |
| 제품 크기(L x W x H) | 24 x 22.5 x 9.5 인치 |
| 품목 무게 | 55.4파운드 |
| 색상 | 검은색 |
9. 보증 및 지원
Your Vertiv Liebert GXT5 UPS is covered by a manufacturer's warranty. Please refer to the warranty card included with your product or visit the official Vertiv web자세한 보증 약관은 해당 사이트에서 확인하세요.
For technical assistance, troubleshooting, or to inquire about service, please contact Vertiv customer support. You can also explore additional resources and product information through the Vertiv Virtual Showroom:
Visit the Vertiv Virtual Showroom

Figure 5: Scan this QR code to access the Vertiv Virtual Showroom for more product information and support.


