1. 서론
This manual provides detailed instructions for the setup, operation, and maintenance of your CUPEISI Android 14 Tablet, Model Q2S. Please read this manual thoroughly before using your device to ensure proper functionality and to maximize its lifespan.
The CUPEISI Q2S is a 7-inch tablet featuring the Android 14 operating system, a 1.6GHz Quad-core processor, 8GB RAM (4GB fixed, 4GB virtual), 32GB internal storage expandable up to 1TB, a 1024x600 IPS touch screen, and dual cameras.
2. 패키지 내용
아래 나열된 모든 품목이 제품 포장에 들어 있는지 확인하세요.
- CUPEISI Android 14 Tablet (Model Q2S)
- Type-C USB 케이블
- 사용 설명서 (본 문서)
품목이 누락되었거나 손상된 경우 고객 지원팀에 문의하세요.
3. 디바이스 오버view
태블릿의 물리적 구성 요소를 숙지하세요.
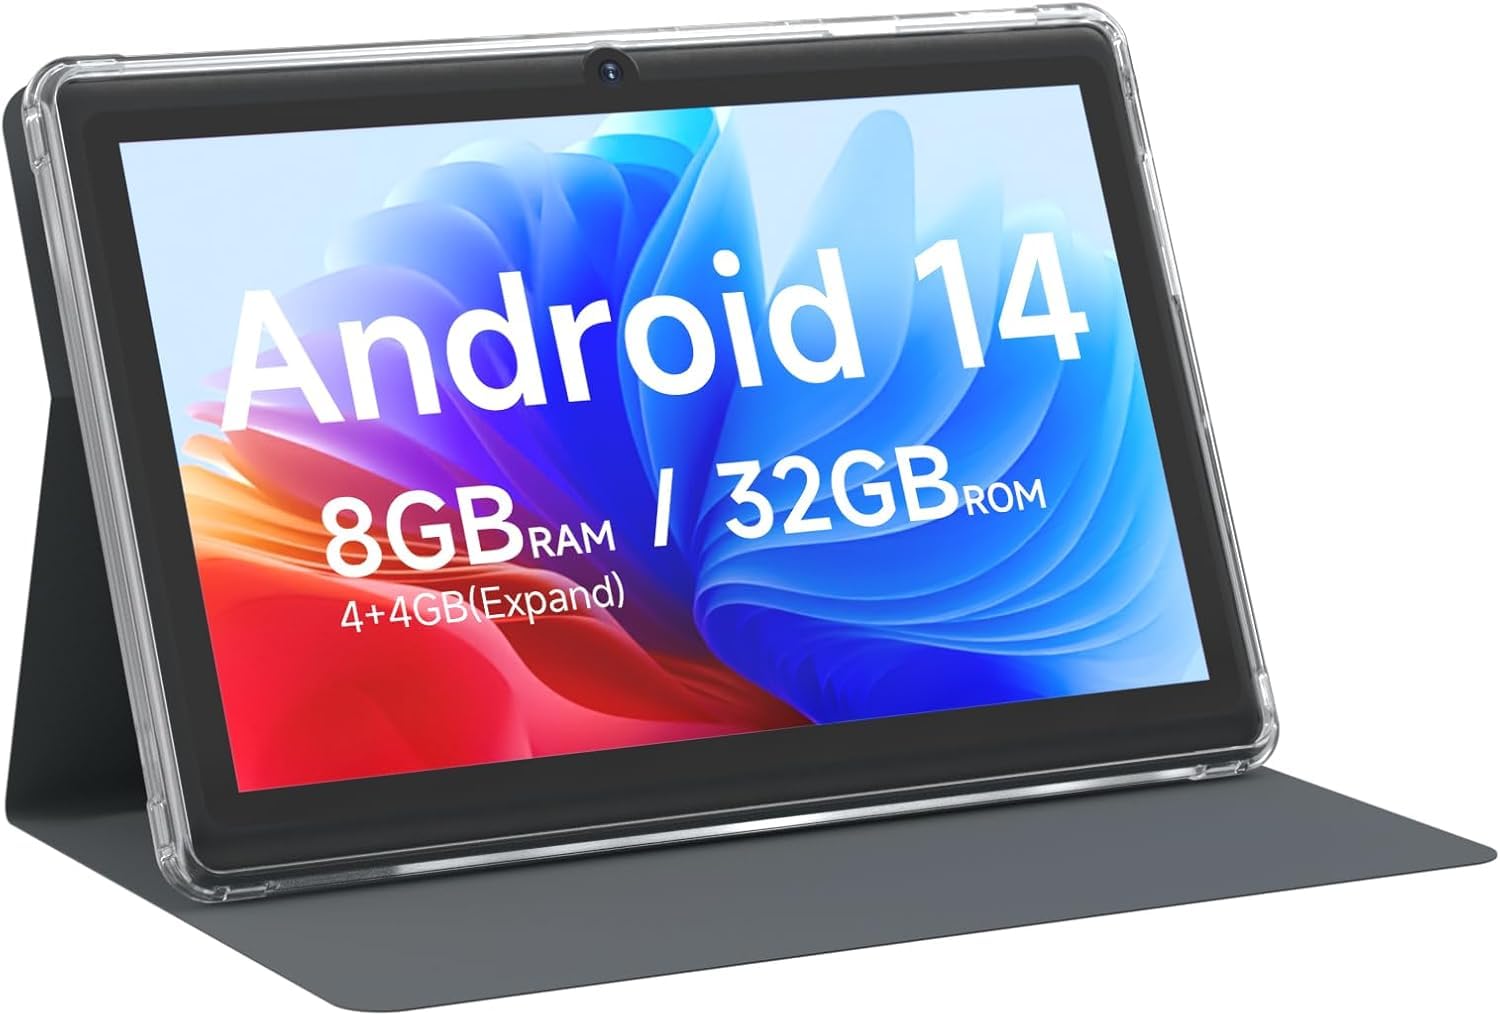
그림 3.1: 앞쪽 view of the CUPEISI Q2S Tablet, showing the display with various application icons.

그림 3.2: 앞면과 뒷면 views of the CUPEISI Q2S Tablet, highlighting its compact design and textured rear panel.

그림 3.3: The 7-inch IPS screen of the CUPEISI Q2S Tablet, showcasin디스플레이 품질이 뛰어납니다.
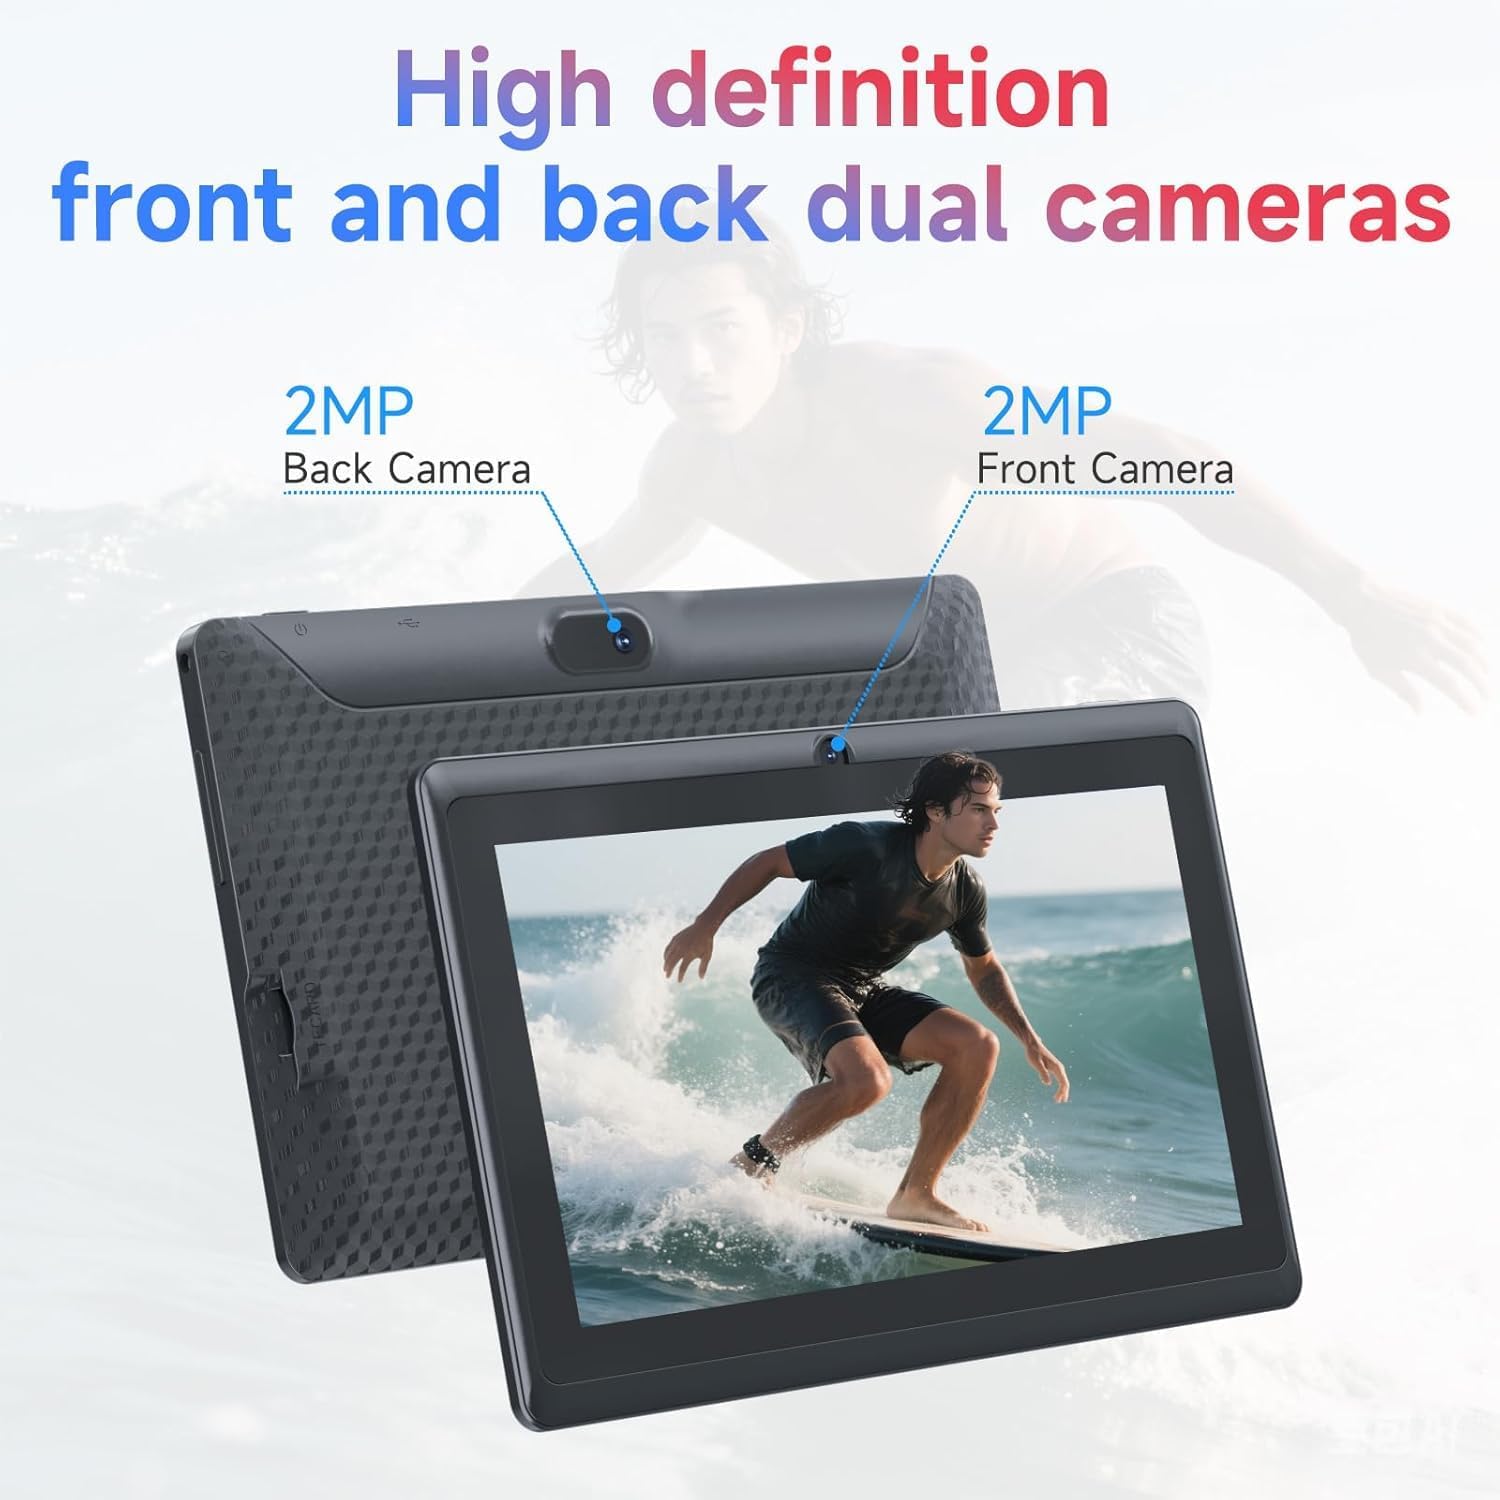
그림 3.4: Illustration of the CUPEISI Q2S Tablet's front and rear camera locations.
3.1 버튼 및 포트
- 전원 버튼: Press and hold to turn the tablet on or off. Press briefly to sleep or wake the screen.
- 볼륨 버튼: 오디오 볼륨을 조절합니다.
- USB 타입-C 포트: 태블릿 충전 및 데이터 전송을 위한 컴퓨터 연결용입니다.
- MicroSD 카드 슬롯: 저장 공간을 확장하려면 microSD 카드를 삽입하세요.
- 전면 카메라: 전면 베젤에 위치하며 영상 통화 및 셀카 촬영에 사용됩니다.
- 후방 카메라: 뒷면 패널에 위치하며 사진과 비디오를 촬영하는 데 사용됩니다.
- 스피커: 오디오 출력.
4. 설정
4.1 태블릿 충전
Before first use, fully charge the tablet. Connect the provided Type-C USB cable to the tablet's charging port and the other end to a compatible USB power adapter (not included) or a computer's USB port. The battery indicator on the screen will show charging status.
4.2 전원 켜기/끄기
- 전원을 켜려면: Press and hold the Power button until the CUPEISI logo appears.
- 전원을 끄려면: 전원 옵션 메뉴가 나타날 때까지 전원 버튼을 길게 누르세요. "전원 끄기"를 선택하고 확인하세요.
- 재시작하기 위해: 전원 옵션 메뉴에서 "다시 시작"을 선택하고 확인합니다.
4.3 초기 설정 마법사
태블릿을 처음 켜면 초기 설정 과정을 안내해 줍니다.
- 언어 선택: 선호하는 언어를 선택하십시오.
- Wi-Fi 연결: Connect to an available Wi-Fi network. This is essential for downloading apps and accessing online services.
- 구글 계정: Sign in with your Google account or create a new one. This allows access to Google Play Store, Gmail, and other Google services.
- 날짜 및 시간: 올바른 날짜와 시간을 설정하거나 네트워크에서 자동으로 설정하도록 하세요.
- 화면 잠금 : Set up a PIN, pattern, or password for screen security.
5. 사용 설명서
5.1 기본 탐색
- 터치 제스처: 탭하여 선택하고, 스와이프하여 스크롤하고, 핀치하여 확대/축소합니다.
- 홈 화면: 앱과 위젯을 위한 중앙 허브입니다.
- 알림 패널: 화면 상단에서 아래로 살짝 밀어 알림과 빠른 설정에 접근하세요.
- 앱 서랍: 화면 하단에서 위로 스와이프하여 view 설치된 모든 응용 프로그램.
5.2 앱 설치 및 관리
You can download and install applications from the Google Play Store. The tablet is GMS certified, ensuring compatibility with Google services.
- 앱 설치: 열기 플레이 스토어 app, search for your desired app, and tap "Install".
- 앱 제거: Press and hold an app icon on the home screen or app drawer, then drag it to "Uninstall" or select the uninstall option. Alternatively, go to 설정 > 앱 > 모든 앱 보기앱을 선택하고 "제거"를 탭하세요.
6. 연결성
6.1 Wi-Fi 연결
Wi-Fi 네트워크에 연결하려면:
- 이동하다 설정 > 네트워크 및 인터넷 > Wi-Fi.
- Wi-Fi 전환 On.
- 사용 가능한 네트워크 목록에서 원하는 네트워크를 선택합니다.
- 메시지가 표시되면 비밀번호를 입력하고 탭하세요. 연결하다.
The tablet supports 2.4G/5G WiFi 6 for faster and more stable connections.
6.2 블루투스 페어링
To pair with a Bluetooth device (e.g., headphones, speakers):
- 이동하다 설정 > 연결된 기기 > 연결 환경설정 > 블루투스.
- 블루투스 전환 On.
- Bluetooth 장치가 페어링 모드인지 확인하세요.
- 수도꼭지 새 기기 페어링 and select your device from the list.
- 화면의 지시에 따라 페어링을 완료하세요.
7. 카메라 사용
태블릿에는 2MP 전면 카메라와 5MP 후면 카메라가 장착되어 있습니다.
- 열기 카메라 앱.
- 전면 카메라와 후면 카메라를 전환하려면 카메라 아이콘을 탭하세요.
- 셔터 버튼을 탭하여 사진을 촬영하세요.
- 비디오를 녹화하려면 비디오 모드를 선택하세요.
8. 스토리지 관리
The tablet comes with 32GB of internal storage. You can expand this storage up to 1TB using a microSD card.

그림 8.1: Tablet screen illustrating available storage space (8GB RAM, 32GB ROM).
8.1 MicroSD 카드 삽입
- 태블릿 측면에 있는 microSD 카드 슬롯을 찾으세요.
- Carefully insert the microSD card into the slot until it clicks into place.
- The tablet will detect the new storage. You may be prompted to format the card for optimal use with the tablet.
8.2 스토리지 관리
에게 view and manage your storage, go to 설정 > 저장소. Here you can see how much space is used by apps, photos, videos, and other files, and manage your microSD card.
9. 유지관리
9.1 태블릿 청소
- 부드럽고 보푸라기가 없는 천을 사용하여 태블릿의 화면과 본체를 닦으세요.
- 완고한 얼룩의 경우 약간 damp천에 물을 묻히거나 전자제품용 화면 세정제를 묻힙니다.
- 강한 화학 물질, 연마 세척제 또는 에어로졸 스프레이는 사용하지 마세요.
9.2 배터리 관리
- 태블릿을 극한의 온도(더위나 추위)에 노출시키지 마세요.
- 배터리를 자주 완전히 방전시키지 마세요. 20% 이하로 떨어지기 전에 충전하세요.
- 충전 시에는 제공된 Type-C 케이블만 사용하세요.
9.3 소프트웨어 업데이트
최적의 성능과 보안을 보장하려면 소프트웨어 업데이트를 정기적으로 확인하세요. 설정 > 시스템 > 시스템 업데이트.
10. 문제 해결
이 섹션에서는 태블릿에서 발생할 수 있는 일반적인 문제에 대해 설명합니다.
10.1 태블릿이 켜지지 않음
- Ensure the tablet is sufficiently charged. Connect it to a power source and wait a few minutes before attempting to power it on again.
- 최소 10~15초 동안 전원 버튼을 길게 눌러 강제 재시작을 실행하세요.
10.2 Slow Performance or Apps Crashing
- 불필요한 백그라운드 애플리케이션을 닫습니다.
- Clear the cache of frequently used apps (설정 > 앱 > 모든 앱 보기 > [앱 이름] > 저장공간 및 캐시 > 캐시 지우기).
- Ensure you have sufficient free storage space. Uninstall unused apps or move large filemicroSD 카드에 저장하세요.
- 태블릿을 다시 시작하십시오.
10.3 Wi-Fi 연결 문제
- Ensure Wi-Fi is enabled on the tablet (설정 > 네트워크 및 인터넷 > Wi-Fi).
- Wi-Fi 라우터를 다시 시작하세요.
- 네트워크를 삭제하고 다시 연결하세요.설정 > 네트워크 및 인터넷 > Wi-Fi, tap the network, then 잊다).
10.4 배터리가 빨리 소모됩니다
- 화면 밝기를 낮추세요.
- 사용하지 않을 때는 Wi-Fi, 블루투스, GPS를 비활성화하세요.
- 전력을 많이 소모하는 백그라운드 앱을 종료하세요.
- 배터리 사용량을 확인하세요 설정> 배터리 전력 소모가 많은 앱을 식별합니다.
11. 사양
Detailed technical specifications for the CUPEISI Android 14 Tablet Q2S.
| 모델명 | Q8MPRO |
| 품목 모델 번호 | Q2S |
| 운영 체제 | 안드로이드 14 |
| 프로세서 | 1.6 GHz Quad-core (ARM) |
| 숫양 | 8GB(4GB 고정, 4GB 가상) |
| 내부 저장소 | 32GB 플래시 메모리 |
| 확장 가능한 스토리지 | MicroSD 카드를 통해 최대 1TB까지 |
| 화면 크기 | 7 인치 |
| 화면 해상도 | 1024 x 600 pixels IPS HD Touch Screen |
| 후방 카메라 | 5 MP |
| 전면 카메라 | 2 MP |
| 무선형 | 802.11g (2.4G/5G WiFi 6) |
| 블루투스 | 비티 5.0 |
| 평균 배터리 수명 | 6시간 |
| 품목 무게 | 13.4 온스 |
| 제품 치수 | 7.5 x 0.3 x 4.3 인치 |
12. 안전 정보
- 정제를 물이나 과도한 습기에 노출시키지 마십시오.
- 태블릿을 떨어뜨리거나 심한 충격을 가하지 마십시오.
- 태블릿을 직접 분해하거나 수리하려고 하지 마십시오. 보증이 무효화될 수 있으며 제품이 손상될 수 있습니다.
- Use the tablet in well-ventilated areas.
- 태블릿을 강한 자기장으로부터 멀리 두십시오.
- 태블릿과 배터리는 현지 규정에 따라 책임감 있게 폐기하십시오.
13. 보증 및 지원
For warranty information and customer support, please refer to the documentation provided with your purchase or visit the official CUPEISI website. If you encounter any issues not covered in this manual, please contact CUPEISI customer service for assistance.


