1. 서론
구매해주셔서 감사합니다asing the IRRADIO VDP-4600HDW LCD/LED Projector. This manual provides essential information for the safe and efficient operation of your device. Please read it thoroughly before use and retain it for future reference.
2. 안전 지침
- 통풍구를 막지 마십시오. 프로젝터의 과열을 방지하기 위해 적절한 공기 흐름을 확보하십시오.
- l을 사용할 때 프로젝터 렌즈를 직접 쳐다보지 마십시오.amp 밝은 빛이 눈 손상을 유발할 수 있으므로 조명을 켜 두십시오.
- Keep the projector away from water or other liquids. Do not operate in damp 또는 습한 환경.
- 프로젝터와 함께 제공된 전원 어댑터만 사용하세요.
- 프로젝터를 직접 수리하려고 하지 마십시오. 모든 서비스는 자격을 갖춘 전문가에게 맡기십시오.
- 프로젝터가 넘어지지 않도록 안정적이고 평평한 표면에 놓으십시오.
3. 패키지 내용
패키지에 모든 품목이 들어 있는지 확인하세요.
- IRRADIO VDP-4600HDW Projector
- 원격 제어
- 전원 케이블
- HDMI 케이블
- AV 케이블
- 사용자 설명서
4. 제품 오버view
4.1. 프로젝터 구성 요소

그림 4.1: 전반적인 view of the IRRADIO VDP-4600HDW Projector. This image displays the projector from an angled perspective, highlighting its compact design and the lens on the front left side, with ventilation grilles and control buttons visible on the top and sides.

그림 4.2: 앞쪽 view of the projector. This image focuses on the large projection lens on the left, with the IRRADIO logo and ventilation grilles on the right side of the front panel.

그림 4.3: 뒤쪽 view of the projector. This image shows the VGA port, focus adjustment knob, and keystone correction knob on the rear panel, along with additional ventilation.
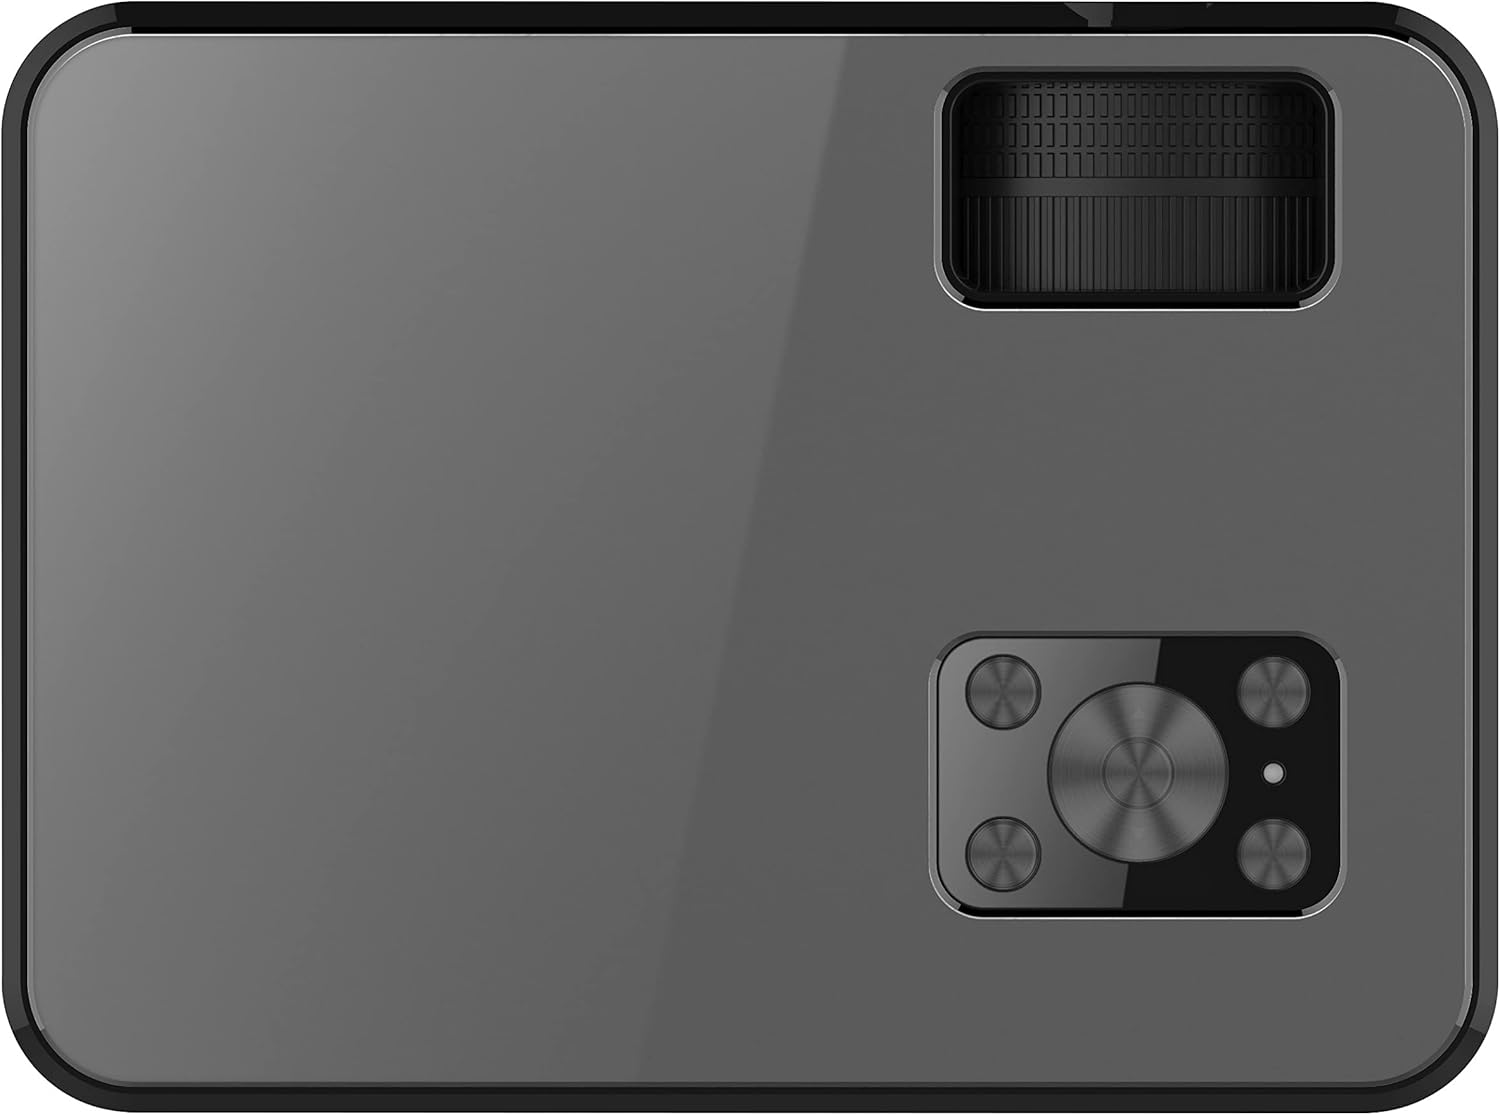
그림 4.4: 맨 위 view of the projector. This image displays the control panel with navigation buttons (up, down, left, right, OK), source, menu, and exit buttons, along with the power button and volume controls.

그림 4.5: 옆 view of the projector showing input/output ports. This image highlights two HDMI ports, AV input, two USB ports, and a 3.5mm headphone jack (audio out).

그림 4.6: 반대편 view of the projector. This image shows the power input port and additional ventilation grilles.

그림 4.7: 맨 아래 view of the projector. This image displays the mounting points for ceiling installation and rubber feet for stable placement on a flat surface.
4.2. 원격 제어
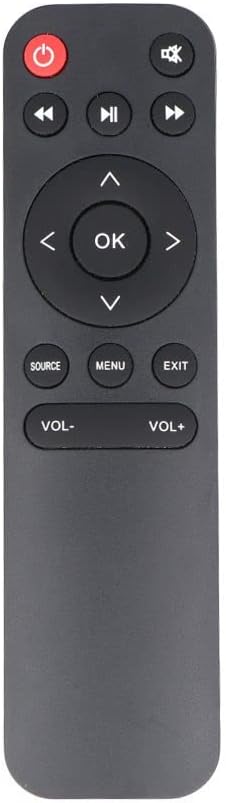
그림 4.8: The remote control for the IRRADIO VDP-4600HDW Projector. It features buttons for power, mute, navigation (up, down, left, right, OK), source selection, menu, exit, and volume control.
4.3. Ports and Controls Overview
- 전원 버튼: 프로젝터를 켜거나 끕니다.
- 렌즈: 이미지를 투사합니다.
- 초점 링: 이미지 선명도를 조정합니다.
- 키스톤 보정: Adjusts image distortion.
- HDMI 포트(x2): Connect to HDMI-enabled devices (laptops, gaming consoles, Blu-ray players).
- USB 포트(x2): 미디어 재생을 위해 USB 드라이브를 연결하세요.
- VGA 포트: VGA 출력이 있는 컴퓨터에 연결합니다.
- AV 포트: Connect to older devices using composite video.
- 3.5mm 오디오 출력: 외부 스피커 또는 헤드폰을 연결하세요.
- IR 수신기 : 원격 제어 신호용입니다.
5. 설정
5.1. 배치
Place the projector on a stable, flat surface or mount it to the ceiling. Ensure the projector is positioned directly in front of the projection screen or wall. The optimal projection distance ranges from 1.52 meters to 3.48 meters, yielding a screen size between 50 and 120 inches.
- 전면 투영: Place the projector in front of the screen.
- 후면 투영: 프로젝터를 반투명 스크린 뒤에 놓으세요.
- 천장 마운트: The projector can be inverted and mounted to the ceiling. Adjust settings in the OSD menu for inverted projection.
5.2. 전원 연결
- 프로젝터의 전원 입력 포트에 전원 케이블을 연결하십시오.
- Plug the other end of the power cable into a standard electrical outlet (220V AC, 50Hz).
- 프로젝터나 리모컨의 전원 버튼을 눌러 전원을 켜세요.
5.3. 초점 및 키스톤 조정
- 프로젝터를 켜고 이미지를 표시합니다.
- 회전하다 포커스 링 (located near the lens) until the image appears sharp and clear.
- 조정하다 키스톤 보정 knob (located on the rear panel) to correct any trapezoidal distortion, making the image rectangular.
6. 운영
6.1. 전원 켜기/끄기
프로젝터 또는 리모컨의 전원 버튼을 눌러 기기를 켜거나 끄세요.
6.2. 입력 소스 선택
전원을 켠 후, 원천 button on the remote control or the projector's control panel to cycle through available input sources (HDMI1, HDMI2, USB1, USB2, VGA, AV).
6.3. 외부기기 연결하기
- HDMI : Connect an HDMI cable from your device (e.g., laptop, game console) to one of the projector's HDMI ports. Select the corresponding HDMI input.
- VGA : Connect a VGA cable from your computer to the projector's VGA port. Select the VGA input.
- 유명인 : Use the provided AV cable to connect to devices with composite video output. Select the AV input.
- USB: Insert a USB flash drive into a USB port. The projector's media player interface will appear automatically or can be accessed via the source menu.
6.4. 미디어 재생(USB)
The integrated media player supports various formats:
- 이미지 형식: JPEG, BMP, PNG, MPO
- 비디오 형식: MPEG1, MPEG2, H.263, H.264, AVS, MJPEG, RV30, RV40, HEVC
- 오디오 포맷: MPEG1, MPEG2, LPCM, MP3
탐색하기 files using the remote control's arrow keys and press OK 선택하다.
6.5. Wireless Audio Connection
The projector features an integrated wireless audio function for connecting to external audio devices. Refer to the on-screen display (OSD) menu for specific pairing instructions. Typically, you will need to enable the wireless audio feature in the projector's settings and then pair it with your desired external speaker or headphone.
7. 유지관리
7.1. 렌즈 청소
Use a soft, lint-free cloth and a specialized lens cleaning solution to gently wipe the lens. Avoid abrasive materials or excessive pressure.
7.2. 먼지 필터 청소
Regularly check and clean the dust filters to ensure optimal airflow and prevent overheating. Use a soft brush or a vacuum cleaner with a brush attachment to remove dust from the ventilation grilles.
7.3. 보관
When not in use for extended periods, store the projector in a cool, dry place, protected from dust and direct sunlight. Use the original packaging or a protective case.
8. 문제 해결
- 전원 없음: 전원 케이블이 안전하게 연결되어 있고 전원 콘센트가 작동하는지 확인하세요.
- 이미지 없음: Check the input source selection. Ensure the connected device is powered on and sending a signal. Verify cable connections.
- 흐릿한 이미지: Adjust the focus ring. Ensure the projection distance is within the optimal range.
- 이미지가 왜곡됨: 키스톤 보정을 조정합니다.
- 소리 없음: Check the volume settings on both the projector and the connected device. If using external speakers, ensure they are properly connected or paired via wireless audio.
- 원격 제어가 작동하지 않음: 배터리를 교체하세요. 리모컨과 프로젝터의 적외선 수신기 사이에 장애물이 없는지 확인하세요.
9. 사양
| 특징 | 사양 |
|---|---|
| 프로젝션 시스템 | LCD panel with LED light source |
| 네이티브 해상도 | 1920x1080(풀 HD 1080p) |
| 동적 대비율 | 2000시 1분 |
| Light Source Brightness | 3000루멘 |
| LED 엘amp 삶 | 50,000시간 |
| 렌즈 | 수동 초점 |
| 무선 오디오 기능 | 통합 |
| 연결성 | 2x HDMI, 2x USB, VGA, AV Composite, 3.5mm Headphone Jack (output) |
| 종횡비 | 16:9 Native / 4:3 Compatible |
| 최적의 투사 크기 | 50인치 - 120인치 |
| 최적의 투사 거리 | 1.52m ~ 3.48m |
| 투사 모드 | Front, Rear, Ceiling (Front/Rear) |
| 오디오 | 1x 3W Hi-Fi Speaker |
| 냉각 시스템 | 듀얼 쿨링 시스템 |
| OSD 언어 | 23개 언어 |
| 전원 공급 장치 | 220V AC 50Hz (single phase) |
| 무게 | 1.4kg |
| 치수(폭 x 높이 x 깊이) | 222 x 91 x 173mm |
10. 보증 및 지원
Information regarding specific warranty terms and support contacts is not available in the provided product data. Please refer to the product packaging or the retailer's web보증 세부 정보 및 고객 지원 정보는 사이트에서 확인할 수 있습니다.


