
소개
This manual provides comprehensive instructions for the setup, operation, maintenance, and troubleshooting of your Avision AD340G Compact High Speed Duplex Document Scanner. Please read this manual thoroughly before using the scanner to ensure proper and safe operation.
안전 정보
부상 및 스캐너 손상을 방지하기 위해 다음 안전 수칙을 준수하십시오.
- 스캐너와 함께 제공된 전원 어댑터만 사용하십시오.
- 스캐너를 물이나 과도한 습기에 노출시키지 마십시오.
- 스캐너를 안정적이고 평평한 표면에 놓으십시오.
- Keep the scanner away from direct sunlight and heat sources.
- Unplug the scanner before cleaning or if it will not be used for an extended period.
패키지 내용
패키지에 모든 품목이 들어 있는지 확인하세요.
- Avision AD340G Document Scanner
- 전원 어댑터
- USB 케이블
- 빠른 시작 가이드
- 소프트웨어 CD (또는 다운로드 안내)
제품 끝view
Familiarize yourself with the main components of the Avision AD340G scanner.
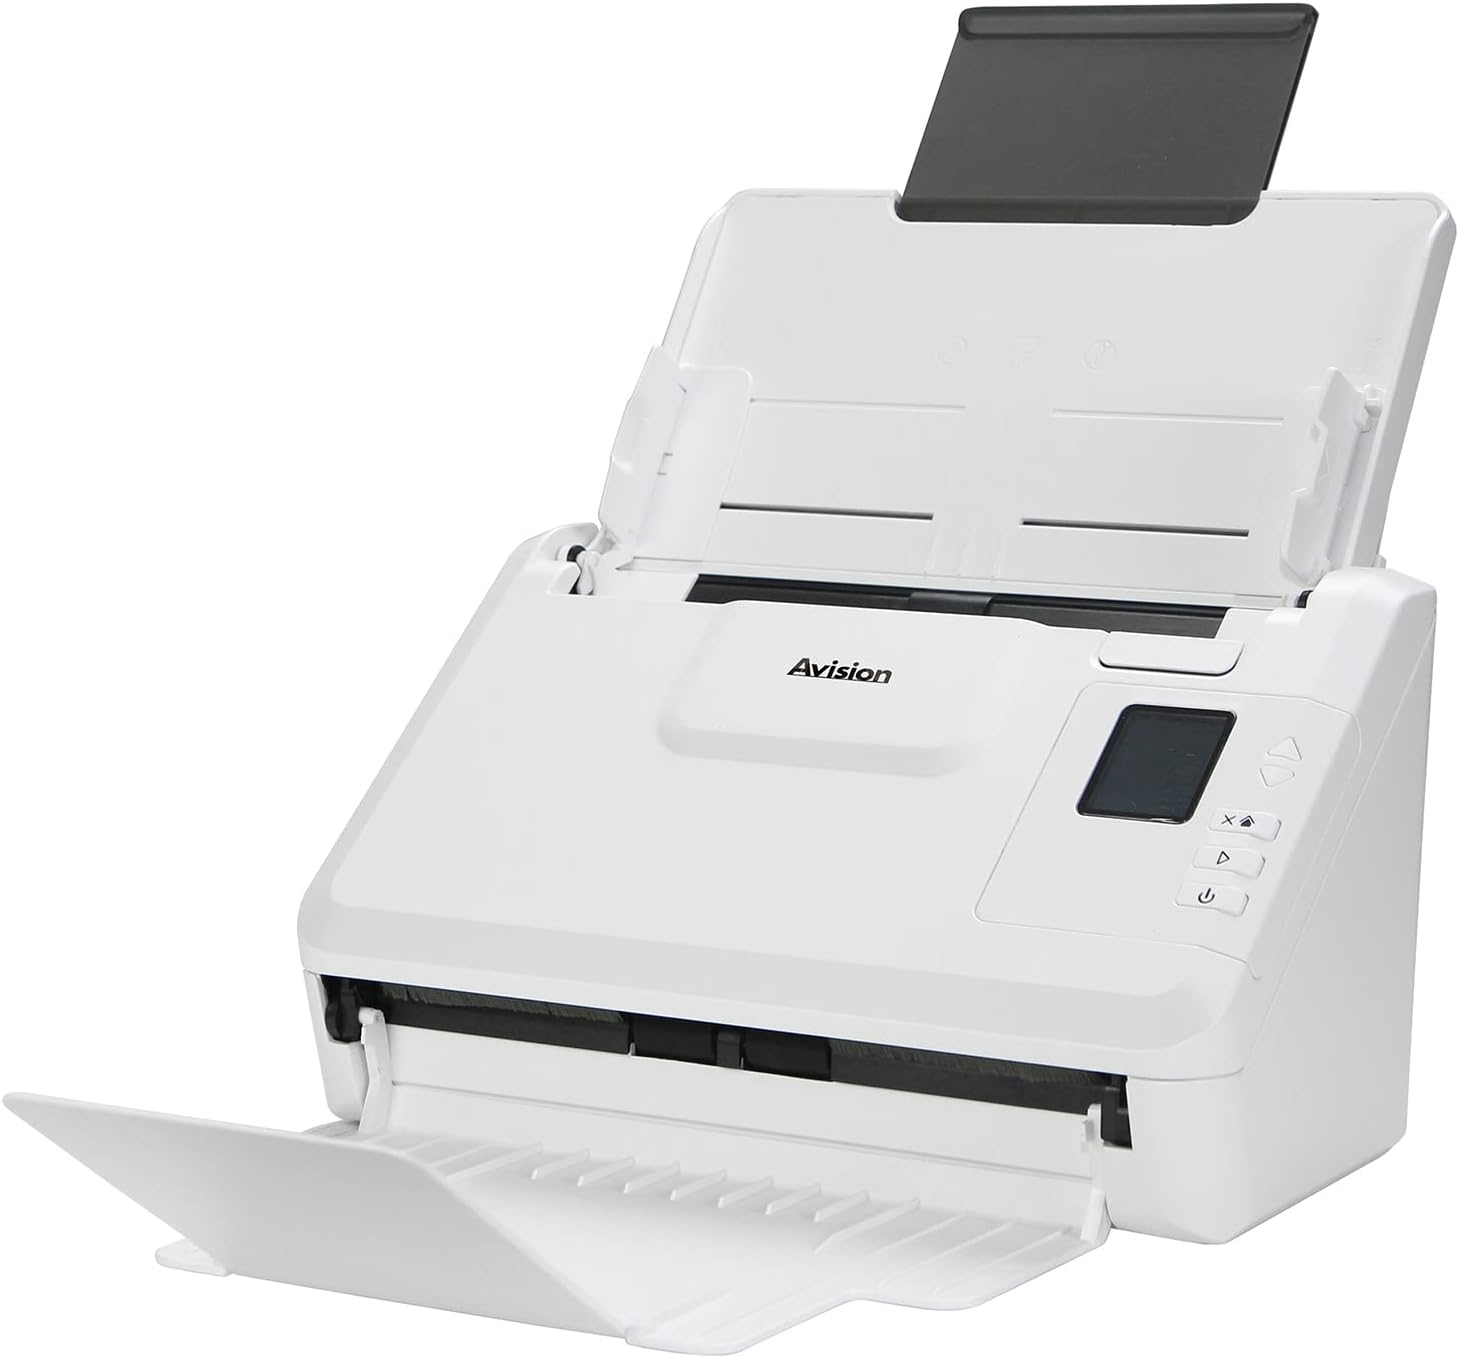
영상: The Avision AD340G scanner shown with its input and output trays extended, ready for document feeding. This view highlights the compact design and accessible paper path.
- Document Feeder Tray: 스캔을 위해 문서를 넣는 곳입니다.
- 출력 트레이: 스캔한 문서가 배출되는 곳.
- 제어판: Buttons and display for scanner operation.
- USB 포트: 컴퓨터에 연결하기 위해.
- 전원 포트: 전원 어댑터를 연결합니다.
설정
1. 물리적 설정
- 스캐너 풀기: 스캐너와 모든 부속품을 포장에서 조심스럽게 꺼내십시오.
- 스캐너를 놓으세요: Position the scanner on a flat, stable surface with adequate space for the input and output trays.
- 전원 연결:
- Connect the power adapter to the scanner's power port.
- 전원 어댑터를 전기 콘센트에 꽂으세요.
- 컴퓨터에 연결:
- USB 케이블의 한쪽 끝을 스캐너의 USB 포트에 연결합니다.
- USB 케이블의 다른 쪽 끝을 컴퓨터의 사용 가능한 USB 포트에 연결합니다.
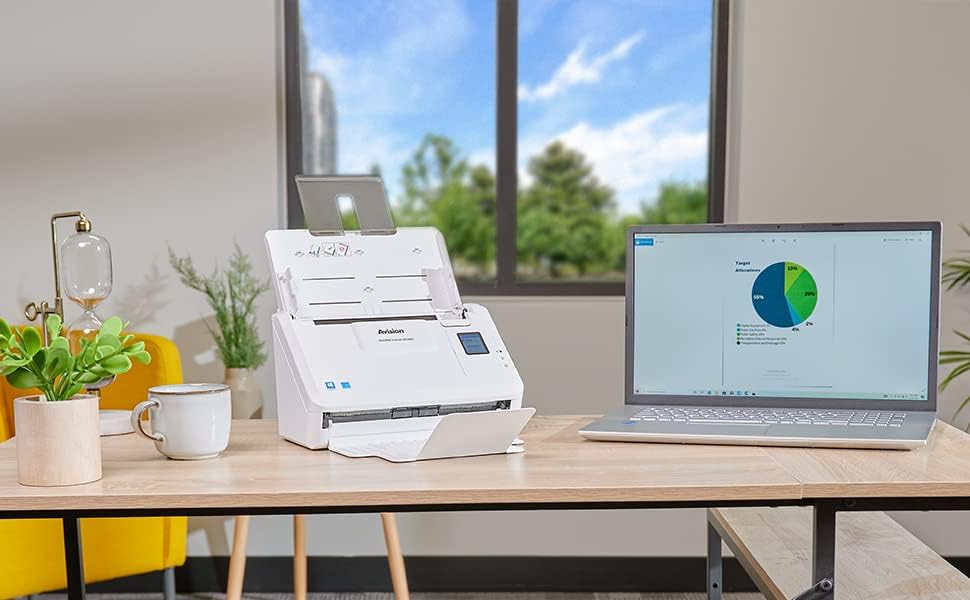
영상: The Avision AD340G scanner set up on a desk next to a laptop, illustrating a typical connected environment. This shows the scanner's compact footprint when in use.
2. 소프트웨어 설치
Install the necessary drivers and scanning software from the provided CD or by downloading them from the official Avision web대지.
- Insert the software CD into your computer's CD/DVD drive, or navigate to the Avision support website to download the latest drivers and utilities for the AD340G model.
- Follow the on-screen instructions to complete the installation. This typically includes installing the TWAIN/ISIS drivers and the Avision scanning utility software.
- 메시지가 나타나면 컴퓨터를 다시 시작하세요.
스캐너 작동
1. 문서 로딩
- Open the document feeder tray and extend the output tray.
- 용지 가이드를 문서 너비에 맞게 조정하십시오.
- Place the documents face-down in the input tray, ensuring they are neatly stacked and aligned. The scanner supports up to 50 sheets.

영상: A hand carefully placing a stack of documents into the input tray of the Avision AD340G scanner, demonstrating the correct loading procedure.
2. 스캔 절차
- 전원 버튼을 눌러 스캐너를 켜십시오.
- Launch the Avision scanning software on your computer.
- 원하는 스캔 전문가를 선택하세요file (e.g., color, grayscale, black & white, resolution). The AD340G supports duplex scanning (both sides simultaneously).
- Click the "Scan" button in the software or press the scan button on the scanner's control panel.
- The scanner will feed and process the documents. Once scanning is complete, the images will appear in the software.
- Review the scanned images, make any necessary adjustments (e.g., rotate, crop), and save them to your desired location and format (e.g., PDF, JPEG, TIFF).
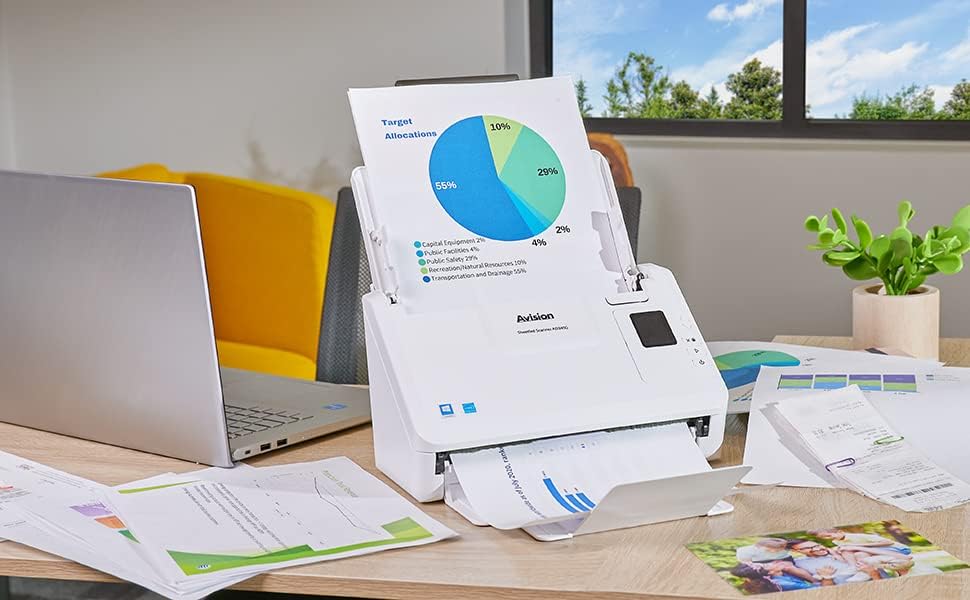
영상: The Avision AD340G scanner in operation, feeding a document with a pie chart. This illustrates the scanner's ability to handle various document types efficiently.
유지
스캐너 청소
정기적인 청소는 최적의 성능을 보장하고 스캐너의 수명을 연장합니다.
- 전원 끄기 및 플러그 뽑기: Always turn off the scanner and disconnect the power adapter and USB cable before cleaning.
- 깨끗한 외관: Wipe the exterior of the scanner with a soft, lint-free cloth lightly damp물이나 부드럽고 연마성이 없는 세척제로 세척하세요.
- Clean Interior (Rollers and Glass):
- Open the scanner cover to access the rollers and glass scanning surfaces.
- Gently wipe the feed rollers with a clean, lint-free cloth. If necessary, use a small amount of isopropyl alcohol on the cloth for stubborn residue.
- Clean the glass scanning strips with a soft cloth and glass cleaner (non-ammonia based).
- Allow all components to dry completely before closing the cover and reconnecting power.
문제 해결
| 문제 | 가능한 원인 | 해결책 |
|---|---|---|
| 스캐너의 전원이 켜지지 않습니다. | 전원 케이블이 연결되지 않았습니다. 전원 콘센트 문제입니다. | 전원 케이블이 제대로 연결되어 있는지 확인하세요. 다른 콘센트에 연결해 보세요. |
| Documents jam frequently. | Misaligned paper guides; worn rollers; dirty rollers. | Adjust paper guides. Clean the feed rollers. If problem persists, rollers may need replacement. |
| 스캔한 이미지가 흐릿하거나 줄무늬가 나타납니다. | Dirty scanning glass; incorrect resolution settings. | Clean the scanning glass. Adjust scanning resolution in the software. |
| 컴퓨터에서 스캐너가 감지되지 않았습니다. | USB 케이블이 분리되었습니다. 드라이버가 설치되지 않았거나 손상되었습니다. | Check USB cable connection. Reinstall scanner drivers. Try a different USB port. |
명세서
Key technical specifications for the Avision AD340G Document Scanner:
- 모델: AD340G
- 스캐너 유형 : ADF Duplex Document Scanner
- 연결성: USB
- 해결: 600dpi (광학식)
- 스캔 속도 : 40 ppm (pages per minute) / 80 ipm (images per minute)
- 색상 깊이: 48 bits input / 24 bits output
- 표준 시트 용량: 50장
- 광학 센서 기술: CIS(접촉식 이미지 센서)
- 제품 크기: 11 x 6.1 x 6.5 인치
- 품목 무게: 8파운드
- 최소 시스템 요구 사항: 윈도우 XP/7/8/10
보증 및 지원
For warranty information, technical support, or service inquiries, please refer to the warranty card included with your product or visit the official Avision website. Contact information for customer support can typically be found on the manufacturer's web대지.
Avision Official Web대지: www.avision.com


