1. 서론
The KOMSHINE FX39 Fiber Fusion Splicer is a high-performance, 6-motor core alignment device designed for efficient and precise optical fiber splicing. Featuring a 4.3-inch capacitive touch screen, it offers fast splicing and heating capabilities, making it suitable for various FTTH projects and network installations. This manual provides detailed instructions for the proper setup, operation, and maintenance of your FX39 splicer.

2. 설정
2.1 언박싱 및 초기 검사
Carefully unpack all components from the carrying case. Verify that all items listed in the packing list are present and undamaged. The standard package includes the FX39 splicer, fiber cleaver, fiber strippers, cleaning wipes, internal battery, charger, cooling tray, alcohol pump bottle, and fiber optic sleeves.
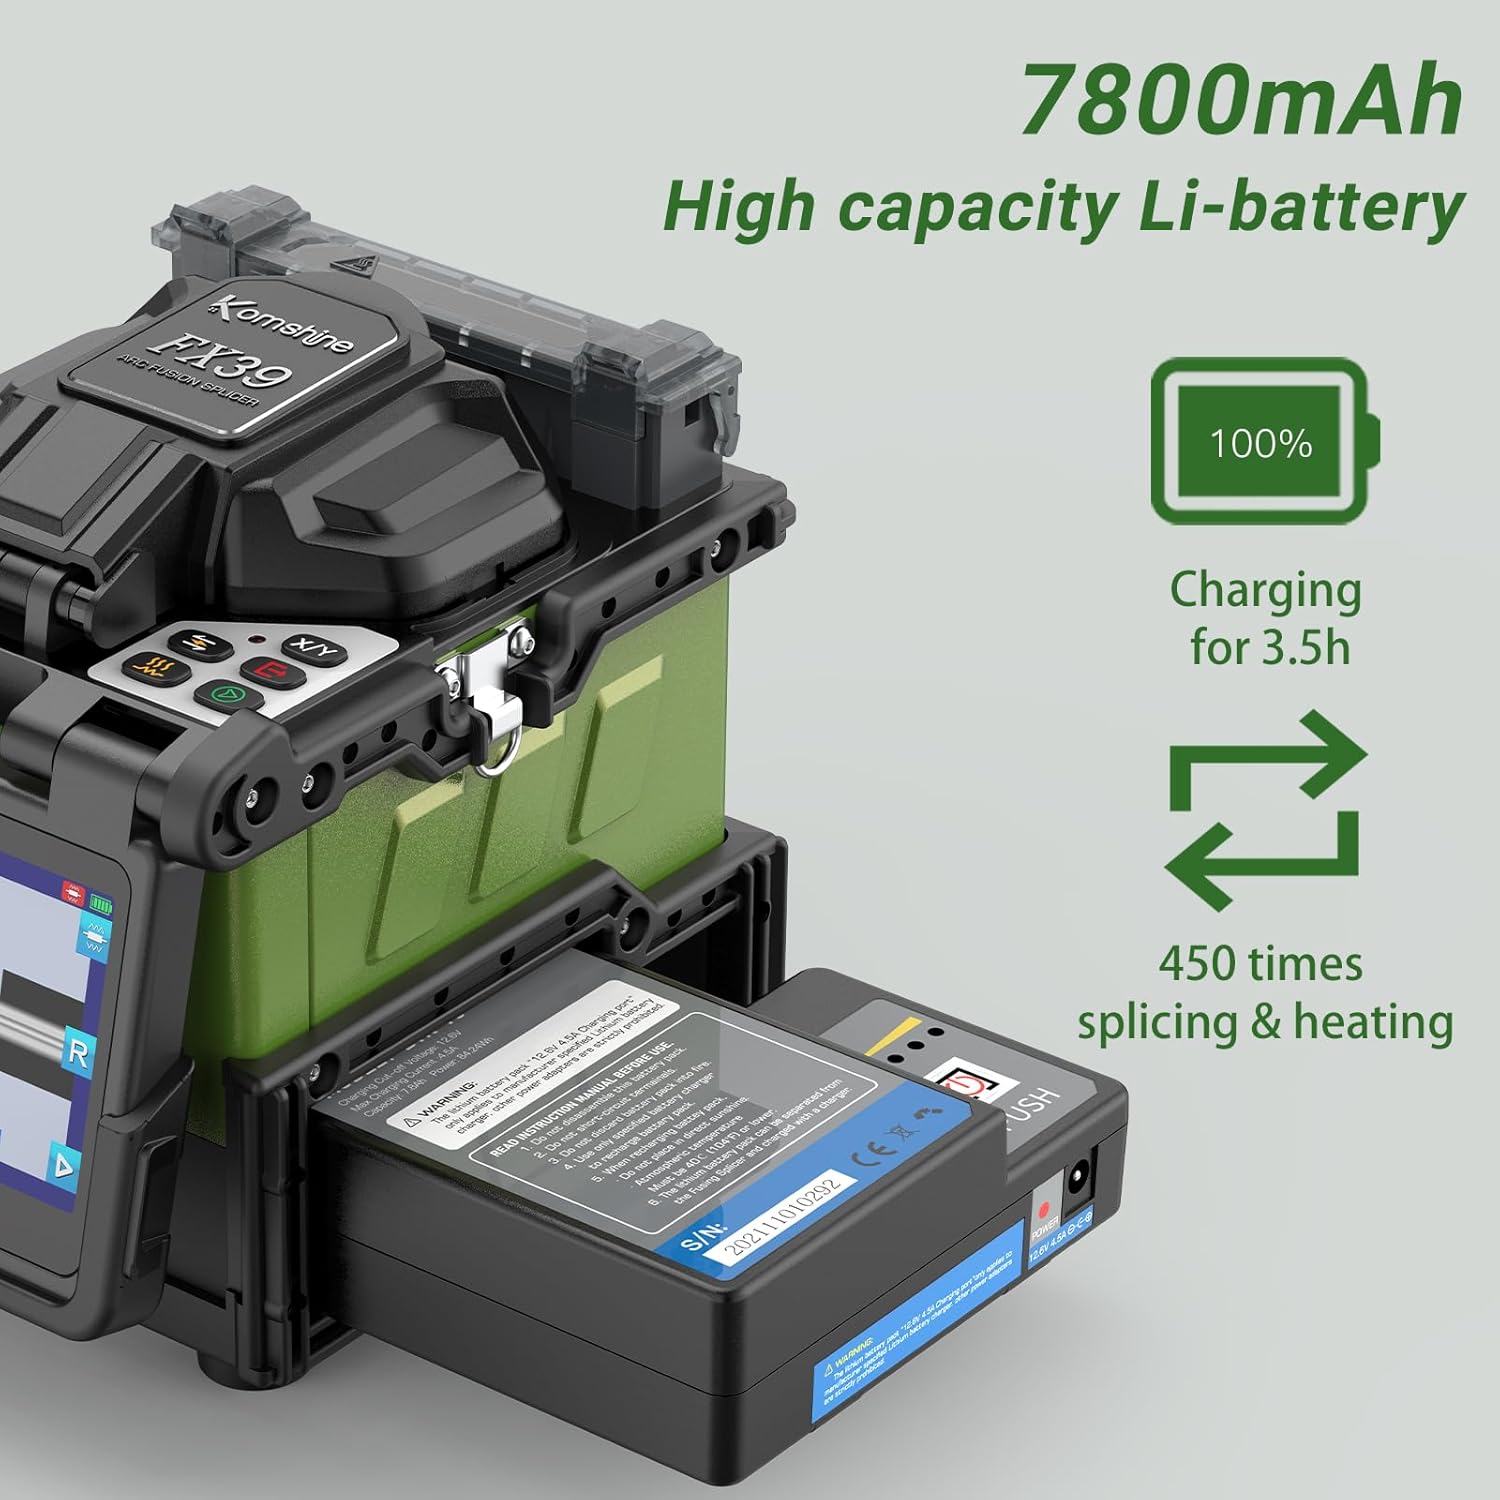
2.2 배터리 설치
The FX39 is powered by a 7800mAh lithium-ion battery. To install, align the battery with the compartment on the side of the splicer and slide it in until it clicks securely into place. Ensure the battery is fully charged before first use. A full charge supports approximately 400 cycles of splicing and heating.
2.3 Fiber Cleaver Setup (FC-30)
The FC-30 fiber cleaver is essential for preparing fiber ends. It can be used independently or attached to the splicer's working table for easier field operations. Ensure the cleaver blade is clean and properly adjusted for optimal cleave quality.
2.4 Fiber Stripper (TFS-01)
The TFS-01 drop cable stripper is designed for butterfly flat cables, ensuring precision manufacturing, adjustable blades, and accurate cutting without damaging the fiber core.
3. 사용 설명서
3.1 전원 켜기/끄기
Press and hold the power button for 3 seconds to turn the splicer on. The 4.3-inch LCD color display will illuminate, showing the user interface. To power off, press and hold the power button again.
3.2 섬유질 준비
- 섬유를 벗겨내세요: Use the appropriate fiber stripper (e.g., TFS-01 for drop cables) to remove the outer jacket and coating, exposing the bare fiber.
- 섬유를 깨끗하게 세척하세요: Use the provided cleaning wipes with alcohol to thoroughly clean the bare fiber. This removes any contaminants that could affect splice quality.
- 섬유를 분리하세요: Place the cleaned fiber into the FC-30 fiber cleaver and perform a precise cleave. A good cleave is crucial for low splice loss.

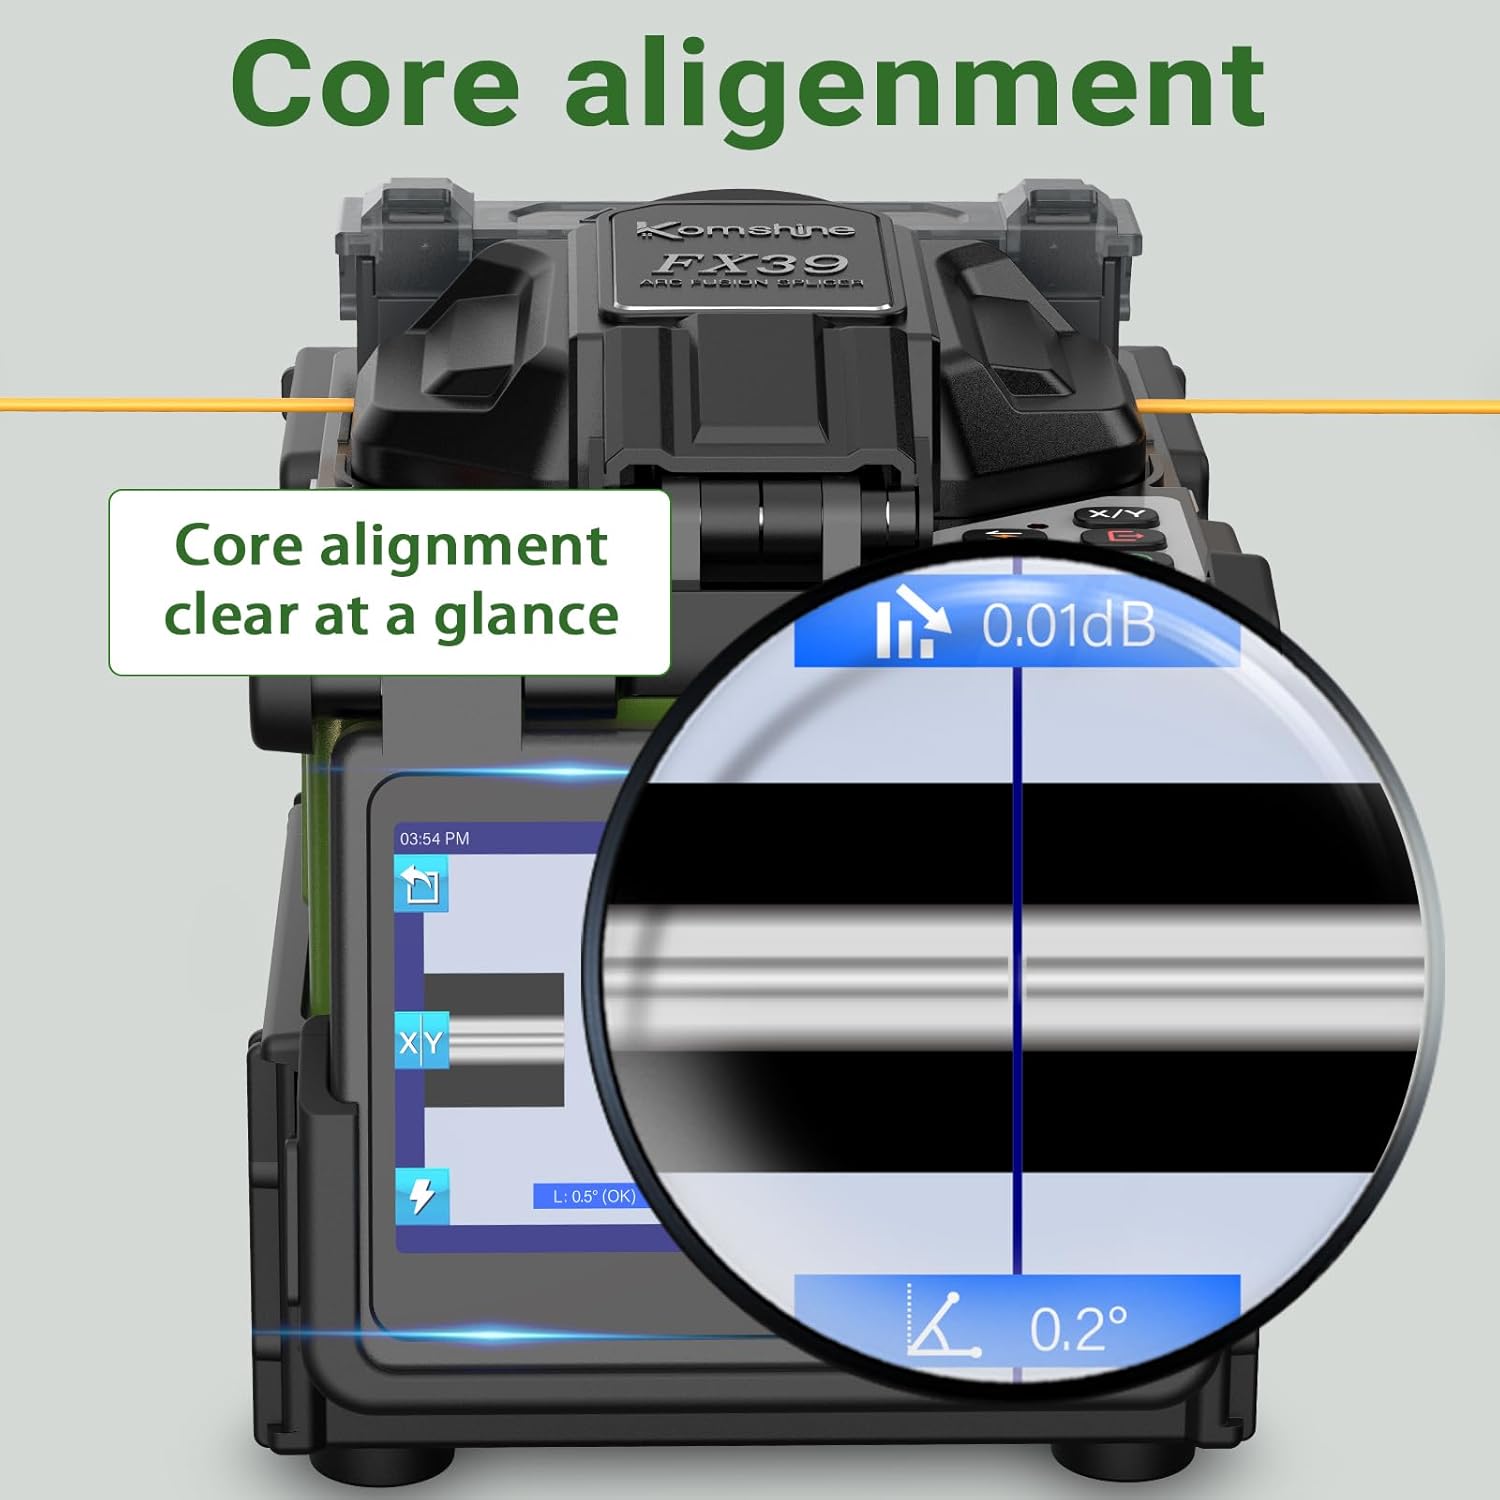
3.3 Fiber Placement and Splicing
Open the splicer's dust cover. Place the prepared fiber ends into the 3-in-1 fiber holders. The FX39 supports SM, MM, bare fiber, pigtail, rubber-insulated, and multi-fiber cables. Close the dust cover. The splicer will automatically align the fiber cores using its 6 motors and initiate the 6-second fast splicing process. The 0.01dB average splice loss will be displayed on the screen.
3.4 Heat Shrinking and Cooling
After successful splicing, move the heat shrink tube over the splice joint. Place the fiber into the built-in heater. The splicer will perform 16-second fast heating to secure the splice. Once heated, carefully remove the fiber and place it in the cooling tray to allow it to cool down and solidify.

4. 유지관리
4.1 전극 교체
The FX39 features tool-less electrode replacement, with an electrode service life of 5000 times. To replace, gently twist and remove the old electrodes, then insert new ones. Ensure they are securely seated.

4.2 청소
Regularly clean the V-grooves, objective lenses, and other optical components with alcohol-dipped cleaning wipes to maintain optimal performance and prevent dust accumulation.
5. 문제 해결
If you encounter issues such as high splice loss, inconsistent heating, or display errors, first ensure all fibers are properly cleaned and cleaved. Check electrode condition and replace if necessary. If problems persist, refer to the detailed troubleshooting section in the full user manual or contact KOMSHINE technical support for assistance.
6. 사양
- 모델: FX39
- 접합 시간: 6초
- 가열 시간 : 16초
- 표시하다: 4.3인치 정전식 터치스크린
- 전극 수명: 5000 사이클
- 배터리 용량: 7800mAh (approx. 400 splice/heat cycles)
- Splicing Loss (Average): SM: 0.02dB / MM: 0.01dB / DS: 0.04dB / NZDS: 0.04dB / G.657: 0.02dB
- 적용 가능한 섬유: SM (G.652&G.657); MM (G.651); DS (G.657); NZDS (G.655)
- 치수: 61.81 x 51.97 x 62.2 인치
- 품목 무게: 4.4파운드(배터리 제외)
- Included Power Meter: KPM-35-G-A (-70~+6dBm, 7 Wavelengths)
7. 보증 및 지원
KOMSHINE provides whole-life technical support for the FX39 Fiber Fusion Splicer. For any technical assistance, user guidance, or support inquiries, please contact KOMSHINE customer service. Details can be found on the official KOMSHINE web사이트나 구매 플랫폼을 통해서도 구매하실 수 있습니다.


