소개
This manual provides instructions for the safe and effective use of your Daewoo DGT-2786 Rechargeable Multi-Function Men's Grooming Set. Please read all instructions carefully before first use and retain this manual for future reference.
The Daewoo DGT-2786 is a versatile 5-in-1 grooming set designed for various personal grooming needs, offering both corded and cordless operation for convenience.
안전 정보
- 기기를 건조한 곳에 보관하세요. 물 근처나 습한 환경에서는 사용하지 마세요.
- 제품을 물이나 다른 액체에 담그지 마십시오.
- Ensure the appliance is switched off before cleaning or changing attachments.
- 본 기기는 신체적, 감각적 또는 정신적 능력이 저하된 사람(어린이 포함)이나 경험 및 지식이 부족한 사람이 사용하도록 의도된 것이 아니며, 안전을 책임질 사람으로부터 기기 사용에 관한 감독이나 지시를 받은 경우에만 사용할 수 있습니다.
- 어린이가 이 제품을 가지고 놀지 않도록 감독해야 합니다.
- Only use the adapter supplied with the appliance.
- 날이 손상되었거나 부러진 경우, 부상을 입을 수 있으므로 제품을 사용하지 마십시오.
- 가정용으로만 사용하세요.
패키지 내용
아래 나열된 모든 품목이 패키지에 들어 있는지 확인하세요.
- Main Grooming Unit
- Trimmer Head with Adjustable Comb (5, 6, 7, 8 mm)
- T-Blade Head with 3, 6, 9, 12 mm Combs
- Design Trimmer Blade
- 면도기 헤드
- 코털과 귀털 트리머 헤드
- Charging Adapter (Input 3V 600mA, 100-240V 50/60Hz)
- 청소용 브러시
- 윤활유
- 충전 스탠드

Image: The Daewoo DGT-2786 grooming set shown in its retail packaging, highlighting the main unit and various attachments.

이미지: 포괄적인 view of all components included in the Daewoo DGT-2786 grooming set, laid out individually.
설정
기기 충전하기
- 충전하기 전에 기기의 전원이 꺼져 있는지 확인하세요.
- Connect the charging adapter to the appliance or the charging stand.
- 어댑터를 적합한 전기 콘센트(100-240V, 50/60Hz)에 꽂으세요.
- The indicator light will illuminate, indicating that the appliance is charging.
- 완전히 충전하는 데는 약 8시간이 소요됩니다. 완전히 충전하면 최대 45분 동안 무선으로 사용할 수 있습니다.
- Do not overcharge the appliance. Disconnect the adapter once charging is complete.
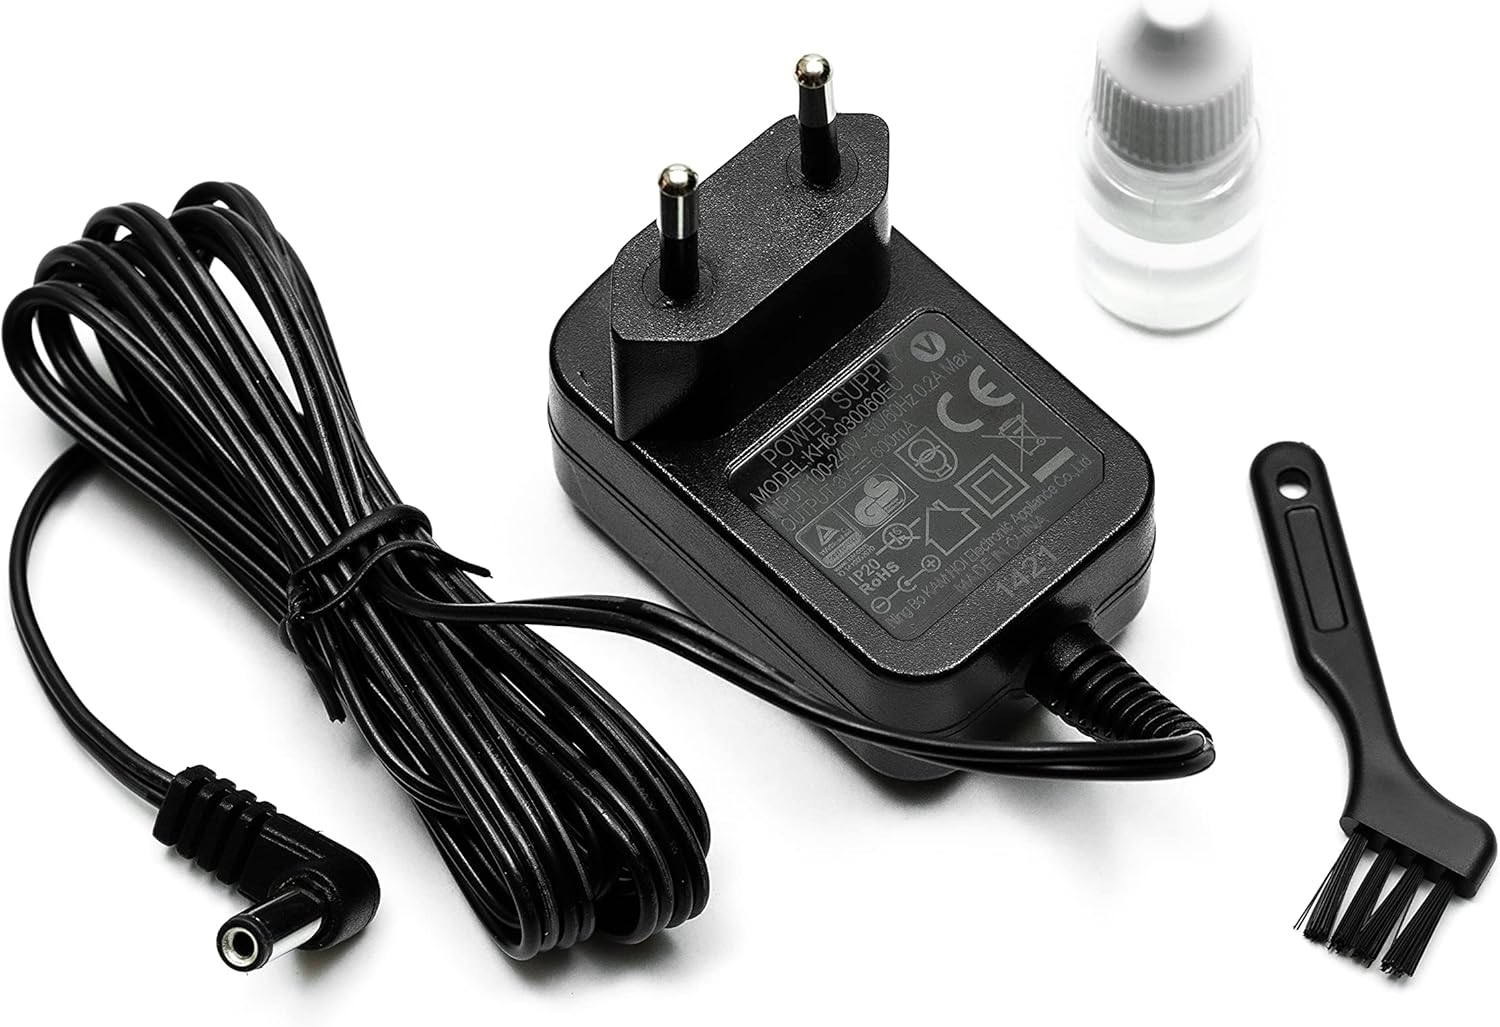
Image: The charging adapter, cleaning brush, and lubricating oil, essential accessories for the grooming set.
트리머 헤드 장착 및 분리
- 기기의 전원이 꺼져 있는지 확인하세요.
- To attach a head: Align the desired trimmer head with the main unit and press it down firmly until it clicks into place.
- To remove a head: Gently push the head upwards from the main unit until it detaches.

Image: The charging stand displaying the various trimmer heads and guide combs, ready for attachment.
작동 지침
일반 운영
- Ensure the desired trimmer head is securely attached.
- 전원 버튼을 눌러 기기를 켭니다.
- 최상의 결과를 얻으려면 트리머를 털이 자라는 방향과 반대 방향으로 움직이세요.
- Press the power button again to turn the appliance off after use.
Using the Trimmer Head with Adjustable Comb
This head is suitable for general hair trimming and styling, offering length adjustments from 5mm to 8mm.
- Attach the trimmer head to the main unit.
- Slide the adjustable comb to select the desired trimming length (5, 6, 7, or 8 mm).
- Turn on the appliance and begin trimming.

Image: Close-up of the trimmer head with its adjustable comb, showing the length settings (5, 6, 7, 8 mm).
Using the T-Blade Head with Guide Combs
The T-Blade head is ideal for precise trimming, detailing, and creating sharp lines. Use with guide combs for specific lengths.
- Attach the T-Blade head to the main unit.
- Select one of the guide combs (3, 6, 9, or 12 mm) and snap it onto the T-Blade head.
- Turn on the appliance and proceed with trimming.
- For trimming without a guide comb, use the T-Blade directly for a close cut.
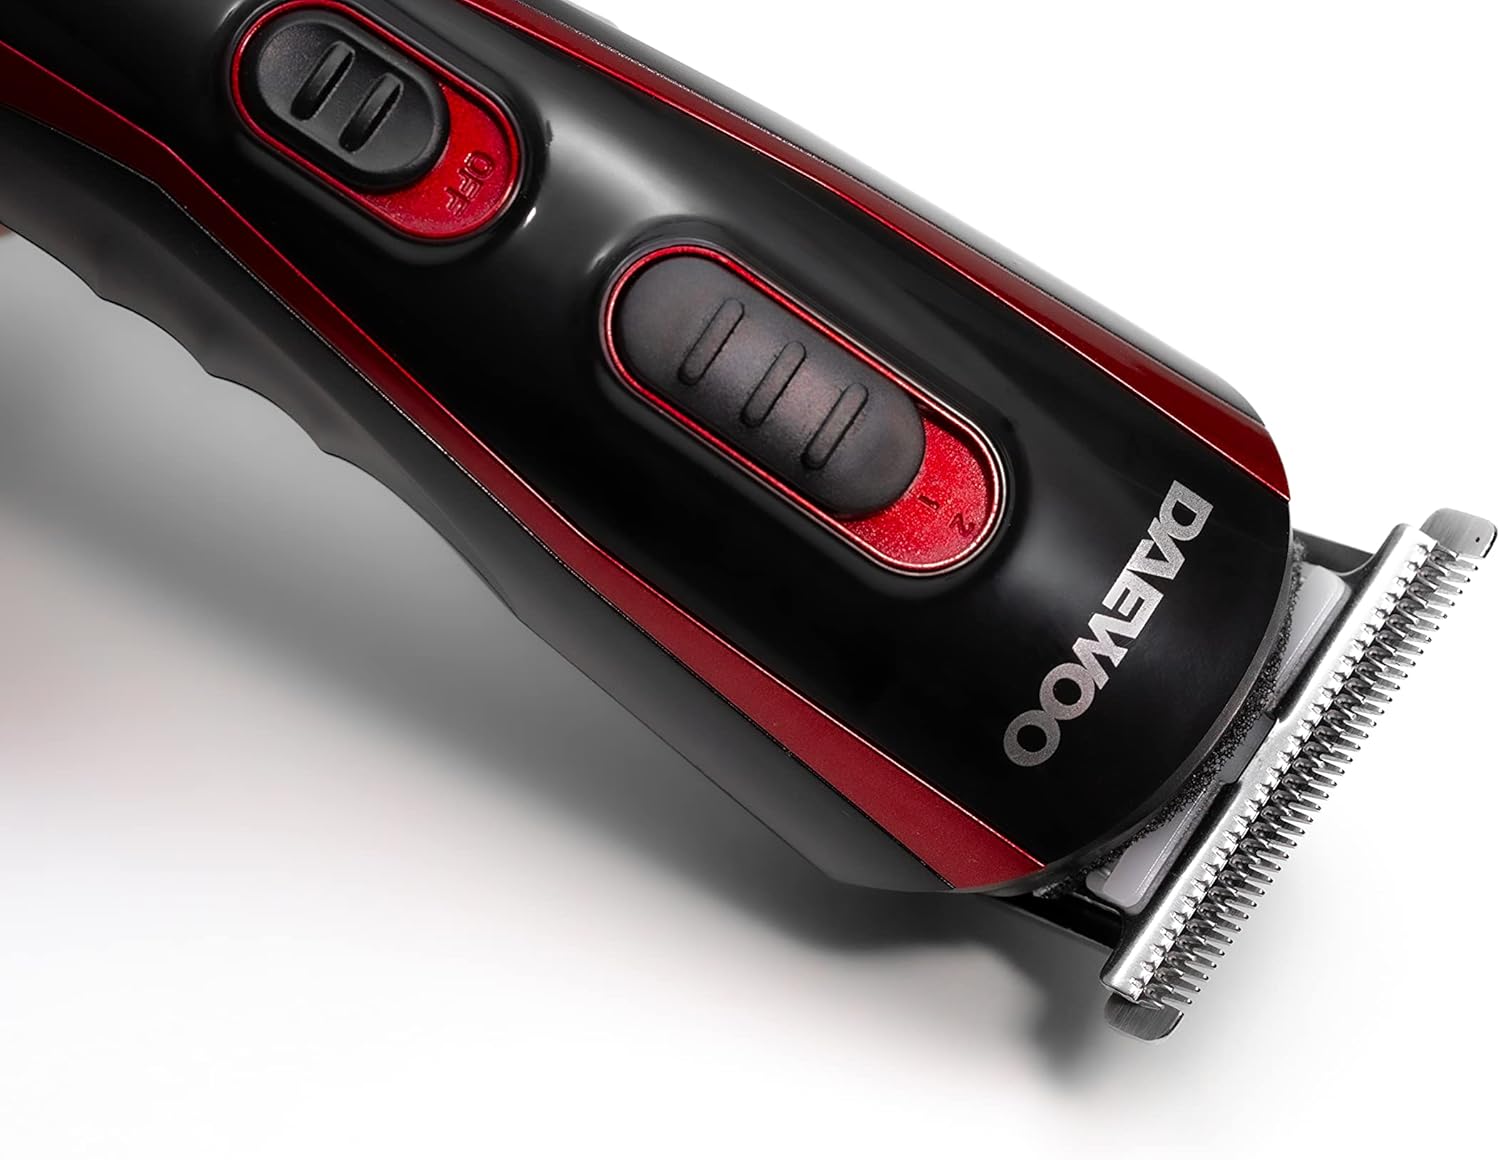
Image: A close-up of the T-Blade head attached to the main grooming unit, ready for use.

Image: The four guide combs (3mm, 6mm, 9mm, 12mm) used with the T-Blade head for varying hair lengths.
Using the Design Trimmer Blade
This blade is designed for intricate detailing and creating specific patterns or sharp edges.
- Attach the design trimmer blade to the main unit.
- Use gentle, controlled movements to achieve desired designs.
Using the Shaver Head
The shaver head provides a close shave for smooth results on smaller areas.
- 면도기 헤드를 본체에 부착합니다.
- Hold the shaver flat against the skin and move it in short, circular motions.

Image: A close-up of the shaver head attached to the main grooming unit, showing its foil design.
Using the Nose and Ear Hair Trimmer Head
This specialized head is for safely and comfortably trimming unwanted nose and ear hair.
- Attach the nose and ear hair trimmer head to the main unit.
- 트리머 팁을 콧구멍이나 귀의 통로에 조심스럽게 삽입합니다.
- Move the trimmer in a circular motion to cut hairs. Do not insert too deeply.
유지
블레이드 청소
- Ensure the appliance is switched off and unplugged from the charger.
- 트리머 헤드를 본체에서 분리합니다.
- 제공된 청소용 브러시를 사용하여 날과 트리머 헤드 내부에 묻은 털을 제거하십시오.
- For a more thorough clean, the blades can be rinsed under running water. Ensure they are completely dry before reattaching or storing.
- Do not rinse the main unit under water.
블레이드 윤활
Regular lubrication helps maintain blade performance and longevity.
- After cleaning and drying the blades, apply 1-2 drops of the provided lubricating oil onto the blades.
- 몇 초 동안 기기를 켜서 오일이 고르게 퍼지도록 하세요.
- 부드러운 천으로 여분의 기름을 닦아냅니다.
저장
- Store the appliance and its accessories in a cool, dry place, away from direct sunlight and moisture.
- 어린이의 손이 닿지 않는 곳에 보관하세요.
문제 해결
| 문제 | 가능한 원인 | 해결책 |
|---|---|---|
| 기기가 켜지지 않습니다. | 배터리가 방전되었습니다. | 제품을 8시간 동안 충전하십시오. |
| Appliance runs slowly or pulls hair. | 칼날이 더럽거나 윤활유가 바르지 않았습니다. | Clean and lubricate the blades as per maintenance instructions. |
| Trimmer head does not attach securely. | Head is not aligned correctly. | Ensure the head is properly aligned and pressed firmly until it clicks. |
| Indicator light not on during charging. | Adapter not properly connected or power outlet issue. | Check adapter connection and try a different power outlet. |
명세서
- 모델: DGT-2786
- 전원: Rechargeable Battery / Cord/Cordless Operation
- 입력 Voltage: 100-240V, 50/60Hz
- 어댑터 출력: 3V, 600mA
- 충전 시간: 약 8시간
- Max Usage Time (Cordless): 약 45분
- 블레이드 소재: 내구성 있는 스테인리스 스틸
- Trimmer Head Comb Lengths: 5, 6, 7, 8mm
- T-Blade Head Comb Lengths: 3, 6, 9, 12mm
- 제품 크기: 6.3 x 1.38 x 1.57 인치
- 품목 무게: 15 온스
- 제조업체: 대우
보증 및 지원
For warranty information or technical support, please refer to the warranty card included with your product or contact Daewoo customer service. Keep your proof of purchase for warranty claims.
참고: 특정 보증 조건은 지역마다 다를 수 있습니다.


