소개
Thank you for choosing the Lepro 5m RGB LED Strip Light. This product is designed to provide versatile and vibrant lighting for various indoor applications. Featuring high-brightness SMD5050 LEDs, a wide range of colors, and easy installation, it enhances the ambiance of any space. Please read this manual carefully before installation and use to ensure proper operation and safety.
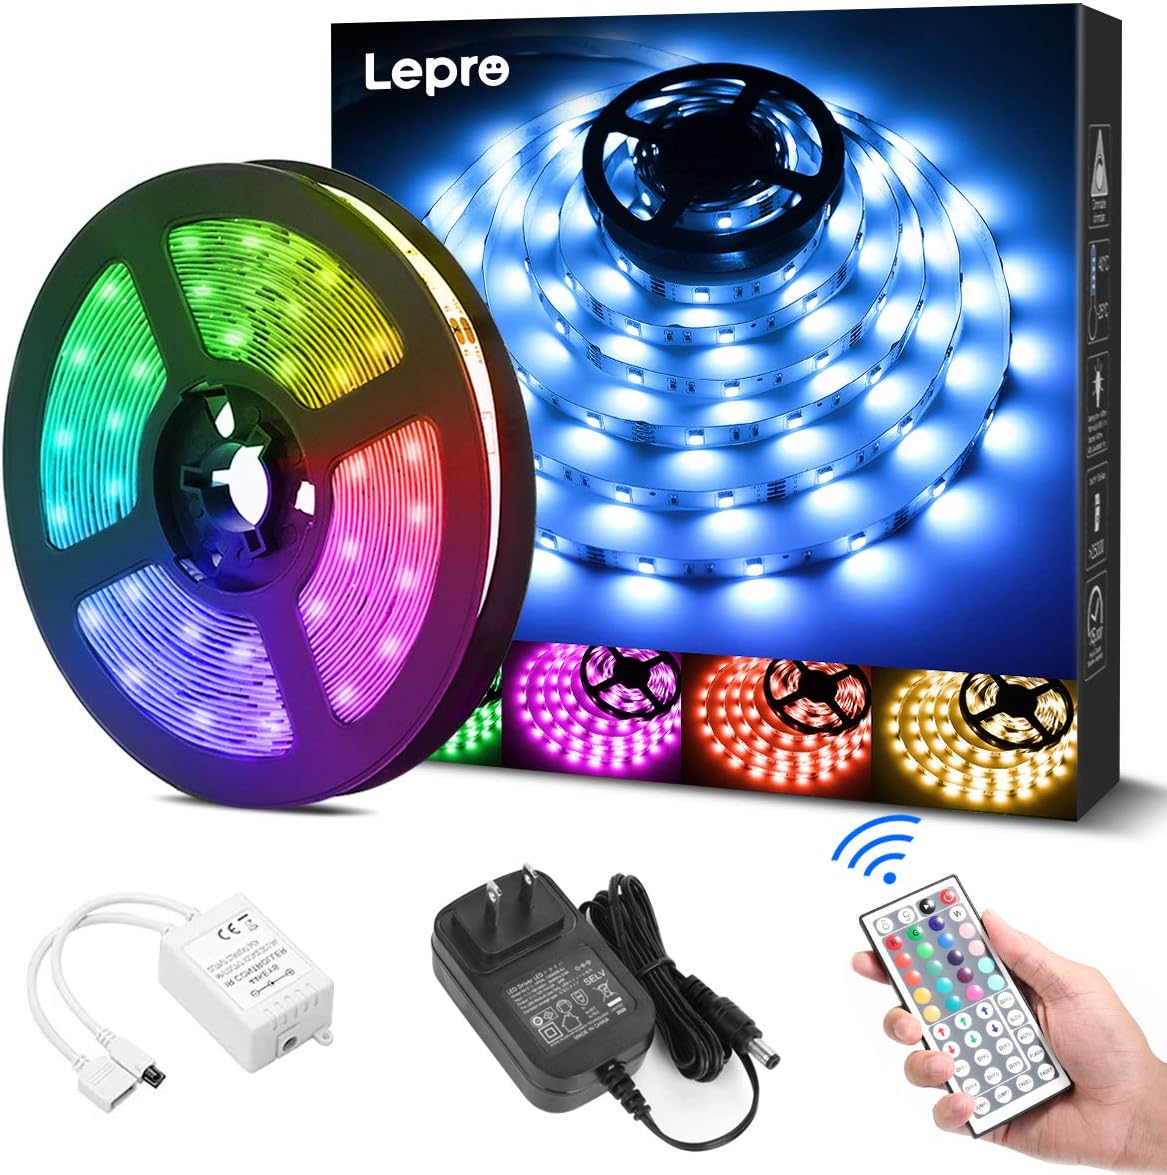
상자 안에 무엇이 들어있나요?
설치를 시작하기 전에 모든 구성 요소가 있는지 확인하세요.
- LED Strip Light (5 meters) x 1
- DC12V Power Adapter x 1
- Connection Receiver x 1
- 원격 제어 x 1
- Instruction Manual (Japanese) x 1
안전 정보
- 이 제품은 다음을 위해 설계되었습니다. 실내에서만 사용 가능물이나 높은 습도에 노출시키지 마십시오.
- 설치 또는 유지 관리 전에 전원 공급 장치가 분리되어 있는지 확인하십시오.
- Use only the provided DC12V power adapter. Using an incompatible power supply may damage the product or pose a fire hazard.
- Do not bend the LED strip sharply or apply excessive force, as this may damage the circuit.
- 어린이의 손이 닿지 않는 곳에 보관하세요.
- If any part of the product is damaged, discontinue use immediately and contact support.
설정
LED 스트립 조명을 올바르게 설치하려면 다음 단계를 따르십시오.
- 표면 준비: Clean the desired installation surface thoroughly. Ensure it is dry, smooth, and free of dust or oil for optimal adhesive performance.
- 측정 및 절단 (선택 사항): If a shorter length is required, cut the LED strip along the designated cut marks (indicated by a scissor icon) using scissors. 메모: Only cut at these specific marks. Cutting elsewhere will damage the strip. Cut sections cannot be reconnected without additional connectors (sold separately).
- 스트립을 붙이세요: Peel off the backing from the 3M adhesive tape on the back of the LED strip. Carefully press the strip onto the cleaned surface, ensuring firm contact along its entire length.
- 구성 요소 연결: Connect the LED strip to the connection receiver, ensuring the arrows on both components align. Then, connect the DC12V power adapter to the receiver.
- 전원 켜기: Plug the power adapter into a suitable power outlet. Remove the insulation sheet from the remote control before first use. Point the remote control towards the receiver and press the power button to turn on the lights.


작동 지침
The LED strip light is controlled using the included 44-key remote control. Ensure the remote is pointed towards the receiver for effective operation.
원격 제어 기능:
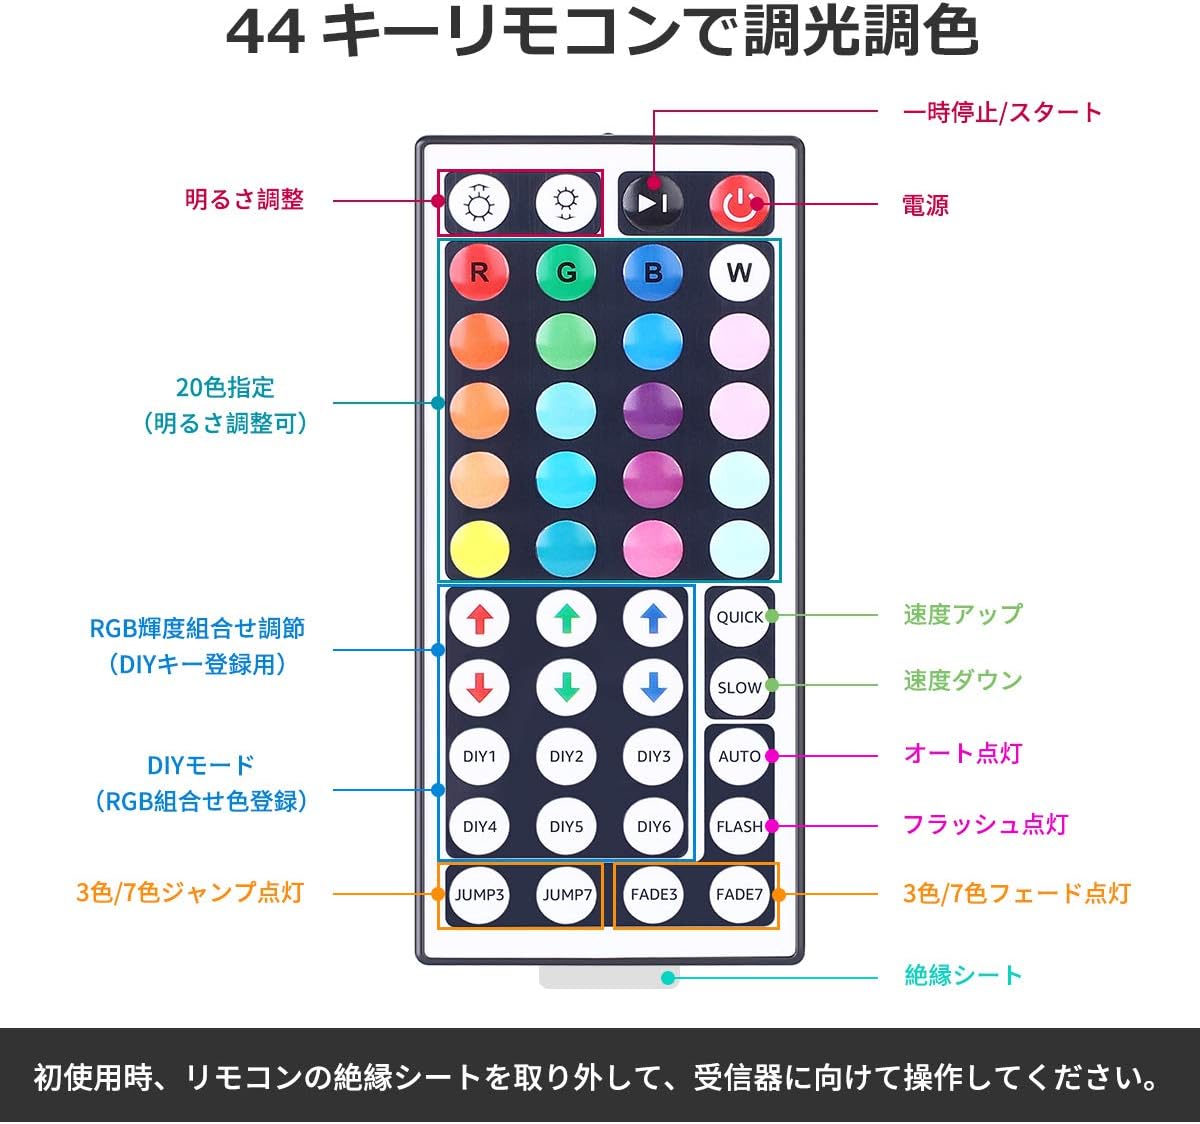
- 전원 켜기/끄기: 를 누르세요 빨간색 전원 버튼 불을 켜거나 끄다.
- 밝기 조정: 사용하세요 위아래 화살표 버튼 (labeled 'Brightness Adjust') to increase or decrease the light intensity.
- 색상 선택: 선택하다 20가지 사전 설정된 색상 by pressing the corresponding color buttons.
- DIY 모드: 그만큼 DIY1-DIY6 buttons allow you to create and save custom colors by adjusting the Red, Green, and Blue intensity using the RGB arrow buttons.
- 동적 모드:
- 빠르다/느리다: 다이내믹 모드의 속도를 조절하세요.
- 자동 : Cycles through all dynamic modes automatically.
- 플래시: Flashes through colors.
- 점프3/점프7: 3가지 또는 7가지 색상 사이를 전환합니다.
- 페이드3/페이드7: 3가지 또는 7가지 색상 사이에서 서서히 변합니다.
유지
- 청소: Ensure the power is off and unplugged before cleaning. Gently wipe the LED strip with a dry, soft cloth. Do not use harsh chemicals or abrasive cleaners.
- 저장: If storing the strip for an extended period, ensure it is clean and dry. Roll it loosely to prevent damage to the LEDs or circuit. Store in a cool, dry place away from direct sunlight.
- 접착제 관리: The 3M adhesive is strong, but repeated removal and reapplication may reduce its effectiveness.
문제 해결
| 문제 | 가능한 원인 | 해결책 |
|---|---|---|
| LED 스트립에 불이 들어오지 않습니다. | 1. Power adapter not plugged in. 2. Remote control insulation sheet not removed. 3. Connections are loose or incorrect. 4. Remote control battery is dead. | 1. Ensure power adapter is securely plugged into an outlet. 2. Remove the clear plastic insulation sheet from the remote control battery compartment. 3. Check all connections, ensuring arrows align between the strip and receiver. 4. Replace the remote control battery (CR2025 or equivalent). |
| 리모컨이 작동하지 않습니다. | 1. 리모컨이 수신기를 향하지 않았습니다. 2. Obstruction between remote and receiver. 3. Remote control battery is dead. | 1. Point the remote directly at the receiver. 2. Remove any objects blocking the line of sight. 3. 리모컨 배터리를 교체하세요. |
| Some sections of the strip are not lighting up. | 1. Damage to the LED strip. 2. Incorrect cutting. | 1. Inspect the strip for physical damage. If damaged, contact support. 2. Ensure cuts were made only at designated marks. |
명세서
- 모델 번호: PR410082-RGB-JP
- 상표: 나병
- 광원 유형: LED(SMD5050)
- LED 수량: 150 LEDs (30 LEDs per meter)
- 스트립 길이: 5 미터
- 전력 소비량: 18와트
- 입력 Voltage: 직류 12V 1.5A
- 색상 옵션: RGB (20 preset colors + DIY modes)
- 제어 방법: 44-key IR Remote Control
- 실내/실외 사용: 실내
- 특별 기능: Dimmable, Cuttable, 3M Adhesive, PSE Certified
- 패키지 크기: 13.1 x 10.7 x 6.7 cm; 230g

보증 및 지원
This Lepro LED Strip Light comes with a 2년 보증. If you encounter any issues or have questions regarding the product, please contact Lepro JP customer support through the retailer's platform. Provide your order details and a description of the issue for prompt assistance.
For further assistance, you can visit the official Lepro store on Amazon: Lepro Amazon Store


