3. 패키지 내용
패키지에 모든 품목이 들어 있는지 확인하세요.
- 1x Trust Wireless Comfort Mouse
- 1x USB 마이크로 수신기
- 1x AA 배터리
- 1x 사용자 매뉴얼(이 문서)

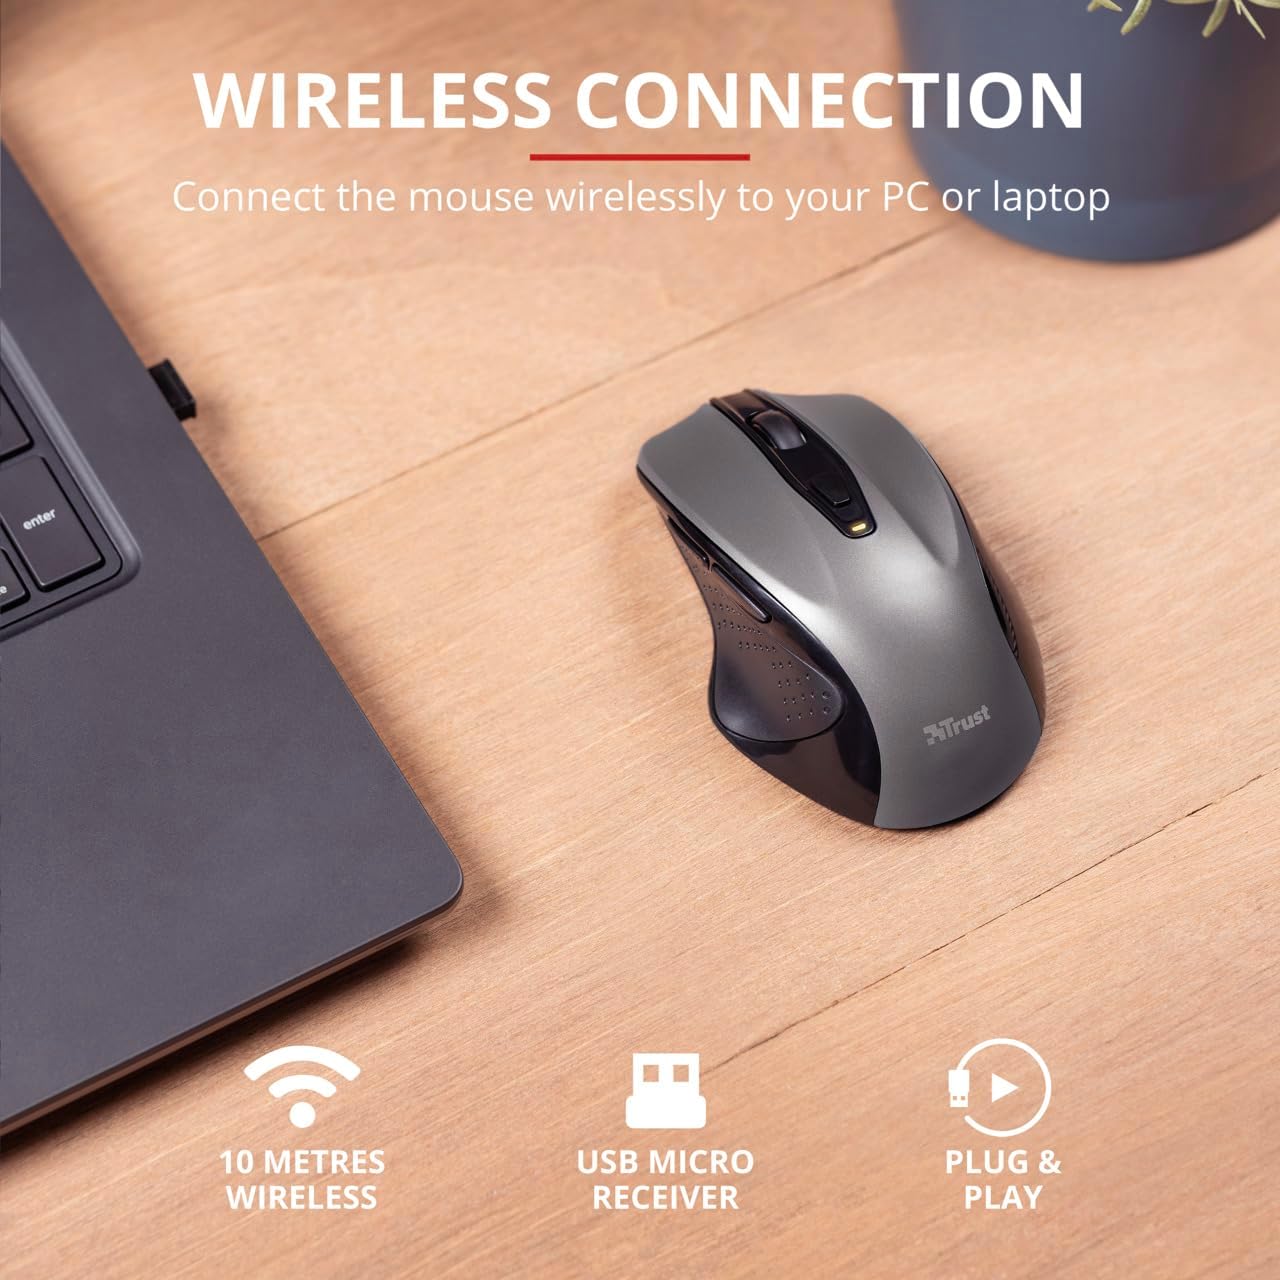
Image 3.1: The retail packaging of the Trust Wireless Mouse, showing the mouse and included accessories.
5. 마우스 작동
5.1. 기본 기능
- 좌 클릭: 항목을 선택하고 소프트웨어와 상호 작용하기 위한 기본 버튼입니다.
- 마우스 오른쪽 버튼으로 클릭: 상황에 맞는 메뉴와 추가 옵션을 위한 보조 버튼입니다.
- 스크롤 휠: 위아래로 스크롤하여 문서를 넘겨보세요. web pages. Press the scroll wheel for middle-click functionality.
5.2. DPI 조정
The Trust Wireless Mouse features an adjustable DPI (Dots Per Inch) setting, allowing you to control the cursor speed. There are 5 different speeds available: 800, 1200, 1600, 1800, and 2200 DPI.
- Locate the DPI button, usually positioned behind the scroll wheel.
- DPI 버튼을 눌러 사용 가능한 DPI 설정을 순환합니다.
- An LED indicator on the mouse will briefly show the current DPI setting.

이미지 5.1: 측면 view of the Trust Wireless Mouse highlighting its comfortable shape, thumb rest with extra grip, and the adjustable speed (DPI) feature.
5.3. Thumb Buttons
The mouse is equipped with two conveniently placed thumb buttons (forward and backward) on the left side. These buttons facilitate easy navigation, such as browsing through files 또는 web 페이지.
- 를 누르세요 앞으로 button to move to the next page or item.
- 를 누르세요 뒤로 button to return to the previous page or item.
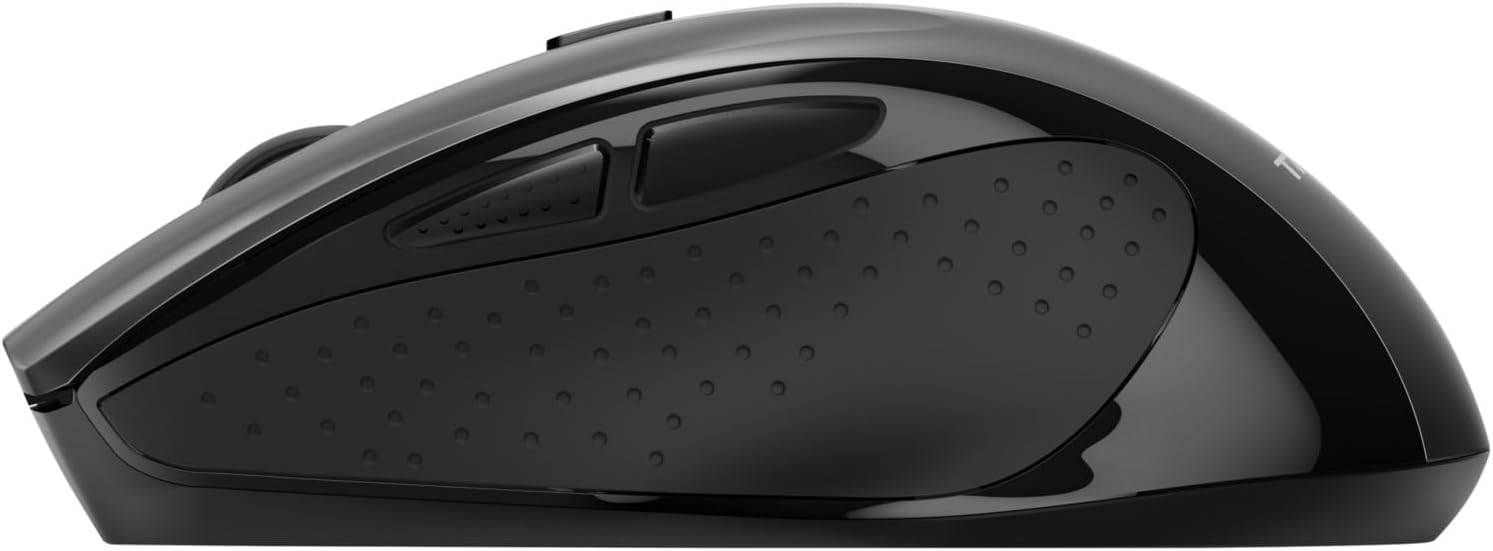
이미지 5.2: 측면 view of the Trust Wireless Mouse, clearly showing the placement of the two thumb buttons for forward and backward navigation.
Note: Functionality of side buttons may vary between operating systems.
5.4. 절전 기능
To conserve battery life, the mouse includes a power-saving mode and an on/off switch.
- 켜기/끄기 스위치: Located on the underside of the mouse. Turn the mouse off when not in use for extended periods to maximize battery life.
- 배터리 LED 표시기: An LED indicator will light up when the battery level is low, signaling that it's time to replace the AA battery.
6. 유지관리
6.1. 청소
To maintain optimal performance, clean your mouse regularly:
- 부드럽고 마른 천으로 마우스 표면을 닦으세요.
- 완고한 먼지에는 약간 damp천에 물이나 순한 세척액을 묻혀 닦으세요. 강한 화학 물질은 피하세요.
- 액체가 마우스의 내부 구성품에 들어가지 않도록 주의하세요.
6.2. 배터리 교체
When the battery indicator lights up, replace the AA battery promptly to ensure uninterrupted use. Refer to section 4.1 for battery installation instructions.