소개
This manual provides detailed instructions for the installation, operation, and maintenance of your Infinity PRIMUS3000A Primus Amplifier. 설치 또는 작동을 시도하기 전에 이 설명서를 자세히 읽으십시오. amp증폭기는 정상적인 작동을 보장하고 손상을 방지하기 위해 필요합니다.
The Infinity PRIMUS3000A is a compact mono amplifier designed to deliver 300W of power. It features full on-board protection and input level control for optimal audio performance.
안전 정보
- 설치 작업을 시작하기 전에 항상 차량 배터리의 음극 단자를 분리하십시오.
- 날카로운 모서리나 움직이는 부품으로 인한 손상을 방지하기 위해 모든 배선이 올바르게 배치되고 고정되었는지 확인하십시오.
- Use appropriate gauge wiring for power and ground connections to prevent overheating and potential fire hazards.
- 설치하다 amp과열을 방지하기 위해 적절한 환기가 가능한 위치에 보관하세요.
- 노출시키지 마십시오 amp습기 또는 극한의 온도에 적응합니다.
- 설치 과정 중 확실하지 않은 부분이 있으면 자격을 갖춘 전문가에게 문의하십시오.
패키지 내용
패키지에 모든 품목이 들어 있는지 확인하세요.
- 인피니티 프리머스3000A 프리머스 Amp리퍼
- 사용자 설명서
제품 끝view
The Infinity PRIMUS3000A amplifier is designed for reliable performance in a compact form factor. Key features include:
- 컴팩트한 크기: Allows for flexible installation in various vehicle types.
- Full On-Board Protection: 보호 장치 amplifier against short circuits, over-voltage, 언더볼륨tage, and thermal overload.
- 입력 레벨 제어: Adjustable input sensitivity to match the output of your head unit.
Amplifier 레이아웃
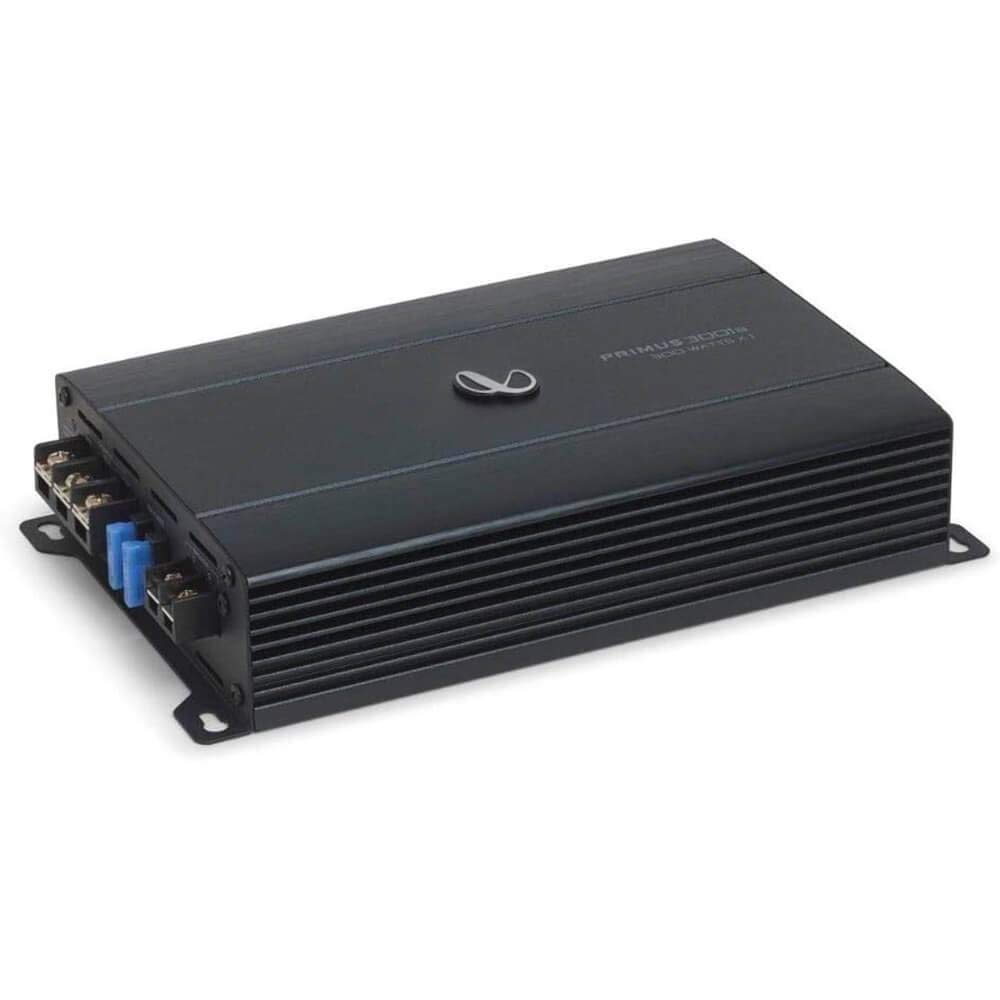
그림 1: 맨 위 view of the Infinity PRIMUS3000A Primus Amplifier. This image displays the overall compact design of the amplifier, featuring the Infinity logo and model designation on the top panel.

그림 2: Control panel of the Infinity PRIMUS3000A Primus Amp리퍼. 이것 view shows the input section with High Input and Line Input terminals, along with adjustable controls for Gain, Level, Frequency (FREQ), Low-Pass Filter (LPF), and Phase.

그림 3: Power and speaker connection terminals of the Infinity PRIMUS3000A Primus Amplifier. This image highlights the GND (Ground), REM (Remote), +12V (Power), and Speaker output terminals, along with the dual 15A fuses for protection.
설정 및 설치
Proper installation is crucial for optimal performance and safety. Follow these general guidelines:
1. 장착 위치
- 직사광선과 열원을 피해 건조하고 통풍이 잘 되는 장소를 선택하십시오.
- 설치 표면이 하중을 견딜 수 있을 만큼 튼튼한지 확인하십시오. amp증폭기의 무게.
- 주변에 충분한 공간을 확보하세요 amp공기 순환을 위한 리파이어.
2. 배선 연결
연결 작업을 하기 전에 차량 배터리의 음극 단자를 분리하십시오.
- 전원(+12V): Connect a suitable gauge power cable directly from the vehicle's positive battery terminal to the amplifier's "+12V" terminal. Install an in-line fuse holder (not supplied) within 18 inches (45 cm) of the battery.
- 접지(GND): Connect a suitable gauge ground cable from the amp앰프의 "GND" 단자를 차량 섀시의 깨끗하고 도색되지 않은 금속 표면에 연결하십시오. 전기적 연결이 양호한지 확인하십시오.
- 원격(REM): 헤드 유닛의 원격 출력에서 원격 켜기 와이어를 연결하세요. amp앰프의 "REM" 단자. 이 전선은 전원을 켜줍니다. amp헤드 유닛으로 라이터를 켜고 끌 수 있습니다.
- 오디오 입력:
- 라인 입력(RCA): 헤드 유닛의 사전에서 RCA 케이블을 연결하세요.amp 출력하다 amplifier's "LINE INPUT" jacks.
- High Input (Speaker Level): If your head unit does not have RCA outputs, connect the speaker output wires from your head unit to the amplifier's "HIGH INPUT" terminals.
- 스피커 출력: 서브우퍼를 다음에 연결하세요. amplifier's "SPEAKER" terminals. Ensure correct polarity (+ to + and - to -). Refer to your subwoofer's specifications for proper impedance matching.
작동 지침
일단 amplifier is installed and wired, follow these steps for initial setup and operation:
- 초기 전원 켜기: 차량 배터리의 음극 단자를 다시 연결하십시오. 헤드 유닛을 켜십시오. amplifier should power on (indicated by an LED, if present).
- Gain/Level Adjustment:
- 설정하다 amplifier's "GAIN" or "LEVEL" control to its minimum position.
- Play a familiar piece of music at a moderate volume on your head unit (around 75% of maximum).
- 천천히 증가 amp앰프의 게인 컨트롤을 조절하여 왜곡이 들릴 때까지 높인 다음, 소리가 깨끗해질 때까지 약간 낮추십시오.
- 저역 통과 필터(LPF): The LPF control allows you to set the upper frequency limit for the subwoofer. Adjust this control (e.g., between 40Hz and 120Hz) to blend the subwoofer's output smoothly with your main speakers.
- 위상 제어 : The "PHASE" switch (0°/180°) helps to align the subwoofer's output with the main speakers. Experiment with both settings to find the one that provides the most impactful and cohesive bass response.
유지
- 청소: 주기적으로 닦아주세요 amp부드럽고 마른 천으로 기기 외부를 닦으세요. 강한 화학 물질이나 연마성 세척제는 사용하지 마세요.
- 점검: Regularly check all wiring connections for tightness and signs of corrosion or damage. Ensure adequate ventilation around the amp리퍼.
- 퓨즈 : 그만큼 amplifier is equipped with two 15A fuses. If a fuse blows, replace it only with a fuse of the same type and rating. Never use a higher-rated fuse.
문제 해결
| 문제 | 가능한 원인 | 해결책 |
|---|---|---|
| 전원 없음 / Amp라이터가 켜지지 않아요 |
|
|
| 사운드 출력이 없습니다 |
|
|
| 왜곡된 소리 |
|
|
| Amplifier goes into protection mode |
|
|
명세서
| 모델 번호 | PRIMUS3000A |
| 상표 | 무한대 |
| 전력 출력 | 300W x 1 (Mono) |
| 제품 크기(L x W x H) | 12.5 x 7.6 x 3.9 인치 |
| 품목 무게 | 3.75 파운드 |
| 최대 공급량tage | 14.4볼트(DC) |
| 장착 유형 | 표면 실장 |
보증 및 지원
This product is covered by a manufacturer's warranty. For specific warranty terms and conditions, please refer to the documentation included with your purchase or visit the official Infinity website. For technical support or service inquiries, please contact Infinity customer service.
As this is a renewed product, please also refer to the Amazon Renewed Guarantee for details regarding replacement or refund options, as mentioned in the product description.


