1. 서론
This manual provides essential information for the safe and effective installation, operation, and maintenance of your Mad Mars 12V LED Motorcycle Scooter Turn Signals. Please read this manual thoroughly before installation and keep it for future reference.
2. 안전 정보
- 전기 안전: Always disconnect the vehicle's battery before performing any electrical work to prevent short circuits or electrical shock.
- 전문적인 설치: If you are not familiar with motorcycle or scooter electrical systems, it is highly recommended to have these turn signals installed by a qualified professional.
- 권tage 호환성: These turn signals are designed for 12V DC systems only. Do not connect to higher voltag전자 시스템.
- 안전한 장착: Ensure the turn signals are securely mounted to prevent detachment during vehicle operation.
- CE Homologation: These turn signals are CE approved, indicating compliance with European safety standards.
3. 패키지 내용
- One (1) Pair of Mad Mars 12V LED Motorcycle Scooter Turn Signals (Orange)
4. 사양
| 특징 | 사양 |
|---|---|
| 상표 | 미친 |
| 모델 | 화성 |
| 권tage | 12볼트 직류 |
| 광원 유형 | 주도의 |
| 밝은 색상 | 주황색 |
| Mounting Thread Diameter | 8mm |
| Length (excluding thread) | 64mm |
| 깊이 | 22mm |
| 키 | 18mm |
| 무게(개당) | 100g(대략) |
| 조립이 필요합니다 | 예 |
| 인증 | CE 승인 |
5. 설정 및 설치
올바른 설치를 위해 다음 단계를 주의 깊게 따르십시오. 전문가 설치를 권장합니다.
- 차량 준비: 전기적 위험을 방지하기 위해 차량의 점화 장치가 꺼져 있고 배터리가 분리되어 있는지 확인하세요.
- Remove Old Turn Signals: Carefully remove the existing turn signals from your motorcycle or scooter. Note the wiring connections.
- Mount New Turn Signals: Insert the threaded bolt of the Mad Mars turn signal into the mounting hole. Secure it with the provided nut, ensuring it is tight but not overtightened. The thread diameter is 8mm.
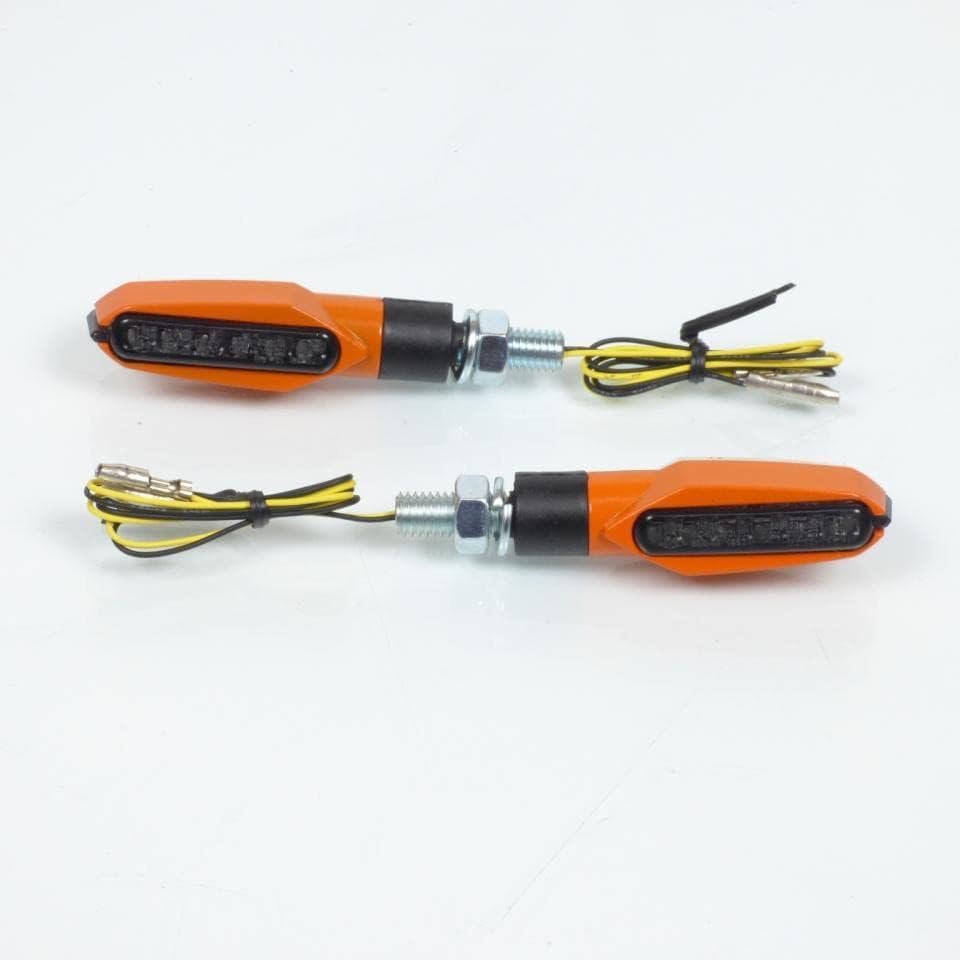
Image 1: Mad Mars 12V LED Turn Signals. This image shows a pair of orange LED turn signals with their wiring and mounting hardware.
- 배선 연결:
- Identify the positive wire of the Mad Mars turn signal (typically yellow or red) and the negative/ground wire (typically black).
- Connect the positive wire of the turn signal to the vehicle's positive turn signal wire.
- Connect the negative wire of the turn signal to the vehicle's negative or ground wire.
- Use appropriate electrical connectors (not included) and ensure all connections are secure and insulated to prevent short circuits.
- Repeat for Second Turn Signal: Follow the same steps for the other turn signal.
- 배터리를 다시 연결하고 테스트하세요. Reconnect the vehicle's battery. Turn on the ignition and test both turn signals to ensure they flash correctly. If they do not flash or flash too quickly/slowly, you may need a load resistor or an LED flasher relay (not included).

Image 2: Mad Mars 12V LED Turn Signals (Alternate View). This image provides another view of the orange LED turn signals, highlighting their compact design.
6. 사용 설명서
Once properly installed, the Mad Mars 12V LED Turn Signals operate in conjunction with your motorcycle or scooter's existing turn signal switch. Activate the left or right turn signal switch as you normally would to indicate a turn or lane change. The LED lights will flash to provide clear visibility to other road users.
7. 유지관리
- 청소: Clean the turn signal lenses periodically with a soft, damp 천을 사용하십시오. 플라스틱을 손상시킬 수 있는 연마성 세척제나 용제는 사용하지 마십시오.
- 점검: Regularly check the mounting bolts for tightness and inspect the wiring for any signs of wear, fraying, or corrosion. Ensure the connections remain secure.
- LED 수명: LED lights have a long lifespan and typically do not require replacement under normal operating conditions.
8. 문제 해결
- Turn Signals Not Lighting Up:
- Check all wiring connections for proper contact and insulation.
- Verify that the vehicle's battery is charged and providing 12V power.
- Inspect the vehicle's turn signal fuse.
- Turn Signals Flashing Too Fast (Hyper-flashing):
- LED turn signals draw less power than traditional incandescent bulbs, which can cause the vehicle's flasher relay to interpret a bulb outage, resulting in hyper-flashing.
- This can typically be resolved by installing a load resistor (not included) in parallel with each LED turn signal or by replacing the stock flasher relay with an LED-compatible flasher relay (not included).
- Turn Signals Not Flashing (Solid On):
- This can also be caused by incompatibility with the vehicle's flasher relay. Consider installing a load resistor or an LED-compatible flasher relay.
9. 보증 및 지원
For warranty information or technical support, please refer to the purchase documentation or contact the seller directly. Keep your proof of purchase for any warranty claims.


