1. 제품 오버view
The Diswoe Switch Pro Controller is a versatile wireless gaming controller designed for an enhanced gaming experience across multiple platforms. It offers universal compatibility with Nintendo Switch, Switch 2, Switch Lite, Switch OLED, Windows PC, and Android phones. Featuring Hall Effect joysticks, dual vibration motors, a 6-axis gyro sensor, and turbo functionality, this controller provides precise control and immersive feedback for a wide range of games. Its ergonomic design ensures comfort during extended play sessions, and a high-performance rechargeable battery offers long hours of uninterrupted gaming.

그림 1: 전면 view of the Diswoe Switch Pro Controller.
2. 설정 및 연결
2.1 컨트롤러 충전
Before first use, fully charge the controller. The controller features a built-in 550mAh rechargeable battery. Connect the controller to a standard USB Type-A wall charger using the provided USB-C cable. A full charge typically takes 2-3 hours and provides 6-8 hours of usage time.
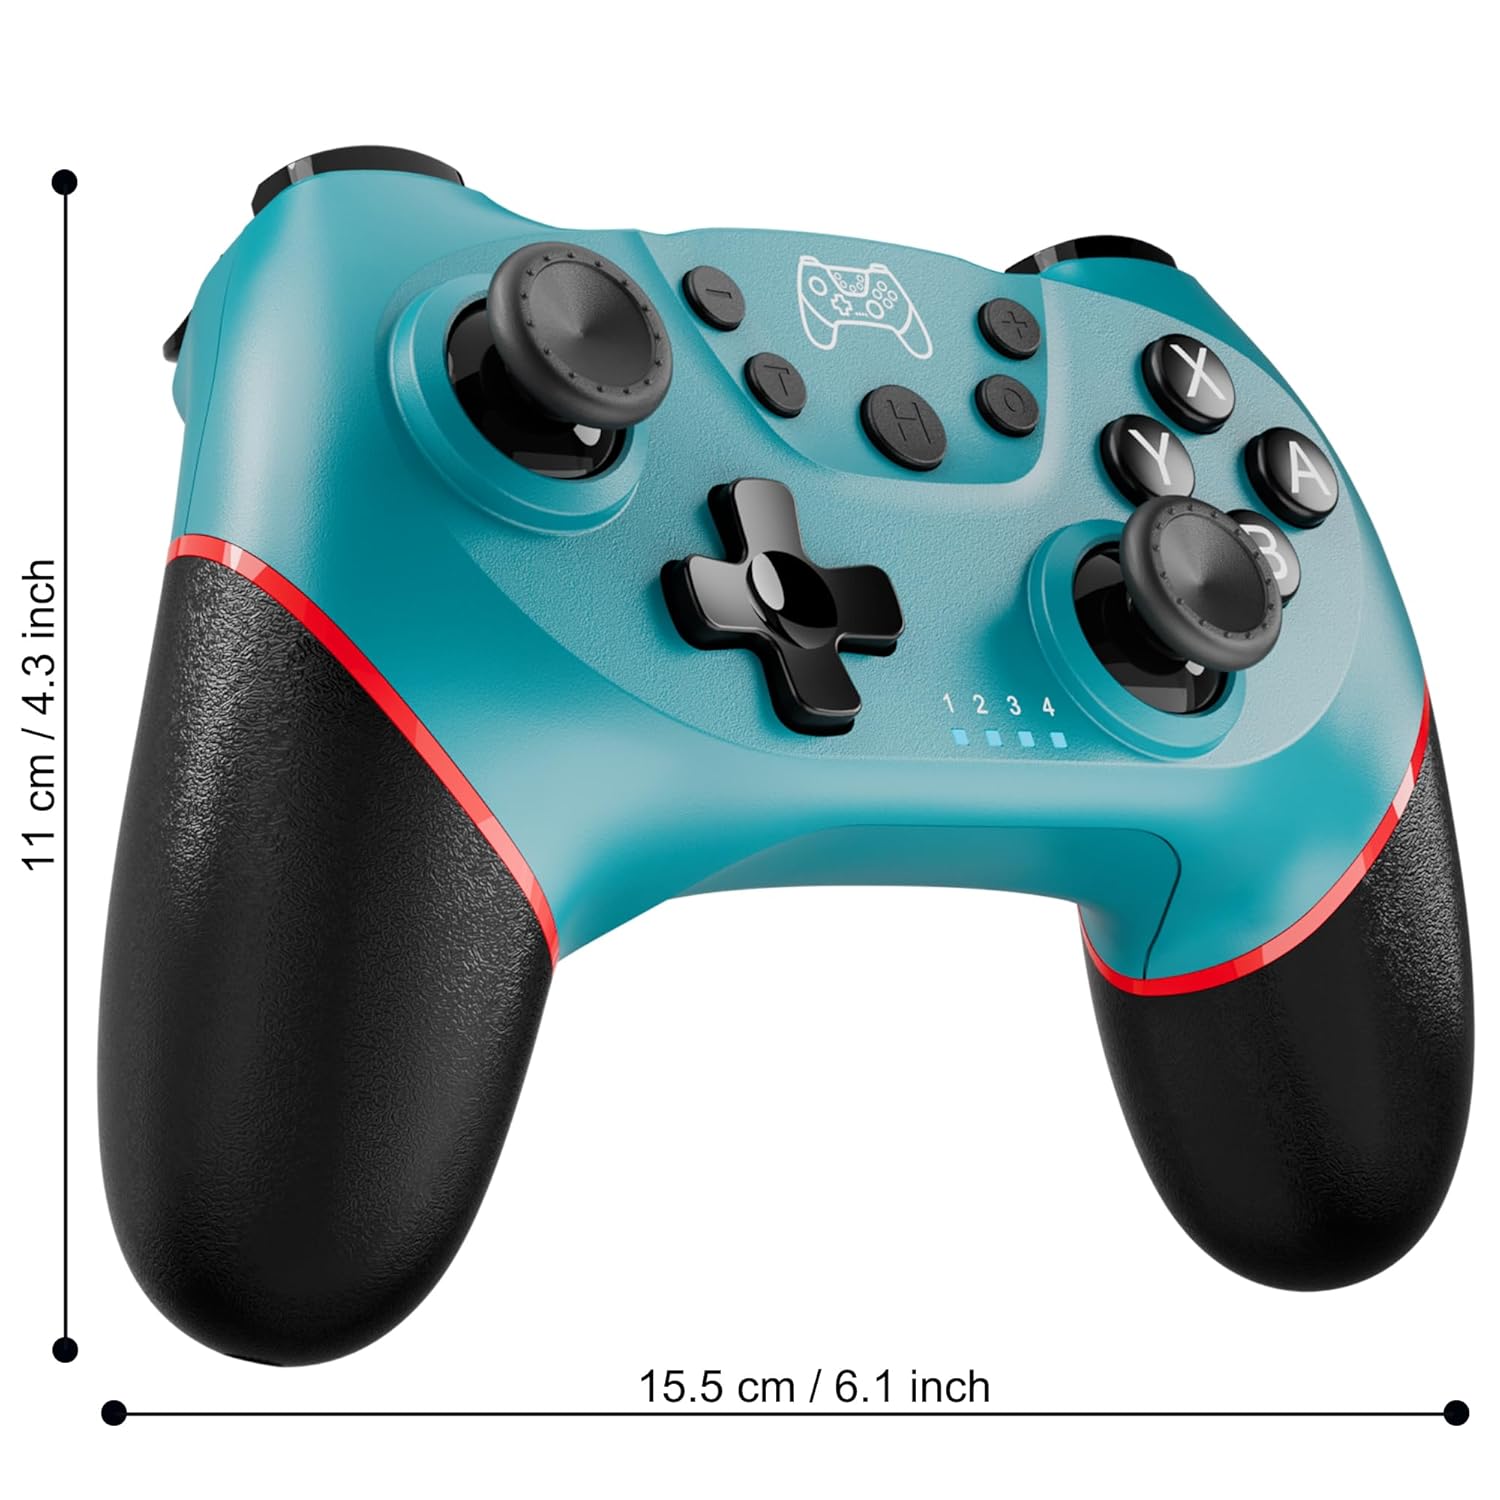
Figure 2: Charging the controller via USB-C port.
2.2 Wireless Bluetooth Connection (Nintendo Switch/Lite/OLED)
- 닌텐도 스위치 본체가 켜져 있고 최신 시스템 버전으로 업데이트되어 있는지 확인하십시오.
- 홈 메뉴에서 컨트롤러 > 그립/오더 변경.
- On the Diswoe Pro Controller, press and hold the H (Home) button for 3-5 seconds until the player indicator lights begin to flash rapidly.
- 컨트롤러 페어링이 성공적으로 완료되면 플레이어 표시등이 계속 켜져 있습니다.
- The controller provides a stable and reliable signal without delay or drop-off within 8 meters.

Figure 3: Controller pairing and one-button wake-up feature.
2.3 유선 연결(PC)
The controller supports USB cable connection with PC. Simply connect the controller to your PC using the provided USB-C cable. No additional drivers are required for basic functionality.
메모: The controller does not support wake-up for Switch 2 or audio functions via wired connection.
3. 사용 설명서
3.1 기본 컨트롤
컨트롤러는 직관적인 게임 플레이를 위해 표준 버튼 레이아웃을 갖추고 있습니다.
- A/B/X/Y 버튼: 표준 작업 버튼.
- 방향 패드: 방향 입력.
- 왼쪽/오른쪽 아날로그 스틱: 360도 움직임과 카메라 제어가 가능합니다.
- L/R/ZL/ZR 버튼: 게임 내 다양한 동작을 위한 어깨 버튼과 트리거 버튼.
- +/- 버튼: Plus and Minus buttons for menu navigation.
- 홈 버튼(H): Returns to the console's HOME Menu.
- 스크린샷 버튼: 게임 플레이 중 스크린샷을 찍습니다.

그림 4: 상세 view 컨트롤러 버튼.
3.2 진동 피드백
The controller is equipped with dual vibration motors that provide excellent haptic feedback, enhancing game immersion. The intensity of the vibration can be adjusted to suit your preference, offering three levels of vibration.
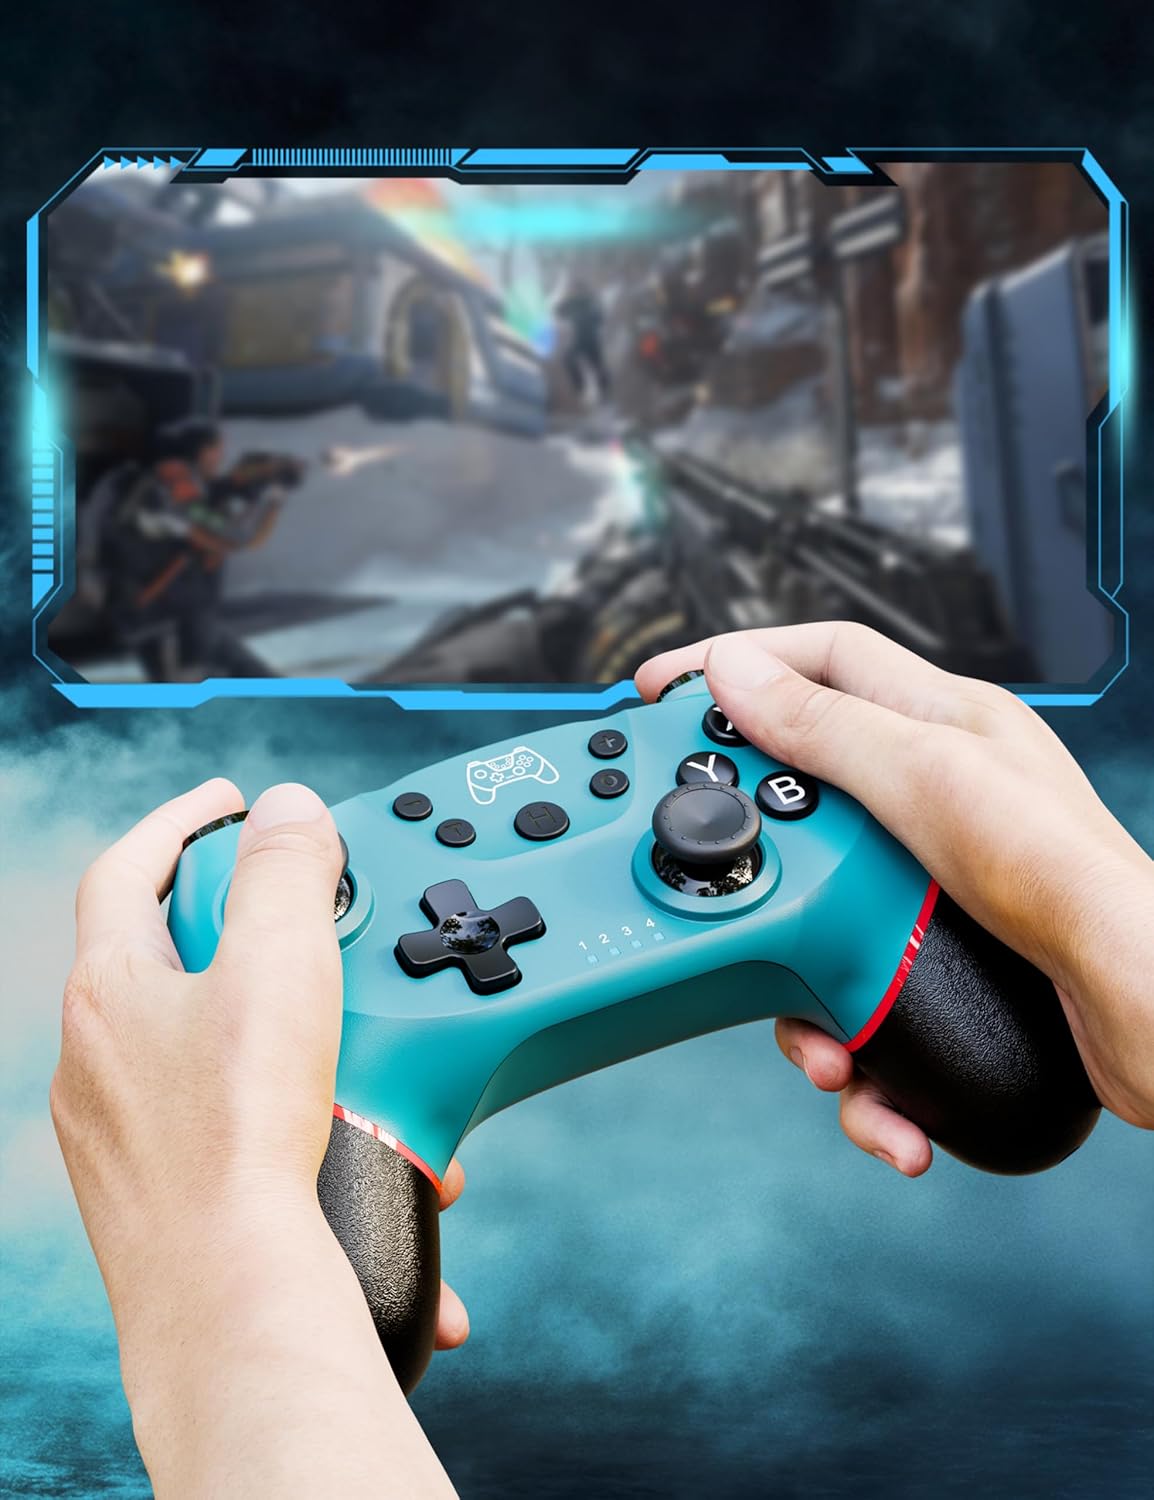
Figure 5: Illustration of adjustable vibration levels.
3.3 6축 자이로 센서
The integrated 6-axis gyro sensor allows the controller to detect its inclination and motion, providing quick and precise responses for motion-sensing games. This feature adds an extra layer of fun and control to compatible titles.

Figure 6: Controller with 6-axis gyro sensor in action.
3.4 터보 기능
Activate the turbo function for rapid, continuous input of a button press. This is particularly useful in games requiring fast, repetitive actions. The controller supports three turbo speeds: 5 shots/s, 12 shots/s, and 20 shots/s.

Figure 7: Turbo speed settings on the controller.
3.5 스크린샷 기능
Capture your favorite in-game moments instantly by pressing the dedicated screenshot button. This allows for easy sharing of your gameplay experiences.

Figure 8: Location of the screenshot button.
4. 유지관리
4.1 청소
To maintain the controller's condition, wipe it regularly with a soft, dry cloth. Avoid using harsh chemicals or abrasive materials that could damage the surface.
4.2 배터리 관리
- 컨트롤러를 극한 온도에 노출시키지 마십시오.
- Do not attempt to disassemble or replace the built-in battery.
- Charge the controller regularly, even if not in frequent use, to prolong battery life.
5. 문제 해결
5.1 컨트롤러가 연결/페어링되지 않음
- 컨트롤러가 완전히 충전되었는지 확인하세요.
- Verify that the Nintendo Switch console is powered on and in the "Change Grip/Order" screen.
- Press and hold the H (Home) button on the controller for 3-5 seconds until the player indicator lights flash rapidly.
- If issues persist, try restarting both the controller and the console.
5.2 입력 지연 또는 연결 끊김
- Ensure the controller is within the 8-meter operating range of the console.
- 다른 무선 장치의 간섭을 최소화하세요.
- Check for any physical obstructions between the controller and the console.
- 컨트롤러의 배터리가 심각하게 부족하지 않은지 확인하세요.
5.3 조이스틱 드리프트
If you experience unintended movement from the analog sticks (joystick drift), try the following:
- Calibrate the joysticks through your Nintendo Switch system settings: 시스템 설정 > 컨트롤러 및 센서 > 컨트롤 스틱 보정.
- 컨트롤러의 펌웨어가 최신 버전인지 확인하십시오(제조업체 웹사이트 참조). web(업데이트는 해당 사이트를 참조하세요).
- 압축 공기를 사용하여 조이스틱 밑부분 주변의 이물질을 제거하십시오.
6. 제품 사양
| 특징 | 세부 사항 |
|---|---|
| 모델 번호 | ET16801 |
| 상표 | 슬픔 |
| 호환성 | Nintendo Switch/Switch 2/Switch Lite/Switch OLED, Windows PC, Android Phone |
| 연결성 | 무선 블루투스, 유선 USB-C |
| 배터리 용량 | 550mAh 리튬 이온(포함) |
| 충전 시간 | 약 2-3시간 |
| 사용 시간 | 약 6-8시간 |
| 특별 기능 | Dual Vibration Motors, 6-Axis Gyro Sensor, Turbo Function, Screenshot Button |
| 품목 무게 | 9.9 온스 |
| 패키지 크기 | 6.42 x 4.76 x 2.6 인치 |
| 첫 번째 이용 가능 날짜 | 11년 2019월 XNUMX일 |
7. 보증 정보
Specific warranty details for the Diswoe Switch Pro Controller are typically provided with the product packaging or available on the official Diswoe web사이트. 자세한 보증 약관은 다음 자료를 참조하세요.
8. 고객 지원
For further assistance, technical support, or inquiries regarding your Diswoe Switch Pro Controller, please visit the official Diswoe web해당 웹사이트를 방문하거나 고객 서비스 부서에 문의하십시오. 연락처 정보는 일반적으로 제품 포장이나 브랜드의 공식 온라인 페이지에서 찾을 수 있습니다.