1. 서론
This manual provides detailed instructions for the installation, setup, and operation of your LoraTap WiFi Smart Relay Switch (Model RR400W). Please read this manual thoroughly before use to ensure proper functionality and safety.
패키지 내용:
- LoraTap WiFi Smart Relay Switch (RR400W)
- 사용자 설명서
- Mounting accessories (screws, anchors, mini screwdriver, electrical wires)

Image 1.1: LoraTap WiFi Smart Relay Switch (Model RR400W) and its mobile application interface.
2. 안전 정보
- 경고: Electrical installation should only be performed by a qualified electrician or in accordance with local electrical codes.
- 장치를 설치하거나 서비스하기 전에 항상 회로 차단기에서 전원을 분리하세요.
- 이 장치는 실내에서만 사용하도록 설계되었습니다.
- 최대 부하 정격인 10A/2500W를 초과하지 마십시오.
- Ensure the device is installed in a location with a neutral wire for correct electrical supply.
- 어린이의 손이 닿지 않는 곳에 보관하세요.
3. 제품 사양
| 특징 | 사양 |
|---|---|
| 모델 번호 | RR400W |
| 입력 Voltage | 100-250V 교류, 50/60Hz |
| 최대 부하 | 10A/2500W |
| 무선 프로토콜 | Wi-Fi 2.4GHz (IEEE 802.11 b/g/n) |
| 치수(길이 x 너비 x 높이) | 4.8 x 4.2 x 2.3cm(1.89 x 1.65 x 0.91인치) |
| 제어 방법 | Remote (App), Voice |
| 호환성 | Amazon Alexa, Google Assistant, Smart Life App, Tuya App |
| 인증 | CE, RoHS, FCC |
4. 설치 가이드
The LoraTap WiFi Smart Relay Switch is designed for easy integration into existing electrical systems. It requires a neutral wire for operation.
배선도:
- 전원 분리: Before starting, turn off the power at the main circuit breaker to avoid electrical shock.
- 전선 식별: Locate the Live (L) and Neutral (N) input wires from your power source, and the Live (L) and Neutral (N) load wires going to your appliance (e.g., lamp).
- 연결 입력: Connect the Live input wire to the 'L in' terminal and the Neutral input wire to the 'N in' terminal on the LoraTap switch.
- 연결 출력: Connect the Live load wire to the 'L out' terminal and the Neutral load wire to the 'N out' terminal on the LoraTap switch.
- 보안 연결: Ensure all wire connections are secure. The device supports 26-16AWG wires.
- 마운트 장치: The compact size allows installation in narrow spaces, such as behind a socket or in a ceiling rose. Use the provided mounting accessories if needed.
- 복원력 : Once all connections are secure and the device is properly mounted, restore power at the circuit breaker.

Image 4.1: Simplified wiring diagram for the LoraTap Smart Relay Switch. Ensure a neutral wire is present for installation.
5. 앱 설정 및 페어링
To control your LoraTap Smart Relay Switch, you need to download the Smart Life or Tuya app and pair the device.
요구 사항:
- A smartphone (Android or iOS).
- A 2.4GHz Wi-Fi network. 5GHz networks are not supported.
- The Smart Life or Tuya app installed on your smartphone.
페어링 단계:
- 앱 다운로드 : 검색 "Smart Life" or "Tuya Smart" in your smartphone's app store (App Store for iOS, Google Play for Android) and install it.
- 등록/로그인: 앱을 열고 새 계정을 등록하거나 기존 계정으로 로그인하세요.
- 장치 추가: Tap the "+" icon in the top right corner of the app to add a new device. Select "Electrical Switch" or "Switch (Wi-Fi)".
- 페어링 모드 시작: Power on the LoraTap switch. If the indicator light is not blinking rapidly, press and hold the button on the switch for approximately 5 seconds until it blinks rapidly. This indicates pairing mode.
- Wi-Fi에 연결: In the app, confirm the indicator is blinking rapidly. Enter your 2.4GHz Wi-Fi network name and password.
- 완벽한 페어링: The app will search for and connect to the device. Once connected, you can rename the device for easier control.

Image 5.1: Easy pairing process with the Smart Life/Tuya app. Ensure your Wi-Fi network is 2.4GHz.
6. 운영
The LoraTap Smart Relay Switch offers multiple control options for convenience.
6.1. 앱 제어
Once paired, you can control your device from anywhere using the Smart Life or Tuya app on your smartphone.
- 온/오프 제어: Tap the switch icon in the app to turn your connected appliance on or off.
- 실시간 상태: The app displays the current status of your appliance, allowing you to verify if it's on or off remotely.
- 그룹 제어: You can group multiple LoraTap switches together in the app to control them simultaneously.
- 장치 공유: 앱을 통해 가족 구성원과 기기 제어 권한을 공유하세요.

Image 6.1: Remote control via the Smart Life app.
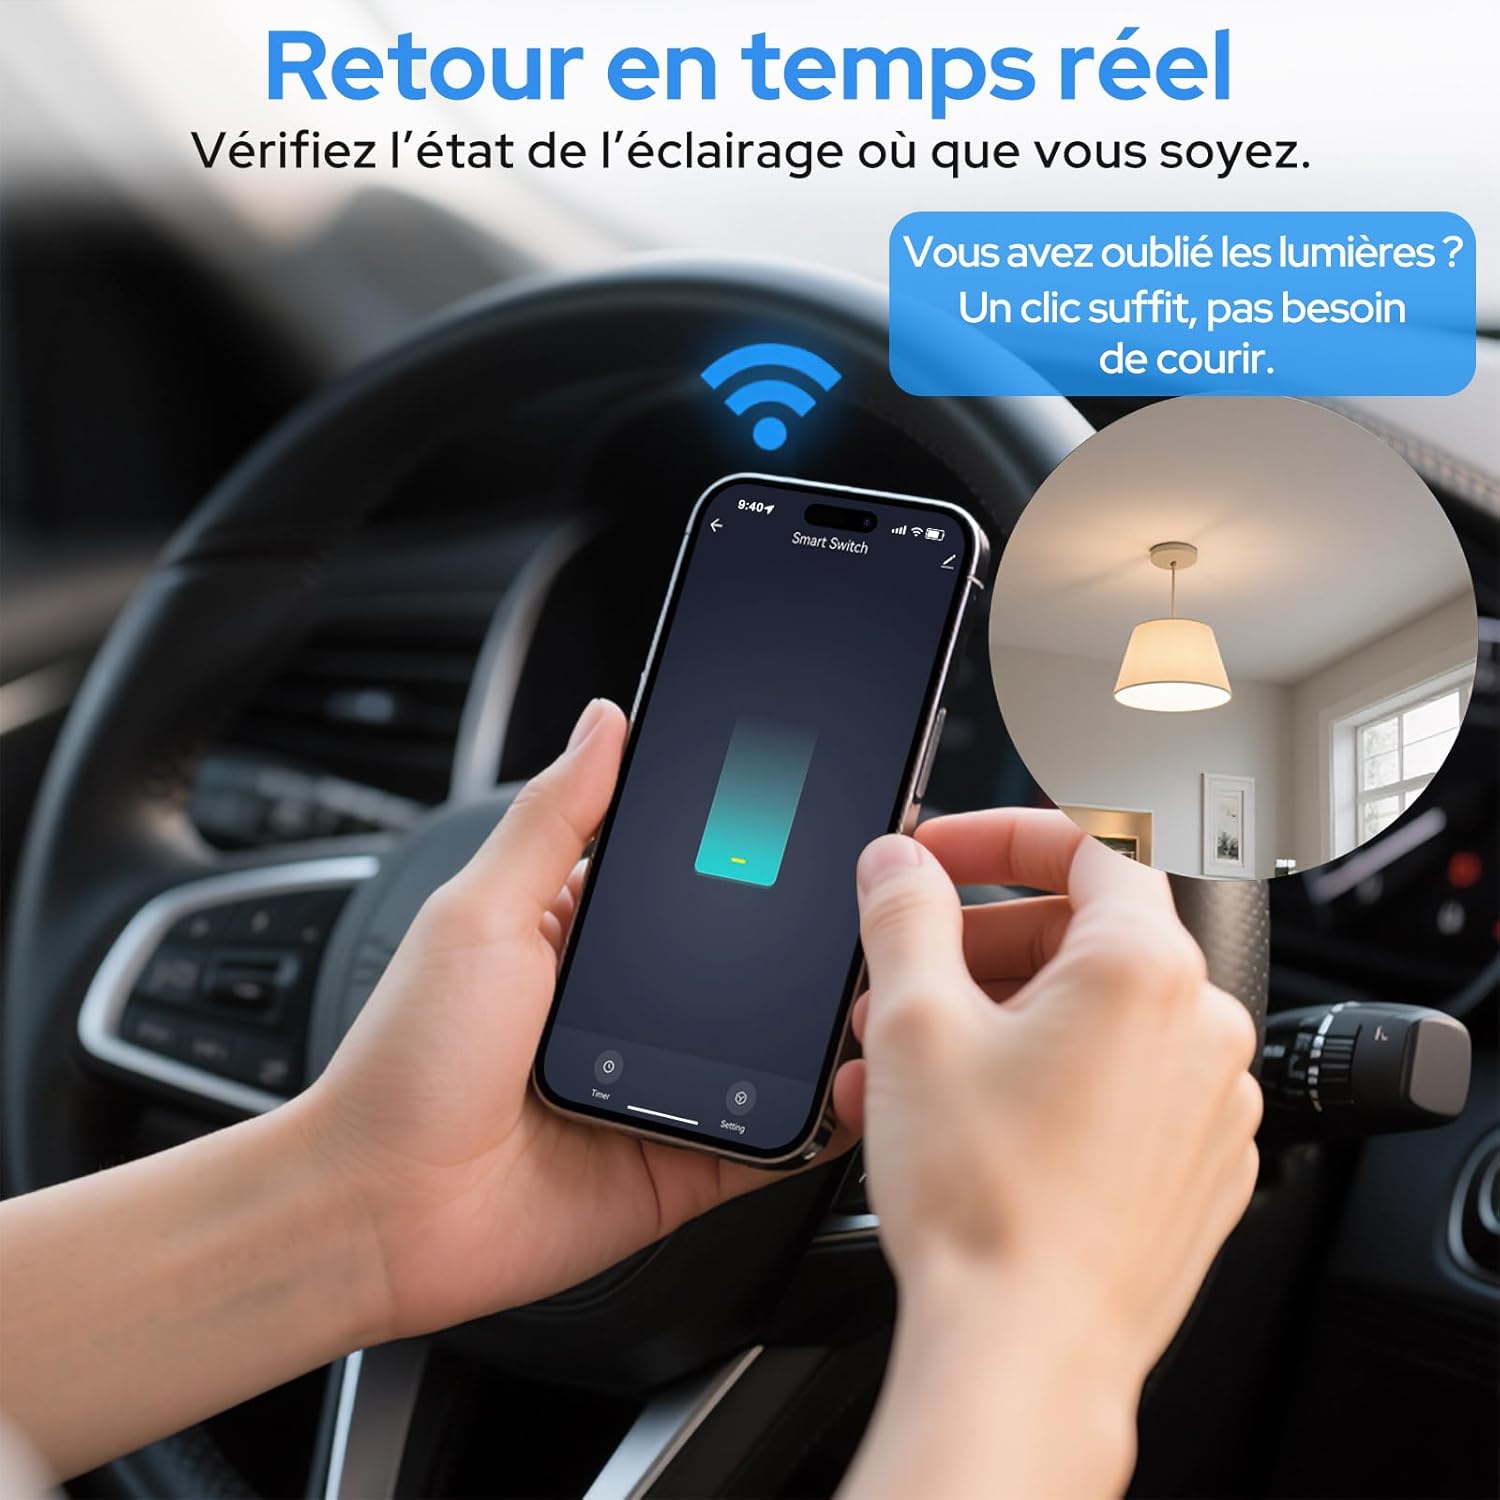
Image 6.2: Real-time status monitoring from anywhere.

Image 6.3: Device sharing feature for family members.
6.2. 음성 제어
The LoraTap Smart Relay Switch is compatible with Amazon Alexa and Google Assistant for convenient voice control.
- 계정 연결: In the Alexa or Google Home app, link your Smart Life/Tuya account.
- 장치 검색: Ask Alexa or Google Assistant to discover new devices.
- 음성 명령: Use commands like "Alexa, turn on [device name]" or "Hey Google, turn off [device name]".

Image 6.4: Voice control integration with Amazon Alexa and Google Assistant.

Image 6.5: Family using voice commands for smart home control.
6.3. 일정 관리 및 타이머
Automate your appliances by setting schedules and timers within the Smart Life/Tuya app.
- 타이머 기능: Set a countdown timer for the switch to turn on or off automatically after a specified duration.
- 일정: Create daily or weekly schedules for your appliance to turn on or off at specific times (e.g., turn on lights at sunset, turn off at bedtime).
- 반복 기능: Configure schedules to repeat on selected days of the week.

Image 6.6: Automate lighting with countdown timers.

Image 6.7: Program your lights with custom schedules.
6.4. Restart Status Settings
Configure the power-on state of your smart switch after a power outage.
- OFF : 전원이 복구된 후에도 장치는 꺼진 상태로 유지됩니다.
- 에: The device will turn on automatically after power is restored.
- 마지막 상태 기억: The device will return to its last known state (on or off) before the power outage.

Image 6.8: Configure the device's restart status after a power interruption.
7. 유지관리
- 부드럽고 마른 천으로 기기를 닦으세요. 강한 화학 물질이나 연마성 세제는 사용하지 마세요.
- Ensure the device is kept in a dry environment and away from direct sunlight or extreme temperatures.
- 최적의 성능과 보안을 유지하려면 Smart Life/Tuya 앱에서 펌웨어 업데이트를 정기적으로 확인하십시오.
8. 문제 해결
| 문제 | 가능한 원인 / 해결책 |
|---|---|
| Device not pairing / Indicator not blinking rapidly. |
|
| 앱에서 기기가 오프라인 상태입니다. |
|
| 음성 제어가 작동하지 않습니다. |
|
| Device not responding to manual switch. |
|
9. 보증 및 지원
LoraTap offers a 3-year warranty for this product. For technical support or warranty claims, please contact LoraTap customer service through their official web제품을 구매한 사이트 또는 소매업체.
연락처 정보: Please refer to the packaging or LoraTap's official web최신 지원 연락처 정보는 사이트에서 확인하세요.