1. 서론
1.1개 제품 이상view
The JUNG HOME BTLS1791WW is a durable and robust room thermostat designed for precise temperature control in your living space. It features a clear digital display and intuitive controls for easy operation, helping you maintain a comfortable environment efficiently.
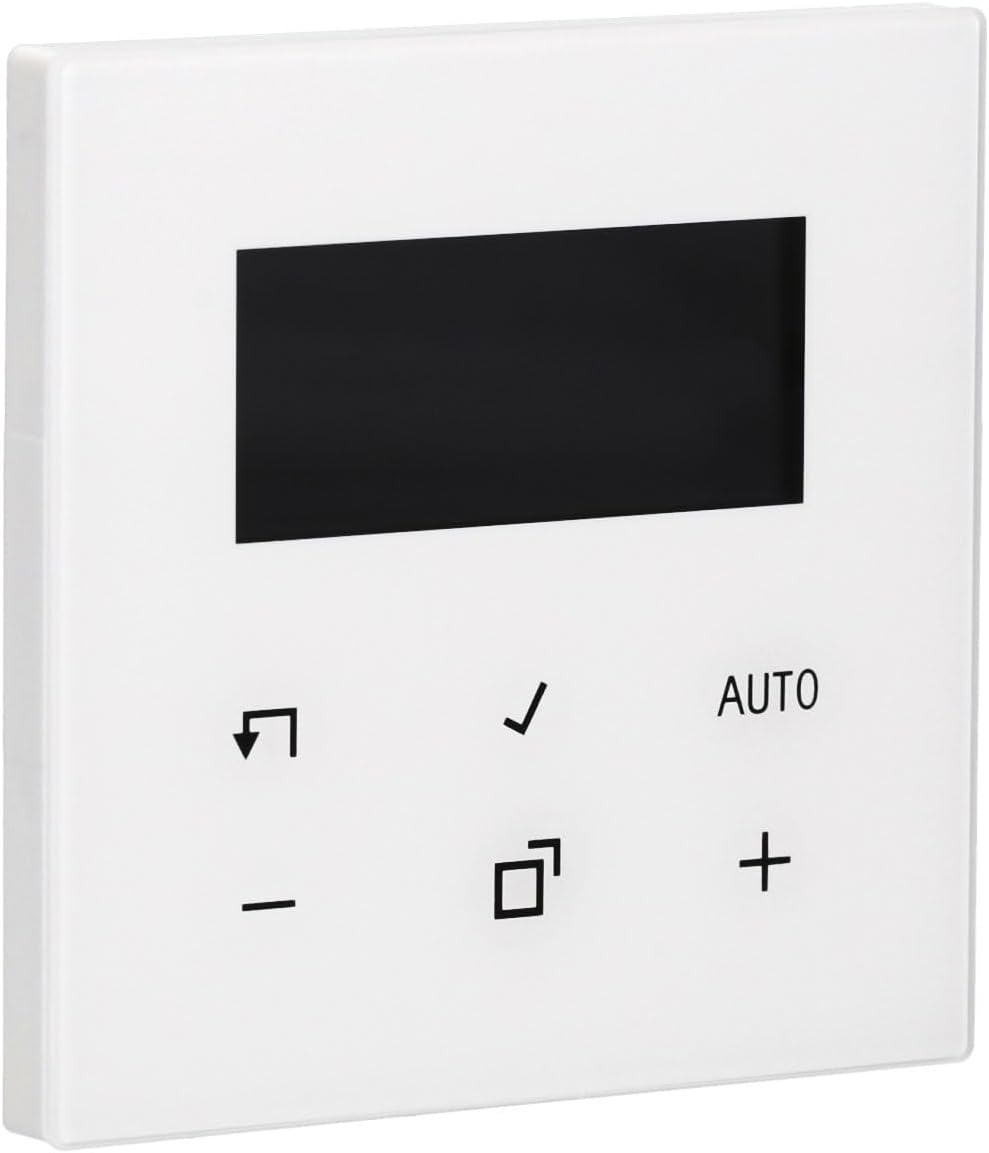
이미지 1.1: 앞면 view of the JUNG HOME BTLS1791WW Room Thermostat. The device is white with a black rectangular display at the top and several control icons and text below it.
1.2 패키지 내용
- JUNG HOME BTLS1791WW Room Thermostat
- 설치 하드웨어
- 사용 설명서 (본 문서)
2. 안전 정보
Please read all safety instructions carefully before installing or operating the device. Failure to follow these instructions may result in property damage, personal injury, or death.
- 전기 안전: Always disconnect power to the circuit at the main breaker before performing any installation, wiring, or maintenance.
- 전문적인 설치: 설치는 모든 지역 전기 규정 및 법규에 따라 자격을 갖춘 전기 기술자가 수행해야 합니다.
- 환경: Do not expose the device to moisture, water, or extreme temperatures. Ensure the installation location is dry and within the specified operating temperature range.
- 배선: Ensure all wiring connections are secure and correctly polarized. Incorrect wiring can damage the device or pose a fire hazard.
3. 설정 및 설치
Follow these general steps for installing your JUNG HOME BTLS1791WW Room Thermostat. For detailed wiring diagrams, refer to the separate installation guide provided with the product or consult a qualified electrician.
3.1 장착
- 전원 분리: Turn off the power to the thermostat's circuit at the main electrical panel.
- (해당되는 경우) 기존 온도 조절기를 제거하십시오. Carefully remove your existing thermostat, noting the wiring connections.
- 위치: Secure the JUNG HOME BTLS1791WW thermostat to a standard flush-mounted electrical box using the provided installation hardware. Ensure it is level.

이미지 3.1: 측면 view of the JUNG HOME BTLS1791WW Room Thermostat, illustrating its depth and the mounting tabs on the side for secure installation.
3.2 배선
- 전선 연결: Connect the electrical wires from your heating/cooling system to the appropriate terminals on the back of the thermostat. Refer to the wiring diagram in your specific installation guide.
- 보안 연결: 접촉 불량을 방지하기 위해 모든 전선 연결부가 단단히 고정되어 있는지 확인하십시오.

이미지 3.2: 뒤 view of the JUNG HOME BTLS1791WW Room Thermostat, displaying the wiring terminals, model number (BTLS1791WW), and manufacturer details.
3.3 전원 켜기
- 복원력 : Once the thermostat is securely mounted and wired, restore power to the circuit at the main electrical panel.
- 초기 설정 : The thermostat display should illuminate. Follow any on-screen prompts for initial setup, such as language selection or time setting.
4. 사용 설명서
The JUNG HOME BTLS1791WW thermostat is designed for user-friendly operation. Familiarize yourself with the display and control buttons.

이미지 4.1: 앞면 view of the JUNG HOME BTLS1791WW Room Thermostat with its display showing a temperature of 21.5°C and indicating 'AUTO' mode, along with other control icons.
4.1 디스플레이 오버view
The central digital display shows key information:
- 현재 온도: The actual room temperature.
- 목표 온도: Your desired temperature setting.
- 작동 모드: Indicates the current mode (e.g., AUTO, Manual).
- 상태 아이콘: Additional icons may indicate heating/cooling activity, battery status, or other functions.
4.2 제어 버튼
The thermostat features several buttons for control:
- + 그리고 - 버튼: Used to increase or decrease the target temperature.
- 자동차 단추: Toggles or selects the automatic operating mode.
- 체크 표시 단추: 선택 사항을 확인하거나 메뉴 옵션으로 들어갑니다.
- Arrow/Return 단추: Used for navigation within menus or to go back.
- 정사각형 아이콘 단추: Typically used for mode selection, programming, or accessing advanced settings.
4.3 온도 설정
- 를 누르세요 + or - 버튼을 눌러 원하는 온도를 조절하세요.
- The display will show the new target temperature.
- 를 누르세요 체크 표시 선택을 확인하려면 버튼을 클릭하세요.
4.4 작동 모드 선택
The thermostat may offer various operating modes:
- 자동 모드: The thermostat automatically maintains the programmed temperature schedule.
- 수동 모드: The thermostat maintains a constant temperature set by the user until changed.
- 프로그램 모드: Allows you to set specific temperature schedules for different times of the day or week.
사용하세요 자동차 버튼 또는 정사각형 아이콘 button to cycle through available modes or access programming options. Refer to the detailed programming section in your full manual for advanced scheduling.
5. 유지관리
정기적인 유지관리를 통해 온도 조절 장치의 최적의 성능과 수명을 보장할 수 있습니다.
- 청소: Clean the thermostat's surface with a soft, dry, lint-free cloth. Do not use abrasive cleaners, solvents, or chemical sprays, as these can damage the finish or internal components.
- 통풍: Ensure that any ventilation openings on the device are free from dust and debris to prevent overheating.
- 배터리 교체(해당되는 경우): If your model uses batteries, replace them annually or when a low battery indicator appears on the display.
6. 문제 해결
온도 조절 장치에 문제가 발생하면 다음 문제 해결 단계를 시도해 보세요.
- 화면 안 켜짐 / 전원 안 켜짐:
- Check the circuit breaker for the thermostat's circuit and reset if tripped.
- Verify that all wiring connections are secure and correct.
- Ensure the main power supply to the heating/cooling system is on.
- 잘못된 온도 측정:
- 온도 조절 장치가 직사광선, 통풍 또는 열원(예: l)에 노출되지 않도록 하십시오.amp센서에 영향을 줄 수 있는 기기(예: 가전제품)
- Verify the thermostat is mounted at an appropriate height (typically 1.5 meters from the floor) in a central location.
- 온도 조절 장치가 응답하지 않음:
- Try power cycling the device by turning off the circuit breaker for a few minutes and then turning it back on.
- If applicable, check and replace batteries.
- 난방/냉방이 작동하지 않음:
- Verify that the thermostat is set to the correct operating mode (e.g., Heat, Cool, Auto).
- Ensure the target temperature is set appropriately (e.g., higher than room temperature for heating, lower for cooling).
- Check if there are any error codes displayed on the screen and consult the full manual for their meaning.
- Confirm that your external heating/cooling system is functional.
If these steps do not resolve the issue, please contact JUNG customer support or a qualified technician.
7. 사양
| 특징 | 세부 사항 |
|---|---|
| 상표 | 정 |
| 모델 번호 | BTLS1791WW |
| 색상 | 하얀색 |
| 대략적인 치수(길이 x 너비 x 높이) | 43 x 13 x 13 cm (참고: 이 치수는 포장 치수를 나타낼 수 있습니다.) |
| 재료 | 내구성 있는 플라스틱 구조 |
| 특징 | 견고한 디자인 |
| 포함된 구성 요소 | 설치 하드웨어 |
8. 보증 및 지원
For detailed warranty information, terms, and conditions, please refer to the official JUNG website or the warranty card included with your product. For technical support, troubleshooting assistance beyond this manual, or to inquire about spare parts, please contact JUNG customer service directly.
일반적으로 제조업체의 웹사이트에서 연락처 정보를 찾을 수 있습니다. web사이트 또는 제품 포장에 표시되어 있습니다.


