1. 서론
This manual provides comprehensive instructions for the safe and effective use of the Unika Multi-Surface Worktop Trade Jig, model JIGN277P-AZ. This jig is designed to facilitate the cutting of accurate mitre joints in various worktop materials, including composite, laminate, compact laminate, and solid wood. Its design allows for variable inset depths and accommodates standard 150mm worktop connector bolts and Unika toggle bolts, making it suitable for worktops up to 700mm wide.
Please read this manual thoroughly before operation to ensure proper usage and to maximize the jig's performance and longevity.
2. 안전 정보
Always observe general workshop safety practices when using this jig in conjunction with power tools such as routers. Failure to follow safety guidelines can result in injury or damage to the equipment.
- 모든 지침을 읽으십시오. Familiarize yourself with both this jig manual and your router's instruction manual before beginning any work.
- 적절한 개인 보호 장비(PPE)를 착용하세요. This includes safety glasses, hearing protection, and dust masks.
- Ensure a stable work surface: The worktop and jig must be securely clamped to a stable workbench to prevent movement during routing.
- Use sharp router bits: Dull bits can cause kickback and poor cut quality.
- 깨끗한 작업 공간을 유지하세요. Remove debris and obstructions to prevent accidents.
- 전원 분리: Always disconnect the router from the power supply before making adjustments or changing bits.
3. 제품 오버view
The Unika Multi-Surface Worktop Trade Jig is constructed from 12mm hardwearing compact laminate, ensuring durability and resistance to warping. It features precision-engineered cut-outs and peg positions for accurate worktop jointing.

Figure 3.1: The Unika Universal Worktop Jig, showing its various cut-outs and peg holes for different worktop widths and joint types.
주요 특징:
- Designed for composite, laminate, compact laminate, and solid wood worktops.
- Variable inset depths: 10mm and 23mm for different worktop edge profiles.
- Two rows of bolt slot cut-outs for standard 150mm worktop connector bolts and Unika toggle bolts.
- Accommodates worktops up to 700mm wide with fixed peg positions for common widths.
- Made from 12mm thick, hardwearing compact laminate.
4. 설정
4.1 풀기 및 검사
Carefully remove the jig and included components (instruction booklet, nylon peg set) from the packaging. Inspect all items for any signs of damage. If any components are missing or damaged, contact your retailer immediately.
4.2 Preparing the Work Area
- Ensure your work surface is clean, level, and stable.
- 안전하게 clamp the worktop sections to be joined to prevent any movement during the routing process.
4.3 Positioning the Jig and Pegs
The jig features fixed peg positions for common worktop widths (e.g., 500mm, 600mm, 616mm, 635mm, 700mm). For other widths less than 700mm, use suitably sized shims or spacers to achieve the correct alignment.
- Identify the correct peg holes on the jig for your worktop width and desired joint type (e.g., male or female cut).
- Insert the provided nylon aligning pegs firmly into the designated holes. These pegs ensure precise alignment of the jig with the worktop edge.
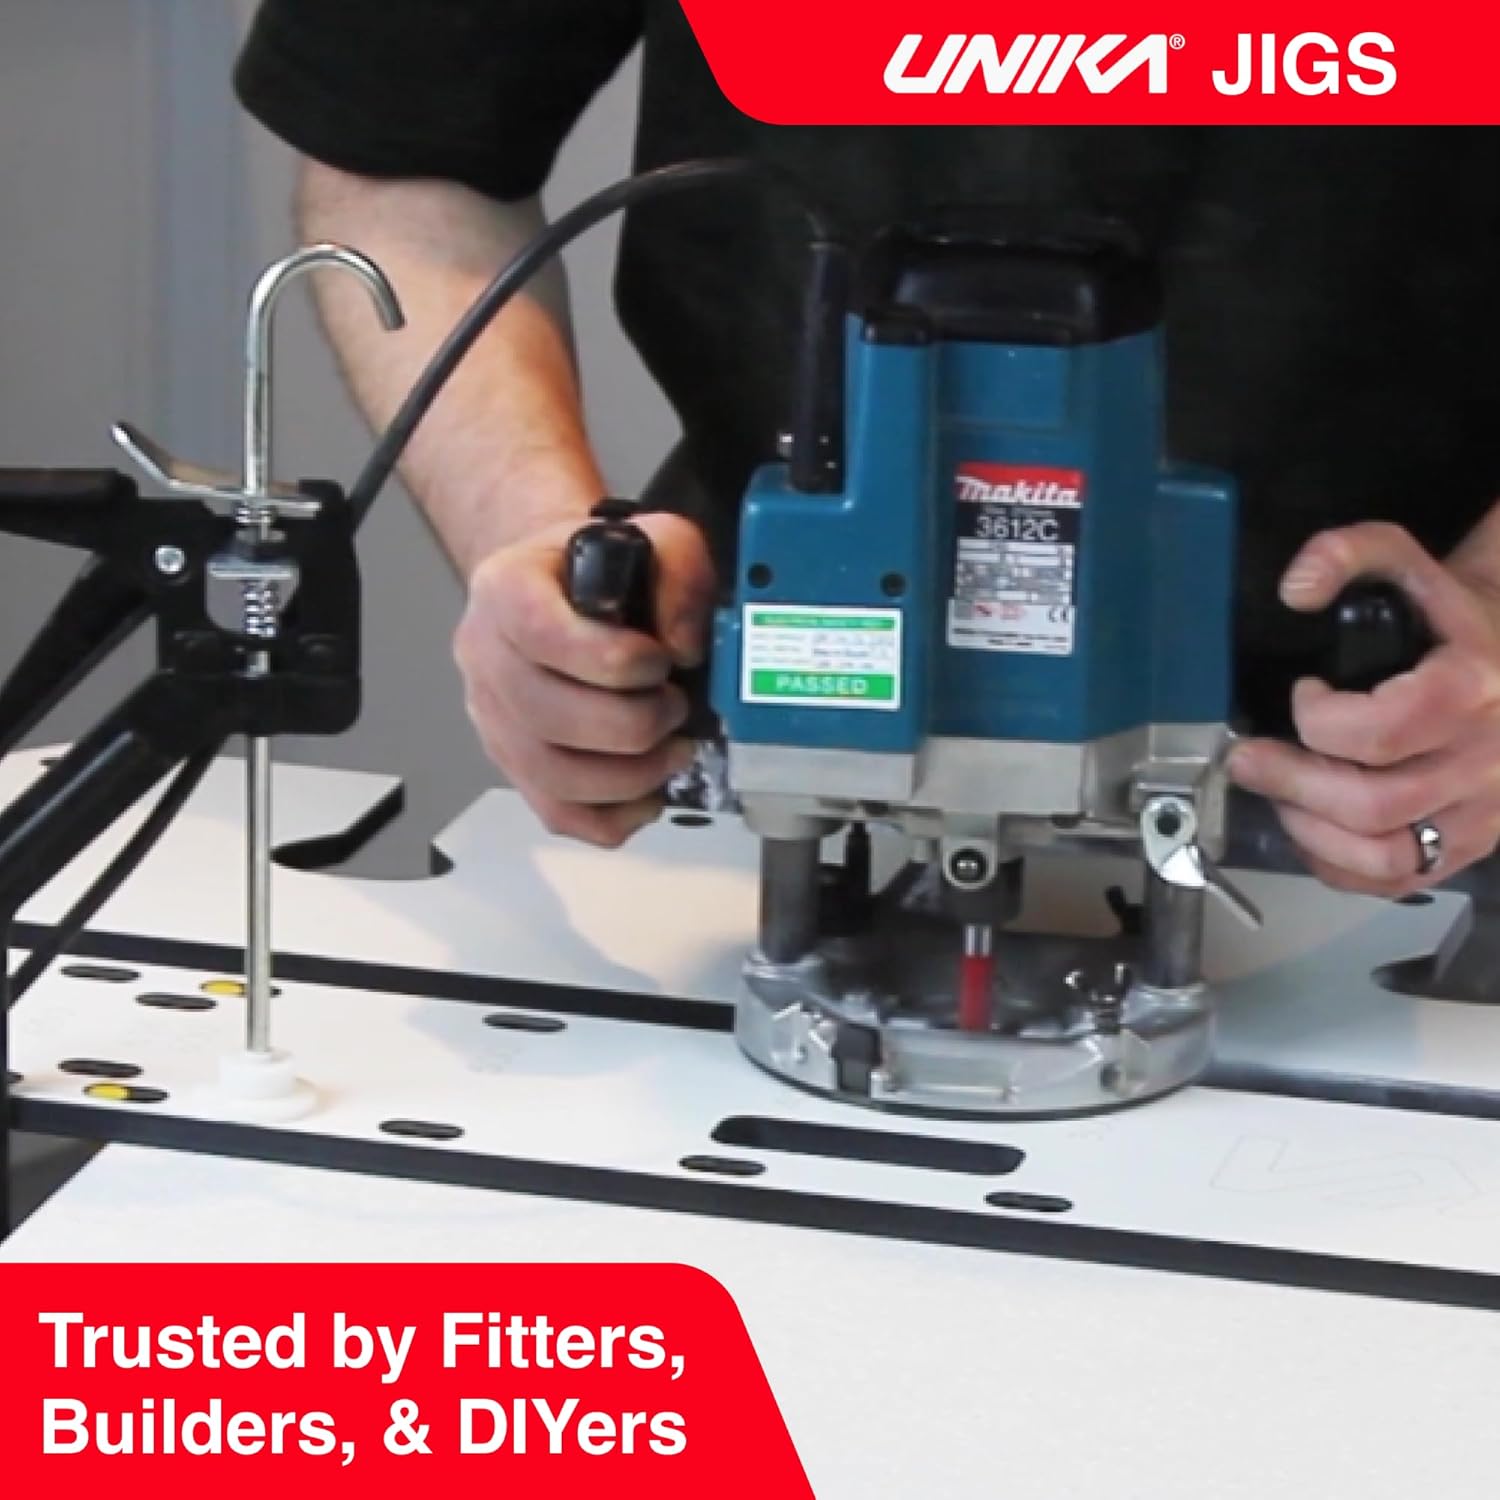
Figure 4.1: Inserting nylon aligning pegs into the jig for precise worktop alignment.
4.4 Router and Cutter Setup
- Ensure your router is equipped with a suitable guide bush and a sharp, appropriate-sized cutter for worktop jointing.
- Adjust the router's depth of cut according to the worktop material and desired joint depth.
5. 사용 설명서
This section details the process for cutting worktop joints using the Unika Multi-Surface Worktop Trade Jig.
5.1 Selecting Inset Depth (10mm or 23mm)
The jig offers two variable inset depths to accommodate different worktop edge profiles:
- 10mm Inset: Recommended for composite, solid wood, and square-edge worktops up to 10mm. This cut requires less router work and produces a neat joint.
- 23mm Inset: Recommended for standard laminate worktops with a radius edge greater than 10mm.
Position the jig to utilize the appropriate inset guide for your worktop type.

Figure 5.1: Illustration of various cut options, including 10mm and 23mm insets, and bolt slot configurations.
5.2 Routing the Joint
- Once the jig is securely clamped and pegs are in place, ensure the router's guide bush is correctly engaged with the jig's cutting channel.
- Start the router and carefully guide it along the designated cutting path. Maintain a consistent feed rate and firm pressure against the jig to ensure a clean and accurate cut.
- Perform multiple shallow passes if necessary, especially with harder materials, to reduce strain on the router and cutter, and to achieve a smoother finish.
- After completing the main joint cut, use the jig's bolt slot cut-outs to route the necessary recesses for worktop connector bolts. There are two rows of bolt slots to accommodate different bolt types (standard 150mm and Unika toggle bolts).

Figure 5.2: A router being used with the Unika jig to cut a worktop joint.
5.3 Finishing the Joint
Once all routing is complete, remove the jig and clean any dust or debris from the worktop edges. Test fit the joint to ensure accuracy before applying any adhesive or tightening connector bolts.
6. 유지관리
Proper maintenance will extend the life and accuracy of your Unika Worktop Trade Jig.
- 청소: After each use, wipe down the jig with a damp cloth to remove dust, wood chips, and any adhesive residue. Avoid harsh chemicals that could damage the laminate material.
- 저장: Store the jig flat in a dry, temperature-controlled environment to prevent warping. Keep it away from direct sunlight or extreme temperature fluctuations.
- 점검: Periodically inspect the jig for any signs of wear, damage, or deformation. Ensure all peg holes are clear and undamaged.
- 못 : Keep the nylon aligning pegs clean and free from damage. Replace them if they become worn or lose their snug fit.
7. 문제 해결
This section addresses common issues that may arise during the use of the worktop jig.
| 문제 | 가능한 원인 | 해결책 |
|---|---|---|
| Inaccurate or uneven cuts | 지그가 제대로 고정되지 않았습니다amped; pegs not fully inserted; dull router bit; inconsistent router feed rate; incorrect guide bush. | Ensure jig and worktop are firmly clamped. Verify pegs are seated correctly. Replace dull router bits. Maintain steady router movement. Check guide bush compatibility and fit. |
| Jig movement during routing | 불충분한 CLamping pressure; worktop not stable. | cl을 증가시키다amping pressure. Ensure worktop is fully supported and stable. |
| Rough cut edges | Dull router bit; too fast feed rate; single deep pass. | Use a sharp router bit. Reduce feed rate. Make multiple shallow passes instead of one deep cut. |
| Router binding or stalling | Too deep cut per pass; dull bit; incorrect router speed for material. | Reduce depth of cut. Replace dull bit. Adjust router speed according to material. |
8. 사양
| 모델 번호 | JIGN277P-AZ |
| 재료 | Compact Laminate (12mm thick) |
| Compatible Worktop Widths | Up to 700mm (fixed peg positions for 500mm, 600mm, 616mm, 635mm, 700mm) |
| Inset Depths | 10mm, 23mm |
| Bolt Slot Compatibility | Standard 150mm worktop connector bolts, Unika toggle bolts |
| 품목 무게 | 15.49파운드 |
| 패키지 크기 | 49.02 x 18.66 x 1.2 인치 |
| 포함된 구성 요소 | Instruction Booklet, JIGN277P Multi Compact Jig, Nylon Peg Set |
9. 보증 및 지원
9.1 보증 정보
Specific warranty details for the Unika Multi-Surface Worktop Trade Jig are provided by the manufacturer, Unika. Please refer to the warranty card included with your product or visit the official Unika website for the most current warranty terms and conditions. Retain your proof of purchase for warranty claims.
9.2 고객 지원
For technical assistance, troubleshooting advice, or inquiries regarding your Unika Worktop Trade Jig, please contact Unika customer support through their official website or the contact information provided in your product packaging. When contacting support, please have your model number (JIGN277P-AZ) and purchase details readily available.


