1. 서론
The Walimex pro Ice Sword 300 Plus is a versatile LED light bar designed for photography and video applications. It provides powerful, continuous daylight-balanced illumination with adjustable brightness. Its robust, splash-proof aluminum housing and integrated battery make it suitable for both studio and outdoor use.
2. 안전 지침
- 방수 기능: The device features a splash-proof housing. It is not designed for submersion in water. Avoid direct exposure to heavy rain or prolonged water contact.
- 배터리 안전: Use only the provided battery and charger. Do not short-circuit, disassemble, or expose the battery to extreme temperatures or fire. Dispose of batteries according to local regulations.
- 전기 안전: Ensure the power adapter is connected to a suitable power source. Do not operate the device with wet hands.
- 눈 보호: Do not look directly into the LED light when it is operating at high brightness, as this may cause eye strain or damage.
- 통풍: 작동 중 기기 주변의 환기를 충분히 확보하여 과열을 방지하십시오.
3. 패키지 내용
패키지에 모든 품목이 들어 있는지 확인하세요.
- 1x Walimex pro LED Ice Sword 300 Plus Light Bar
- 1x Orange Diffuser
- 1x 원격 제어
- 1x Rechargeable Battery (4400 mAh)
- 1x 배터리 충전기
- 1x Transport and Storage Bag
- 1x Instruction Manual (German/English)
4. 제품 오버view
Familiarize yourself with the main components and controls of your Ice Sword 300 Plus LED light bar.

그림 4.1: 제어판
The control panel features a power button, mode button, and up/down buttons for adjusting settings. LED indicators display current brightness levels.
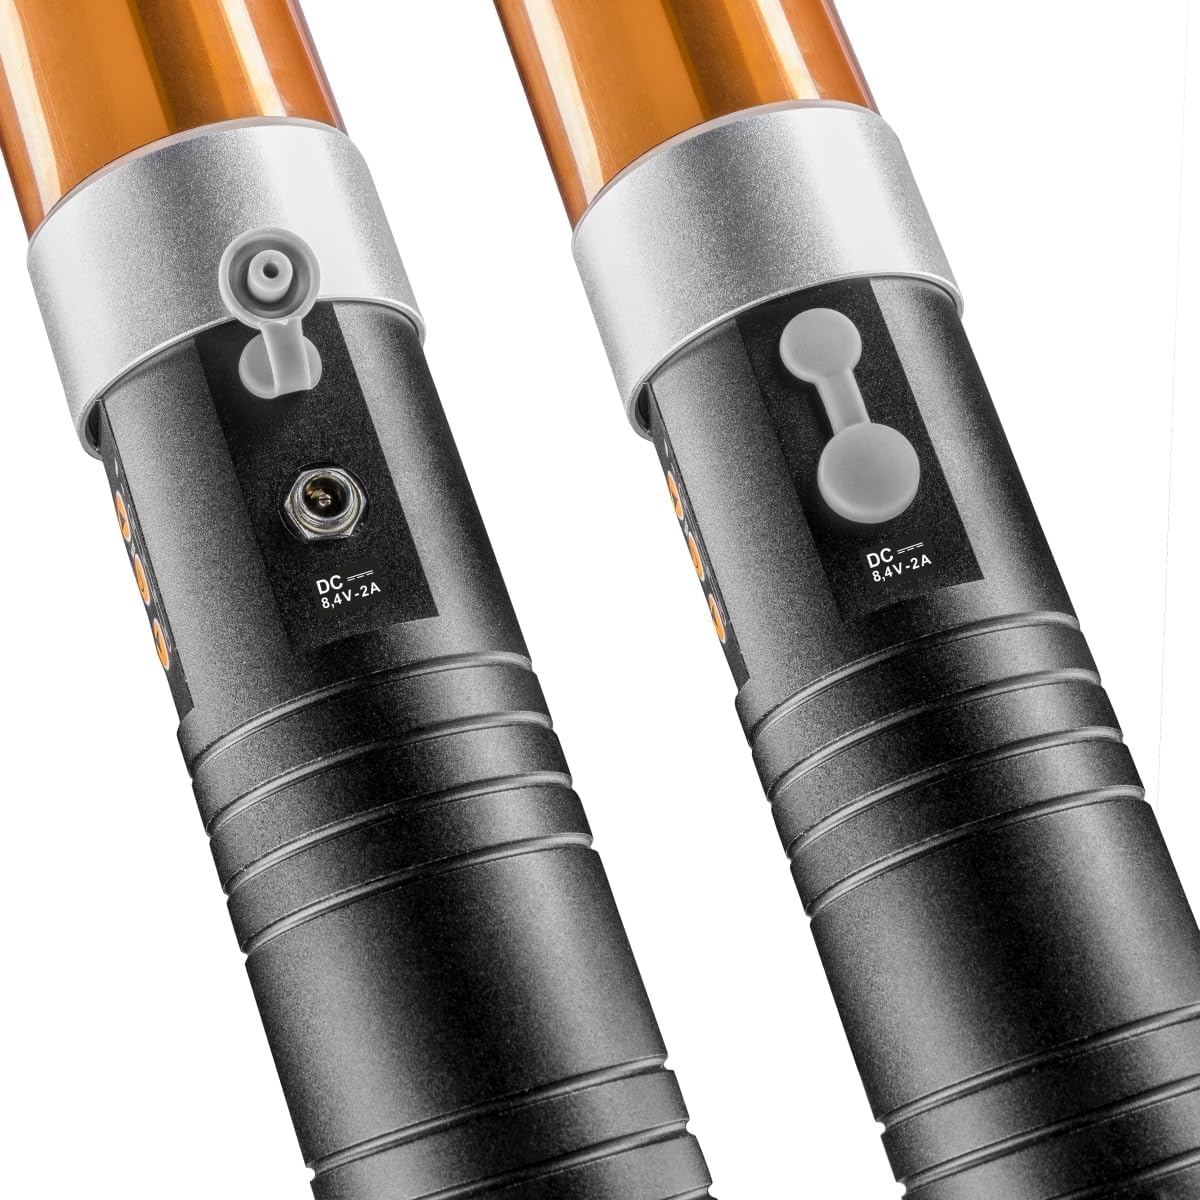
Figure 4.2: DC Charging Port
The DC 8.4V-2A charging port is located on the side of the handle, protected by a rubber cover to maintain splash resistance.
The light bar also includes a 1/4-inch thread at the base of the handle for mounting onto tripods or light stands.
5. 설정
5.1 배터리 설치
배터리를 설치하려면 :
- Unscrew the cap at the bottom of the light bar handle.
- Insert the provided 4400 mAh battery into the compartment, ensuring correct polarity.
- 캡을 다시 단단히 조이십시오.

그림 5.1: 배터리 및 충전기
The image illustrates the removable battery and the included battery charger, essential for powering the device.
5.2 배터리 충전
처음 사용하기 전에 배터리를 완전히 충전하세요.
- 배터리 충전기를 전원 콘센트에 연결합니다.
- Plug the charger cable into the DC charging port on the light bar (refer to Figure 4.2).
- The charging indicator on the charger will show the charging status. Charge until the indicator signals a full charge.
- Alternatively, the light can be operated directly via the power adapter without the battery.
5.3 장착
The Walimex pro Ice Sword 300 Plus can be used handheld or mounted:
- 핸드헬드 사용: 인체공학적 디자인으로 편안한 휴대가 가능합니다.
- 삼각대 장착: Use the 1/4-inch thread located at the bottom of the handle to attach the light bar to a compatible tripod or light stand.
6. 사용 설명서
6.1 전원 켜기/끄기
Press and hold the power button on the control panel (Figure 4.1) to turn the light bar on or off.
6.2 밝기 조정
Once powered on, use the 'Up' and 'Down' arrow buttons on the control panel to adjust the brightness from 0% to 100%. The LED indicators will show the current brightness level.
6.3 색온도 조정
The Ice Sword 300 Plus provides a daylight color temperature of 5600K. To achieve a warmer tone, attach the included orange diffuser over the light tube.
6.4 원격 제어 사용
The included remote control allows for wireless adjustment of the light's brightness. Ensure the remote has fresh batteries and is pointed towards the light bar for optimal signal reception.

그림 6.1: 원격 제어
The light bar can be controlled wirelessly using the dedicated remote control for convenient adjustments.
6.5 휴대용 작동
The light bar is designed for comfortable handheld use, allowing for dynamic lighting effects and precise light placement in various shooting scenarios.

Figure 6.2: Handheld Use
The light bar's design facilitates easy and comfortable handheld operation for flexible lighting.
7. 유지관리
7.1 청소
To clean the light bar, gently wipe the surface with a soft, dry cloth. Do not use abrasive cleaners or solvents, as these may damage the finish or electronic components.
7.2 보관
When not in use, store the Walimex pro Ice Sword 300 Plus in its provided transport and storage bag. Keep it in a cool, dry place away from direct sunlight and extreme temperatures.

그림 7.1: 운반용 가방
The included bag provides protection and convenience for storing and transporting the light bar.
8. 문제 해결
- 표시등이 켜지지 않음:
Ensure the battery is correctly installed and fully charged. Check if the power adapter is properly connected if operating via mains power. - 예상치 못하게 불빛이 깜빡이거나 어두워짐:
The battery may be low. Recharge the battery or connect the light bar to mains power. Check for secure battery connection. - 원격 제어가 작동하지 않음:
Ensure the remote control's battery is functional. Point the remote directly at the light bar's sensor. Remove any obstructions between the remote and the light. - 작동 중 장치가 따뜻하게 느껴집니다.
It is normal for the device to generate some heat during use. Ensure adequate ventilation and do not cover the light bar. If it becomes excessively hot, turn it off and allow it to cool.
9. 사양
| 특징 | 사양 |
|---|---|
| 모델 번호 | 22044 |
| 전력 출력 | 20와트 |
| 밝기 | 2400루멘 |
| 색온도 | 5600 K (Daylight), adjustable with orange diffuser |
| 연색지수(CRI) | ≥90 Ra |
| 밝기 조정 | 0% - 100% stepless |
| 배터리 용량 | 4400mAh (7.4V, 32.5Wh) |
| 치수(길이 x 너비 x 높이) | 56.5 x 5.2 x 5.2cm |
| 무게 | 865g |
| 하우징 소재 | Aluminum, splash-proof |
| 연결성 | 블루투스 |

그림 9.1: 제품 치수
This diagram illustrates the physical measurements of the light bar.
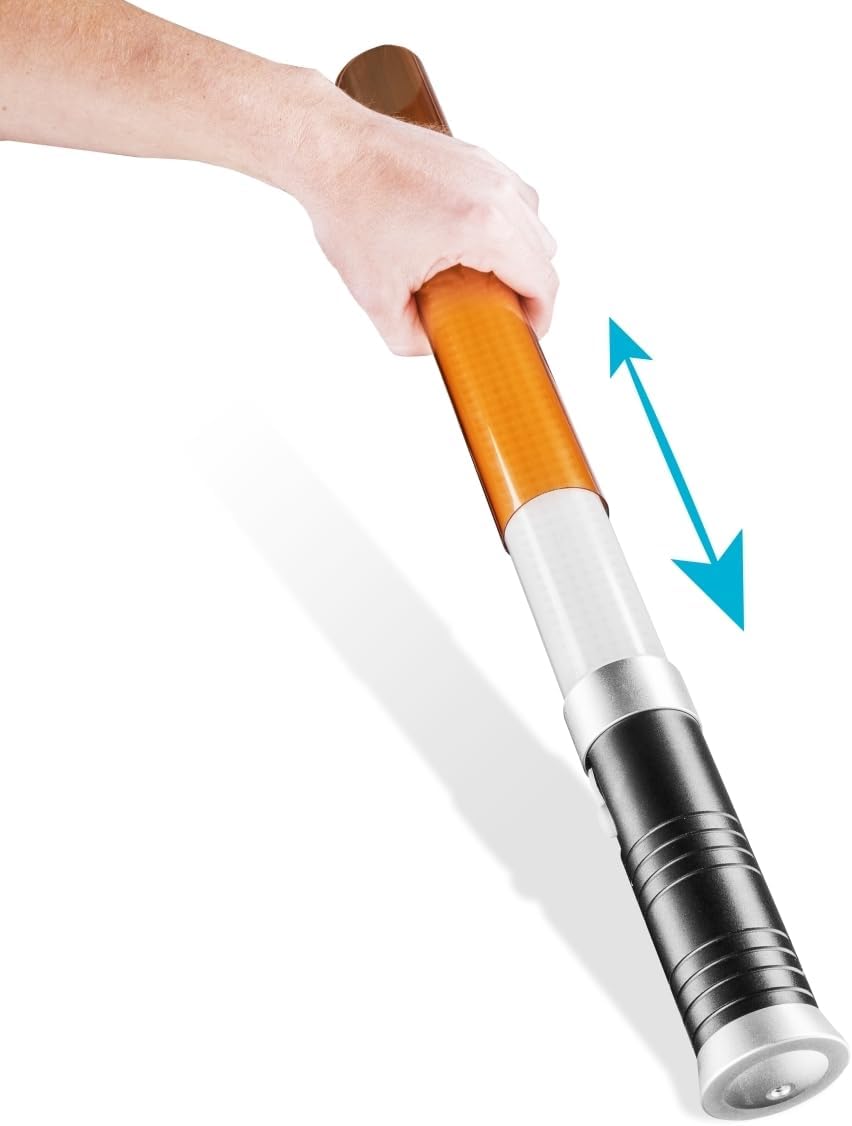
Figure 9.2: Splash-Proof Design
The image demonstrates the light bar's resistance to water splashes, making it suitable for outdoor use.
10. 보증 및 지원
This product comes with a standard manufacturer's warranty. Please refer to the warranty card included in your package or contact your retailer for specific warranty terms and conditions.
For technical support, troubleshooting assistance, or inquiries about replacement parts, please contact Walimex pro customer service or your authorized dealer. Keep your purchase receipt as proof of purchase for any warranty claims.


