1. 서론
This manual provides detailed instructions for the proper use, calibration, and maintenance of your Geko G02662 Freezing Point Refractometer. This precision optical instrument is designed to measure the freezing point of automotive coolants (ethylene glycol and propylene glycol based) and battery fluid condition. Please read this manual thoroughly before operating the device to ensure accurate results and prolong its lifespan.
2. 안전 정보
- Always handle the refractometer with care. Avoid dropping or subjecting it to strong impacts.
- 기기를 물이나 기타 액체에 담그지 마십시오.
- Avoid direct exposure of the prism to strong light sources, as this may damage the optical components.
- When handling automotive fluids, wear appropriate personal protective equipment (e.g., gloves, eye protection) and follow manufacturer safety guidelines for the fluids being tested.
- Keep the instrument out of reach of children.
3. 패키지 내용
패키지에 모든 품목이 들어 있는지 확인하세요.
- Geko G02662 Refractometer
- 피펫
- Mini-screwdriver (for calibration)
- 청소용 천
- 보관 케이스
- 사용 설명서(본 문서)
4. 제품 오버view
Familiarize yourself with the components of the Geko G02662 Refractometer:
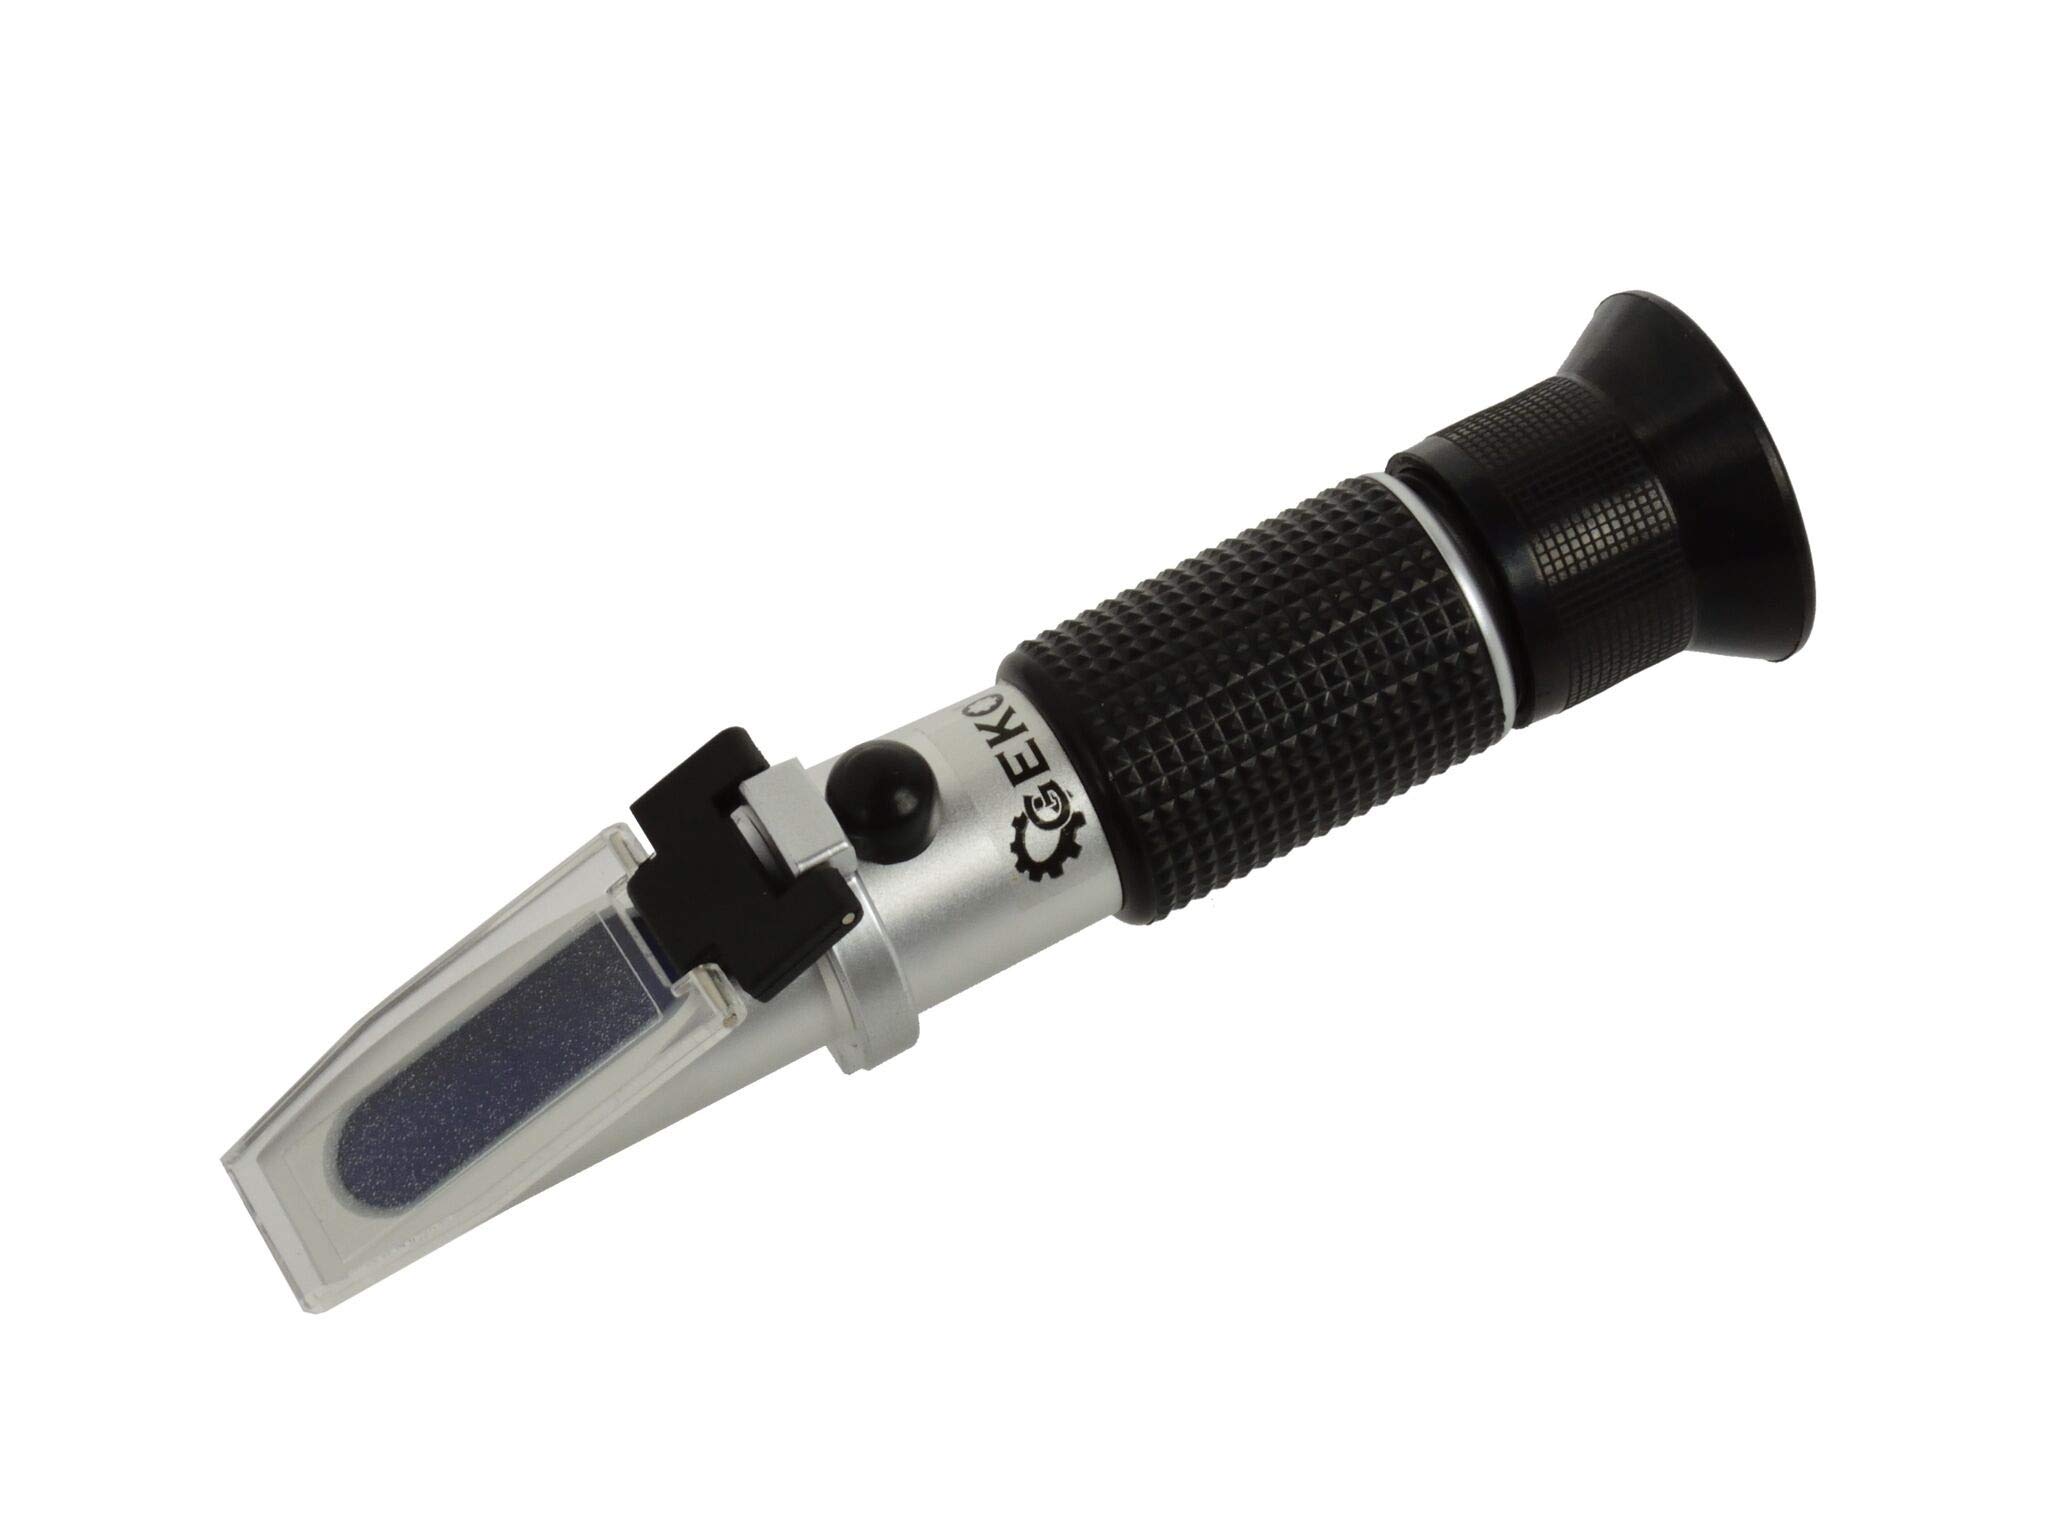
그림 1: 옆 view of the Geko G02662 Refractometer. This image displays the overall structure of the device, including the eyepiece, main body, and prism assembly.

그림 2: Close-up of the prism and cover plate. The sample is applied to the main prism, which is then covered by the transparent plate.

그림 3: View of the eyepiece. The user looks through this end to read the measurement scale.
- 접안 렌즈: ~에 사용됨 view the measurement scale. Rotate to adjust focus.
- 고무 그립: Provides a secure hold.
- 본문: Contains the optical system.
- 교정 나사: Used to adjust the zero point (under a cap).
- 프리즘: The surface where the sample is placed.
- 커버 플레이트: Covers the samp프리즘에 비친 le.
5. 설정
Before first use, or if the focus appears blurry:
- Hold the refractometer towards a light source.
- 접안렌즈를 통해 살펴보세요.
- Rotate the eyepiece (part 1 in Figure 1) until the scale is clear and in sharp focus.
6. 사용 설명서
Follow these steps to take an accurate measurement:
- Clean the Prism: Ensure the prism (part 5) and cover plate (part 6) are clean and dry using the provided cleaning cloth.
- S를 적용하세요amp르 : Open the cover plate. Using the pipette, place 2-3 drops of the liquid to be tested onto the main prism.
- Close Cover Plate: Gently close the cover plate so that the liquid spreads evenly across the entire surface of the prism without air bubbles.
- Wait for Temperature Equalization: Allow approximately 30 seconds for the sample to equalize to the instrument's temperature. This is crucial for accurate readings.
- 측정 읽기: Hold the refractometer towards a light source and look through the eyepiece. The boundary line between the blue and white fields will indicate the measurement on the appropriate scale.
- 사용 후 세척: Immediately after each measurement, clean the prism and cover plate thoroughly with a damp cloth, then dry with the cleaning cloth. Failure to do so can lead to inaccurate readings and damage to the prism.
7. 교정
Calibration should be performed before first use, after cleaning, or if you suspect inaccurate readings. Use distilled water for calibration.
- Ensure the refractometer is at room temperature (20°C / 68°F).
- Clean the prism and cover plate thoroughly.
- Place 2-3 drops of 증류수 onto the prism. Close the cover plate.
- Wait 30 seconds for temperature equalization.
- Look through the eyepiece. The boundary line should align with the 'WATERLINE' or '0' mark on the scale.
- If it does not, use the provided mini-screwdriver to turn the calibration screw (part 4, usually under a small cap) until the boundary line aligns perfectly with the 'WATERLINE' or '0' mark.
- Clean and dry the prism and cover plate.
8. 유지관리 및 관리
- 청소: Always clean the prism and cover plate immediately after use with a soft, damp cloth, then dry with the cleaning cloth. Do not use abrasive materials or solvents.
- 저장: Store the refractometer in its protective case in a dry, cool, and dust-free environment when not in use. Avoid direct sunlight or extreme temperatures.
- 손상을 방지하세요: Do not touch the prism surface with your fingers or any hard objects.
9. 문제 해결
| 문제 | 가능한 원인 | 해결책 |
|---|---|---|
| Blurry scale | Eyepiece out of focus | 접안렌즈를 돌려 초점을 맞추세요. |
| 부정확한 판독 | Instrument not calibrated; Prism dirty; Insufficient sample; Air bubbles in sample; Temperature difference. | Calibrate the instrument; Clean the prism; Apply sufficient sample (2-3 drops); Ensure no air bubbles; Allow sample to equalize temperature. |
| Boundary line not visible | Insufficient light; Sample too dark/opaque. | Point towards a brighter light source; Ensure sample is clear enough for measurement. |
10. 사양
- 모델 번호: 게코 G02662
- 제조업체: Firma Handlowa GEKO
- 패키지 크기: 35 x 35 x 15cm
- 무게: 220g
- 측정 범위: Typically for Ethylene Glycol, Propylene Glycol, and Battery Fluid (specific scales visible through eyepiece).
- 자동 온도 보상(ATC): Yes (for accurate readings regardless of ambient temperature).
11. 보증 및 지원
For warranty information and technical support, please refer to the documentation provided at the point of purchase or contact your retailer. Keep your purchase receipt as proof of purchase.


