1. 서론
This manual provides detailed instructions for the installation, operation, and maintenance of your Zebronics H61 Motherboard. Please read this manual thoroughly before proceeding with installation to ensure proper setup and functionality.
The Zebronics H61 Motherboard is designed to support Intel LGA 1155 socket processors (i7/i5/i3/Pentium/Celeron series) and DDR3 dual-channel memory. It features an Intel H61 chipset, providing a stable and efficient platform for your computing needs.
2. 안전 정보
- 부품을 설치하거나 제거하기 전에 항상 전원 공급 장치를 차단하십시오.
- Handle the motherboard by its edges to avoid electrostatic discharge (ESD) damage. Use an anti-static wrist strap if available.
- 과열을 방지하려면 컴퓨터 케이스 내부가 적절히 환기되도록 하세요.
- 마더보드를 습기나 극한의 온도에 노출시키지 마세요.
- Refer to the component manufacturer's manuals for specific installation instructions for your CPU, RAM, and other peripherals.
3. 패키지 내용
패키지에 모든 품목이 들어 있는지 확인하세요.
- Zebronics H61 Motherboard
- I / O 실드
- SATA 데이터 케이블
- Driver CD (for operating systems that do not automatically install drivers)
- 사용 설명서 (본 문서)
4. 사양
| 특징 | 설명 |
|---|---|
| 모델 | H61 |
| 칩셋 | 인텔 H61 익스프레스 |
| CPU 소켓 | LGA 1155 |
| 호환 프로세서 | Intel i7/i5/i3/Pentium/Celeron processors (2nd and 3rd Generation) |
| 메모리 슬롯 | 2 x DDR3 Dual-channel slots |
| 메모리 지원 | DDR3 1066/1333/1600MHz, up to 16GB |
| 그래픽 인터페이스 | 1 x PCI-Express x16 slot |
| 확장 슬롯 | 1 x PCI Express x1 슬롯 |
| 저장 | 4 x SATA II ports |
| 랜 | Realtek 8106E 10/100 Mbps Ethernet |
| 오디오 | 6-Channel HD Audio Codec onboard (5.1 surround sound support) |
| 후면 I/O 포트 | 1 x HDMI, 1 x VGA, 6 x USB 2.0, 1 x RJ45, 1 x 3-in-1 Audio Jacks (Line-in, Line-out, Mic-in), PS/2 (Keyboard/Mouse) |
| 폼 팩터 | 에이티엑스 |
| 치수 | 25 x 20 x 3cm |
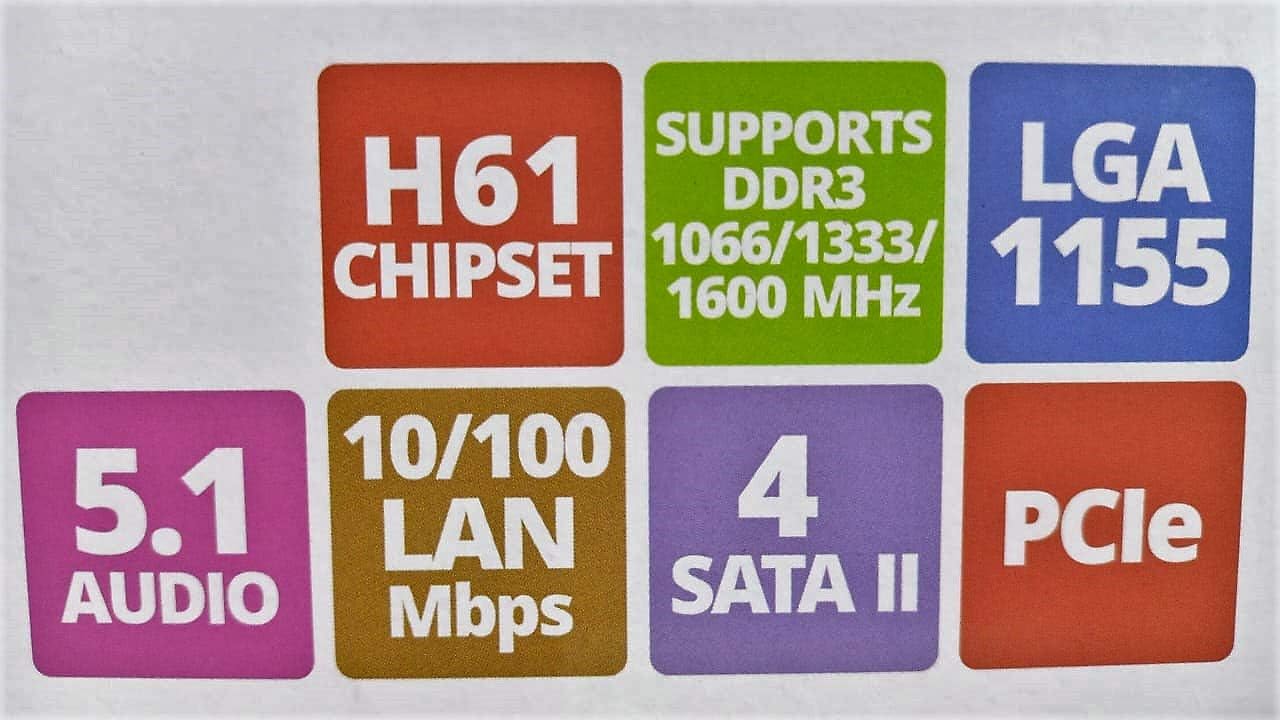
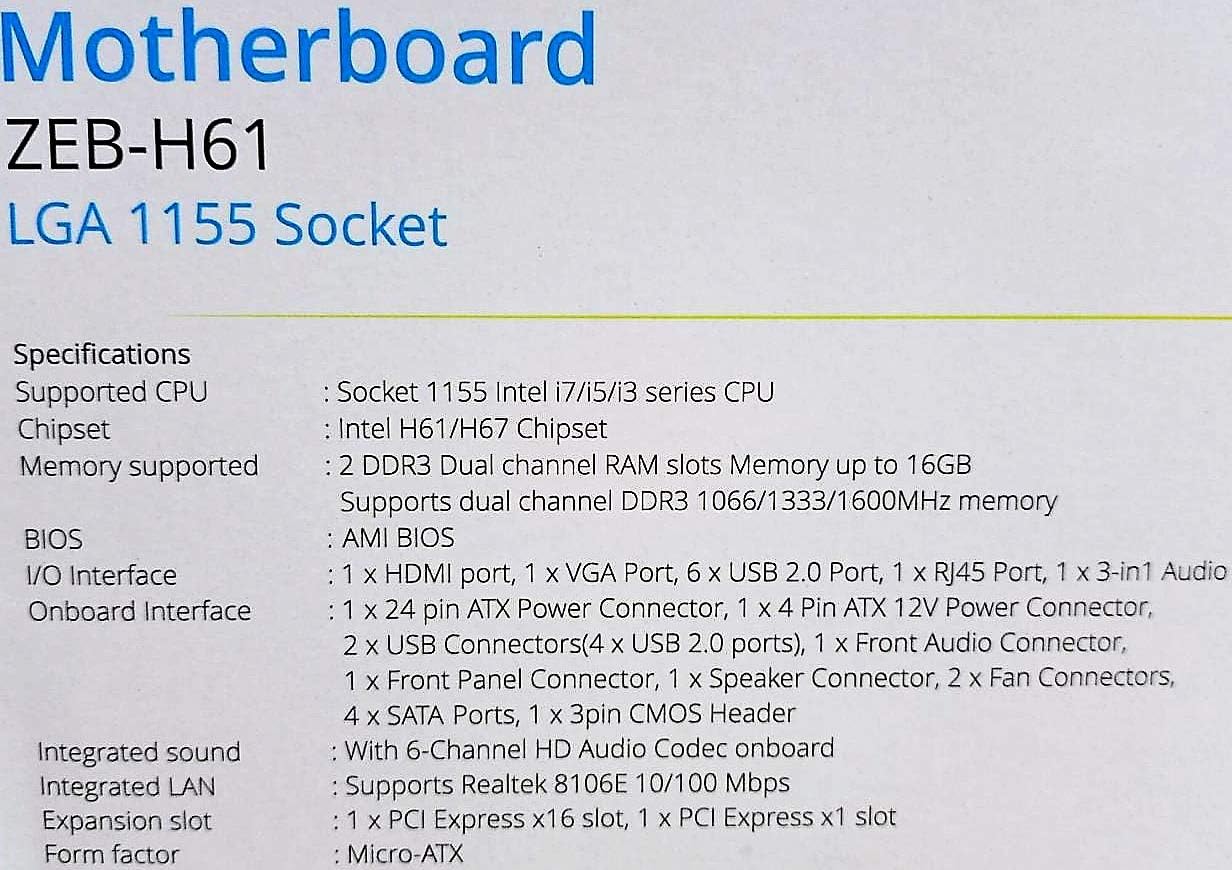
Image: Detailed specifications of the Zebronics H61 Motherboard, including chipset, CPU socket, memory support, and I/O interfaces.

Image: Visual representation of key features such as H61 Chipset, DDR3 support, LGA 1155 socket, 5.1 Audio, 10/100 LAN, 4 SATA II ports, and PCIe.
5. 설정 및 설치
5.1 마더보드 레이아웃

이미지: 위에서 아래로 view of the Zebronics H61 Motherboard, showing the CPU socket, RAM slots, PCIe slot, and various headers.

Image: Another top-down perspective of the Zebronics H61 Motherboard, highlighting component placement.
5.2 후면 I/O 패널

Image: Rear I/O panel of the Zebronics H61 Motherboard, displaying ports for PS/2 keyboard/mouse, VGA, HDMI, USB 2.0, LAN, and audio jacks.
이미지: 더 가까이 view of the rear I/O ports, detailing the VGA, HDMI, USB, LAN, and audio connections.
5.3 구성 요소 설치 단계
- CPU 설치:
- CPU 소켓 레버를 엽니다.
- Carefully align the CPU with the socket, ensuring the golden triangle on the CPU matches the mark on the socket.
- CPU를 억지로 끼우지 말고 조심스럽게 소켓에 넣으세요.
- 레버를 닫아 CPU를 고정합니다.
- 열전도성 페이스트를 바르고 제조업체의 지침에 따라 CPU 쿨러를 설치합니다.
- RAM 설치:
- DDR3 메모리 슬롯 양쪽 끝에 있는 클립을 엽니다.
- 메모리 모듈을 슬롯에 맞춰서 모듈의 홈이 슬롯의 키와 일치하는지 확인합니다.
- 클립이 제자리에 고정될 때까지 메모리 모듈의 양쪽 끝을 단단히 누릅니다.
- 그래픽 카드 설치(선택 사항):
- Locate the PCI-Express x16 slot.
- PC 케이스에서 해당 확장 슬롯 덮개를 제거하세요.
- Align the graphics card with the slot and press down firmly until it is seated correctly.
- 카드를 나사로 PC 케이스에 고정합니다.
- 저장 장치 연결:
- Connect SATA data cables from the motherboard's SATA ports to your hard drives or SSDs.
- Ensure power cables from the power supply are connected to these devices.
- 전원 공급 장치 연결:
- 전원 공급 장치의 24핀 ATX 전원 커넥터를 마더보드에 연결합니다.
- Connect the 4-pin ATX 12V power connector (CPU power) to the motherboard.
- 전면 패널 헤더를 연결하세요:
- Connect the power switch, reset switch, HDD LED, and power LED cables from your PC case to the corresponding pins on the motherboard's front panel header. Refer to the motherboard diagram for pin assignments.
- Connect front USB and audio headers.
6. 사용 설명서
6.1 첫 번째 부팅 및 BIOS 설정
- 모든 구성 요소를 조립한 후 모니터, 키보드, 마우스를 연결하세요.
- 컴퓨터의 전원을 켭니다.
- 지정된 키(일반적으로)를 누르십시오. 델 or F2BIOS/UEFI 설정 유틸리티에 진입하려면 시작 시 반복적으로 해당 명령을 실행하십시오.
- In the BIOS, verify that all installed components (CPU, RAM, storage) are detected correctly.
- USB 드라이브 또는 광학 드라이브에서 운영 체제를 설치하도록 부팅 순서를 구성하십시오.
- 변경 사항을 저장하고 BIOS를 종료하세요. 시스템이 다시 시작됩니다.
6.2 드라이버 설치
After installing your operating system, install the necessary drivers for optimal performance. Drivers can be found on the included driver CD or downloaded from the official Zebronics web대지.
- 칩셋 드라이버
- Graphics Drivers (if using integrated graphics or a dedicated GPU)
- LAN 드라이버
- 오디오 드라이버
- USB 드라이버(해당되는 경우)
7. 유지관리
- 깨끗하게 유지하세요: Regularly clean dust from inside your PC case, especially from fans and heatsinks, to ensure proper airflow and prevent overheating. Use compressed air.
- BIOS 업데이트: Check the Zebronics website periodically for BIOS updates. BIOS updates can improve system stability, compatibility, and performance. Follow update instructions carefully.
- 드라이버 업데이트 : Keep your drivers updated to ensure compatibility and optimal performance with your operating system and applications.
- CMOS 배터리: The motherboard uses a CR2032 battery to retain BIOS settings. If your system frequently loses time or BIOS settings, the battery may need replacement.
8. 문제 해결
- 전원이 켜지지 않음 / 시스템이 부팅되지 않음:
- Ensure all power cables (24-pin ATX, 4-pin ATX 12V) are securely connected to the motherboard.
- Check if the power supply unit (PSU) is switched on and functioning.
- 전면 패널 전원 스위치의 연결 상태를 확인하십시오.
- RAM 모듈과 그래픽 카드를 다시 장착해보세요.
- 모니터에 표시되지 않음:
- Ensure the monitor is connected to the correct video output (either integrated graphics on the motherboard or dedicated graphics card).
- Check monitor power and input selection.
- 그래픽 카드(설치된 경우)와 RAM 모듈을 다시 장착하십시오.
- 시스템 불안정/충돌:
- CPU와 GPU 온도를 확인하세요. 과열은 시스템 불안정을 초래할 수 있습니다.
- Ensure RAM modules are properly seated and compatible. Test with one RAM stick if multiple are installed.
- 드라이버와 BIOS를 최신 버전으로 업데이트하세요.
- 메모리 진단 도구를 실행하여 RAM에 오류가 있는지 확인하십시오.
- CMOS Battery Issue (Loss of Time/Settings):
- If the system loses time or BIOS settings after being powered off, the CMOS battery (CR2032) may need replacement.
- To reset CMOS: Disconnect power, remove the CMOS battery, short the battery socket's positive and negative terminals for 30 seconds, then reinsert the battery.
9. 보증 및 지원
For warranty information and technical support, please refer to the official Zebronics web사이트를 방문하거나 고객 서비스 부서에 문의하세요. 보증 청구를 위해 구매 증빙 자료로 구매 영수증을 보관하세요.
Zebronics Official Web대지: www.zebronics.com


