1. 서론
This manual provides detailed instructions for the installation, operation, and maintenance of your Ecolink Z-Wave Plus Flood and Freeze Sensor. The sensor is designed to detect water leaks and dangerously low temperatures, providing timely alerts to help prevent potential damage to your property. Its compact design allows for flexible placement in high-risk areas such as under sinks, near toilets, behind refrigerators, or in basements.
2. 안전 정보
- 설치 및 사용 전에 모든 지침을 주의 깊게 읽으십시오.
- Do not expose the sensor to extreme temperatures or humidity outside its operating range.
- Use only the specified battery type (CR123A lithium). Incorrect battery usage may cause damage or fire.
- 장치와 구성품을 어린이의 손이 닿지 않는 곳에 보관하세요.
- 현지 규정에 따라 배터리를 폐기하십시오.
3. 패키지 내용
패키지에 모든 품목이 들어 있는지 확인하세요.
- Ecolink Z-Wave Plus Flood and Freeze Sensor (Main Unit)
- Water Probe with 36-inch cable
- 1x CR123A Lithium Battery
- Mounting Hardware (screws/adhesive)
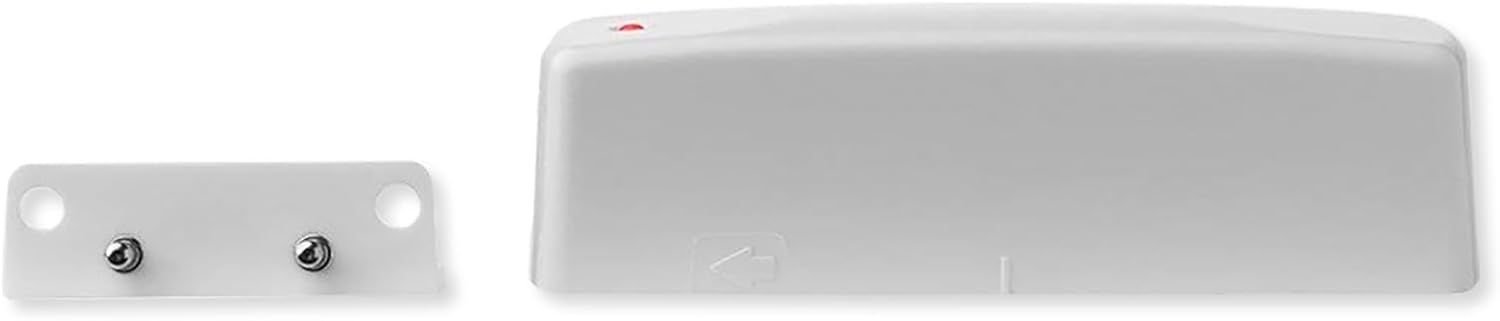
4. 제품 오버view


5. 설정
5.1. 배터리 설치
- Open the battery compartment on the main sensor unit.
- Insert the provided CR123A lithium battery, ensuring correct polarity.
- Close the battery compartment securely. The sensor is designed for a long battery life, typically up to five years.
5.2. Z-Wave 통합(페어링)
To integrate the sensor with your Z-Wave network:
- Put your Z-Wave controller/hub into inclusion (pairing) mode. Refer to your controller's manual for specific instructions.
- With the battery installed, the sensor will automatically attempt to pair. If it doesn't, you may need to briefly remove and reinsert the battery.
- Confirm that your Z-Wave controller recognizes the sensor. The sensor's LED indicator may flash to confirm successful inclusion.
5.3. Z-Wave 제외(페어링 해제)
To remove the sensor from your Z-Wave network:
- Put your Z-Wave controller/hub into exclusion (unpairing) mode.
- Briefly remove and reinsert the battery into the sensor.
- Confirm that your Z-Wave controller indicates successful exclusion.
5.4. 센서 배치
Strategic placement is key for effective monitoring:
- Place the water probe directly on the floor in areas prone to leaks, such as under sinks, behind toilets, near water heaters, washing machines, or dishwashers.
- The 36-inch probe cable allows the main unit to be mounted in a more accessible location (e.g., on a wall or cabinet side) while the probe remains at floor level.
- Ensure the two metal contacts on the water probe are facing downwards and can make direct contact with any pooling water.
- For freeze detection, place the main unit in an area where temperature monitoring is critical, such as an attic, basement, or utility room.
6. 사용 설명서
6.1. Flood Detection
When water bridges the two metal contacts on the water probe, the sensor will detect a flood condition. It will then send an alert to your Z-Wave controller, which can trigger notifications (e.g., text messages, app alerts) or automated actions (e.g., shutting off a water valve, turning on lights).
6.2. Freeze Detection
The sensor continuously monitors the ambient temperature. If the temperature drops to 41℉ (5℃) or below, the sensor will send a freeze alert to your Z-Wave controller. This can be used to notify you of potential pipe freezing conditions or to activate smart thermostats to increase heating.
6.3. LED 표시등
The LED indicator on the main unit provides visual feedback during operation and pairing. A brief flash typically indicates successful communication or a change in status (e.g., flood detected).
7. 유지관리
7.1. 배터리 교체
When the battery level is low, the sensor will report this status to your Z-Wave controller. Replace the CR123A lithium battery as described in Section 5.1. Ensure proper disposal of the old battery.
7.2. 청소
Periodically inspect the water probe for any debris or corrosion on the metal contacts. Clean with a soft, dry cloth if necessary. Do not use abrasive cleaners or immerse the main unit in water.
8. 문제 해결
- 센서가 페어링되지 않음: Ensure your Z-Wave controller is in inclusion mode. Try removing and reinserting the battery. Ensure the sensor is within range of your Z-Wave network.
- 알림 없음: Verify the sensor is successfully paired with your Z-Wave controller. Check the battery level. Ensure your Z-Wave controller's automation rules for flood/freeze alerts are correctly configured.
- 오경보: Ensure the water probe contacts are clean and dry. Reposition the probe if it is inadvertently coming into contact with moisture.
- 짧은 배터리 수명: While designed for long battery life, frequent Z-Wave communication (e.g., due to poor network signal requiring retries) can reduce battery life. Ensure a strong Z-Wave mesh network.
9. 사양
| 특징 | 사양 |
|---|---|
| 모델 번호 | FLF-ZWAVE5-ECO |
| 전원 | 1x CR123A Lithium Battery (3 Volts) |
| 배터리 수명 | 최대 5년 (일반적) |
| Flood Detection | Water Probe with 36-inch cable |
| Freeze Detection Threshold | 41화씨(5℃) |
| 무선 프로토콜 | Z-Wave Plus |
| 제품 치수 | 4.13인치(길이) x 1.65인치(폭) x 3.22인치(높이) (본체) |
| 품목 무게 | 2.24 온스 |
| 장착 유형 | Wall Mount (for main unit) |
| 한국어: | 851166005091 |
10. 보증 정보
The Ecolink Z-Wave Plus Flood and Freeze Sensor comes with a 2-year limited warranty from the date of purchase. This warranty covers defects in materials and workmanship under normal use. It does not cover damage caused by misuse, accident, unauthorized modification, or improper installation. For warranty claims, please retain your proof of purchase and contact customer support.
11. 지원
For technical assistance, troubleshooting, or further information regarding your Ecolink Z-Wave Plus Flood and Freeze Sensor, please visit the official Ecolink web해당 웹사이트를 방문하거나 고객 지원 부서에 문의하십시오. 연락처 정보는 일반적으로 제품 포장이나 제조업체의 안내문에 나와 있습니다. web대지.


