1. 서론
This manual provides detailed instructions for the installation, operation, maintenance, and troubleshooting of the Hikvision DS-9632NI-I8 32-Channel 4K Network Video Recorder (NVR). Please read this manual thoroughly before using the product to ensure proper and safe operation. Keep this manual for future reference.
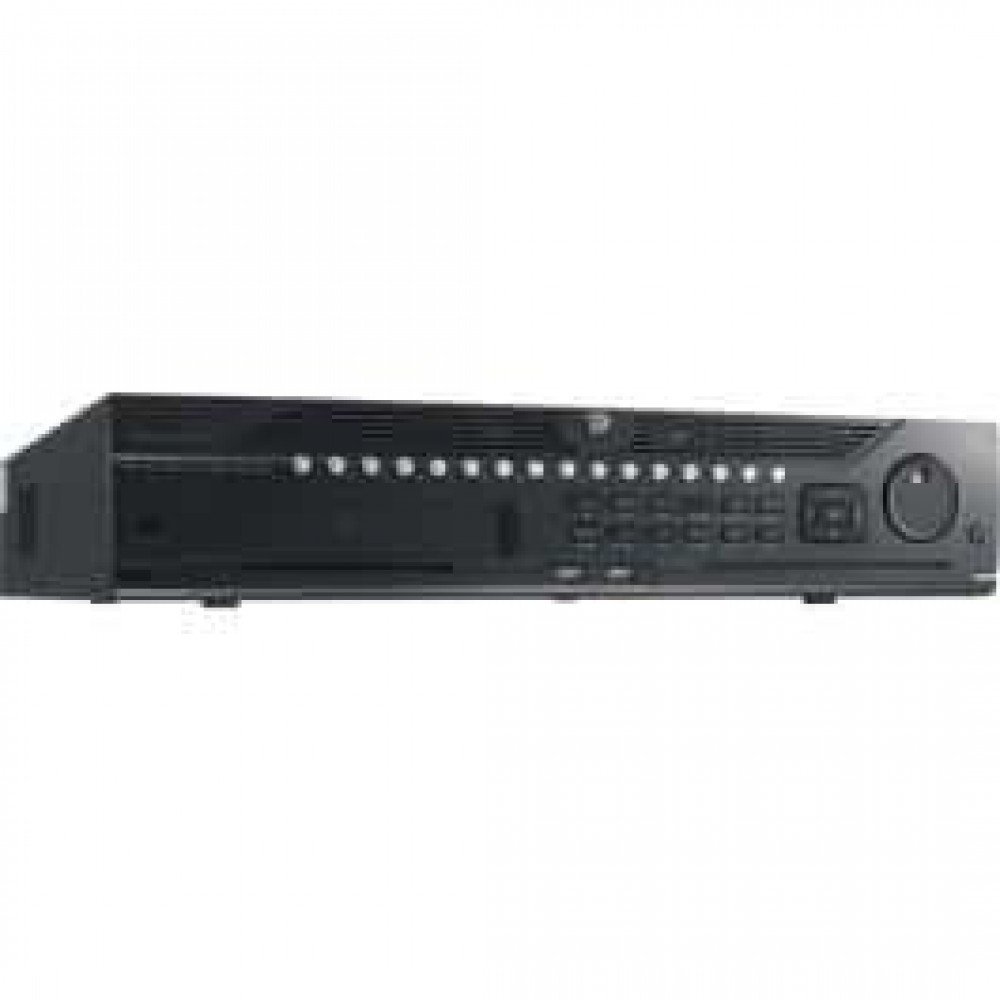
그림 1: 전면 view of the Hikvision DS-9632NI-I8 NVR, showing its robust chassis and various interface ports.
2. 안전 정보
Always follow basic safety precautions to reduce the risk of fire, electric shock, and injury to persons. This includes, but is not limited to:
- Use only the power adapter specified by the manufacturer.
- 과열을 방지하려면 적절한 환기를 유지하세요.
- NVR을 물이나 습기에 노출시키지 마십시오.
- Avoid placing the NVR near heat sources or in direct sunlight.
- 모든 서비스는 자격을 갖춘 서비스 담당자에게 의뢰하세요.
3. 패키지 내용
Verify that all items are present and in good condition. If any item is missing or damaged, contact your dealer immediately.
- Hikvision DS-9632NI-I8 NVR Unit
- 전원 어댑터/케이블
- USB 마우스
- HDD 설치용 나사
- 빠른 시작 가이드
- CD-ROM (소프트웨어 및 전체 설명서 포함)
4. 설정
4.1 하드웨어 설치
- Prepare Hard Disk Drives (HDDs): The DS-9632NI-I8 supports up to 8 SATA HDDs. Install HDDs into the NVR chassis using the provided screws. Ensure each HDD is securely mounted.
- 주변기기 연결:
- 모니터를 HDMI 또는 VGA 출력 포트에 연결합니다.
- Connect the included USB mouse to a USB port.
- 이더넷 케이블을 사용하여 NVR을 네트워크에 연결합니다.
- 전원 켜기: Connect the power adapter to the NVR and then to a power outlet. Press the power button on the front panel.
4.2 초기 구성
NVR은 처음 부팅 시 초기 설정 마법사를 통해 사용자를 안내합니다.
- 관리자 비밀번호 설정: Create a strong password for the 'admin' user.
- 네트워크 설정: Configure network parameters (DHCP or Static IP). Ensure the NVR is accessible on your local network.
- 날짜 및 시간: 날짜, 시간 및 시간대를 올바르게 설정하십시오.
- 하드디스크 초기화: The NVR will prompt you to initialize the installed HDDs. This process will format the drives for recording.
- Add IP Cameras: Use the wizard to search for and add compatible Hikvision IP cameras to the NVR.
5. 사용 설명서
5.1 라이브 View
로그인 후 NVR에 라이브가 표시됩니다. view interface, showing feeds from connected cameras. You can switch between different camera view레이아웃 및 레이아웃.
- 단일 카메라 View: Double-click a camera window to view 전체 화면으로 보세요.
- 레이아웃 선택: Use the layout icons at the bottom of the screen to choose different grid arrangements (e.g., 4-channel, 9-channel).
5.2 녹화 관리
The NVR supports continuous, scheduled, and event-triggered recording.
- Configure Recording Schedule: 로 이동 구성 > 저장소 > 일정 설정 to define recording times for each camera.
- 수동 녹음: 라이브에서 녹화 아이콘을 클릭하세요 view 수동 녹화를 시작/중지하는 인터페이스입니다.
5.3 재생
다시view 기록된 footage:
- 로 이동 재생 메뉴.
- 원하는 카메라와 날짜/시간 범위를 선택하세요.
- 타임라인을 사용하여 녹음 내용을 탐색하세요.
- Playback controls (play, pause, fast forward, rewind) are available.
5.4 원격 접속
NVR은 다음을 통해 원격으로 액세스할 수 있습니다. web browser or Hik-Connect mobile app.
- Web 브라우저: NVR의 IP 주소를 입력하세요 web 브라우저.
- 하이크커넥트: Hik-Connect 앱을 다운로드하고 계정을 등록한 후 QR 코드를 스캔하거나 일련 번호를 입력하여 NVR을 추가하세요.
6. 유지관리
6.1 펌웨어 업데이트
Regularly check for and install firmware updates to ensure optimal performance and security. Firmware can be downloaded from the official Hikvision web대지.
- 로 이동 Configuration > System > Maintenance > Upgrade.
- Follow the on-screen instructions to perform the upgrade. Do not power off the NVR during the update process.
6.2 하드 드라이브 관리
Monitor the health of your HDDs and manage storage space.
- HDD Status: Check HDD status in Configuration > Storage > HDD Management.
- 덮어쓰기 모드: Configure the NVR to overwrite old recordings when storage is full (default behavior).
6.3 청소
Keep the NVR clean to prevent dust buildup, which can affect performance and lifespan.
- Power off and unplug the NVR before cleaning.
- 부드럽고 마른 천으로 외부를 닦으세요.
- 압축 공기를 사용하여 환기구의 먼지를 제거하십시오.
7. 문제 해결
| 문제 | 가능한 원인 | 해결책 |
|---|---|---|
| 모니터에 비디오 출력이 없습니다. | 케이블 연결이 헐거워졌거나, 모니터의 입력 소스가 잘못되었거나, NVR 전원이 켜져 있지 않을 수 있습니다. | HDMI/VGA 케이블 연결 상태를 확인하십시오. 모니터 입력 설정이 올바른지 확인하십시오. NVR 전원이 켜져 있는지 확인하십시오. |
| 원격으로 NVR에 접속할 수 없습니다. | Network configuration issues, firewall blocking, incorrect port forwarding. | Verify NVR network settings. Check router firewall and port forwarding rules. Ensure Hik-Connect is properly configured. |
| 카메라가 녹화 중이 아닙니다. | HDD가 초기화되지 않았고, 녹화 일정이 설정되지 않았으며, HDD가 가득 찼습니다. | Initialize HDDs. Configure recording schedule. Check HDD status and capacity. |
| 관리자 비밀번호를 잊어버렸습니다. | 비밀번호를 잊어버렸습니다. | Refer to the full manual or Hikvision support for password reset procedures. This often involves a security code or a physical reset button. |
8. 사양
| 특징 | 세부 사항 |
|---|---|
| 모델 | DS-9632NI-I8 |
| 비디오 입력 | 32-Channel IP Video Input |
| 비디오 출력 | HDMI (up to 4K), VGA |
| 디코딩 형식 | H.265 + / H.265 / H.264 + / H.264 |
| 오디오 입력/출력 | 1-ch, RCA (2.0 Vp-p, 1 kΩ) / 2-ch, RCA (Linear, 1 kΩ) |
| SATA | 8 SATA interfaces for 8 HDDs |
| 용량 | Up to 10 TB for each HDD (example, actual capacity may vary) |
| 네트워크 인터페이스 | 2 RJ-45 10M/100M/1000M self-adaptive Ethernet interfaces |
| USB 인터페이스 | Front panel: 2 × USB 2.0; Rear panel: 1 × USB 3.0 |
| 치수(폭 × 깊이 × 높이) | 23 x 22 x 8 인치(대략) |
| 전원 공급 장치 | 100~240VAC, 50~60Hz |
9. 보증 및 지원
9.1 제한 보증
Hikvision products are covered by a limited warranty. The specific terms and duration of the warranty may vary by region and product type. Please refer to the official Hikvision web자세한 보증 정보는 웹사이트 또는 구매 서류를 참조하십시오.
- 보증 청구를 위해 구매 증빙 자료를 보관하십시오.
- 무단 수리 또는 개조는 보증을 무효화할 수 있습니다.
9.2 기술 지원
For technical assistance, product inquiries, or service requests, please contact Hikvision support through the following channels:
- 공식적인 Web대지: 방문하다 www.hikvision.com 지원 리소스, FAQ 및 연락처 정보를 확인하세요.
- 고객 서비스: Refer to the contact details provided on the Hikvision web귀하의 특정 지역에 맞는 사이트입니다.
- 공인 딜러: Your authorized Hikvision dealer can also provide support and service.


