1. 제품 오버view
The Lutron Maestro MS-OPS6M2N-DV-WH is an advanced occupancy/vacancy sensor switch designed to automatically control lighting in a room. This device utilizes passive infrared (PIR) technology to detect human motion and presence, ensuring lights are only on when needed. It combines the functionality of a standard light switch with an integrated motion sensor, offering convenience and energy savings.
주요 특징:
- Passive infrared motion detection with Lutron XCT technology for fine motion sensing.
- 180-degree sensor field-of-view for comprehensive room coverage.
- 설치를 위해서는 중성선이 필요합니다.
- Occupancy version supports both auto-on/auto-off and manual-on/auto-off modes.
- Vacancy version is available to comply with CA Title 24 requirements.
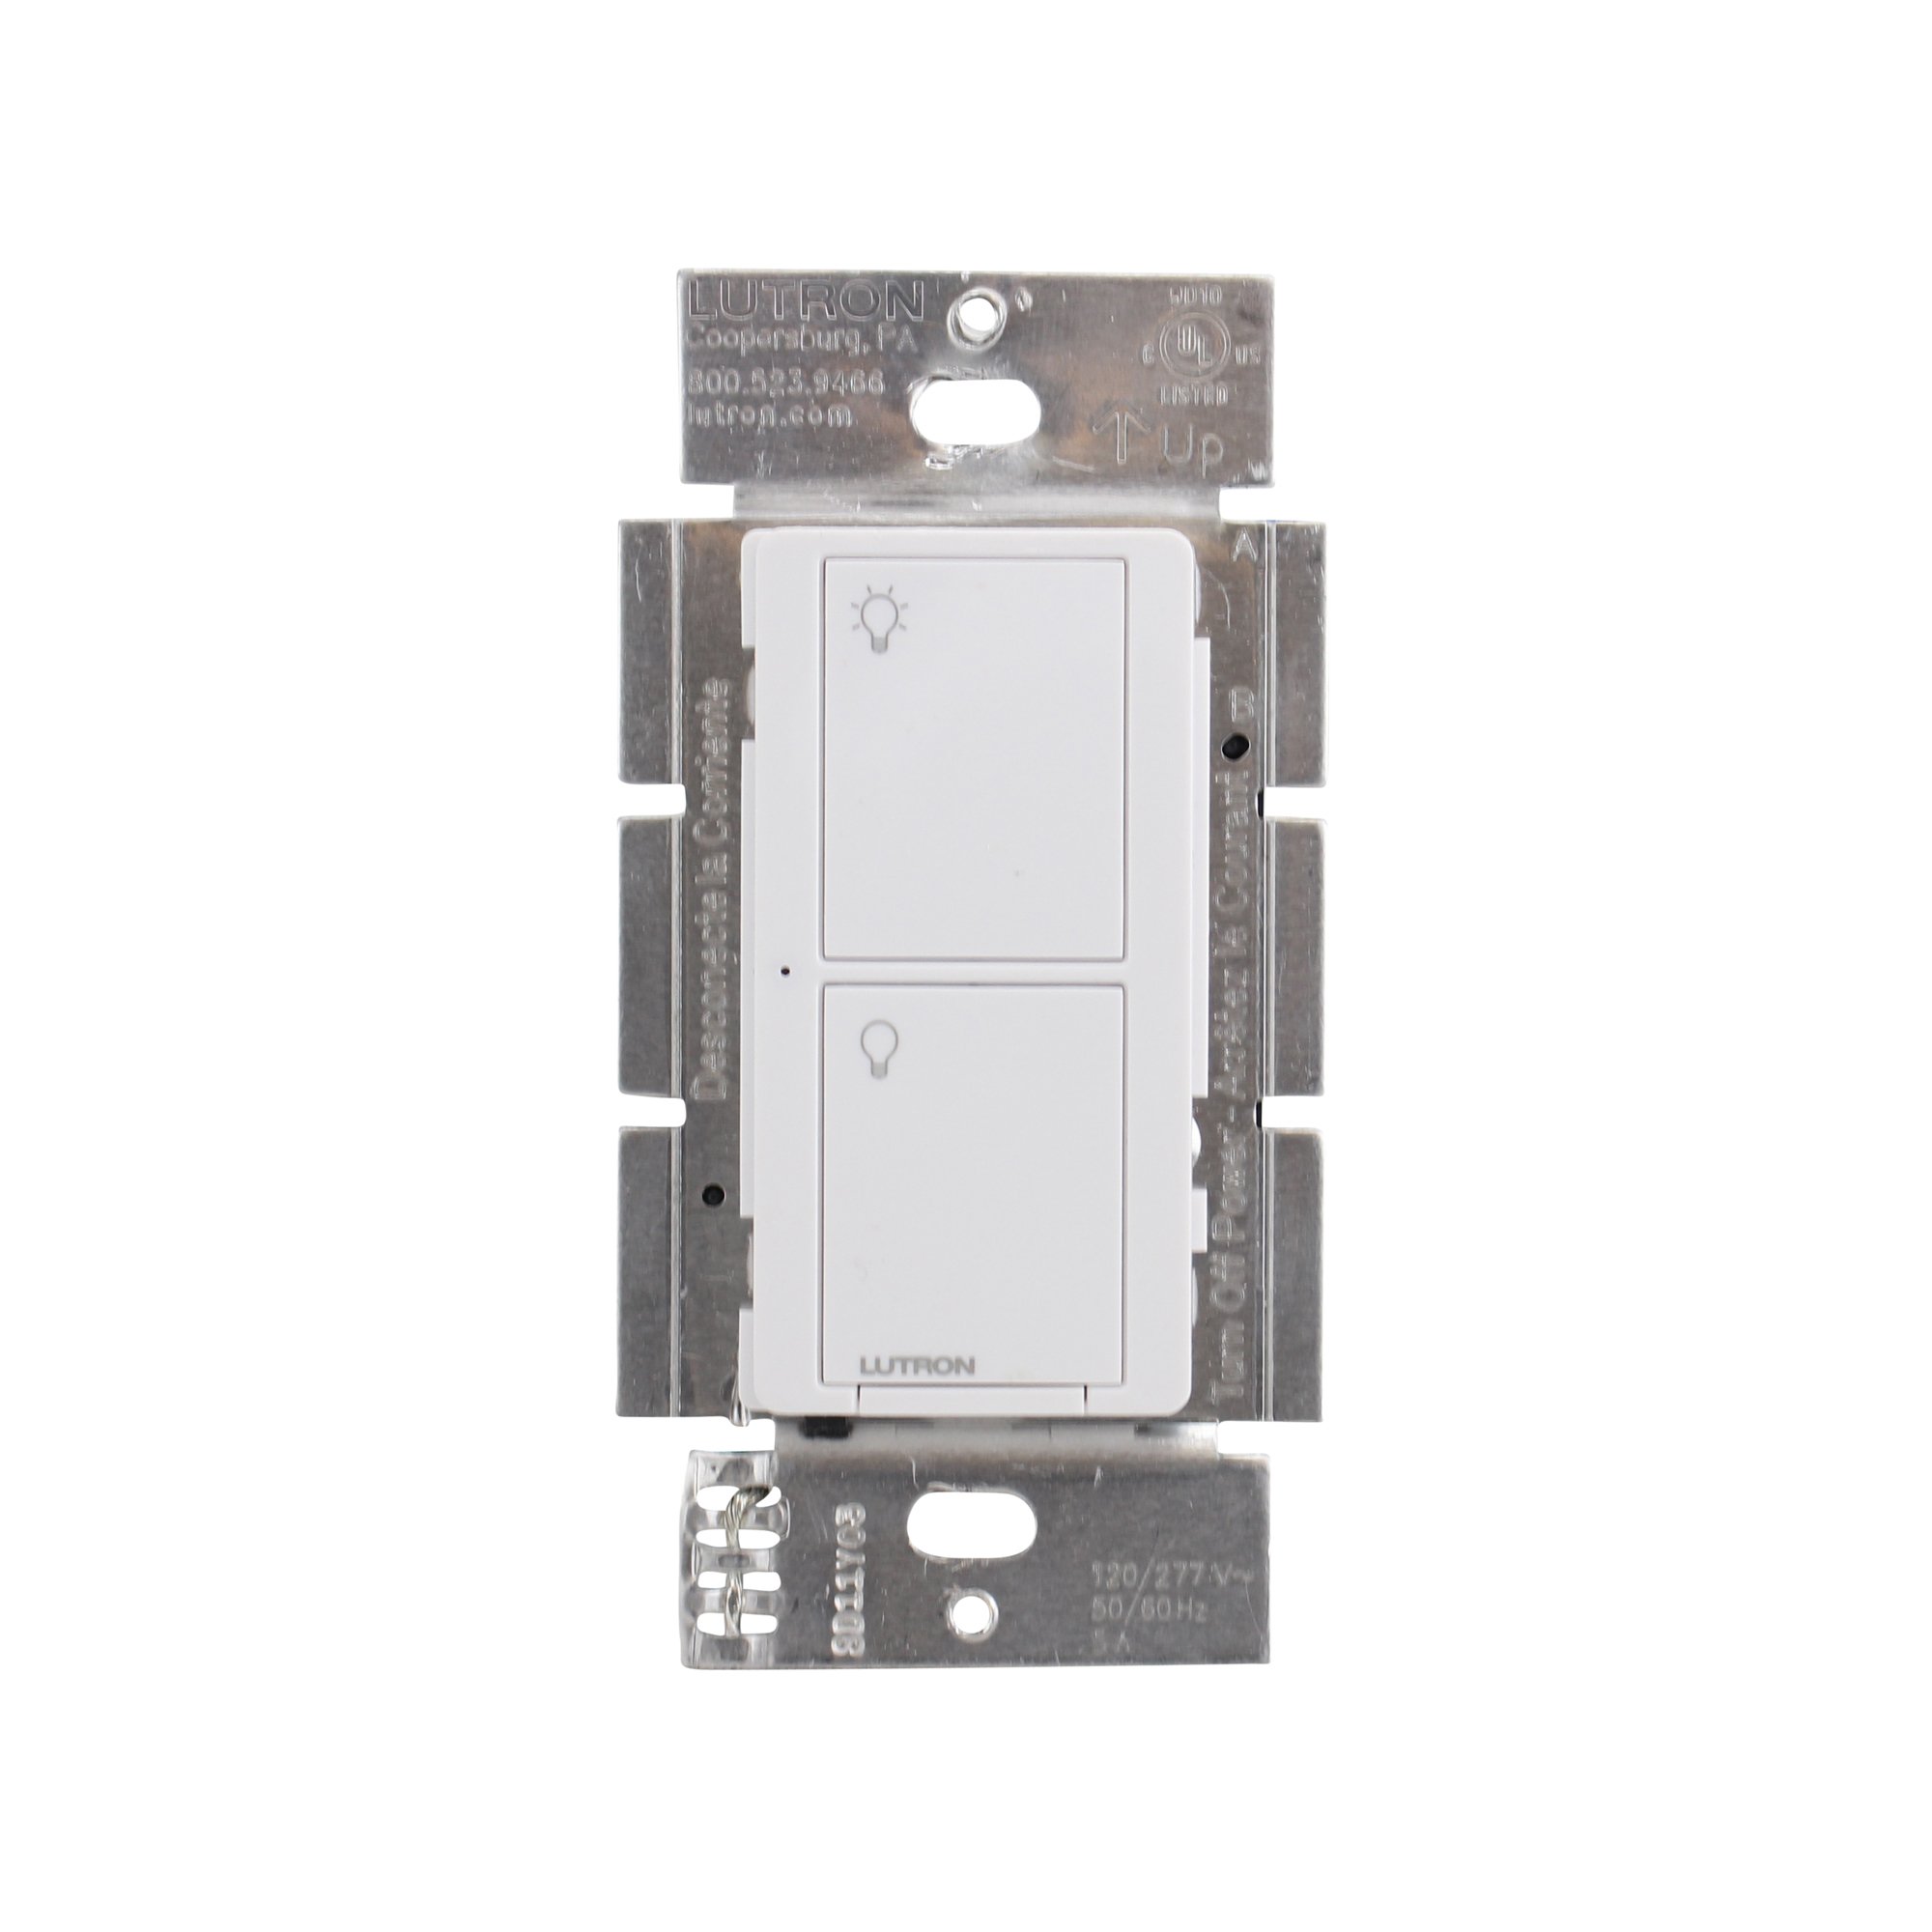
그림 1: 전면 view of the Lutron Maestro MS-OPS6M2N-DV-WH sensor switch.
2. 설정 및 설치
중요한 안전 정보: Before beginning installation, turn off power at the circuit breaker or fuse box. Incorrect installation can lead to electrical shock or fire. If you are unsure about any part of these instructions, consult a qualified electrician.
필요한 도구: Screwdriver (Phillips and flathead), wire strippers, electrical tape.
2.1 배선 지침
- 전원 끄기: 교체할 스위치를 제어하는 회로 차단기를 찾아 끄십시오. 전압계를 사용하여 전원이 꺼졌는지 확인하십시오.tag전자 테스터.
- 기존 스위치 제거: 벽면 플레이트를 조심스럽게 제거하고 기존 스위치를 벽면 박스에서 나사를 풀어 분리합니다. 기존 스위치에서 전선을 분리합니다.
- 전선 식별:
- 핫(라인) 와이어: 일반적으로 검은색이며 회로 차단기에서 전원을 공급합니다.
- 부하 와이어: Typically black, connects to the light fixture.
- 중성선: Typically white, required for this switch.
- 접지선: 일반적으로 맨 구리색이나 녹색입니다.
Note: If you are replacing a 3-way switch, you will also have traveler wires. This model supports 3-way circuits. Refer to the detailed wiring diagram for 3-way installations.
- Connect Wires to Maestro Switch:
- 연결하다 접지선 from the wall box to the green ground wire on the Maestro switch.
- 연결하다 중성선 from the wall box to the white neutral wire on the Maestro switch.
- 연결하다 hot (line) wire 그리고 부하선 from the wall box to the two black wires on the Maestro switch. If the light does not function correctly, swap these two black wires.
- For 3-way applications, connect the traveler wires as per the specific 3-way wiring diagram provided with the product packaging.
- 보안 스위치: Carefully push the wired switch into the wall box, ensuring wires are not pinched. Screw the switch into place.
- 벽면 플레이트 설치: Attach the decorative wall plate.
- 복원력 : 회로 차단기에서 전원을 다시 켜세요.

그림 2: 예ample wiring diagram for a single-pole installation. Consult the included manual for 3-way wiring.
3. 사용 설명서
The Maestro sensor switch offers flexible operation modes to suit various needs.
3.1가지 작동 모드
- Occupancy Mode (Auto-On/Auto-Off): In this mode, the lights automatically turn ON when motion is detected and automatically turn OFF after a set time delay when no motion is detected. This is ideal for high-traffic areas where hands-free operation is desired.
- Vacancy Mode (Manual-On/Auto-Off): In this mode, the lights must be manually turned ON by pressing the switch button. They will then automatically turn OFF after a set time delay when no motion is detected. This mode is often used to meet energy codes and provides more control over when lights are initially activated.
3.2 설정 조정
The Maestro sensor switch typically has small buttons or dip switches behind the wall plate for adjusting settings such as:
- 시간 지연: How long the lights remain on after the last detected motion (e.g., 1, 5, 15, 30 minutes).
- 감광도: The level of motion required to trigger the sensor.
- 작동 모드: Switching between Occupancy (Auto-On) and Vacancy (Manual-On) modes.
Refer to the detailed instructions included with your product for specific steps on how to access and adjust these settings.
4. 유지관리
The Lutron Maestro sensor switch requires minimal maintenance to ensure optimal performance.
- 청소: 스위치 표면을 청소하려면 부드러운 천을 사용하십시오.amp 천으로 닦으세요. 연마성 세제, 용제 또는 강한 화학 물질은 마감재나 내부 부품을 손상시킬 수 있으므로 사용하지 마세요.
- 센서 장애물: Ensure the sensor lens is not obstructed by furniture, curtains, or other objects that could block its field of view. A clear path to the sensor is crucial for accurate motion detection.
- 먼지 축적: Periodically wipe the sensor lens to prevent dust accumulation, which can reduce sensitivity.
5. 문제 해결
If you encounter issues with your Maestro sensor switch, refer to the following common troubleshooting steps:
- Lights do not turn ON automatically (Occupancy Mode):
- 센서의 필드를 확인하십시오 view 방해받지 않습니다.
- Check the sensitivity setting; it might be too low.
- Ensure the switch is in Occupancy (Auto-On) mode.
- Confirm power is supplied to the switch.
- Lights do not turn OFF:
- Ensure there is no continuous motion within the sensor's range.
- 시간 지연 설정을 확인해 보세요. 너무 길게 설정되어 있을 수 있습니다.
- Verify the switch is correctly wired, especially the load wire.
- Lights flicker or behave erratically:
- Confirm that a neutral wire is properly connected. This switch requires a neutral wire for stable operation.
- 모든 전선 연결이 안전한지 확인하십시오.
- If in a 3-way setup, ensure compatible companion switches are used and wired correctly.
- 스위치가 작동하지 않습니다.
- Turn off power at the circuit breaker for 15 seconds, then restore power. This can reset the switch.
- 모든 배선 연결부가 헐거워지거나 잘못 연결되었는지 확인하십시오.
If these steps do not resolve the issue, contact Lutron customer support for further assistance.
6. 사양
| 특징 | 세부 사항 |
|---|---|
| 모델 번호 | MS-OPS6M2N-DV-WH |
| 상표 | 루트론 |
| 작동 모드 | 자동으로 |
| 연락처 유형 | 일반적으로 오픈 |
| 커넥터 유형 | 나사 단자 |
| 단말기 | 나사 |
| 품목 치수(L x W x H) | 2.2 x 2.2 x 4.5 인치 |
| 회로 유형 | 3방향 |
| 액추에이터 유형 | 푸시 버튼 |
| 접촉 재료 | 구리 |
| 국제 보호 등급 | IP54 |
| 제어 방법 | 만지다 |
| 연결 프로토콜 | 적외선 |
| 색상 | 하얀색 |
| 품목 무게 | 3.52 온스 |
| 중성선 필요 | 예 |
7. 제품 비디오
7.1 Lutron Maestro Sensor Switch Overview
비디오 1: 오버view of the Lutron Maestro sensor switch features and benefits. This video provides a general introduction to the product's capabilities.
7.2 Advanced Features and Configuration
Video 2: A detailed look into the advanced features and configuration options of the Lutron Maestro sensor switch, including setting adjustments.
8. 보증 정보
Lutron products typically come with a limited warranty covering defects in materials and workmanship. For specific warranty terms and conditions applicable to your MS-OPS6M2N-DV-WH sensor switch, please refer to the warranty card included in the product packaging or visit the official Lutron web사이트. 보증 청구를 위해 구매 증빙 자료를 보관하세요.
9. 고객 지원
For technical assistance, troubleshooting, or product inquiries, please contact Lutron customer support. You can find contact information on the official Lutron web웹사이트 또는 제품 설명서에서 확인할 수 있습니다.
온라인 리소스:
- 공식을 방문하세요 Amazon의 Lutron Store 더 많은 제품과 정보를 확인하세요.
- Refer to the comprehensive FAQs and support documents available on the Lutron corporate web대지.


