1. 서론
구매해주셔서 감사합니다asing the Sharp XL-HF201P Micro Hi-Fi System. This system is designed to provide high-quality audio playback from various sources, including CDs, USB devices, and iPods. This manual provides essential information for the safe and efficient operation of your new audio system. Please read it thoroughly before use and retain it for future reference.
2. 중요한 안전 정보
- 전원: 본 기기는 볼륨의 AC 콘센트에만 연결하십시오.tage specified on the unit's rear panel.
- 통풍: 적절한 환기를 확보하십시오. 통풍구를 막지 마십시오. 통풍구를 막을 수 있는 부드러운 표면 위에 제품을 놓지 마십시오.
- 물과 습기: 본 제품을 비, 습기 또는 액체가 떨어지거나 튀는 곳에 노출시키지 마십시오. 꽃병 등 액체가 담긴 물건을 제품 위에 올려놓지 마십시오.
- 열: 라디에이터, 난방 장치, 스토브 또는 기타 장치(예: 열원)에서 장치를 멀리 두십시오. amp열을 생성하는 발전기.
- 청소: 청소하기 전에 벽면 콘센트에서 제품의 플러그를 뽑으세요. 마른 천만 사용하세요.
- 서비스: 이 제품을 직접 수리하려고 하지 마십시오. 모든 서비스는 자격을 갖춘 서비스 담당자에게 문의하십시오.
3. 패키지 내용
아래 나열된 모든 품목이 패키지에 포함되어 있는지 확인하세요.
- 본체 (CD 플레이어/리시버)
- Left Speaker (x1)
- Right Speaker (x1)
- 리모컨(AA 배터리 2개 포함)
- FM 안테나
- AM 루프 안테나
- 전원 코드
- 사용 설명서(본 문서)
4. 설정
4.1 포장 풀기 및 배치
Carefully remove all components from the packaging. Place the main unit and speakers on a stable, flat surface. Ensure there is sufficient space around the unit for proper ventilation.
4.2 스피커 연결
Connect the speaker wires to the corresponding terminals on the main unit and speakers. Match the positive (+) and negative (-) terminals. For optimal sound, ensure the wires are securely connected. If the speaker wires do not insert directly into the screw-knobs, wrap the bare wire ends around the terminal posts and then tighten the screw-knobs to secure them.
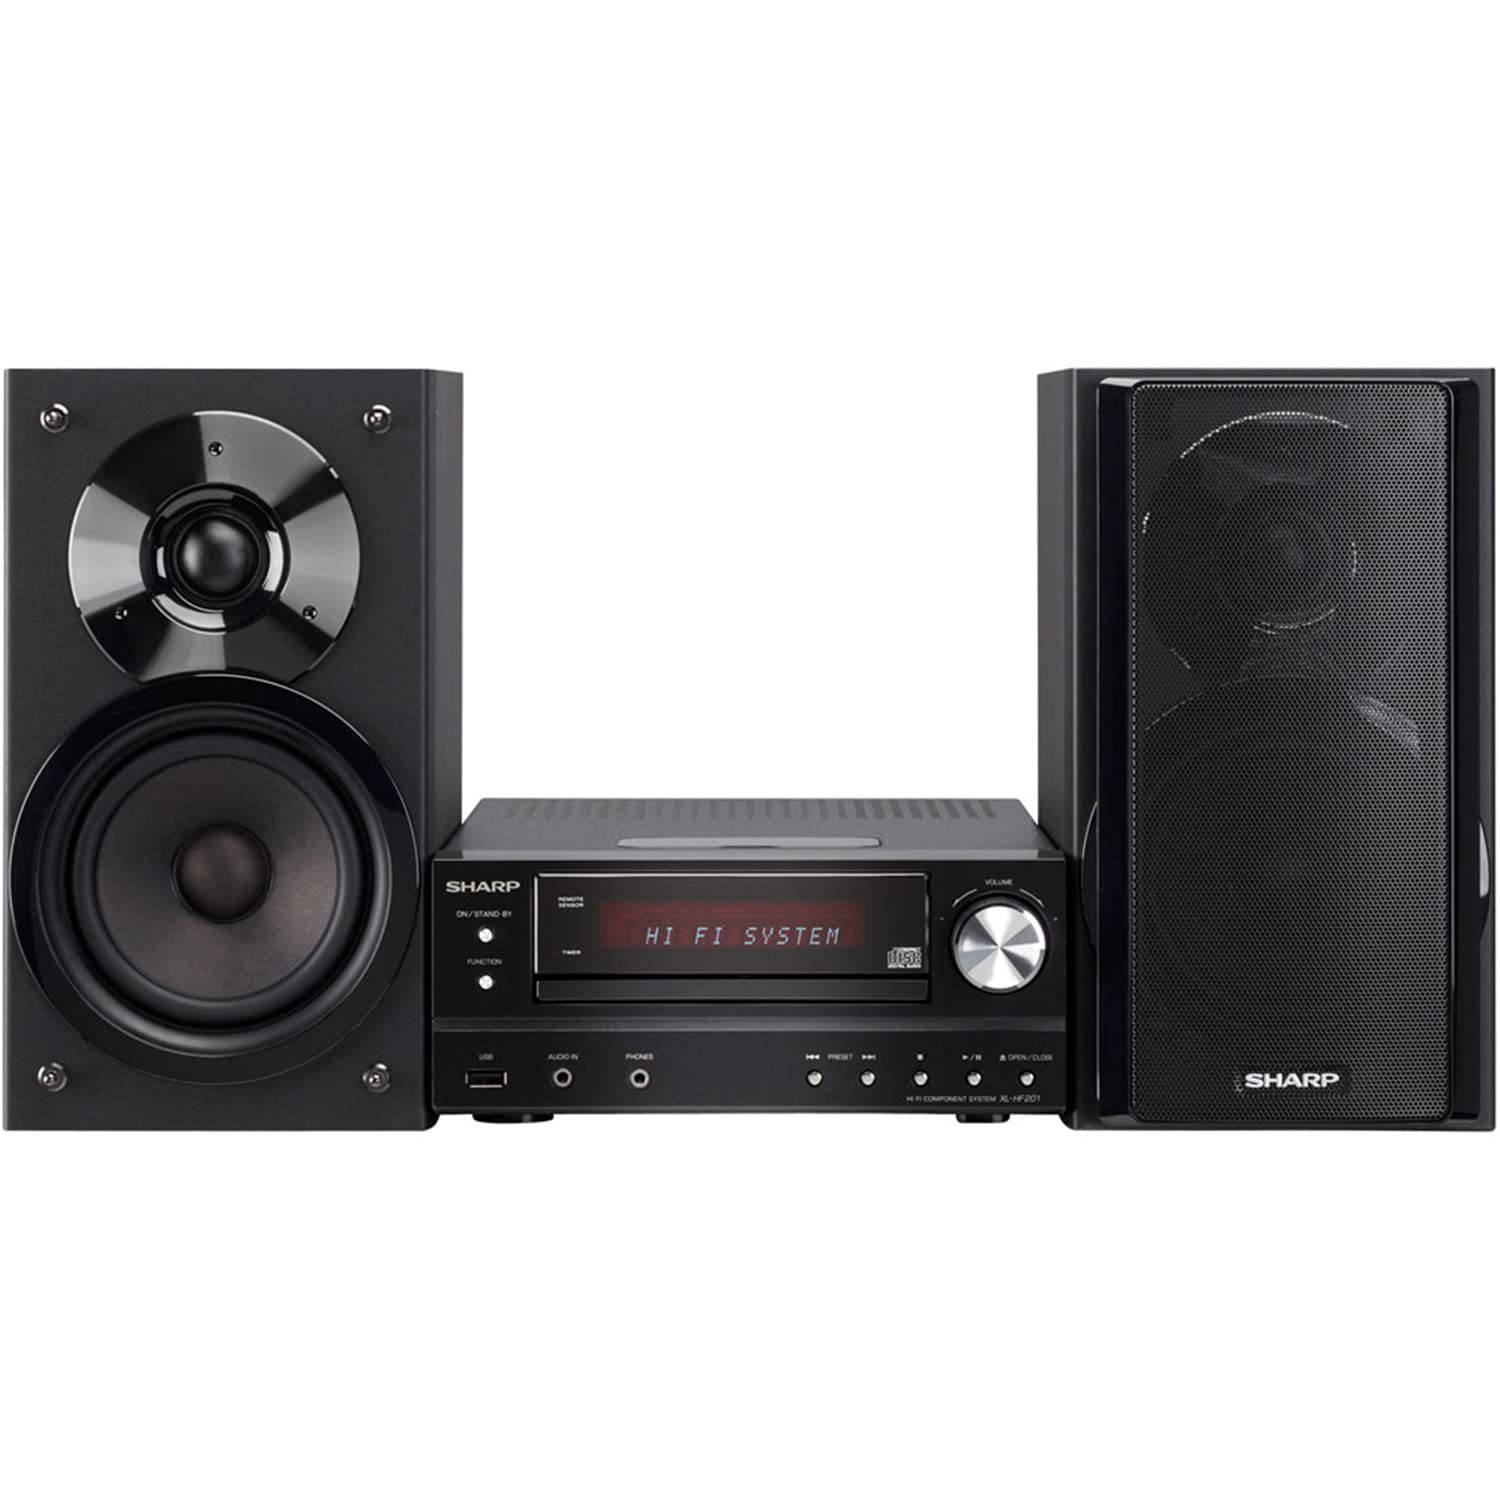
Image 4.2.1: The Sharp XL-HF201P Micro Hi-Fi System, showing the main unit and two speakers. This image illustrates the overall appearance of the system, which includes a central receiver with a CD tray and an iPod dock on top, flanked by two dark-colored speakers.
4.3 Connecting the Antennas
- FM 안테나: Connect the supplied FM wire antenna to the FM antenna terminal on the rear of the main unit. Extend the wire for better reception.
- AM 안테나: Assemble the AM loop antenna and connect it to the AM antenna terminals. Position the antenna for optimal AM reception.
4.4 전원 연결
After all other connections are made, plug the power cord into the AC inlet on the rear of the main unit, then plug the other end into a wall outlet.
5. 사용 설명서
5.1 전원 켜기/끄기
를 누르세요 힘 전면 패널의 버튼이나 리모컨을 사용하여 기기를 켜거나 끌 수 있습니다(대기 모드).
5.2 소스 선택
를 누르세요 기능 button on the front panel or the remote control repeatedly to cycle through available sources: CD, USB, iPod, FM, AM, AUX.
5.3 CD 재생
- 선택하세요 CD 기능.
- 를 누르세요 열기/닫기 CD 트레이를 여는 버튼입니다.
- Place a CD (CD-DA, MP3, WMA) with the label side up on the tray.
- 누르다 열기/닫기 트레이를 닫으려면 다시 한 번 누르세요. 재생이 자동으로 시작됩니다.
- 사용 재생/일시정지, 멈추다, 건너뛰다 (forward/backward) buttons for control.
5.4 USB 재생
- Insert a USB device (containing MP3 or WMA files) into the USB port on the front panel.
- 선택하세요 USB 기능.
- Playback will begin automatically or you may need to select a track.
- 사용 재생/일시정지, 멈추다, 건너뛰다 제어를 위한 버튼.
5.5 아이팟/아이폰 독
- Carefully place your compatible iPod or iPhone onto the dock connector on top of the main unit.
- 선택하세요 아이팟 기능.
- Your device will begin charging and you can control playback using the system's remote or your device's controls.
5.6 라디오 튜닝
- 선택하세요 FM or AM 기능.
- 사용하세요 동조 buttons (or knob on the unit) to manually tune to a station.
- 를 누르고 계세요 동조 buttons for automatic station scanning.
- 방송국을 미리 설정하려면 원하는 방송국에 맞춘 다음 버튼을 누르세요. 메모리 그 뒤에 사전 설정된 숫자 버튼이 이어집니다.
5.7 볼륨 조절
를 사용하여 볼륨을 조정합니다. 볼륨 +/- buttons on the remote control or the volume knob on the main unit.
6. 유지관리
6.1 장치 청소
Wipe the exterior of the unit with a soft, dry cloth. Do not use abrasive cleaners, waxes, or solvents as they may damage the finish. For stubborn stains, lightly damp물과 순한 세제를 묻힌 천으로 물기를 닦아내세요.
6.2 CD 렌즈 관리
Avoid touching the CD lens. If the lens becomes dirty, use a commercially available CD lens cleaner. Do not use compressed air or liquid cleaners directly on the lens.
7. 문제 해결
| 문제 | 가능한 원인 | 해결책 |
|---|---|---|
| 전원이 없습니다 | 전원 코드가 제대로 연결되지 않았습니다. | 전원 코드가 장치와 벽면 콘센트에 연결되어 있는지 확인하세요. |
| 소리가 나지 않습니다 | Volume is too low or muted. Speaker wires are not connected correctly. | Increase volume. Check speaker wire connections, ensuring correct polarity (+/-). |
| CD가 재생되지 않습니다 | CD is dirty, scratched, or inserted incorrectly. Incorrect function selected. | Clean or replace CD. Insert CD with label side up. Select CD function. |
| USB 장치가 인식되지 않습니다 | USB device is not formatted correctly or contains unsupported files. | Ensure USB device is FAT16/FAT32 formatted and contains MP3/WMA files. Try another USB device. |
| 라디오 수신 불량 | Antenna not properly positioned or connected. Interference. | 안테나 위치를 조정하십시오. 기기를 다른 전자 기기에서 멀리 떨어뜨려 놓으십시오. |
| 리모컨이 작동하지 않습니다 | 배터리가 방전되었거나 잘못 삽입되었습니다. 리모컨과 본체 사이에 장애물이 있습니다. | Replace batteries (2 AA). Ensure clear line of sight to the unit's remote sensor. |
8. 사양
- 상표: 날카로운
- 모델: XL-HF201P
- 출력 전력: 100 와트 RMS
- 지원되는 미디어: CD-DA, MP3, WMA (CD, USB)
- 연결성: USB, iPod Dock, AUX Input, FM/AM Tuner
- 스피커 유형: Subwoofers (integrated into speaker design)
- 전원: 코드식 전기
- 제품 크기 (본체): 약 13 x 15.09 x 20.15인치
- 품목 무게: 약 20.3파운드
- 배터리(리모컨): AA 배터리 2개 (포함)
9. 보증 및 지원
보증 정보 및 고객 지원은 제품에 동봉된 보증 카드를 참조하거나 샤프 공식 웹사이트를 방문하십시오. website. You may also contact Sharp customer service directly for assistance with product registration, technical support, or service inquiries.
온라인 지원: www.sharpusa.com


