소개
This manual provides essential information for the safe and efficient installation, operation, and maintenance of your BRILLIANT Luca 4-Flame Spot Tube Light. Please read these instructions carefully before installation and retain them for future reference.
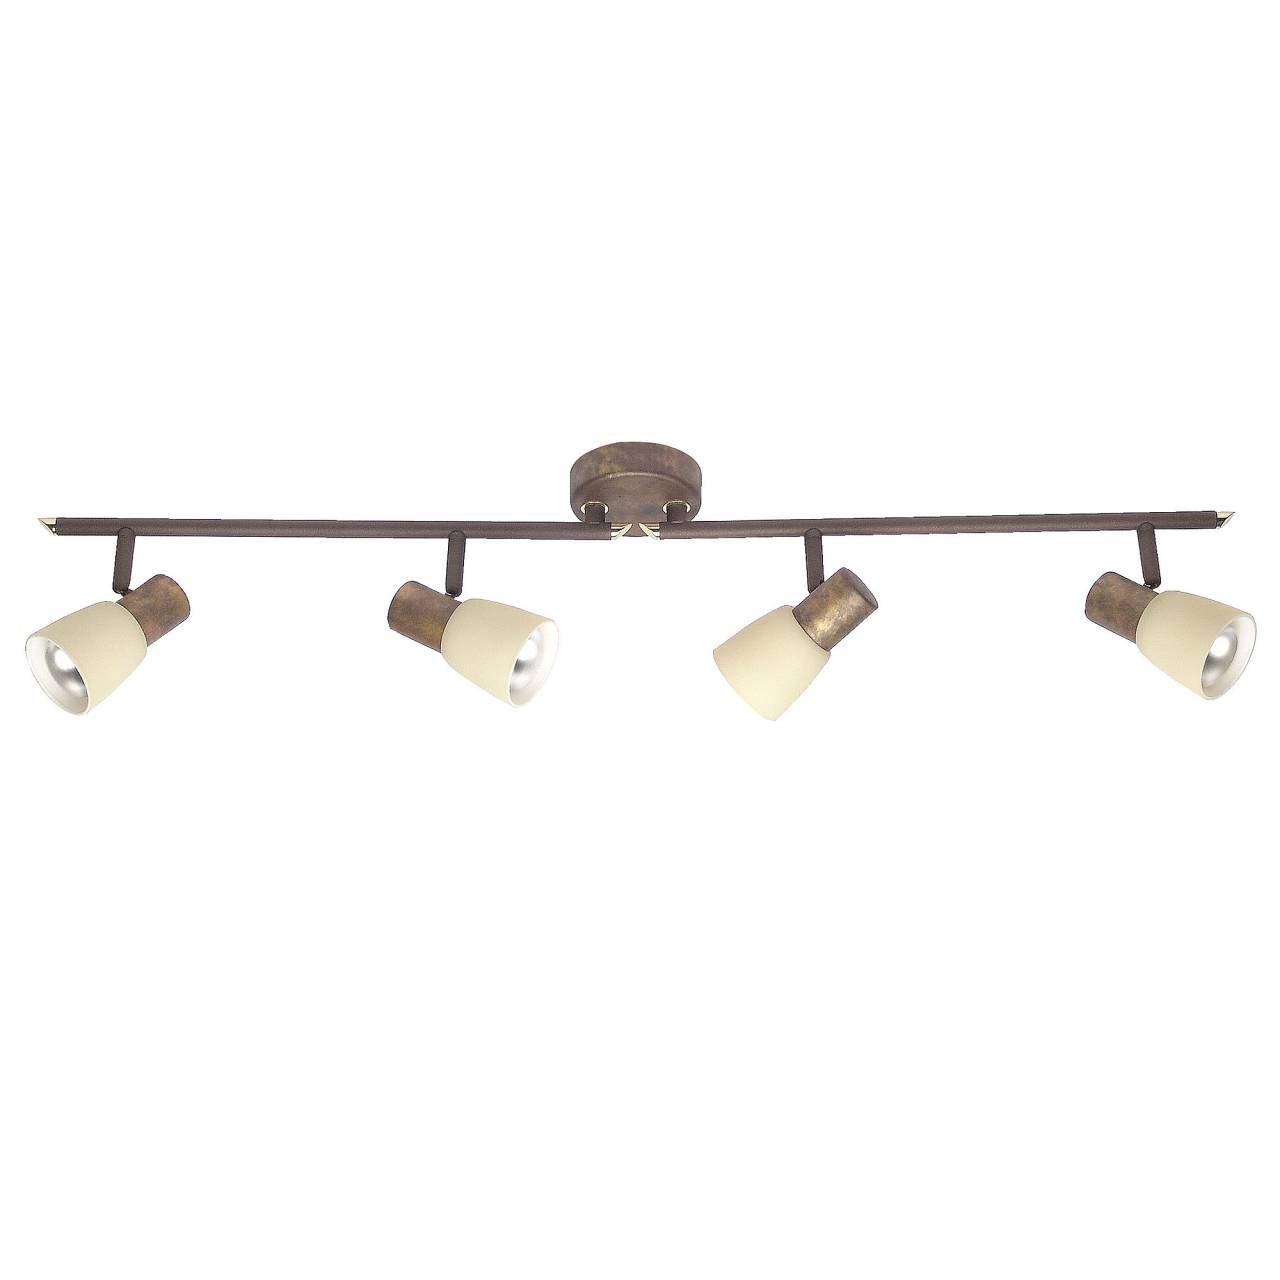
Image 1: The BRILLIANT Luca 4-Flame Spot Tube Light. This image displays the complete light fixture, featuring a long, brown metal bar with four individual spot heads. Each spot head is adjustable and includes a beige glass shade, designed to direct light. The central mounting plate is also visible.
안전 지침
- 설치, 유지 보수 또는 전구 교체 전에 항상 메인 퓨즈 또는 회로 차단기에서 전원을 차단하십시오.
- 설치는 자격을 갖춘 전기 기술자 또는 유능한 사람이 수행해야 합니다.
- 장착 표면이 고정물의 무게를 지탱할 수 있는지 확인하세요.
- 최대 와트를 초과하지 마십시오tage specified for the bulbs (40W per bulb).
- 본 제품은 실내용으로만 설계되었습니다(IP20 등급). 습기나 극한 온도에 노출시키지 마십시오.
- Allow bulbs to cool before touching or replacing them.
- 포장재는 어린이의 손이 닿지 않는 곳에 보관하십시오.
패키지 내용
설치를 시작하기 전에 모든 구성 요소가 있는지 확인하세요.
- 1x BRILLIANT Luca 4-Flame Spot Tube Light fixture
- Mounting material (screws, wall plugs, etc.)
- 사용 설명서
Note: Light bulbs (E14, R50 reflector type, max 40W) are not included and must be purchased separately. LED bulbs are compatible.
명세서
| 상표 | 멋진 |
| 모델 번호 | 35832/56 |
| 치수(길이 x 너비 x 높이) | 85 x 23.2 x 23.2cm |
| 무게 | 1.22kg |
| 재료 | 금속, 유리 |
| 색상 | Brown (fixture), Beige (shade) |
| 전구의 수 | 4 |
| 전구 소켓 유형 | E14 |
| 최대 와트tag전구당 e | 40 와트 |
| 권tage | 240 볼트 |
| IP 등급 | IP20(실내 사용 전용) |
| 특별 기능 | Dimmable (with appropriate bulbs and external dimmer), Adjustable Spot Heads |
| 설치 유형 | 천장 마운트 |
설정 및 설치
중요한: Before starting installation, ensure the power supply is switched off at the main circuit breaker to prevent electric shock.
- 장착 표면 준비: Choose a suitable location on your ceiling or wall. Ensure the surface is clean, dry, and structurally sound to support the light fixture.
- 드릴링 지점 표시: Hold the mounting bracket of the fixture against the desired installation spot. Use a pencil to mark the positions for drilling holes.
- 드릴 구멍: Drill holes at the marked positions using an appropriate drill bit for your ceiling/wall material. Insert the provided wall plugs into the drilled holes.
- 안전한 장착 브래킷: Attach the mounting bracket to the ceiling/wall using the provided screws. Ensure it is firmly secured.
- 전기 연결: Connect the household electrical wires to the terminal block on the fixture. Follow standard wiring color codes (e.g., Live to Live, Neutral to Neutral, Earth to Earth). Ensure all connections are secure.
- 고정장치를 브라켓에 부착: Carefully align the light fixture with the secured mounting bracket and attach it using the remaining screws or fastening mechanism.
- 전구 설치: Insert four E14 R50 reflector bulbs (not included) into the lamp holders. Do not exceed 40 Watts per bulb. LED bulbs are recommended for energy efficiency.
- 복원력 : 설치가 완료되고 모든 연결이 안전하게 이루어지면 주 회로 차단기에서 전원을 다시 켜십시오.
설치 과정의 어떤 부분이든 확실하지 않은 경우 자격을 갖춘 전기 기술자에게 문의하세요.
작동 지침
- 켜기/끄기: 벽에 있는 일반 스위치를 사용하여 조명을 켜세요.
- 스포트라이트 헤드 조정: The individual spot heads are pivotable and the arms are rotatable. Gently adjust each spot head and arm to direct the light to your desired area.
- 디밍 기능 : If you are using dimmable E14 bulbs and have an external dimmer switch installed, you can adjust the light intensity by operating the dimmer. Ensure your bulbs are compatible with your dimmer type.
유지
- 청소: Disconnect power before cleaning. Wipe the fixture with a soft, dry cloth. Do not use abrasive cleaners or solvents, as these can damage the finish.
- 전구 교체:
- Ensure the light is switched off and has cooled down completely.
- Carefully unscrew the old E14 bulb from its socket.
- Screw in a new E14 R50 reflector bulb, ensuring it is no more than 40 Watts.
- 전원을 복구하고 조명을 테스트합니다.
- 정기 점검: Periodically check all connections and mounting screws to ensure they remain tight and secure.
문제 해결
| 문제 | 가능한 원인 | 해결책 |
|---|---|---|
| 조명이 켜지지 않습니다. |
|
|
| 빛이 깜박입니다. |
|
|
| 밝기 조절 기능이 작동하지 않습니다. |
|
|
문제가 지속되면 고객 지원 센터 또는 자격을 갖춘 전기 기술자에게 문의하십시오.
보증 및 지원
Information regarding warranty and spare parts availability is not provided in the product details. For support, please refer to the retailer or manufacturer's official web대지.
제조업체: 멋진