1. 서론
This manual provides detailed instructions for the assembly, operation, and maintenance of your BRESSER Messier AR-152L 152/1200 EXOS-2/EQ5 achromatic refractor telescope. Please read these instructions carefully before using your telescope to ensure proper setup and optimal viewing experience. This telescope is designed for observing celestial objects, offering a generous 152mm aperture for impressive light gathering capabilities.

Figure 1: The BRESSER Messier AR-152L 152/1200 EXOS-2/EQ5 Telescope fully assembled.
2. 안전 정보
- 전문적으로 제작된 태양 필터 없이 망원경이나 뷰파인더를 통해 태양을 직접 바라보지 마십시오. 실명을 포함한 영구적이고 돌이킬 수 없는 눈 손상이 발생할 수 있습니다.
- Ensure all components are securely fastened before use to prevent accidental drops and damage.
- 망원경을 습기와 극한 온도에 두지 마세요.
- Store the telescope in a safe place where it will not be tripped over or fall.
3. 패키지 내용
Carefully unpack all items and verify that all components are present. If any parts are missing or damaged, contact customer support immediately.
- Optical Tube Assembly (OTA) - BRESSER Messier AR-152L
- EXOS-2/EQ5 Equatorial Mount
- 액세서리 트레이가 있는 삼각대
- 균형추
- 26mm Super Plössl Eyepiece (1.25")
- 8x50 파인더 스코프
- 제니스 미러(대각선)
- 튜브 Clamp with GP Rail
- Integrated 31.7 mm and T2 Adapter
- Adapter for 50.8 mm (2") Eyepieces
- PC Software Stellarium (download/license)
- Rotatable Starmap
- Objective-Sunfilter (for safe solar observation)

Figure 2: The optical tube assembly (OTA) with model designation.

Figure 3: Included 26mm Super Plössl eyepiece.
4. 설정
4.1. 삼각대와 마운트 조립
- 삼각대 다리를 안정적인 높이까지 확장하고 고정합니다.
- 액세서리 트레이를 삼각대 스프레더에 부착하십시오.
- Mount the EXOS-2/EQ5 equatorial head onto the tripod. Ensure it is level using the integrated bubble level.
- Attach the counterweight shaft and slide the counterweights onto the shaft. Secure them with the locking screw.

Figure 4: Use the bubble level to ensure the mount is level for accurate tracking.
4.2. 광학 튜브 부착
- Attach the tube clamp with the GP rail to the optical tube.
- Carefully place the optical tube (with the attached tube clamp and GP rail) onto the equatorial mount's dovetail saddle. Secure it firmly with the locking screws.
4.3. 망원경 균형 맞추기
Proper balancing is crucial for smooth tracking and preventing strain on the mount. Unlock the Right Ascension (RA) and Declination (DEC) clutches and adjust the counterweights along the shaft until the telescope remains stationary when pointed in different directions. Adjust the optical tube within its rings to balance it along the DEC axis.
4.4. Attaching and Aligning the Finder Scope
- Attach the 8x50 finder scope to its bracket on the optical tube.
- To align, point the main telescope at a distant, stationary object (e.g., a distant tree or building) during daylight hours.
- 물체를 주 망원경의 접안렌즈 중앙에 놓습니다.
- Adjust the alignment screws on the finder scope bracket until the same object is centered in the finder scope's crosshairs.

Figure 5: The focuser assembly where eyepieces and accessories are inserted.

Figure 6: The telescope can accommodate camera attachments for astrophotography (requires additional adapters).
5. 망원경 작동
5.1. 접안렌즈와 대각선 미러 삽입
- Loosen the thumbscrew on the focuser.
- Insert the zenith mirror (diagonal) into the focuser. Tighten the thumbscrew to secure it.
- Loosen the thumbscrew on the diagonal.
- Insert the desired eyepiece (e.g., 26mm Super Plössl) into the diagonal. Tighten the thumbscrew.
5.2. 초점 맞추기
Once an object is centered in the eyepiece, turn the focuser knobs slowly until the image appears sharp. For fine adjustments, use the smaller knob if available. Different eyepieces and observers may require slight refocusing.
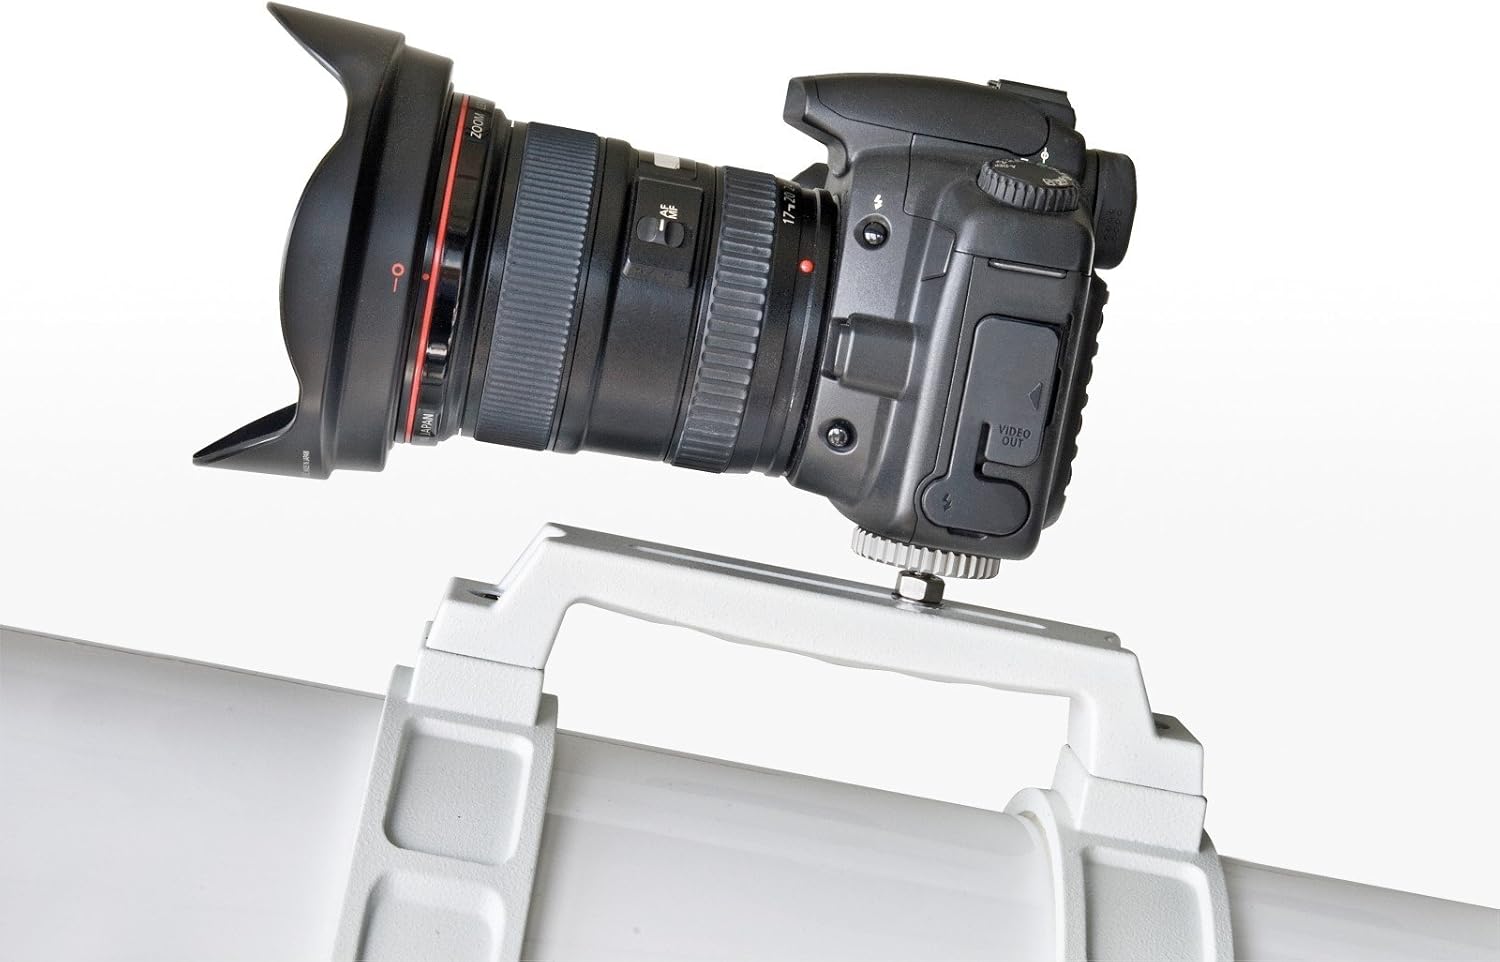
Figure 7: The focuser mechanism for adjusting image sharpness.

Figure 8: Eyepiece with scale, useful for specific measurements or settings.
5.3. 천체 찾기
- Use the 8x50 finder scope to locate the desired object. The finder scope provides a wider field of view, making it easier to initially spot objects.
- Once the object is centered in the finder scope's crosshairs, look through the main telescope's eyepiece. The object should be visible, though perhaps not perfectly centered.
- Use the slow-motion controls on the equatorial mount to fine-tune the telescope's position and center the object in the main eyepiece.
- For tracking celestial objects, the equatorial mount allows you to follow their movement across the sky by rotating only the Right Ascension axis, ideally with an optional motor drive.
6. 유지관리
6.1. 광학 장치 청소
- Dust on the objective lens or eyepieces should be removed with a soft brush or compressed air.
- For smudges or fingerprints, use a specialized optical cleaning solution and a clean, soft microfiber cloth. Apply the solution to the cloth, not directly to the lens. Wipe gently in a circular motion from the center outwards.
- 맨손으로 광학 표면을 만지지 마십시오.
6.2. 보관
- When not in use, cover the telescope with dust caps and store it in a dry, dust-free environment.
- Disassemble the telescope into its main components (optical tube, mount, tripod) for easier storage and transport.
7. 문제 해결
- 흐릿한 이미지: Ensure the focuser is properly adjusted. Check if the eyepiece is clean. Allow the telescope to equalize to ambient temperature if moved from a warm to cold environment.
- 물건 찾기 어려움: Verify that the finder scope is correctly aligned with the main telescope. Start with a low-power eyepiece (larger focal length) for a wider field of view.
- Telescope Drifts: Ensure the mount is properly balanced and the RA and DEC clutches are tightened. If using an equatorial mount, ensure it is polar aligned for accurate tracking.
- 진동: Ensure the tripod legs are fully extended and locked, and the accessory tray is securely attached. Observe from a stable surface.
8. 사양
| 특징 | 사양 |
|---|---|
| 광학 설계 | 무색수차 굴절 망원경 |
| 구멍 | 152mm (XNUMXmm) |
| 초점거리 | 1200mm (XNUMXmm) |
| 초점 비율 | 조리개값 7.9 |
| 마운트 유형 | EXOS-2/EQ5 Equatorial Mount |
| 파인더 범위 | 8x50 |
| 접안렌즈 포함 | 26mm Super Plössl (1.25") |
| 광학 튜브 길이 | 1200 밀리미터 |
| Item Weight (OTA) | 24.4파운드(대략) |
| 제품 치수(조립 후) | 39.37"D x 39.37"W x 72.83"H (대략) |
| 품목 모델 번호 | 4752128 |
9. 보증 및 지원
For warranty information, technical support, or service inquiries, please refer to the official BRESSER web해당 웹사이트를 방문하거나 가까운 대리점에 문의하십시오. 구매 영수증은 구매 증빙 자료로 보관하십시오.
For additional resources and software downloads, visit the 브레서 스토어.


