1. 제품 오버view
This manual provides detailed instructions for the installation and care of your Gateway MS2274 15.6" WXGA HD LED DIODE Laptop LCD Screen replacement. This product is designed as a direct substitute for the original LCD screen in compatible Gateway MS2274 laptop models. It is important to note that this product is the LCD screen component only and does not include the laptop itself or any other laptop parts.
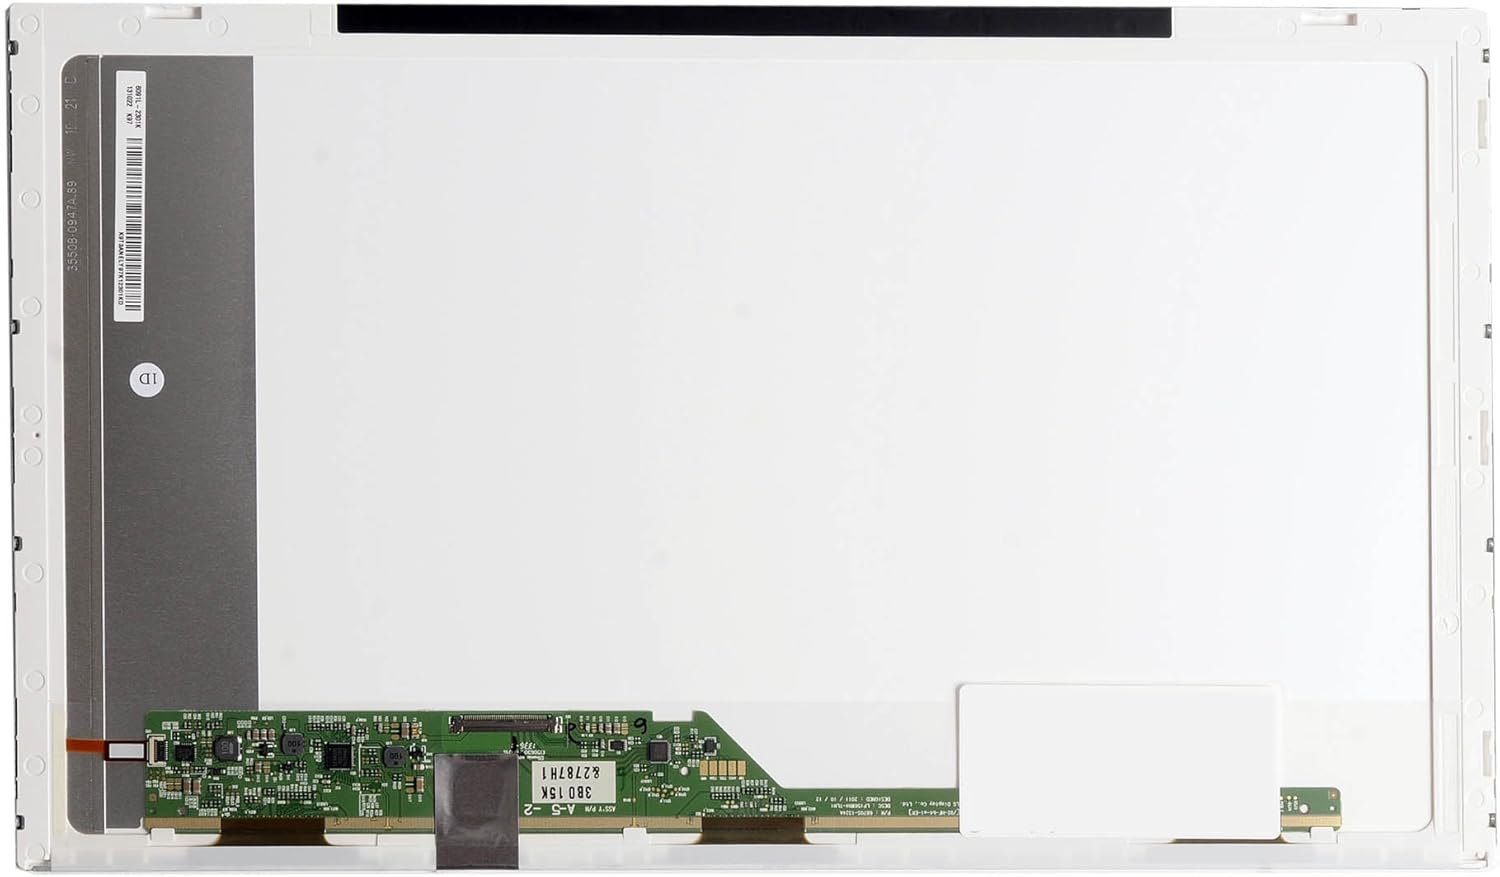
이미지 1.1: 앞쪽 view of the Gateway MS2274 15.6 inch laptop LCD screen. This image displays the white display panel and the green circuit board located at the bottom, which contains the necessary connectors and components for display functionality.
2. 안전 정보
- Always disconnect the laptop's power adapter and remove the battery before beginning any installation or repair work.
- Handle the LCD screen by its edges to avoid touching the display surface or the delicate circuit board.
- 정전기 방전(ESD)으로 인한 전자 부품 손상을 방지하려면 정전기 방지 장갑을 착용하거나 정전기 방지 손목 스트랩을 사용하십시오.
- Use appropriate tools for disassembly and reassembly to prevent damage to screws or plastic casinGS.저작권
- 어떤 단계든 확신이 서지 않으면 전문가의 도움을 받으십시오.
3. 설정 및 설치
3.1. 언박싱 및 검사
Carefully remove the LCD screen from its packaging. Inspect the screen for any visible damage, such as cracks, scratches, or bent connectors. If any damage is observed, do not proceed with installation and contact customer support immediately.

이미지 3.1: 앞쪽 view of the LCD screen in an unpowered state, showing the black display surface. This view is typical during unboxing and initial inspection.
3.2. 필요한 도구
- 소형 십자 드라이버
- 플라스틱 분해 도구(스퍼저)
- 정전기 방지 손목 스트랩 또는 장갑
- 깨끗하고 부드러운 천
3.3. 설치 단계
Follow these steps carefully to replace your laptop's LCD screen. Refer to your laptop's specific service manual for detailed disassembly instructions if needed.
- 노트북을 준비하세요: Power off your laptop completely, disconnect the AC adapter, and remove the battery.
- 베젤 나사를 제거하세요: Carefully locate and remove any rubber screw covers on the laptop screen bezel. Unscrew all visible screws holding the bezel in place.
- Remove Screen Bezel: Using a plastic pry tool, gently pry open the plastic bezel surrounding the LCD screen. Start from one corner and work your way around the edges.
- Access LCD Panel: Once the bezel is removed, you will see the LCD panel secured by screws to the metal brackets on the laptop lid. Remove these screws.
- Lay Down LCD Panel: Carefully lay the LCD panel face down on the keyboard area. Be cautious not to strain the video cable.
- 비디오 케이블을 분리하세요: Gently peel back any tape securing the video cable connector to the back of the LCD panel. Carefully disconnect the video cable by pulling it straight out from the connector. Do not pull on the wires.
- 기존 화면 제거: The old screen is now completely detached.
- 새 화면 연결: Take your new Gateway MS2274 LCD screen. Carefully align the video cable connector with the port on the new screen and push it in firmly until it is fully seated. Secure it with tape if applicable.
- 새 화면 장착: Position the new LCD screen within the laptop lid and secure it with the screws previously removed from the metal brackets.
- 테스트 디스플레이: Before reattaching the bezel, temporarily connect the laptop battery and AC adapter. Power on the laptop to ensure the new screen functions correctly. Check for display, brightness, and any anomalies. If the screen works, power off the laptop again.
- 베젤을 다시 부착하세요: Carefully snap the plastic bezel back into place around the screen. Ensure all clips are securely fastened. Reinsert and tighten the bezel screws and replace the rubber covers.
- 최종 조립: Reinstall the laptop battery and connect the AC adapter. Your laptop is now ready for use with the new screen.

이미지 3.2: 뒤쪽 view of the LCD screen, showing the main circuit board where the video cable connects. This view is crucial for understanding the connection point during installation.
4. 디스플레이 작동
Once installed, the Gateway MS2274 LCD screen operates as the primary display for your laptop. No special drivers are typically required as the display is recognized by the laptop's existing graphics hardware and operating system.
- 밝기 조절: 노트북 키보드의 기능 키(예: Fn + F5/F6)를 사용하거나 운영 체제의 디스플레이 설정에서 화면 밝기를 조절하세요.
- 해결: The screen supports WXGA HD resolution (1366x768). Ensure your operating system is set to this native resolution for the best visual clarity.
- 색상 보정: If desired, you can calibrate the display colors through your operating system's display settings for optimal color accuracy.
5. 유지관리 및 관리
- 화면 청소: 전자제품 전용으로 제작된 부드럽고 보풀 없는 극세사 천을 사용하세요. 잘 지워지지 않는 얼룩은 가볍게 닦아내세요.amp천에 증류수나 화면 세척액을 묻혀 닦아주세요. 화면에 직접 액체를 뿌리지 마세요.
- 압력을 피하세요: 날카로운 물건이나 과도한 힘으로 화면 표면을 누르지 마십시오. LCD 패널이 손상될 수 있습니다.
- 저장: If storing the screen before installation, keep it in its original protective packaging in a cool, dry place away from direct sunlight and extreme temperatures.
6. 문제 해결
| 문제 | 가능한 원인 | 해결책 |
|---|---|---|
| 설치 후 화면이 표시되지 않음 | Video cable not properly connected; faulty screen; laptop issue. | Ensure video cable is fully seated. Recheck all connections. Test with original screen if possible to rule out laptop issue. |
| 깜빡이거나 왜곡된 이미지 | Loose video cable connection; incompatible screen; graphics driver issue. | Reseat video cable. Verify screen compatibility with your laptop model. Update or reinstall graphics drivers. |
| 화면의 불량 화소 또는 줄무늬 | Manufacturing defect; physical damage during installation. | If present upon initial test, contact customer support for replacement. |
| Incorrect brightness or color | Software settings; calibration needed. | Adjust brightness via keyboard shortcuts or OS display settings. Perform color calibration. |
7. 사양
| 특징 | 세부 사항 |
|---|---|
| 화면 크기 | 15.6 인치 |
| 해결 | WXGA HD (1366x768) |
| 백라이트 유형 | LED 다이오드 |
| 모델 번호 | LED-1366-768-G-40-15.6-209 |
| 상표 | Gateway (Replacement Part) |
| 품목 무게 | 11.2 온스 |
| 제품 치수 | 17.5 x 10.5 x 1.5 인치 |
8. 보증 및 지원
This replacement LCD screen is typically covered by a return policy. For specific warranty details and return procedures, please refer to the terms and conditions provided by the seller at the time of purchase. The seller for this product is BrightFocal.
For technical support or inquiries regarding your purchase, please contact the seller directly through the platform where the product was acquired. Ensure you have your order details and product model number (LED-1366-768-G-40-15.6-209) ready when contacting support.
반품 정책: A 30-day return policy is generally offered for this product, allowing for refund or replacement if issues arise within this period.


