1. 서론
This manual provides essential information for the safe and effective operation, maintenance, and troubleshooting of the Sealey RE232 Coil Spring Compressing Station. This unit is an air-actuated hydraulic tool designed for compressing coil springs with a capacity of up to 1500kg. It offers a quicker and easier alternative to traditional ratchet-driven spring compressors.
장비를 작동하기 전에 이 설명서를 꼼꼼히 읽어 올바른 사용법을 숙지하고 부상이나 장비 손상을 방지하십시오.
2. 안전 정보
경고: 이 지침을 따르지 않을 경우 심각한 부상이나 사망에 이를 수 있습니다.
- 안전 안경, 장갑, 튼튼한 신발 등 적절한 개인 보호 장비(PPE)를 항상 착용하세요.
- Ensure the unit is placed on a stable, level, and non-slip surface before operation.
- 최대하중 1500kg을 초과하지 마십시오.
- Ensure the air supply pressure does not exceed 120psi (8.3 bar).
- Keep hands and other body parts clear of moving parts during operation.
- Inspect the unit for damage or wear before each use. Do not operate if damaged.
- Only use the unit for its intended purpose: compressing coil springs within the specified diameter range (Ø80mm to Ø175mm).
- Ensure the spring is securely seated in the plastic-coated yokes before applying pressure.
- 어떤 식으로든 장비를 개조하지 마십시오.
- 어린이와 허가받지 않은 사람을 작업장에 접근시키지 마십시오.
3. 구성 요소 및 부품
The Sealey RE232 Coil Spring Compressing Station consists of the following main components:
- Main Vertical Column with adjustable upper yoke positions.
- Hydraulic Cylinder and Piston Assembly.
- Air Actuated Control Valve.
- Foot Pedal for alternative operation.
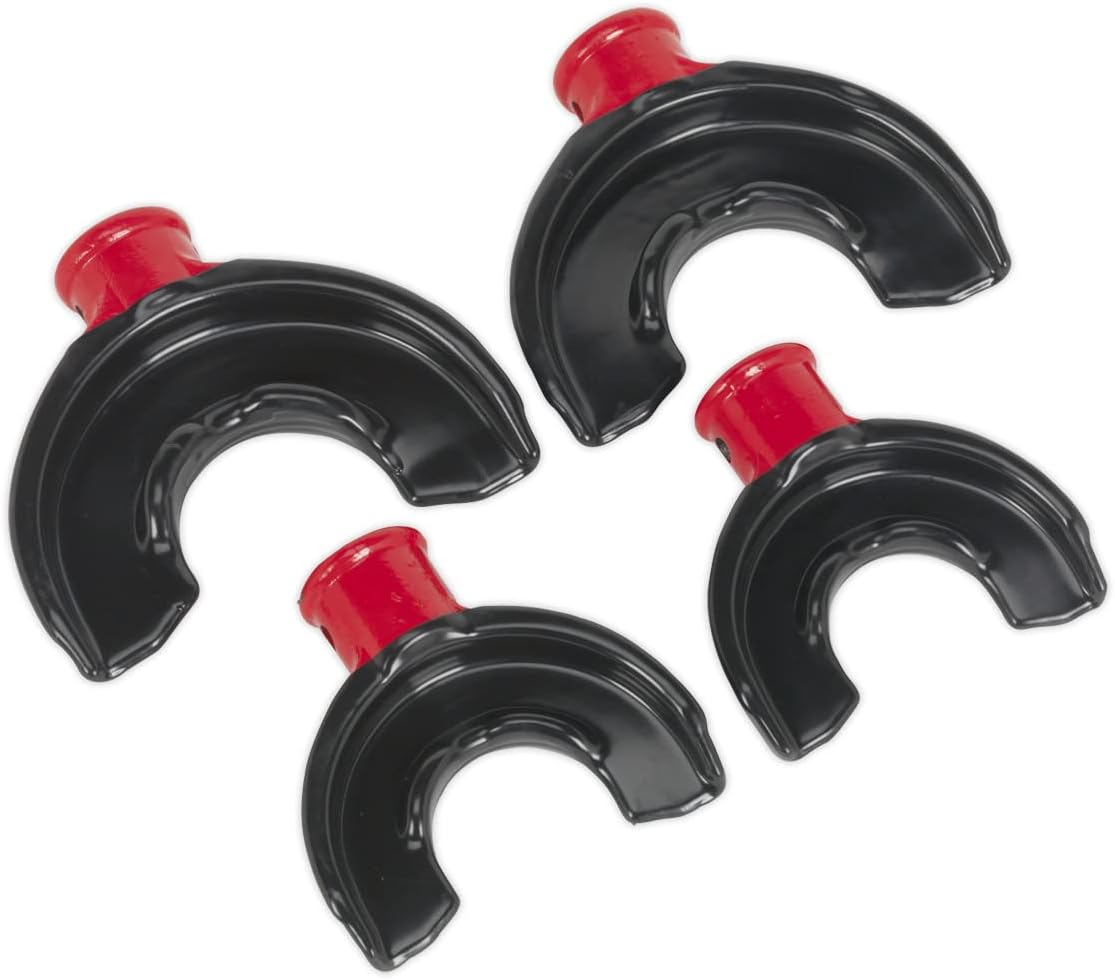
- Upper and Lower Plastic-Coated Yokes (suitable for springs Ø80mm to Ø175mm).
- Base Plate for stability.
- Air Hose with quick connector.

4. 설정
- 짐 풀기: Carefully remove all components from the packaging. Inspect for any shipping damage. Report any damage to your supplier immediately.
- 집회: The main unit typically comes pre-assembled. Ensure all bolts and fasteners are tight before first use. Refer to the assembly diagram (if provided separately) for detailed steps if any assembly is required.
- 놓기: Position the compressing station on a firm, level, and clean concrete surface capable of supporting the unit's weight and the maximum load. Ensure adequate clear space around the unit for safe operation.
- 공기 공급 연결: Connect a suitable air compressor to the air inlet on the unit using the provided air hose. Ensure the air supply is clean, dry, and regulated to a maximum of 120psi (8.3 bar).
- 초기 확인: Before loading a spring, perform a test cycle by operating the foot pedal or air control to ensure the hydraulic ram extends and retracts smoothly.
5. 사용 설명서
- Prepare the Spring: Ensure the coil spring is clean and free from debris.
- Position the Yokes: Adjust the upper yoke to an appropriate height for the spring being compressed. The unit features 7 upper yoke positions for versatility. The lower yoke has a travel of 340mm.
- Load the Spring: Carefully place the coil spring into the plastic-coated yokes. Ensure it is centered and securely seated. The yokes are designed for springs with diameters from Ø80mm to Ø175mm.
- Compress the Spring:
- Air Actuation: Use the air control valve to slowly apply pressure, causing the hydraulic ram to compress the spring.
- 풋 페달 작동: Alternatively, use the foot pedal to manually actuate the hydraulic unit and compress the spring.
- Secure the Spring: Once the spring is compressed to the desired level, secure it using appropriate spring clamps or retaining tools (not included with the unit).
- 방출 압력: Slowly release the pressure from the hydraulic unit.
- Remove the Spring: Carefully remove the secured spring from the compressing station.
메모: The plastic-coated yokes are designed to reduce the risk of spring slippage or damage during the compression process.
6. 유지관리
Regular maintenance ensures the longevity and safe operation of your Sealey RE232 Coil Spring Compressing Station.
- 일일 검사: Before each use, inspect the unit for any visible damage, loose fasteners, or signs of hydraulic fluid leaks. Check the condition of the air hose and connections.
- 청소: Keep the unit clean and free from dirt, grease, and debris. Wipe down surfaces with a clean cloth. Do not use harsh solvents that could damage paint or seals.
- 유압유 레벨: Periodically check the hydraulic fluid level. Refer to the unit's specific instructions for accessing the reservoir and the type of hydraulic fluid recommended (typically ISO VG 32 or equivalent). Top up if necessary.
- 매끄럽게 하기: Lubricate moving parts and pivot points as recommended by the manufacturer to ensure smooth operation.
- 저장: When not in use, store the unit in a clean, dry, and secure location, away from extreme temperatures and corrosive environments.
- 전문적인 서비스: Any repairs or major maintenance, especially involving the hydraulic system, should only be performed by qualified personnel.
7. 문제 해결
| 문제 | 가능한 원인 | 해결책 |
|---|---|---|
| Unit does not compress spring or compresses slowly. | Low air pressure; Insufficient hydraulic fluid; Air in hydraulic system; Leaking seals. | Check air supply and pressure (max 120psi); Check and top up hydraulic fluid; Bleed air from system (refer to service manual); Contact qualified service personnel for seal replacement. |
| Hydraulic ram does not retract fully. | Return spring issue; Obstruction; Air in system. | Check for obstructions; Bleed air from system; Contact qualified service personnel. |
| 작동 중 이상한 소음이 발생합니다. | Lack of lubrication; Loose components; Internal hydraulic issue. | Lubricate moving parts; Check and tighten all fasteners; Cease operation and contact qualified service personnel. |
| Spring slips from yokes. | Improper seating of spring; Spring diameter outside specified range; Damaged yokes. | Ensure spring is correctly centered and seated; Verify spring diameter is between Ø80mm and Ø175mm; Inspect and replace damaged yokes. |
8. 사양
| 사양 | 값 |
|---|---|
| 모델 번호 | RE232 |
| 최대 하중 용량 | 1500kg |
| Upper Yoke Positions | 7 |
| Lower Yoke Travel | 340mm |
| Spring Diameter Range | Ø80mm - Ø175mm |
| 작동 | Air or Foot Pedal |
| 최대 기압 | 120psi(8.3바) |
| 제품 크기(L x W x H) | 33 x 123 x 7cm (대략적인 크기, 제품 데이터 기준) |
| 품목 무게 | 37kg |
| 색상 | 빨간색 |
9. 보증 및 지원
For warranty information, technical support, or to purchase replacement parts, please contact Sealey customer service or visit the official Sealey web사이트. 보증 청구를 위해 구매 증빙 자료를 보관하세요.
Sealey 연락처 정보:
- Web대지: www.sealy.co.uk
- Refer to the product packaging or Sealey's official website for the most current contact details and warranty terms specific to your region.


