1. 서론
The Coby DP772 is a versatile 7-inch widescreen digital photo frame designed to display your digital memories and play audio files. It features an LED-backlit TFT LCD display, ensuring bright and clear image viewing. This device supports various memory card formats, including SD, MMC, xD, and CompactFlash, and includes a USB port for connecting to digital media drives. With integrated stereo speakers, it can play MP3 and WMA audio files, and even combine them with photo slideshows. The DP772 also offers A/V output for connection to home theater systems and comes with interchangeable black and white faceplates to match your decor. It can be used with its included stand or mounted on a wall.
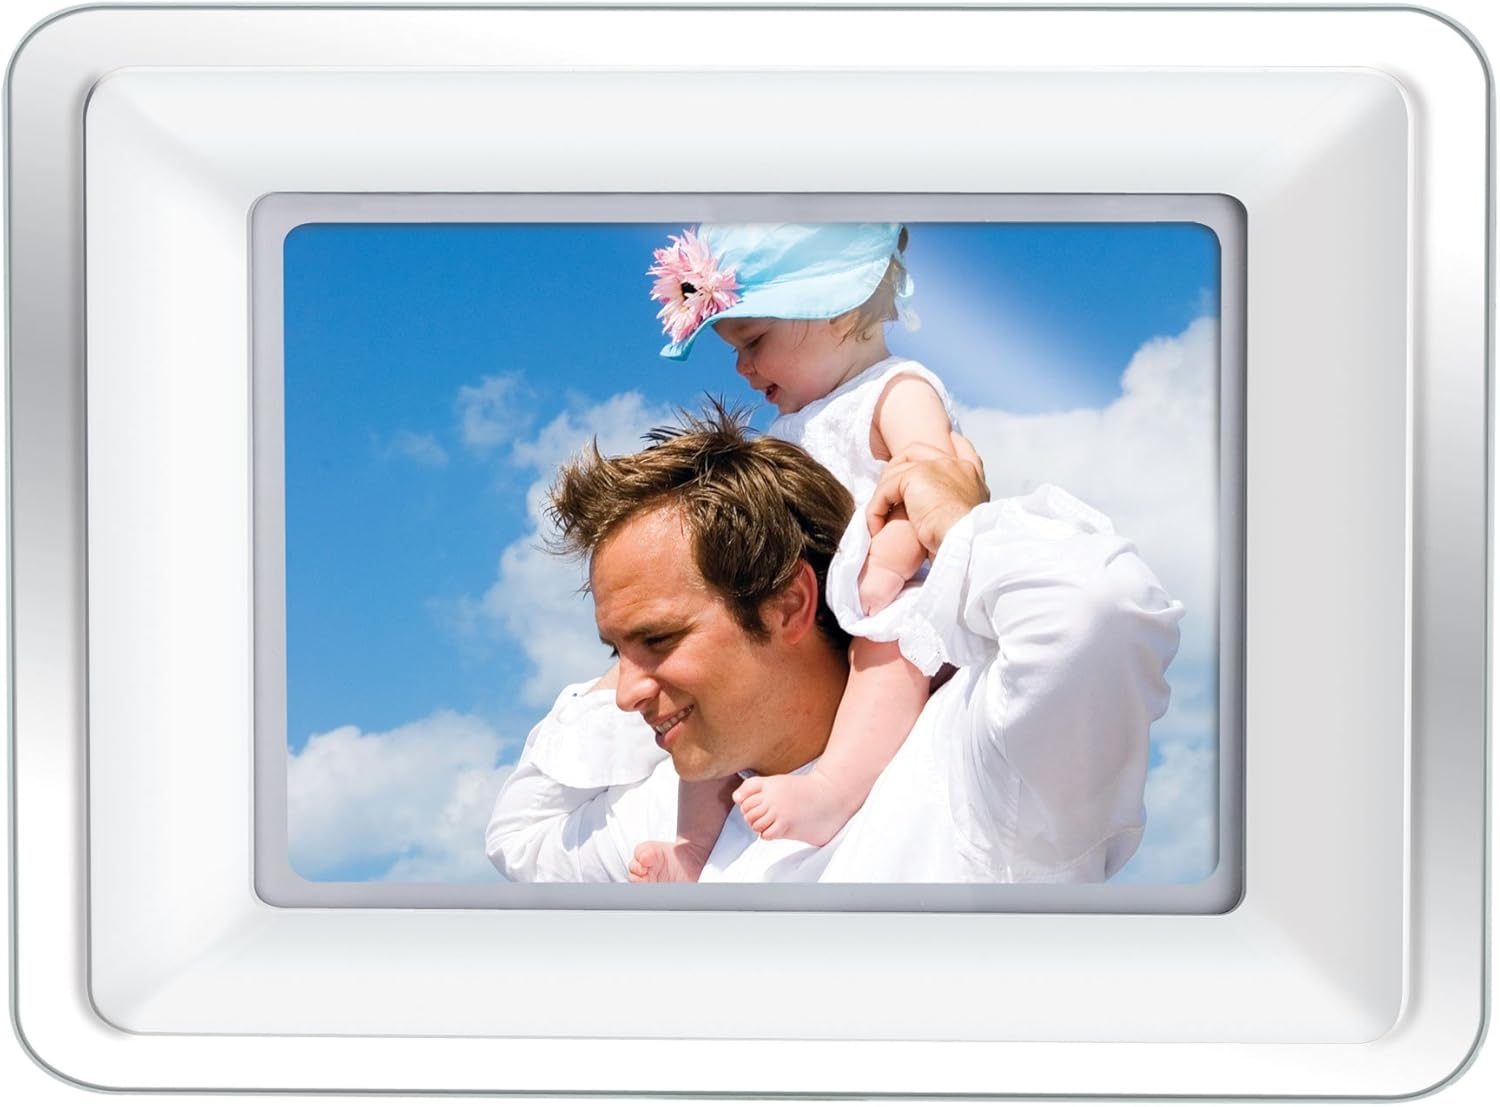
Image 1.1: The Coby DP772 Digital Photo Frame, showcasin가족사진으로 디스플레이를 꾸민다.
2. 설정
2.1 포장 풀기 및 내용물
모든 구성품을 포장에서 조심스럽게 꺼내세요. 다음 품목이 모두 있는지 확인하세요.
- Coby DP772 Digital Photo Frame
- AC 전원 어댑터
- 원격 제어
- Interchangeable Faceplates (Black and White)
- 테이블 스탠드
- 사용 설명서 (본 문서)
2.2 전원 연결
- AC 전원 어댑터를 액자 뒷면의 DC IN 포트에 연결하세요.
- 어댑터의 다른 쪽 끝을 표준 전기 콘센트에 꽂습니다.
- The frame should power on automatically or can be turned on using the power button.

Image 2.1: The AC Power Adapter, essential for powering the device.
2.3 Inserting Memory Cards or USB Devices
The DP772 supports SD, MMC, xD, and CompactFlash memory cards, as well as USB flash drives.
- Locate the memory card slots or USB port on the side or back of the frame.
- Insert your memory card into the appropriate slot, ensuring it is oriented correctly. Do not force the card.
- For USB devices, insert the USB flash drive into the USB port.
- The frame should automatically detect the media and begin displaying content or prompt you to select a mode.
2.4 스탠드 또는 벽면 장착 부착
The frame can be displayed on a flat surface using the included stand or mounted on a wall.
- 테이블탑 사용 시: Attach the provided stand to the designated slot on the back of the frame. Ensure it is securely fastened to provide stable support. The stand allows for both landscape and portrait orientation.
- 벽 장착용: Detach the stand if it is already attached. Use appropriate wall mounting hardware (not included) with the mounting holes on the back of the frame. Ensure the wall can support the weight of the frame.

Image 2.2: The detachable stand, used for tabletop display.
2.5 Changing Faceplates
The DP772 comes with interchangeable black and white faceplates.
- Gently remove the currently attached faceplate by prying it off from the edges.
- Align the desired faceplate (black or white) with the frame and press it firmly into place until it clicks securely.

Image 2.3: The interchangeable black and white faceplates, allowing customization of the frame's appearance.
2.6 리모컨 배터리 설치
The remote control requires batteries (not included) for operation.
- 리모콘 뒷면에서 배터리함을 찾으세요.
- 구획 덮개를 엽니다.
- 필요한 배터리를 넣을 때, +/- 극성을 반드시 확인하십시오.
- 배터리 덮개를 단단히 닫으세요.

Image 2.4: The compact remote control for convenient operation of the photo frame.
3. 사용 설명서
3.1 기본 탐색
The frame can be operated using the buttons on the unit or the included remote control.
- 전원 버튼: 장치를 켜거나 끕니다.
- 메뉴 버튼: 설정 및 옵션의 메인 메뉴에 접근합니다.
- 방향키(위/아래/좌/우): 메뉴를 탐색하고 선택하세요 files.
- 엔터/재생/일시정지 버튼: Confirms selections, plays media, or pauses playback.
- Exit/Stop Button: Returns to the previous screen or stops media playback.
3.2 사진 재생
- Insert a memory card or USB device containing JPEG or BMP image files.
- If the frame does not automatically enter photo mode, navigate to the 'Photo' option in the main menu and press Enter.
- Use the arrow buttons to browse through your photos.
- Press the Play button to start a slideshow. You can adjust slideshow intervals and transition effects in the settings menu.
3.3 음악 재생
- Ensure your memory card or USB device contains MP3 or WMA audio files.
- Navigate to the 'Music' option in the main menu and press Enter.
- Use the arrow buttons to select an audio file 또는 폴더.
- Press the Play button to begin playback. Use the remote or frame buttons to control volume, skip tracks, or pause.
3.4 비디오 재생
The DP772 supports most MP4 and AVI video files.
- Insert a memory card or USB device with compatible video files.
- Navigate to the 'Video' option in the main menu and press Enter.
- 원하는 영상을 선택하세요 file 화살표 버튼을 사용하세요.
- Press the Play button to start the video.
3.5 Slideshow with Music
To enhance your photo slideshows, you can play background music simultaneously.
- Ensure both photo and music files are present on the inserted media.
- Start a photo slideshow as described in section 3.2.
- Access the settings menu (usually via the Menu button) and look for 'Slideshow Music' or a similar option.
- 원하는 음악을 선택하세요 file or playlist to accompany your photos.
3.6 Connecting to a TV (A/V Output)
The DP772 features an A/V output for displaying content on a larger screen, such as a television. Note: The A/V cable is not included with the product.
- Obtain a compatible A/V cable (typically a 3.5mm jack to RCA composite video and stereo audio).
- Connect one end of the A/V cable to the A/V OUT port on the photo frame.
- Connect the RCA plugs (yellow for video, red/white for audio) to the corresponding input ports on your television.
- Switch your television's input source to the correct A/V input.
- The content displayed on the photo frame will now be mirrored on your television.
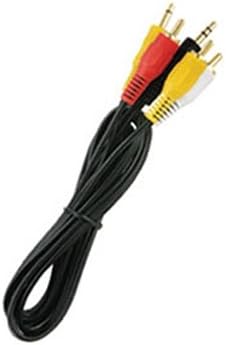
이미지 3.1: 전ample of the A/V cable required to connect the photo frame to a television.
4. 유지관리
4.1 프레임 및 스크린 청소
To maintain the appearance and functionality of your Coby DP772, follow these cleaning guidelines:
- 화면: Use a soft, lint-free cloth specifically designed for electronics screens. Gently wipe the screen to remove dust and fingerprints. For stubborn marks, slightly damp물이나 화면 세척액으로 천을 적셔주세요 (강한 화학 약품은 사용하지 마세요).
- 액자: Wipe the frame and casing with a soft, dry cloth. Do not use abrasive cleaners or solvents, as these can damage the finish.
- 청소하기 전에 항상 기기의 전원을 끄고 플러그를 뽑으십시오.
4.2 보관
If you plan to store the photo frame for an extended period:
- 장치의 전원을 끄고 전원에서 플러그를 뽑습니다.
- Remove any memory cards or USB devices.
- Store the frame in a cool, dry place, away from direct sunlight and extreme temperatures.
- Consider storing it in its original packaging or a protective bag to prevent dust accumulation and damage.
5. 문제 해결
This section addresses common issues you might encounter with your Coby DP772.
| 문제 | 가능한 원인 | 해결책 |
|---|---|---|
| 프레임의 전원이 켜지지 않습니다. | 전원 어댑터가 연결되지 않았거나 결함이 있습니다. | Ensure the AC adapter is securely plugged into the frame and a working electrical outlet. Try a different outlet. |
| No image or sound. | 잘못된 file format; media not inserted correctly; volume too low. | Verify that image files are JPEG/BMP and audio files are MP3/WMA. Ensure the memory card/USB is fully inserted. Check volume settings. |
| Memory card/USB not recognized. | Card/USB not inserted correctly; incompatible format; corrupted media. | Re-insert the card/USB. Ensure it is a supported type (SD, MMC, xD, CF). Try formatting the card on a computer (this will erase all data). |
| 리모컨이 작동하지 않습니다. | 배터리 방전; 장애물; 통신 범위 이탈. | Replace batteries in the remote. Ensure there is a clear line of sight between the remote and the frame's IR sensor. Operate within close range. |
| 화질이 좋지 않습니다. | Low resolution of original photos; incorrect aspect ratio. | Use higher resolution photos. For optimal display, consider resizing photos to match the frame's native resolution (e.g., 480x234 pixels) and aspect ratio (16:9 for widescreen). |
6. 사양
Key technical specifications for the Coby DP772 Digital Photo Frame:
- 모델 번호: DP772
- 화면 크기: 7 인치
- 디스플레이 유형: TFT LCD with LED Backlighting
- 해결: WXGA (480x234 pixels, 16:9 aspect ratio)
- 지원되는 이미지 형식: 제이피, BMP
- 지원되는 오디오 형식: MP3, WMA
- 지원되는 비디오 형식: Most MP4 and AVI files
- 메모리 카드 지원: SD, MMC, xD, CompactFlash (CF)
- 연결성: USB port, A/V output
- 통합 스피커: 예
- 제품 크기: 9 x 7 x 2 인치
- 품목 무게: 2파운드
- 색상: White/Black (interchangeable faceplates)
7. 보증 및 지원
Coby products are manufactured to high-quality standards. For information regarding warranty coverage, please refer to the warranty card included with your product or visit the official Coby web사이트. 보증 청구에 대비해 구매 증빙 자료로 구매 영수증을 보관하세요.
For technical assistance or customer support, please visit the Coby support section on their official website or contact their customer service department. Contact details are typically provided in the product packaging or on the manufacturer's web대지.


