1. 서론
This manual provides detailed instructions for the safe installation, operation, and maintenance of your Emerald P401TSW 6-inch Recessed Ceiling Light Fixture Kit. Please read all instructions carefully before beginning installation and retain this manual for future reference. Proper installation is crucial for safety and optimal performance.
2. 안전 정보
WARNING: RISK OF ELECTRIC SHOCK. Disconnect power at the circuit breaker or fuse box before installation or servicing. Failure to do so may result in serious injury or death.
- 모든 전기 연결은 지역 규정, 조례 및 국가 전기 규격(NEC)을 준수해야 합니다.
- 배선 절차에 대해 확실하지 않은 경우 자격을 갖춘 전기 기술자에게 문의하세요.
- 설치 시에는 안전 안경과 장갑을 착용하세요.
- 고정 장치가 적절하게 접지되었는지 확인하십시오.
- Do not install insulation within 3 inches of the fixture housing.
- This fixture is designed for indoor use in dry or damp 위치만.
3. 패키지 내용
설치를 시작하기 전에 모든 구성 요소가 있는지 확인하세요.
- Recessed Housing (1)
- White Trim Ring (1)
- Frosted Glass Diffuser (1)
- 장착 하드웨어(나사, 와이어 너트)
- 사용 설명서(본 문서)
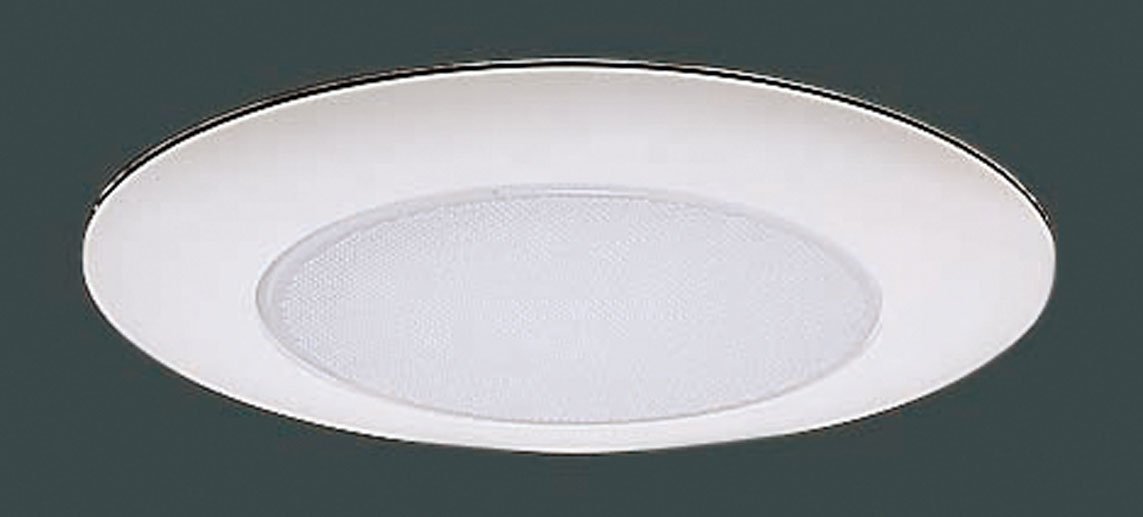
Image: Components of the Emerald P401TSW recessed light kit, showing the housing, white trim, and frosted glass diffuser.
4. 필요한 도구
일반적으로 설치에는 다음과 같은 도구가 필요합니다.
- Phillips 헤드 스크루 드라이버
- 일자 드라이버
- 전선 스트리퍼
- 줄자
- 연필
- Drill with Hole Saw (6-1/4 inch recommended for a snug fit)
- Utility Knife (optional, for drywall)
- 안전 안경
5. 설치 지침
Follow these steps carefully to install your recessed light fixture. This kit is designed for both new construction and remodel applications.
1단계: 설치 준비
- 전원 끄기: Locate the circuit breaker or fuse box controlling the area where you will install the fixture and turn off the power. Verify power is off using a voltag전자 테스터.
- 위치 확인: Choose a suitable location on the ceiling, ensuring there are no obstructions (joists, pipes, wires) behind the drywall.
- Mark and cut hole: Using a measuring tape and pencil, mark the center of your desired fixture location. Use a 6-1/4 inch hole saw to cut a circular opening in the drywall. Note: A slightly larger hole (e.g., 6-3/8 inch) may be necessary for easier installation and to prevent drywall damage, as reported by some users. Test fit before final wiring.
2단계: 고정물 배선
- Open junction box: Open the access plate on the fixture's junction box.
- 전선을 연결하십시오: Feed the electrical supply wires through the knockout hole into the junction box. Using wire nuts, connect the wires as follows:
- 연결하다 검은색 (hot) wire from the supply to the 검은색 조명기구의 전선.
- 연결하다 하얀색 (neutral) wire from the supply to the 하얀색 조명기구의 전선.
- 연결하다 벌거벗은 구리 or 녹색 (ground) wire from the supply to the 녹색 ground screw or wire in the junction box.
- 안전한 배선: Ensure all connections are secure. Carefully tuck all wires and wire nuts into the junction box and close the access plate.
Step 3: Installing the Housing
- Insert housing: Carefully push the recessed housing up into the ceiling opening.
- 안전한 주거 환경: The housing features spring clips or tension clips. Push these clips outwards and upwards to secure the housing firmly against the ceiling drywall. Ensure the housing is flush and level with the ceiling surface. If the housing does not sit level, it may require minor adjustment or shimming before proceeding.
Step 4: Installing the Trim and Glass
- Install bulb: Screw in the appropriate bulb (not included) into the socket. Refer to the specifications section for bulb type and wattage.
- Attach glass diffuser: Place the frosted glass diffuser into the trim ring.
- 트림 설치: Align the trim ring with the housing. The trim typically has torsion springs or clips that attach to brackets inside the housing. Gently push the trim upwards until it snaps securely into place, flush with the ceiling.
5단계: 마지막 단계
- 전원 복구: 회로 차단기나 퓨즈 박스에서 전원을 다시 켜세요.
- Test fixture: 전등 스위치를 켜서 조명이 제대로 작동하는지 확인하세요.
6. 사용 설명서
Once installed, the Emerald P401TSW recessed light fixture operates like any standard ceiling light. Control it using a wall switch connected to the circuit. To replace the bulb, ensure power is off, allow the bulb to cool, then unscrew the old bulb and screw in a new one of the correct type and wattage.
7. 유지관리
- 청소: Disconnect power before cleaning. Wipe the trim and glass diffuser with a soft, damp 천을 사용하십시오. 연마성 세척제나 용제를 사용하지 마십시오. 마감재가 손상될 수 있습니다.
- 전구 교체: Always turn off power before replacing a bulb. Allow the bulb to cool completely. Use only bulbs that meet the specifications listed in this manual.
- 점검: 정기적으로 조명기구를 점검하여 손상이나 연결 불량이 있는지 확인하십시오. 문제가 발견되면 전원을 차단하고 자격을 갖춘 전기 기술자에게 문의하십시오.
8. 문제 해결
| 문제 | 가능한 원인 | 해결책 |
|---|---|---|
| 불이 켜지지 않습니다 | 고정할 전원이 없음 느슨한 전선 연결 결함이 있는 전구 | 회로 차단기/퓨즈를 확인하세요 모든 배선 연결이 단단히 되어 있는지 확인하십시오 (전원을 끄십시오). 전구 교체 |
| 불빛이 깜빡인다 | 느슨한 전선 연결 잘못된 전구 유형 디머 비호환성 | Check wire connections (power off) 올바른 전구 유형과 와트를 확인하세요tage Verify dimmer is compatible with bulb type |
| Fixture is not flush with ceiling | Improperly seated clips Hole cut too small | Re-seat spring clips firmly Carefully enlarge hole slightly if necessary (power off) |
9. 사양
- 모델: P401TSW
- 정착물 유형 : Recessed Ceiling Light Kit
- 크기: 6-inch (nominal opening)
- 손질 끝: 하얀색
- 유리: Frosted Diffuser
- 권tage: 120V AC, 60Hz
- 전구 유형: Incandescent, LED, or CFL compatible (bulb not included)
- 최대 와트tage: 60W (or equivalent LED/CFL)
- 위치 평가: 건조 또는 Damp
10. 보증 정보
This Emerald product is covered by a limited warranty against defects in materials and workmanship. Please refer to the warranty card included with your purchase or visit the manufacturer's web자세한 이용 약관은 해당 웹사이트를 참조하십시오. 보증 청구를 위해 구매 증빙 자료를 보관하십시오.
11. 고객 지원
For technical assistance, missing parts, or warranty inquiries, please contact Emerald customer support. Refer to the packaging or the manufacturer's official website for current contact information (phone number, email, or support portal).


