1. 서론
This manual provides essential information for the safe and effective operation, maintenance, and troubleshooting of your Chicago Pneumatic CP785 3/8-inch Air Power Drill. Please read this manual thoroughly before using the tool to ensure proper handling and to prevent injury or damage.
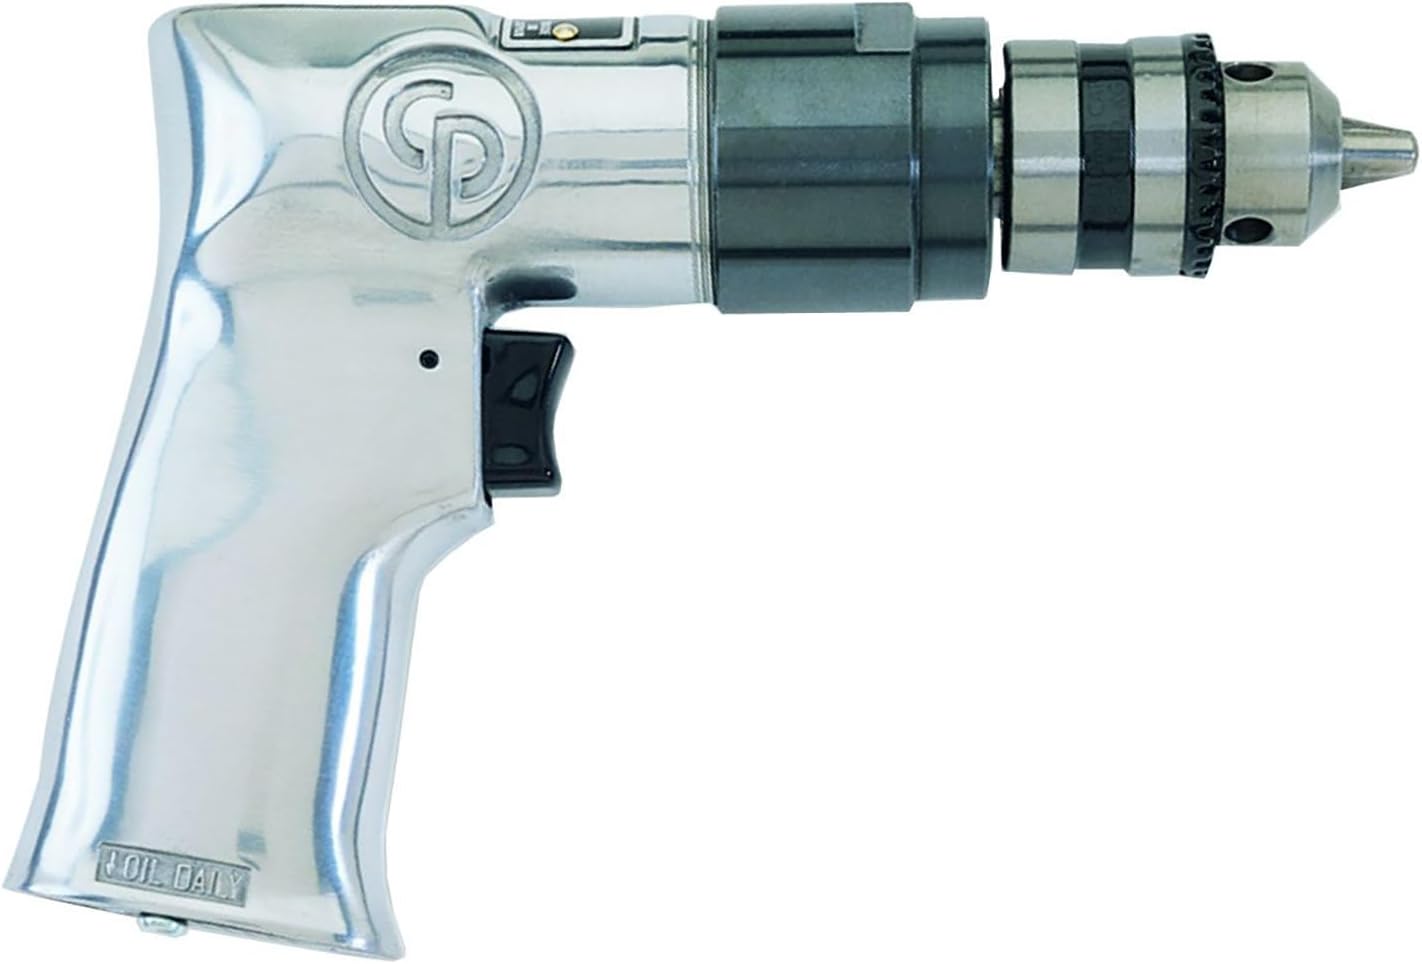
Figure 1: Chicago Pneumatic CP785 Air Power Drill with Keyed Chuck.
2. 안전 정보
전동공구를 사용할 때는 항상 일반적인 안전 수칙을 준수하십시오. 이러한 지침을 따르지 않을 경우 심각한 부상을 입을 수 있습니다.
- 눈 보호: 반드시 ANSI 인증 안전 안경이나 보안경을 착용하십시오.
- 청력 보호: Use ear protection, especially during prolonged operation.
- 손 보호: 손을 보호하기 위해 적절한 장갑을 착용하십시오.
- 급기: Ensure the air supply is clean, dry, and regulated to the specified pressure (90 psi).
- 호스 검사: Regularly inspect air hoses for damage or leaks.
- 안전한 작업물: Always secure the material being drilled to prevent movement.
- 적절한 환기: 통풍이 좋은 곳에서 작업하세요.
- 공기 분리: 액세서리를 교체하거나, 유지 보수를 수행하거나, 공구를 사용하지 않을 때는 공기 공급 장치를 차단하십시오.
- 헐렁한 옷은 피하세요: 움직이는 부품에 걸릴 수 있는 헐렁한 옷이나 장신구를 착용하지 마십시오.
3. 제품 특징
The Chicago Pneumatic CP785 Air Power Drill is designed for durability and smooth operation, making it suitable for various maintenance tasks.
- Powerful, energy-efficient air motor resists stalls.
- Triple idler planetary gearing ensures smooth operation and extended tool life.
- Handle exhaust reduces noise and directs air away from the work area.
- Ideal 3/8-inch multi-purpose drill.
- Pistol grip design for comfortable handling.
- 내구성이 뛰어난 알루미늄 하우징.

Figure 2: Key features of the CP785 including its pistol grip, powerful motor, and handle exhaust.
4. 초기 설정
4.1 공기 공급 연결
- Ensure your air compressor is capable of providing the required air pressure (90 psi) and CFM (16.5 CFM at full load).
- Connect a 3/8-inch minimum diameter air hose to the 1/4-inch NPT air inlet on the drill.
- Install an in-line air filter/lubricator as close to the tool as possible to ensure clean, lubricated air.
- Set the air pressure regulator to 90 psi (6.2 bar) when the tool is running.
4.2 Chuck Operation (Keyed Chuck)
The CP785 features a keyed chuck for securing drill bits.
- 비트 삽입: Open the chuck jaws by turning the chuck collar counter-clockwise. Insert the drill bit into the chuck, ensuring it is centered and seated firmly.
- 척을 조이세요: Use the chuck key to tighten the chuck jaws securely around the drill bit. Tighten in all three keyholes for maximum grip and to prevent slippage.
- 제거 비트: Loosen the chuck jaws using the chuck key and remove the drill bit.

그림 3: 클로즈업 view of the CP785's keyed chuck mechanism.
5. 사용 설명서
5.1 Starting the Drill
The CP785 features a trigger throttle for variable speed control.
- Ensure the drill bit is securely installed and the air supply is connected and regulated.
- Position the drill bit on the workpiece.
- Gently press the trigger to start the drill. The speed is variable depending on trigger pressure.
- Apply steady, even pressure to the drill. Avoid excessive force, which can cause stalling or damage to the bit or workpiece.
- 드릴을 중지하려면 방아쇠를 놓으십시오.
5.2 드릴링 기술
- Always start drilling at a slow speed to prevent the bit from wandering.
- Increase speed as the bit penetrates the material.
- Maintain a firm grip on the drill with both hands if necessary.
- Clear chips regularly, especially when drilling deep holes.
- For metal drilling, use appropriate cutting fluid to extend bit life and improve cut quality.
6. 유지관리
Regular maintenance ensures optimal performance and extends the life of your air drill.
6.1 윤활
The CP785 requires daily lubrication to maintain its internal components.
- Before each use, or at the beginning of each workday, add 5-10 drops of high-quality air tool oil into the air inlet.
- Run the tool for a few seconds to distribute the oil.
- If an in-line lubricator is used, ensure it is filled with air tool oil and adjusted to dispense 1-2 drops per minute.
6.2 청소
- Keep the exterior of the tool clean and free of debris.
- 드릴 비트를 제대로 고정할 수 있도록 주기적으로 척 조를 청소하십시오.
- Do not use harsh solvents that could damage the aluminum housing or internal seals.
6.3 보관
When not in use, store the drill in a clean, dry environment, disconnected from the air supply.
7. 문제 해결
일반적인 문제와 잠재적인 해결책은 아래 표를 참조하세요.
| 문제 | 가능한 원인 | 해결책 |
|---|---|---|
| Tool does not operate or operates slowly | 낮은 기압 Insufficient air supply (CFM) 윤활 부족 Obstructed air inlet 손상된 공기 호스 | Check regulator setting (90 psi) Ensure compressor meets CFM requirements Add air tool oil 깨끗한 공기 흡입구 필터 Inspect and replace hose if damaged |
| 과도한 진동이나 소음 | 마모된 베어링 느슨한 구성 요소 불균형 드릴 비트 | 공인 서비스 센터에 문의 나사가 헐거워졌는지 확인하고 조여주세요. Ensure drill bit is straight and properly installed |
| 드릴 비트가 척에서 미끄러짐 | 척이 충분히 조여지지 않았습니다 Worn chuck jaws Oily drill bit shank | Tighten chuck in all three keyholes 척을 교체하세요 Clean drill bit shank before insertion |
| 공기 누출 | 느슨한 피팅 손상된 O링/씰 | 모든 연결을 조입니다 Replace O-rings/seals |
8. 기술 사양
Detailed specifications for the Chicago Pneumatic CP785 Air Power Drill.
| 사양 | 값 |
|---|---|
| 모델 | CP785 |
| 척 사이즈 | 3mm (8/10 인치) |
| 척 타입 | 건이 있는 |
| 전원 | 에어 파워 |
| 최대 회전 속도 | 2400 RPM |
| 마력 | 0.5마력 |
| 정지 토크 | 3.1 ft. lbf (4.2 NM) |
| 공기 흡입구 크기 | 1/4 인치 NPT |
| Average CFM @ 15 Sec Run Time | 4.10 |
| CFM @ 완전 부하 | 16.5 |
| 필요한 압력 | 90psi(6.2바) |
| 최소 호스 크기 | 3/8 인치 |
| 손잡이 재질 | 알류미늄 |
| 하우징 소재 | 알류미늄 |
| 품목 무게 | 2.25파운드(1.02kg) |
| 제품 치수 | 7.01인치(길이) |
| 사운드 레벨 | 101데시벨 |
| 한국어: | 015451026226 |
9. 보증 및 지원
9.1 보증 정보
The Chicago Pneumatic CP785 Air Power Drill comes with a 2-year limited warranty. This warranty covers defects in materials and workmanship under normal use. Please retain your proof of purchase for warranty claims. For full warranty terms and conditions, refer to the documentation included with your product or visit the official Chicago Pneumatic web대지.
9.2 고객 지원
For technical assistance, parts, or service, please contact Chicago Pneumatic customer support. You can find contact information on the official Chicago Pneumatic website or through your authorized dealer. When contacting support, please have your model number (CP785) and serial number (if applicable) ready.
10. 추가 제품 Views

그림 4: 측면 view of the CP785 air drill, highlighting its compact design.
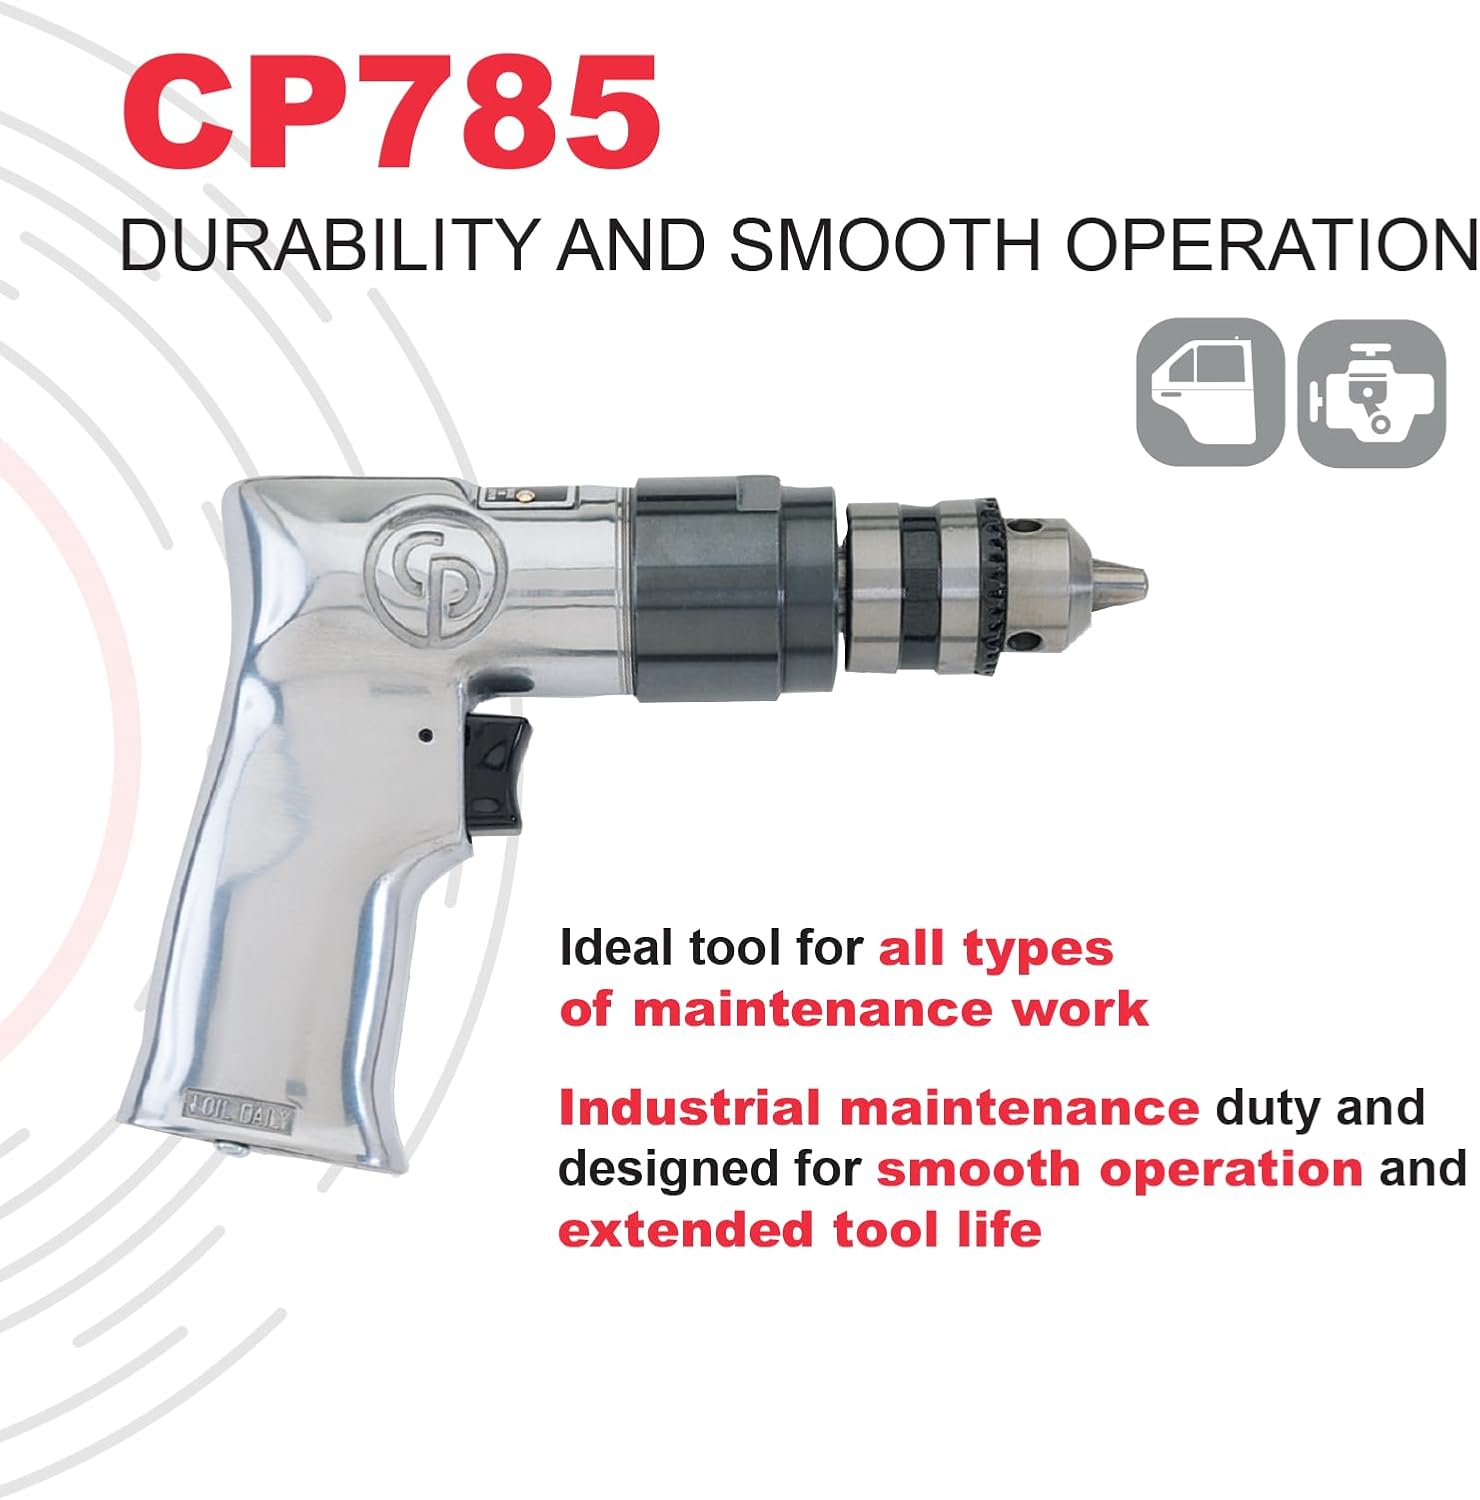
그림 5: 각도 view of the CP785, showing the air inlet and trigger.


