
1. 제품 오버view
The VEVOR 4.5KW Professional Stud Welder Dent Repair Kit is designed for efficient and reliable automotive body dent removal. This workstation features two welding guns, six operational modes, and a mobile cart design for ease of use in various repair environments. It delivers high instantaneous peak output for strong weld joints, suitable for both minor dings and larger dents.

Image 1.1: The VEVOR 4.5KW Professional Stud Welder Dent Repair Kit, showcasing its compact design and integrated workstation features.
2. 안전 지침
부상이나 장비 손상을 방지하려면 항상 다음 안전 지침을 준수하세요.
- Wear appropriate personal protective equipment (PPE), including welding gloves, eye protection, and protective clothing.
- 작업 공간은 환기가 잘 되고 가연성 물질이 없는지 확인하십시오.
- 용접기를 d에서 작동하지 마십시오.amp 또는 습한 환경.
- 유지보수를 하거나 액세서리를 교체하기 전에 항상 전원 공급 장치를 차단하십시오.
- 어린이와 허가받지 않은 인원은 수술 구역에 접근하지 마십시오.
- 전원 공급 볼륨을 확인하세요tage는 용접공의 요구 사항을 충족합니다.
- Avoid touching hot parts of the equipment immediately after use.
3. 제품 구성품
패키지에는 다음 품목이 포함됩니다.
- 1 x Spot Welder Dent Puller Cart
- 1 x Set of Dent Repair Kit (including various welding and pulling tools)
- 1 x 사용자 설명서

이미지 3.1: 이상view of the welding and pulling tools included in the dent repair kit.
4. 설정
4.1 풀기 및 검사
- 포장에서 모든 구성 요소를 조심스럽게 제거합니다.
- 운송 중 파손 흔적이 있는지 모든 부품을 검사하십시오. 파손이 발견되면 즉시 고객 지원 센터에 문의하십시오.
- 나열된 모든 구성 요소가 있는지 확인하세요.
4.2 Assembling the Workstation
- Attach the extended push handle to the main unit.
- Secure the padded seat onto the workstation.
- Install the accessory trays on the sides of the unit.
- Ensure the smooth-rolling casters are securely attached and functional for mobility.

Image 4.1: The mobile workstation with its push-pull handle, side tool boxes, and smooth-rolling casters for easy transport and organization.
4.3 Connecting Power and Welding Guns
- Connect the power cord to a suitable electrical outlet (100-120V~ 60Hz for US models).
- Attach the two welding guns to their respective ports on the main unit. Ensure connections are secure.
5. 사용 설명서
The VEVOR Stud Welder offers six welding modes and adjustable power levels for versatile dent repair.
5.1 Selecting Welding Mode and Power Level
- 주 전원 스위치를 켭니다.
- Rotate the mode selector knob to choose one of the six functional welding modes (e.g., OT Long Washers, Round Washer, Wavy Wire, Triangle Tab, Hot Pressing, Carbon Rod Heating).
- Use the High/Low power switch to select the appropriate power level for the repair task. 'H' for High (3900A) and 'L' for Low (3500A). This helps reduce burn-through risk or weak welds.

Image 5.1: The control panel showing the mode selector knob and the High/Low power switch for precise operation.

Image 5.2: Visual representation of the six functional welding modes: OT Long Washers, Round Washer, Wavy Wire, Triangle Tab, Hot Pressing, and Carbon Rod Heating.
5.2 Performing Dent Repair
- Clean the dented area thoroughly to ensure good electrical contact.
- Attach the appropriate welding accessory (e.g., stud, washer) to the welding gun.
- Place the tip of the welding accessory firmly against the dented surface.
- Press the trigger on the welding gun to initiate the weld. Hold for a brief moment until a secure weld is formed.
- Use the pulling tools (e.g., slide hammer, pull hooks) to gently pull the dent out.
- Repeat the process as needed, moving across the dented area.
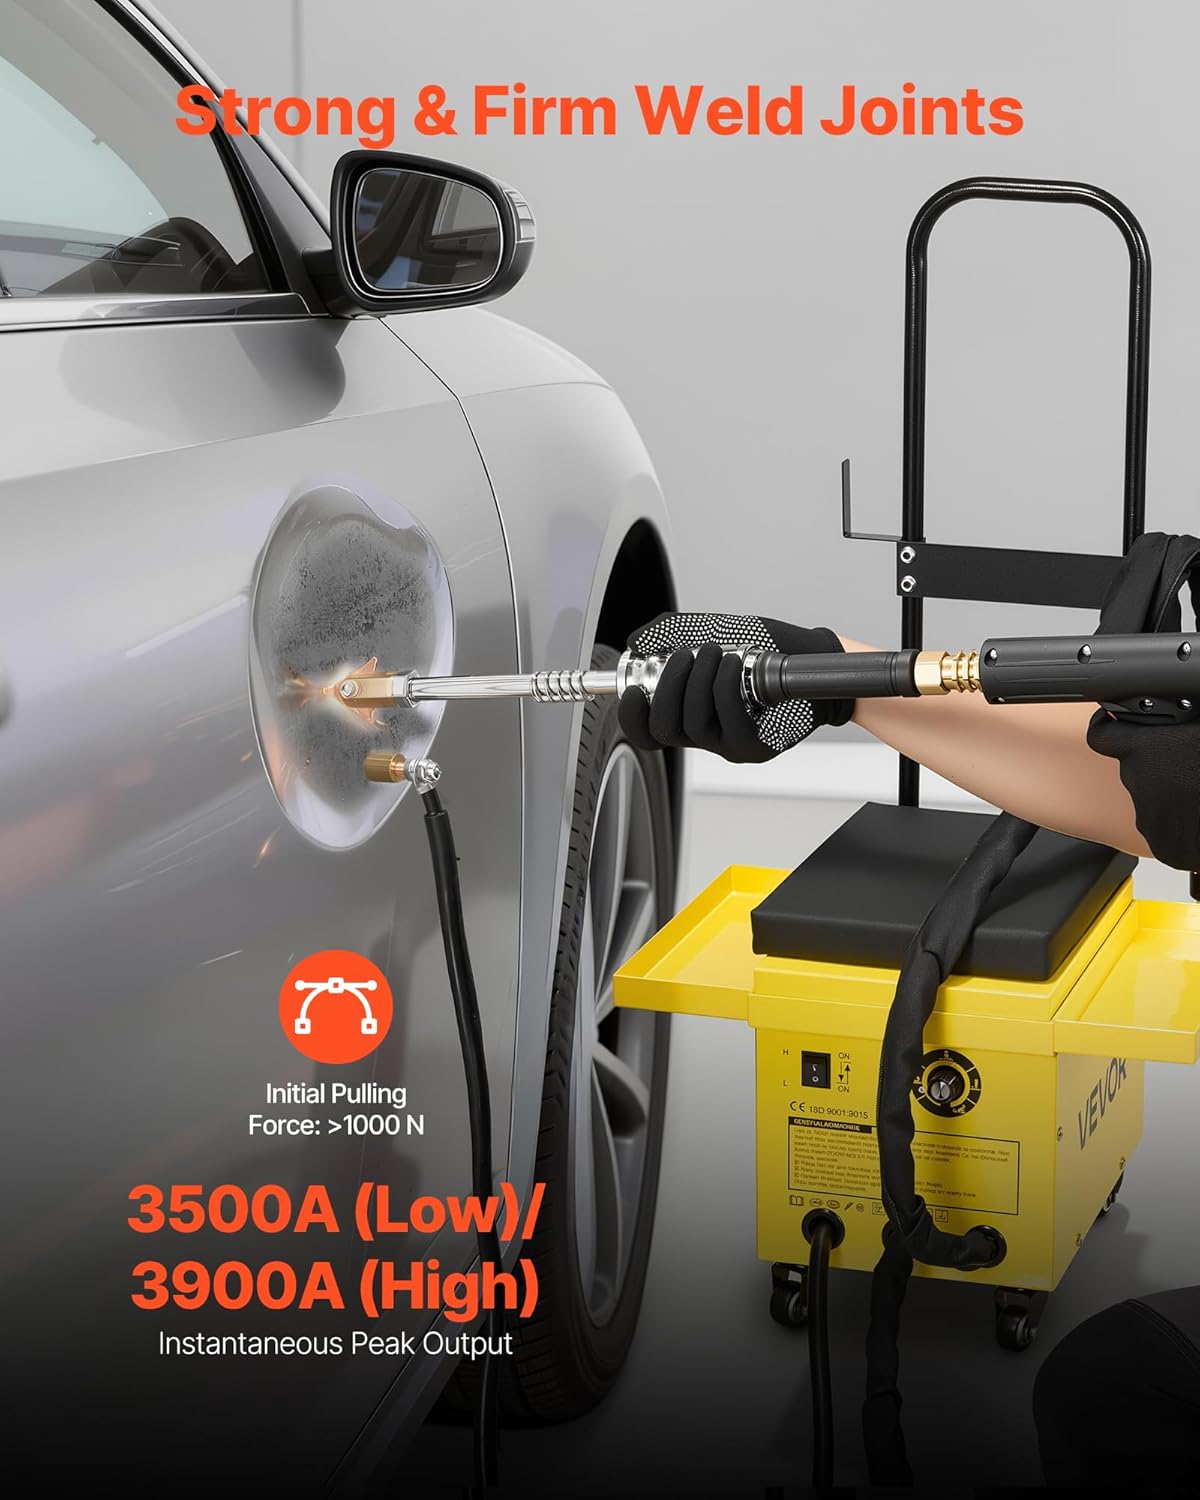
Image 5.3: Demonstrating the stud welding process on a vehicle panel, highlighting the strong and firm weld joints achieved with the unit's peak output.

Image 5.4: The dual welding gun setup allows for fast switching between tools, improving workflow and productivity during various repair steps.
5.3 공식 제품 영상
Video 5.1: An official product video demonstrating the VEVOR Professional Stud Welder Dent Repair Kit in action, showcasing its features and ease of use for various dent repair tasks.
6. 유지관리
Regular maintenance ensures the longevity and optimal performance of your stud welder.
- 청소: Periodically clean the exterior of the unit and the welding guns to remove dust and debris. Use a dry, soft cloth.
- 케이블 검사: Regularly inspect all cables and connections for wear, cuts, or damage. Replace damaged cables immediately.
- 통풍: Ensure the ventilation holes are clear of obstructions to allow for proper heat dissipation. The unit features multiple ventilated holes and automatic shutdown for overheat protection.
- 저장: Store the unit in a dry, clean environment when not in use. Utilize the side tool boxes for organizing small accessories.

Image 6.1: The unit's ventilated cooling system, designed to ensure stable operation and prevent overheating during heavy loads.
7. 문제 해결
일반적인 문제와 해결 방법은 다음 표를 참조하세요.
| 문제 | 가능한 원인 | 해결책 |
|---|---|---|
| 용접기가 켜지지 않습니다. | No power supply; power cord damaged; internal fuse blown. | Check power connection and outlet; inspect power cord; consult qualified technician for fuse replacement. |
| 용접이 약하거나 일관성이 없습니다. | Incorrect power setting; poor contact with workpiece; dirty workpiece surface; worn welding tip. | Adjust power to 'H' (High); ensure firm contact; clean workpiece; replace welding tip. |
| 장치가 과열되어 꺼집니다. | Blocked ventilation; prolonged continuous use beyond duty cycle. | Clear ventilation openings; allow unit to cool down before resuming operation. |
| Welding gun not firing. | Loose connection; faulty trigger; ground clamp not properly attached. | Check all connections; ensure ground clamp is secure; contact support if trigger is faulty. |
8. 사양
| 특징 | 사양 |
|---|---|
| 품목 모델 번호 | 7500 |
| 권tag전자(미국) | 100-120V~ 60Hz |
| 힘 | 4500와트 |
| Instantaneous Peak Output | 3500A (Low) / 3900A (High) |
| 용접 가능한 금속 | 탄소강, 스테인리스강 |
| 순중량 | 62.4파운드/28.3kg |
| 제품 치수 | 37.4 x 19.7 x 16.1 인치 / 950 x 500 x 410mm |

Image 8.1: Diagram illustrating the key dimensions of the VEVOR Stud Welder Dent Repair Kit.
9. 보증 및 지원
9.1 보증 정보
This product typically comes with a manufacturer's warranty. Please refer to the warranty card included in your package or visit the official VEVOR website for detailed warranty terms and conditions. Optional protection plans may also be available for extended coverage.
- 2년 보호 계획: Available for one-time purchase.
- 완벽한 보호: Monthly subscription plan covering eligible purchases.
9.2 고객 지원
For technical assistance, troubleshooting, or warranty claims, please contact VEVOR customer support through their official web사이트 또는 제품 설명서에 제공된 연락처 정보를 참조하세요. 또한 Amazon의 VEVOR 매장 자세한 내용은.


